Southern New Hampshire University | SNHU-CYB300: System and Communication Security
Install and Configure AD Certificate Services
Exercises
- Introduction
- Exercise 1 - Install and Configure Active Directory Certificate Services
- Exercise 2 - Configure Certificate Revocation Lists (CRLs)
- Exercise 3 - Configure Active Directory Certificate Services Backup and Recovery
- Summary
Introduction
The Install and Configure AD Certificate Services module provides you with the instruction and server hardware to develop your hands on skills in the defined topics.
Learning Outcomes
In this module, you will complete the following exercises:
- Exercise 1 - Install and Configure Active Directory Certificate Services
- Exercise 2 - Configure Certificate Revocation Lists (CRLs)
- Exercise 3 - Configure Active Directory Certificate Services Backup and Recovery
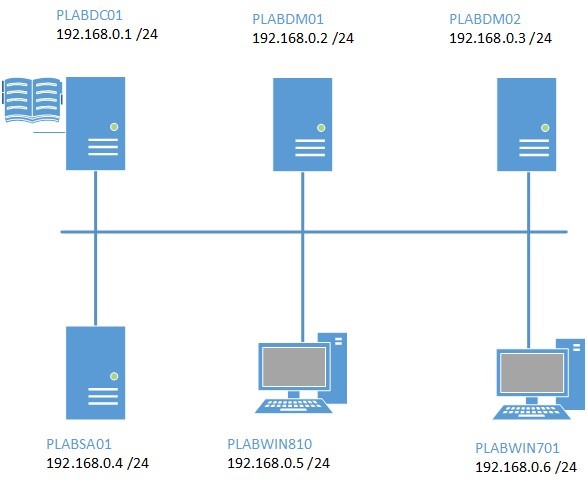
Lab Diagram
During your session, you will have access to the following lab configuration:
- PLABDC01 (Domain Controller)
- PLABDM01 (Domain Member Server)
- PLABDM02 (Standalone Server)
- PLABSA01 (Standalone Server)
- PLABWIN810 (Windows 8.1 Workstation)
- PLABWIN701 (Windows 7 Workstation)
Depending on the exercises you may or may not use all of the devices, but they are shown here in the layout to get an overall understanding of the topology of the lab.
Help and Support
For more information on using Practice Labs, please see our Help and Support page. You can also raise a technical support ticket from this page.
d2c53300-f951-45a9-9aa4-3d4ecae69e11
Exercise 1 - Install and Configure Active Directory Certificate Services
In this exercise, you will install and configure Active Directory Certificate Services in a Windows domain environment.
Please refer to your course material or use your preferred search engine to research this topic in more detail.
Task 1: Install and Configure Enterprise Root Certificate Service
In this step, you will install AD Certificate Services on Domain Controller device.
Step 1
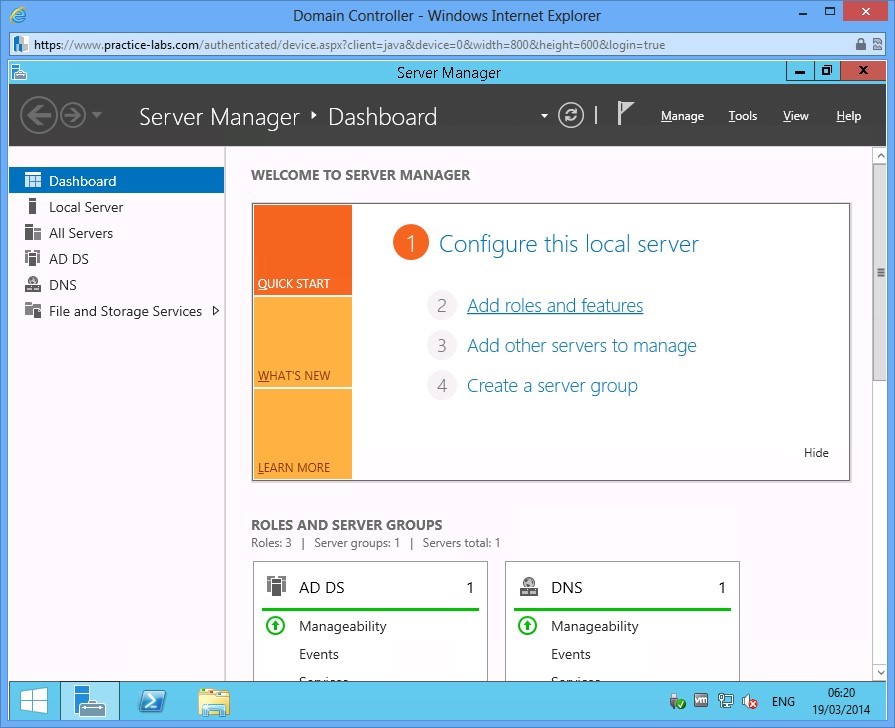
Ensure you have powered on the required devices and connect to PLABDC01.
In Server Manager, click on Add roles and features link.
Step 2
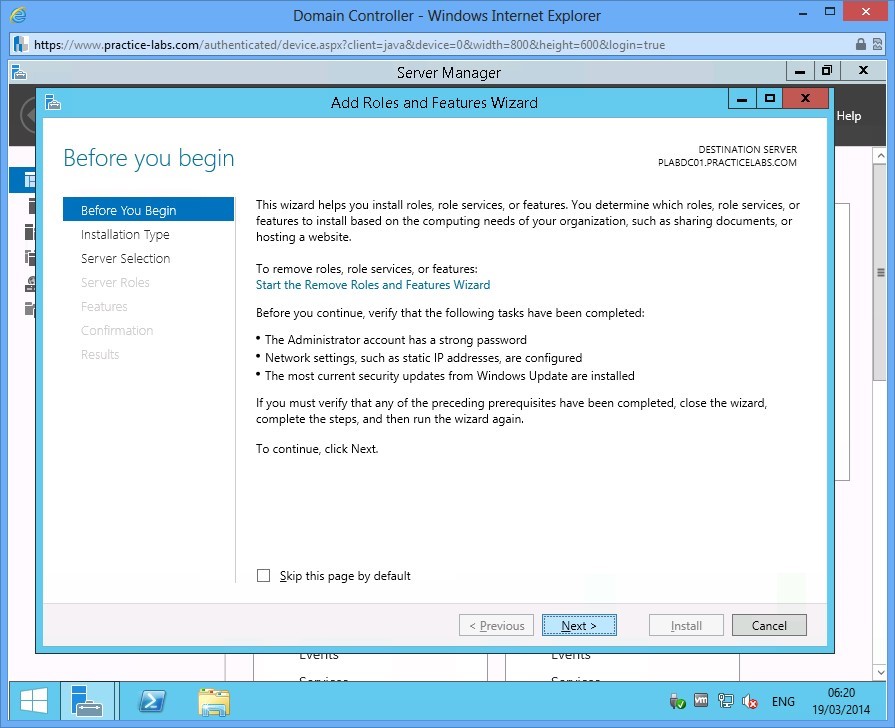
Click Next in Before you begin.
Step 3
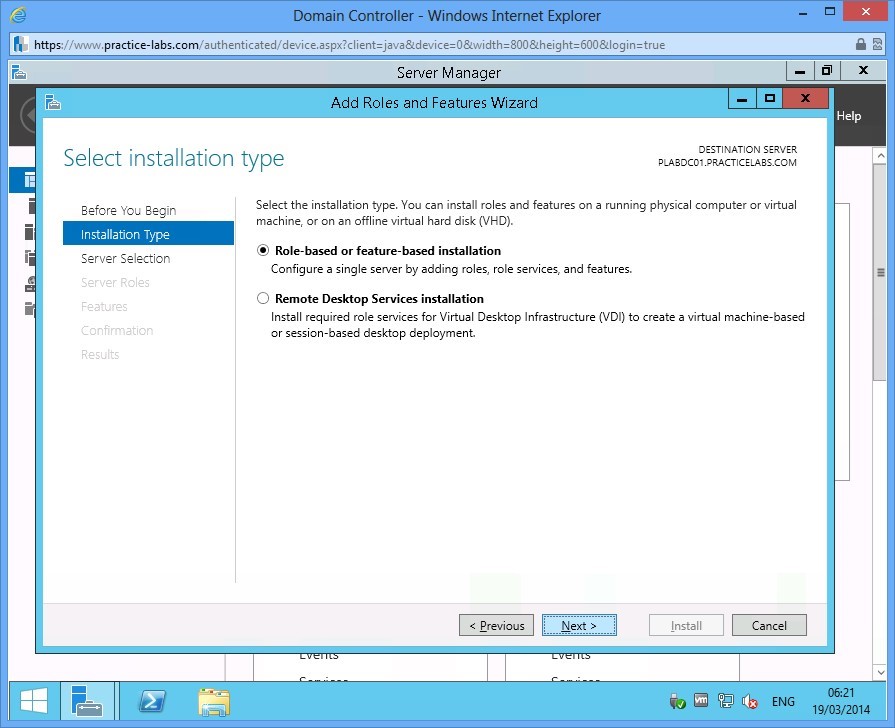
Choose Next in Select installation type.
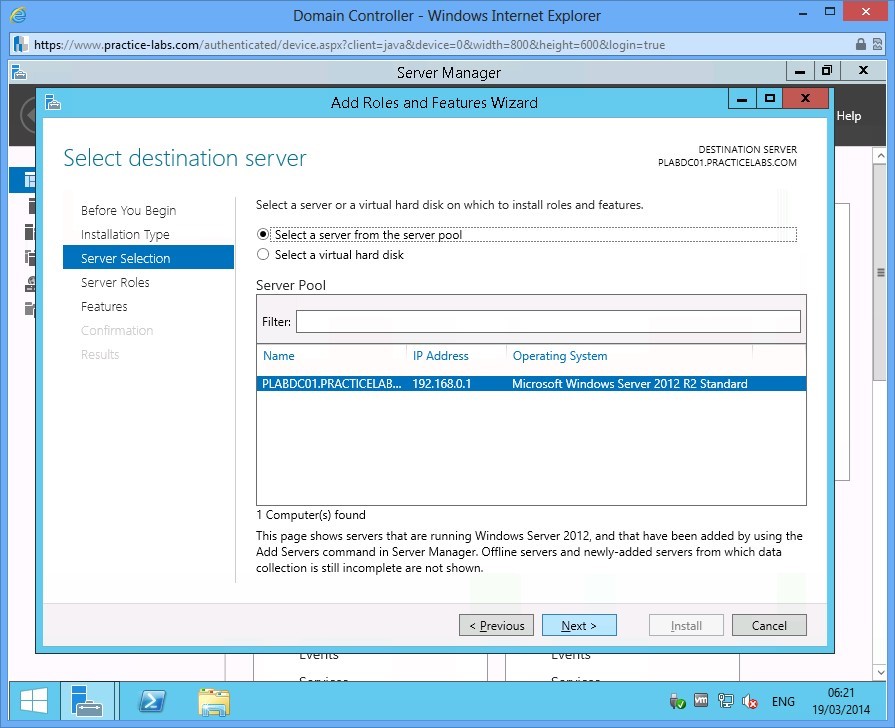
Step 4
In Select destination server, click Next.
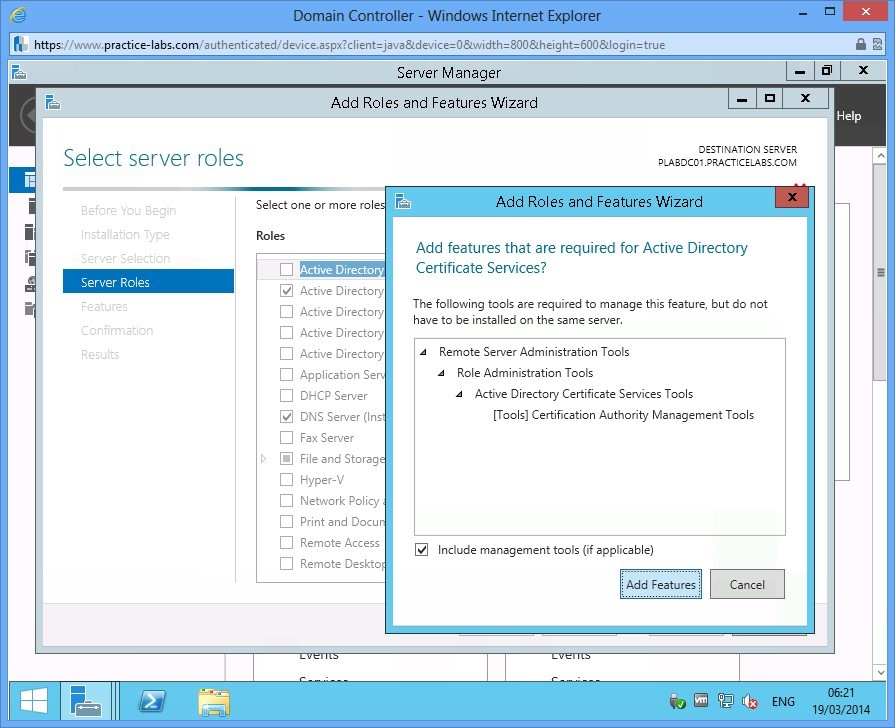
Step 5
Click Active Directory Certificate Services check box.
The Add Roles and Features Wizard will automatically appear, click on Add Features.
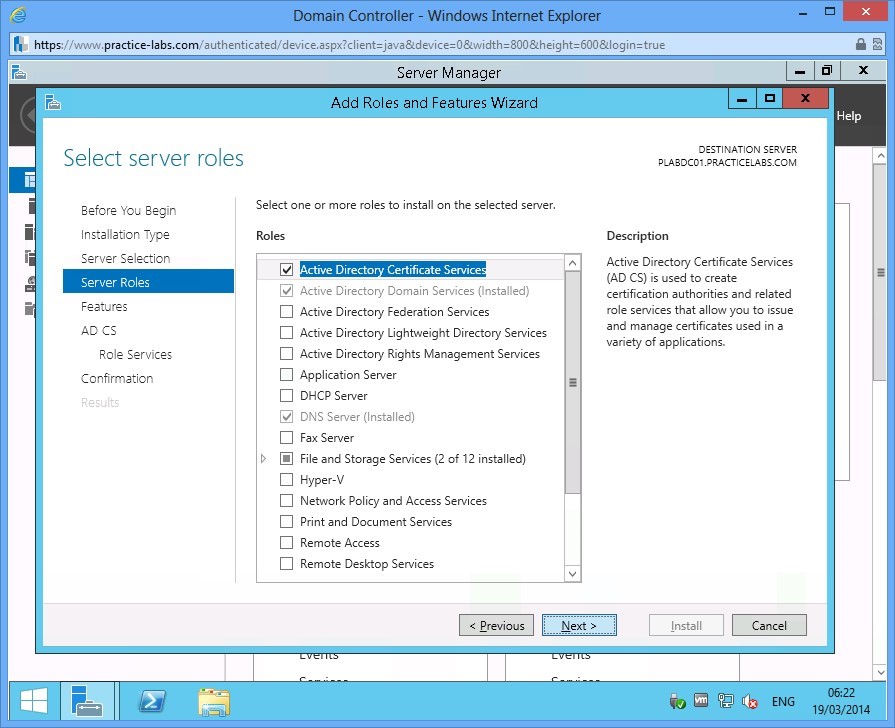
Step 6
In Select server roles, click Next to continue.
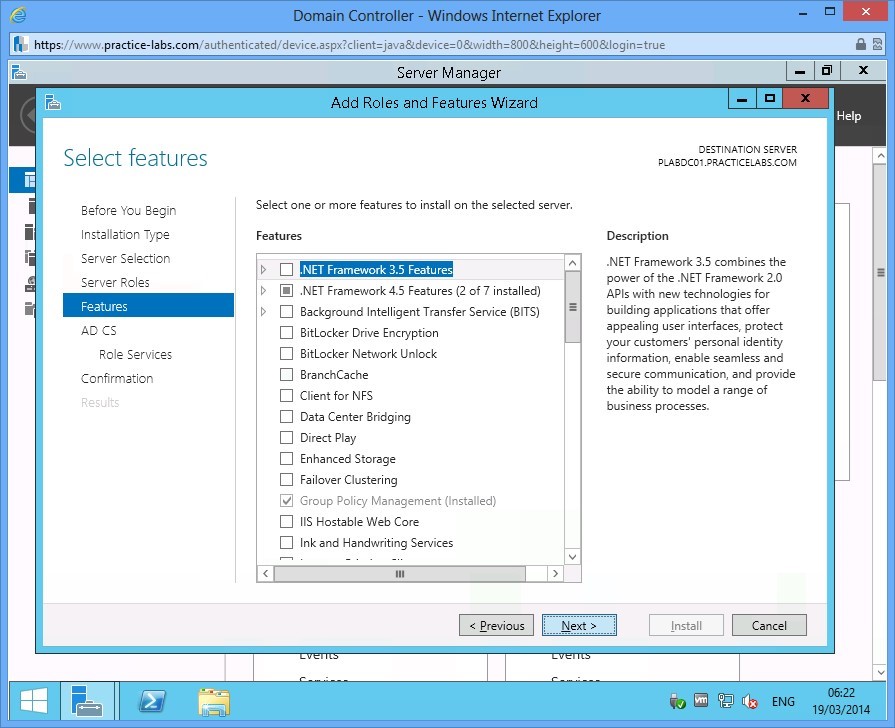
Step 7
In Select features, click Next.
Step 8
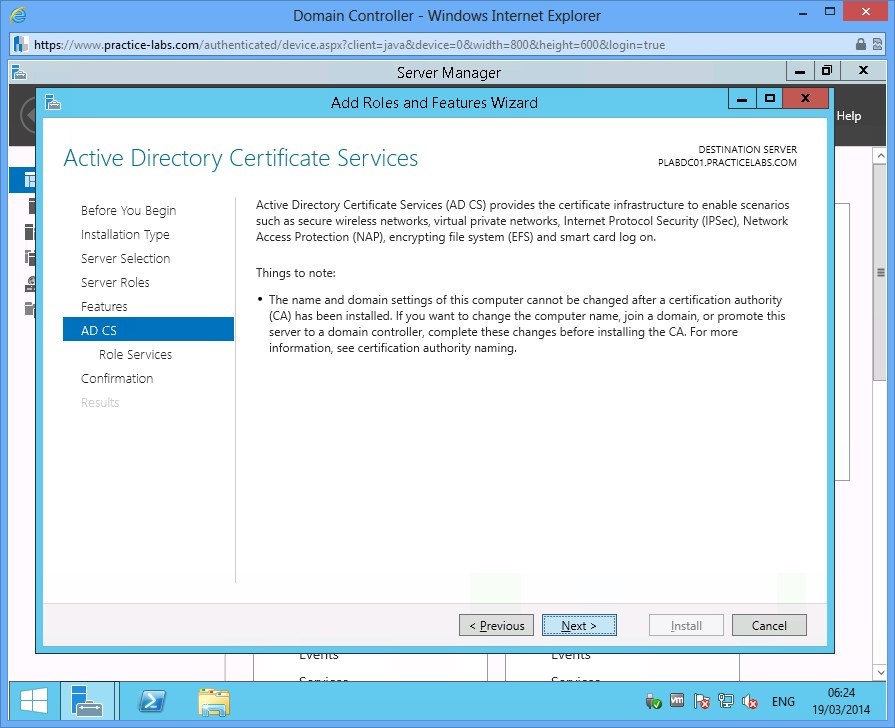
Read through the information about Active Directory Certificate Services and click Next.
Step 9
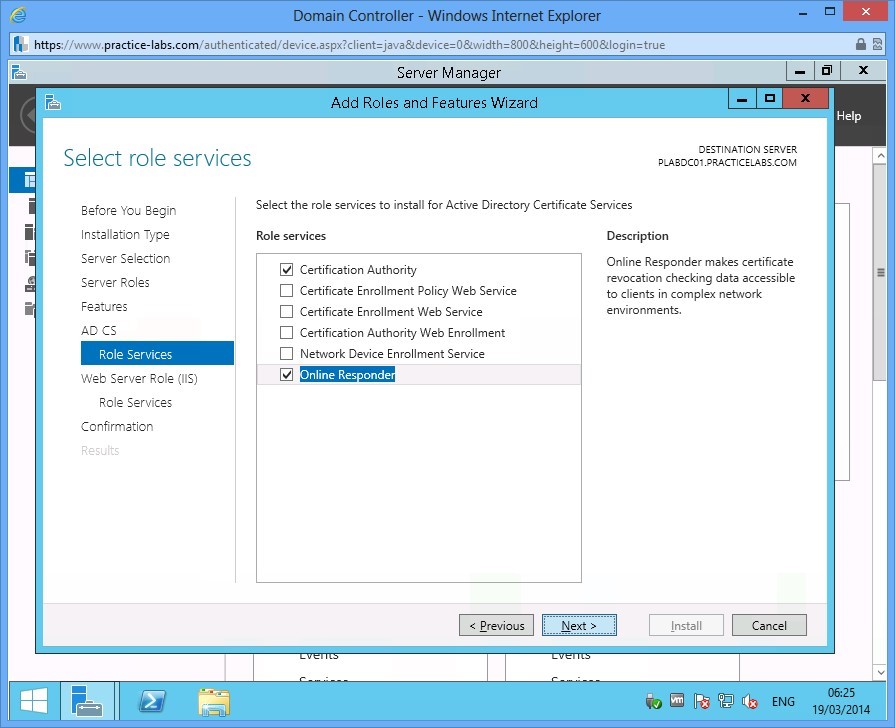
Verify that Certification Authority check box is selected.
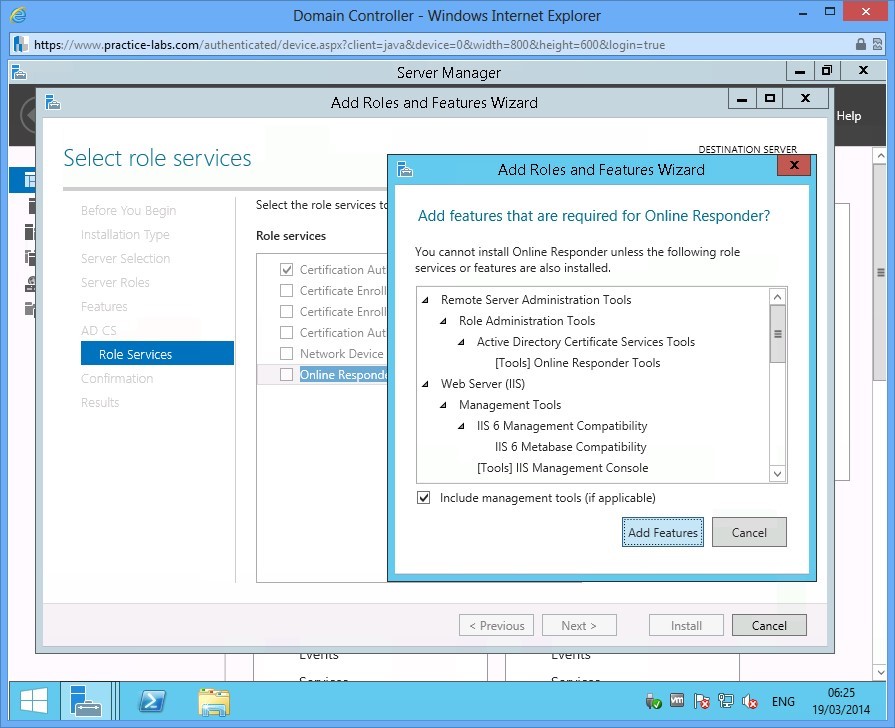
Select Online Responder check box. As always, Add Roles and Features Wizard box appears.
Click Add Features to proceed.
Step 10
With Certification Authority and Online Responder tick boxes selected, click Next.
Step 11
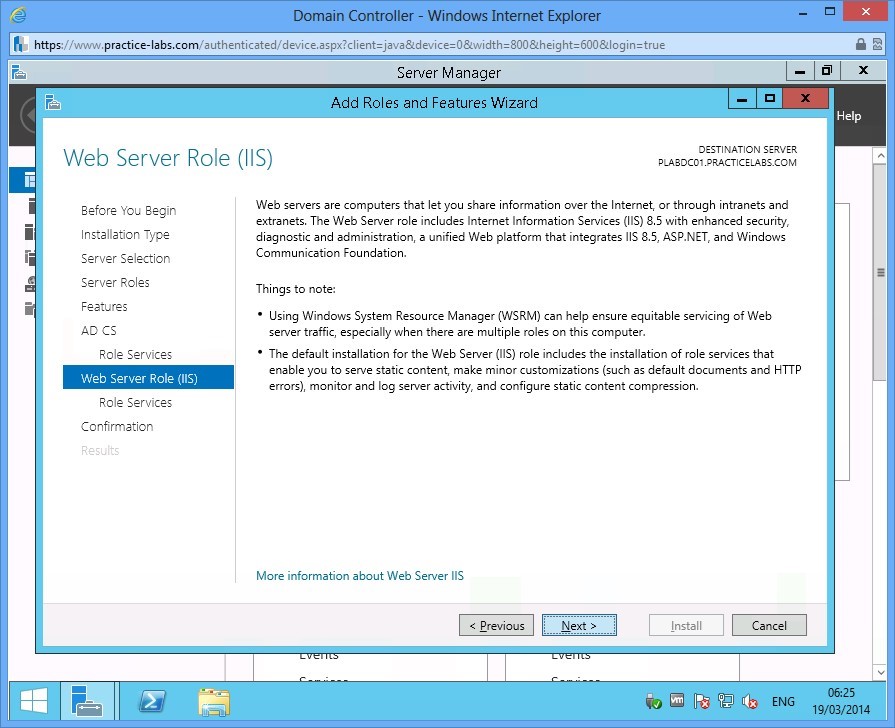
Quickly read through the Web Server Role (IIS) and click Next.
Step 12
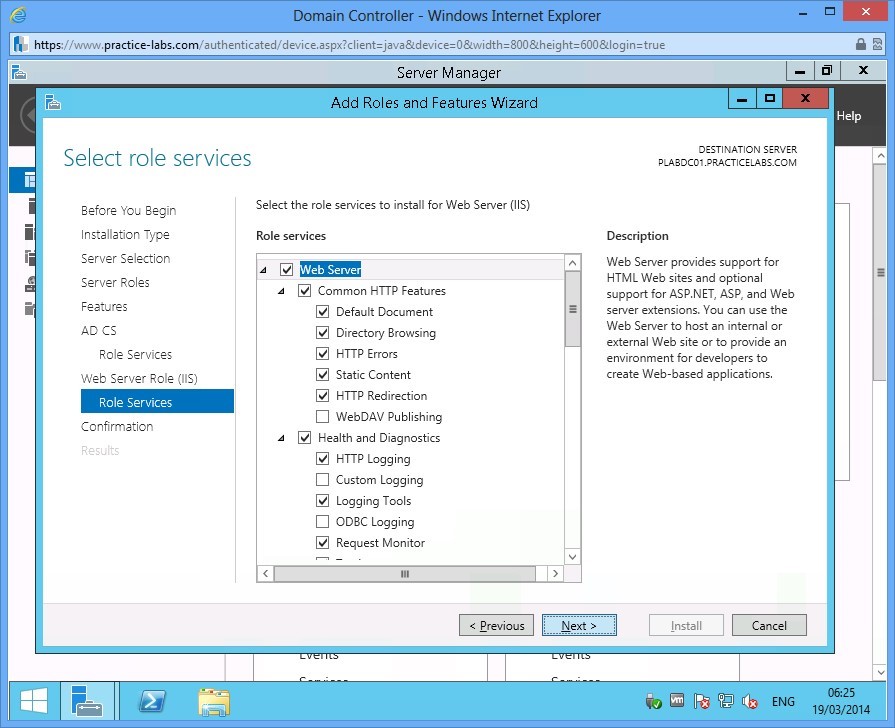
In Select role services page, accept the default role services in IIS by selecting Next.
Step 13
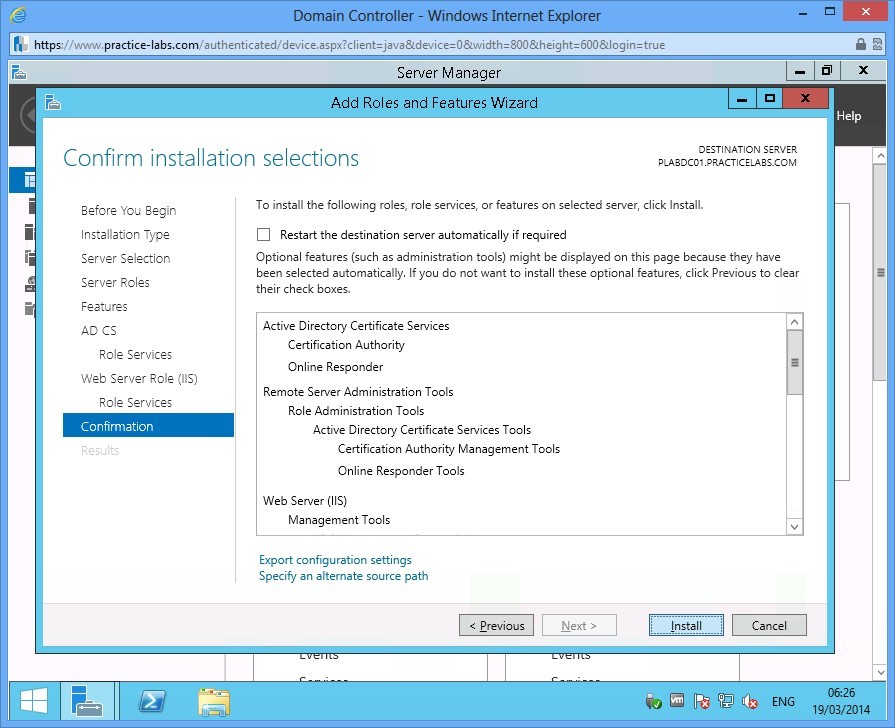
Click Install in Confirm installation selections to proceed.
Step 14
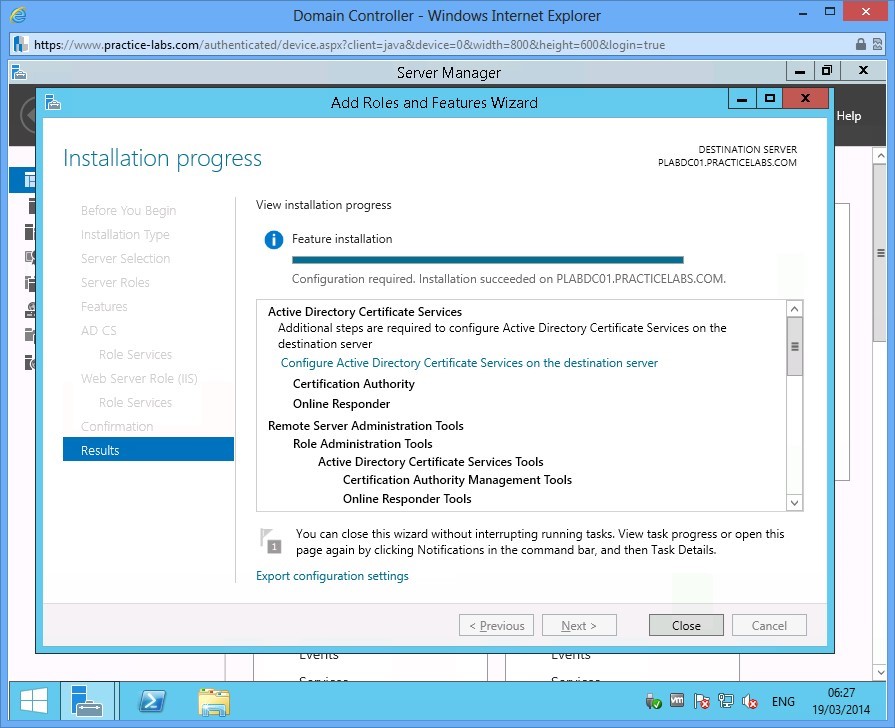
Choose Close when Installation progress is complete.
Step 15
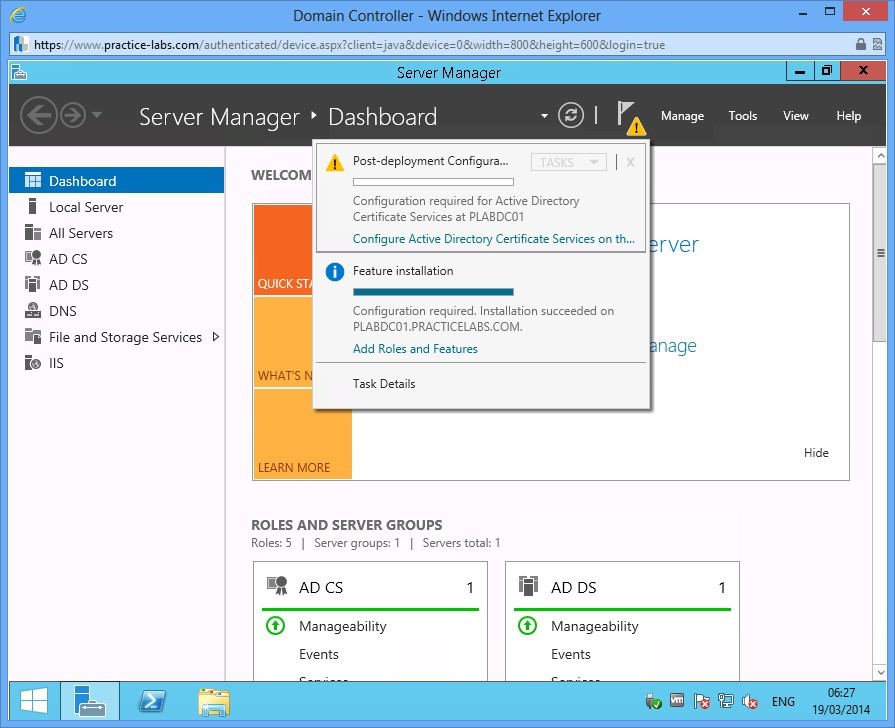
Click on the flag icon and choose Configure Active Directory Certificate Services on the destination server.
Step 16
Accept the Credentials and click Next.
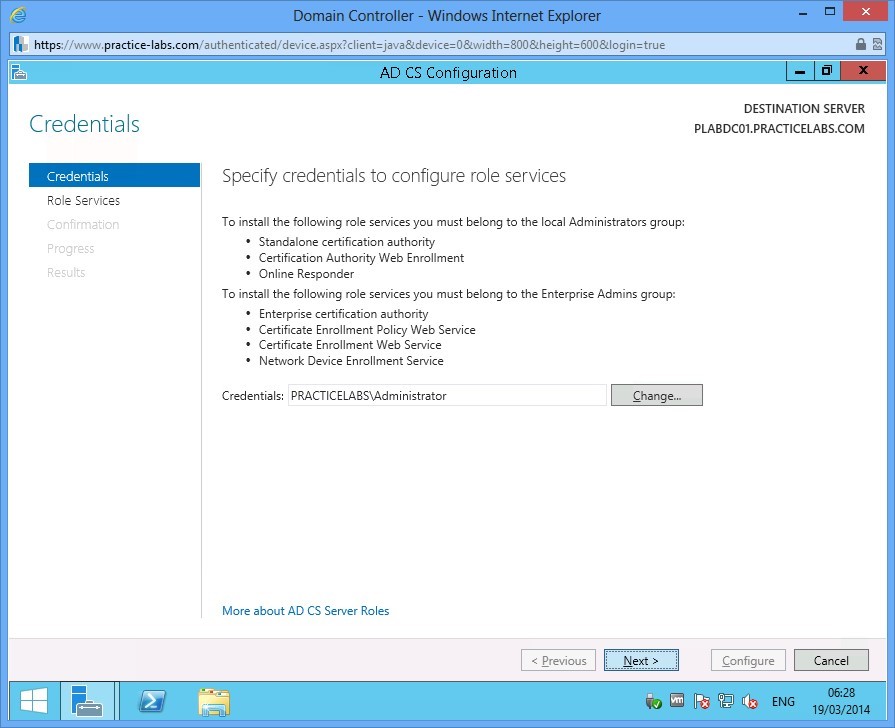
Step 17
In Role Services, ensure that Certification Authority and Online Responder check boxes are selected.
Click Next.
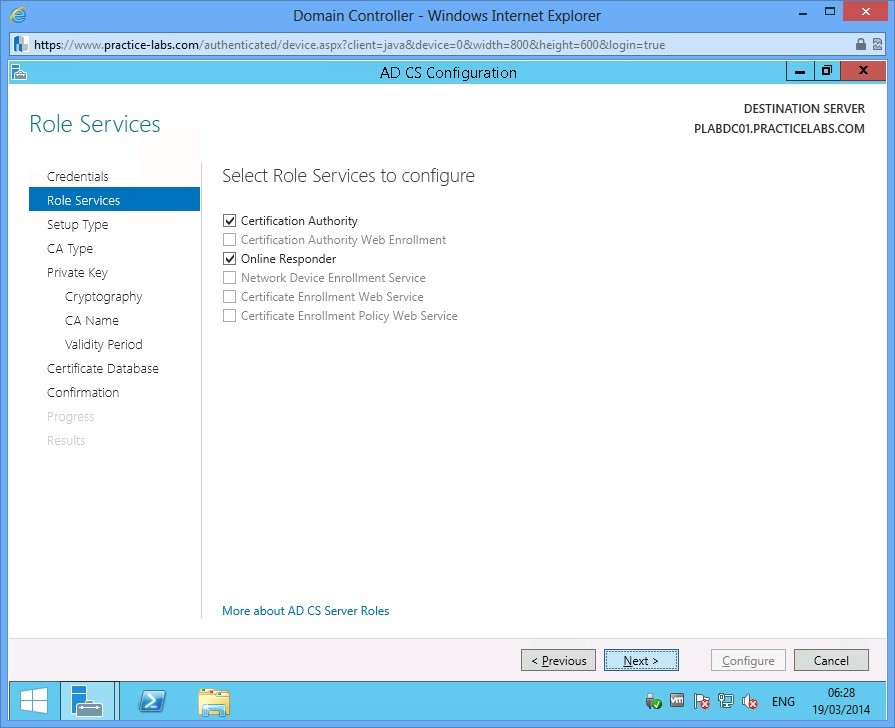
Step 18
In Setup Type choose Next.
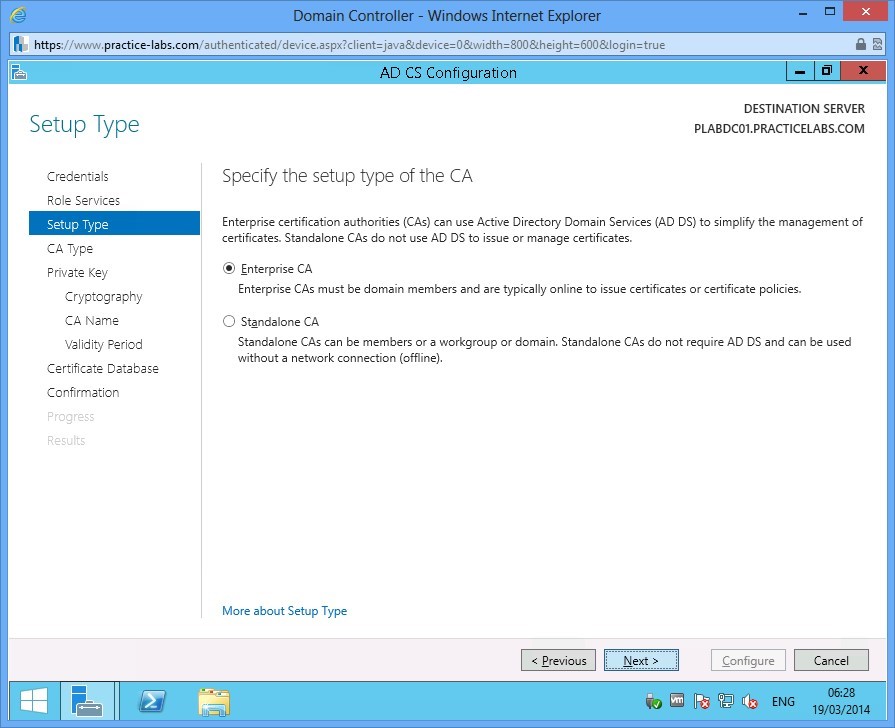
Step 19
In CA Type, ensure that Root CA is selected. Click Next.
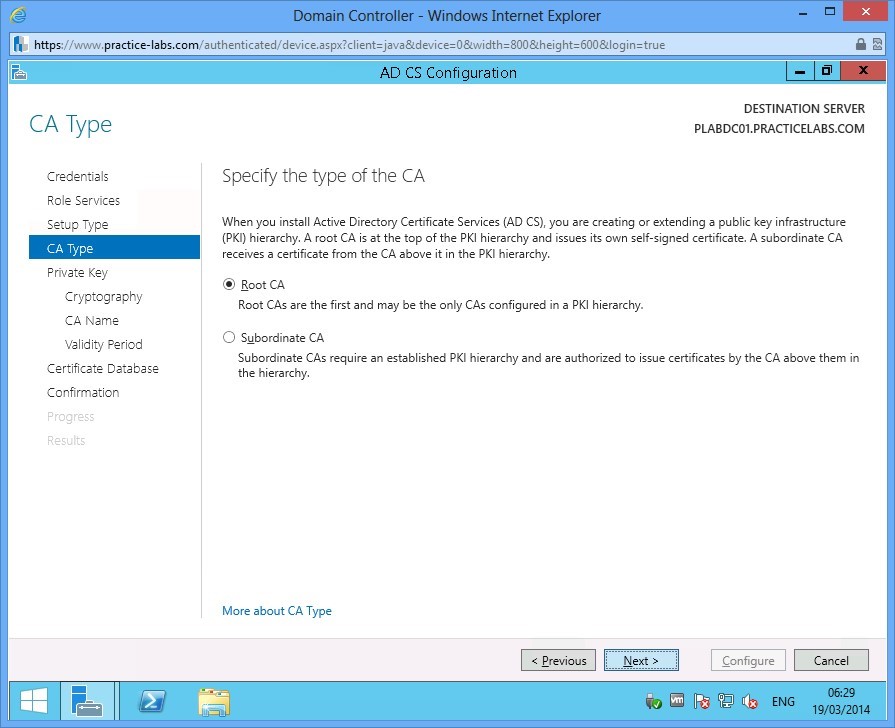
Step 20
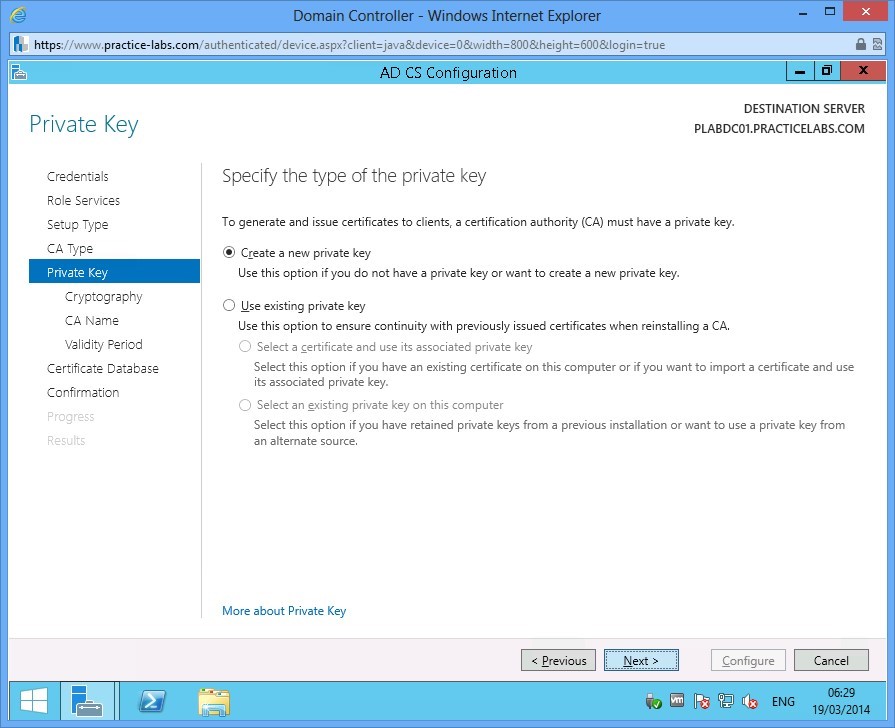
In Private Key, click Next.
Step 21
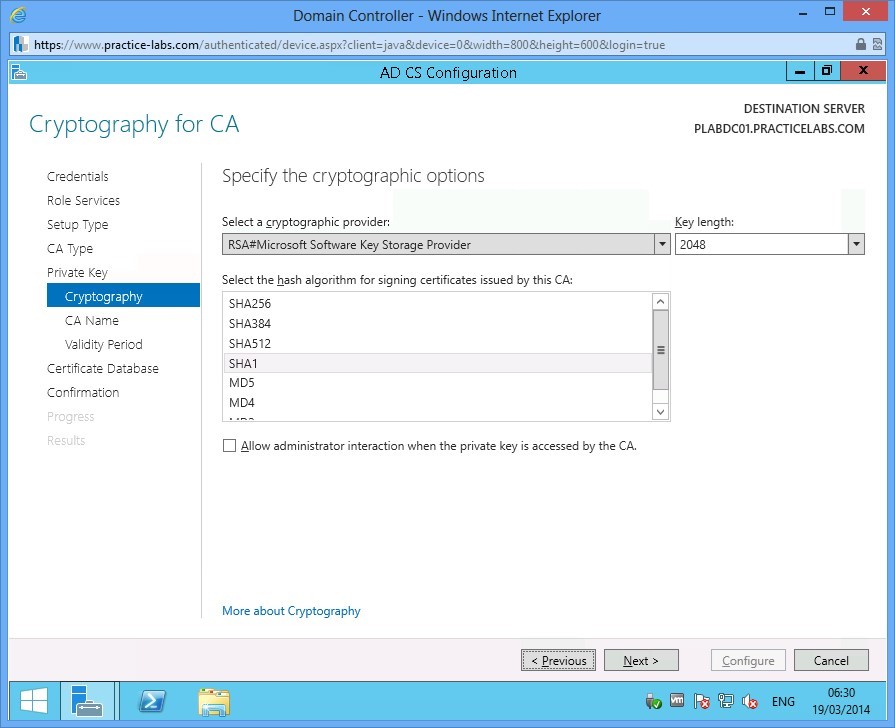
Click Next in Cryptography for CA dialogue.
Step 22
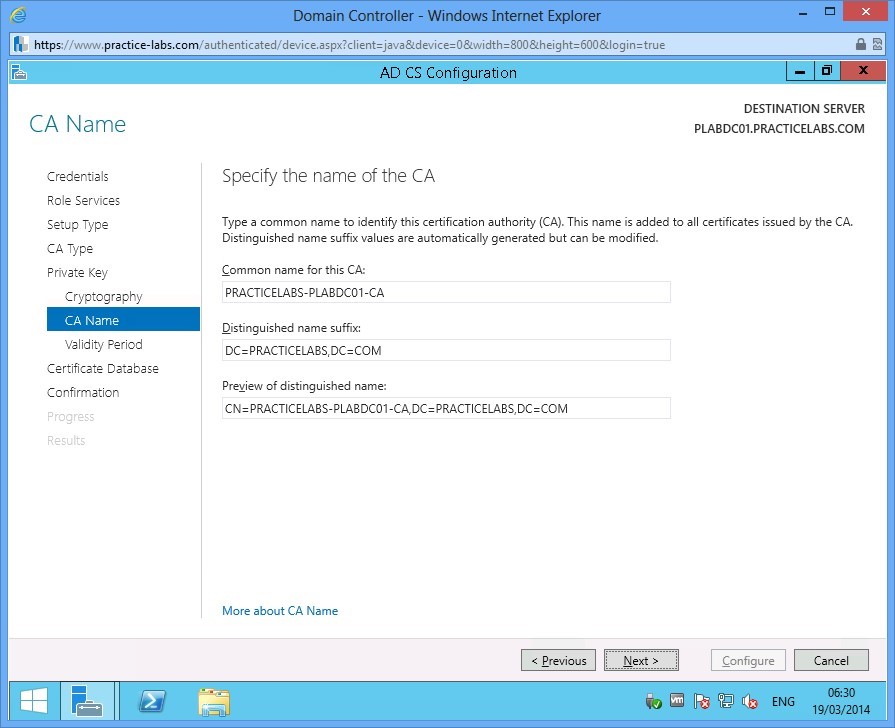
Accept the default CA Name and click Next.
Step 23
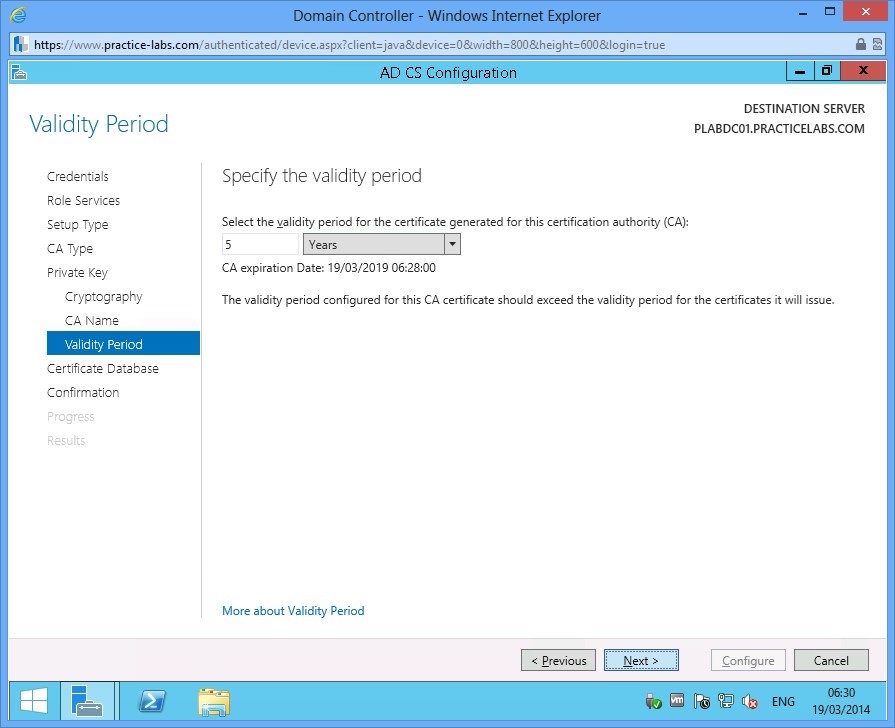
Accept the Validity Period of 5 years, click Next.
Step 24
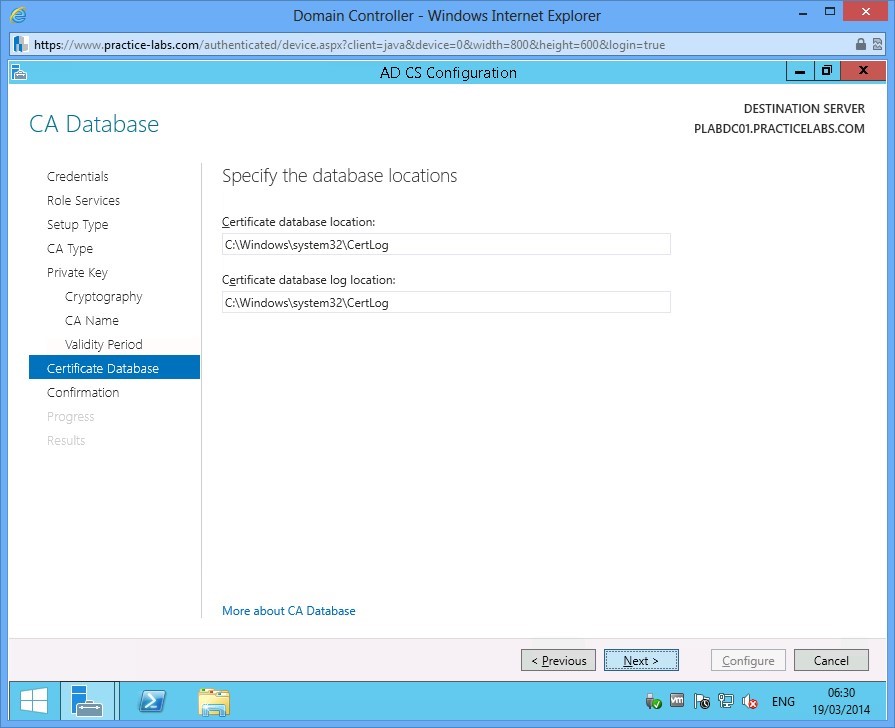
Accept the default path for CA Database by choosing Next.
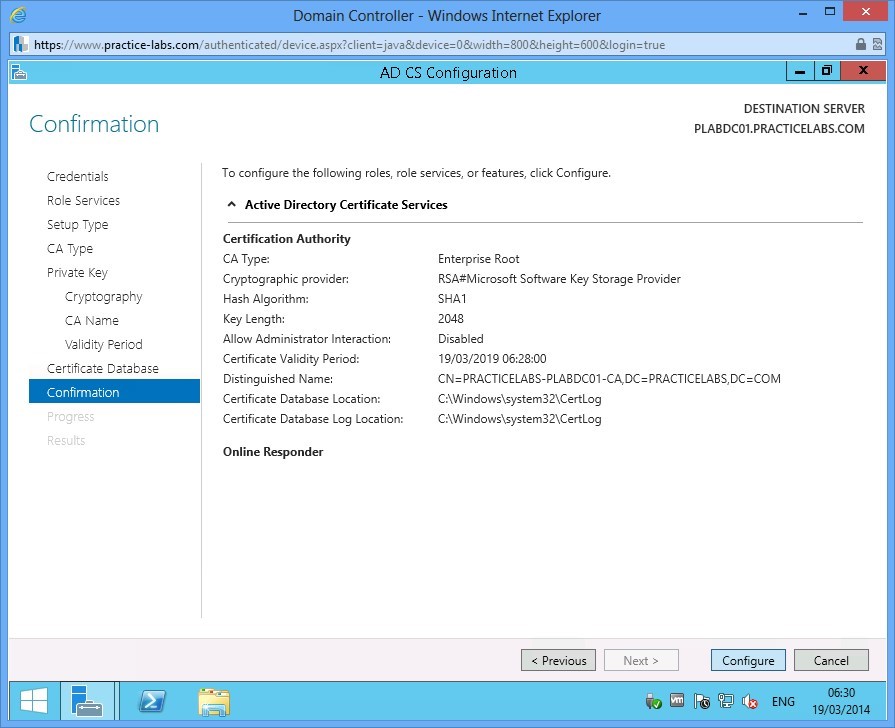
Step 25
Click Configure to proceed with the configuration of AD CS.
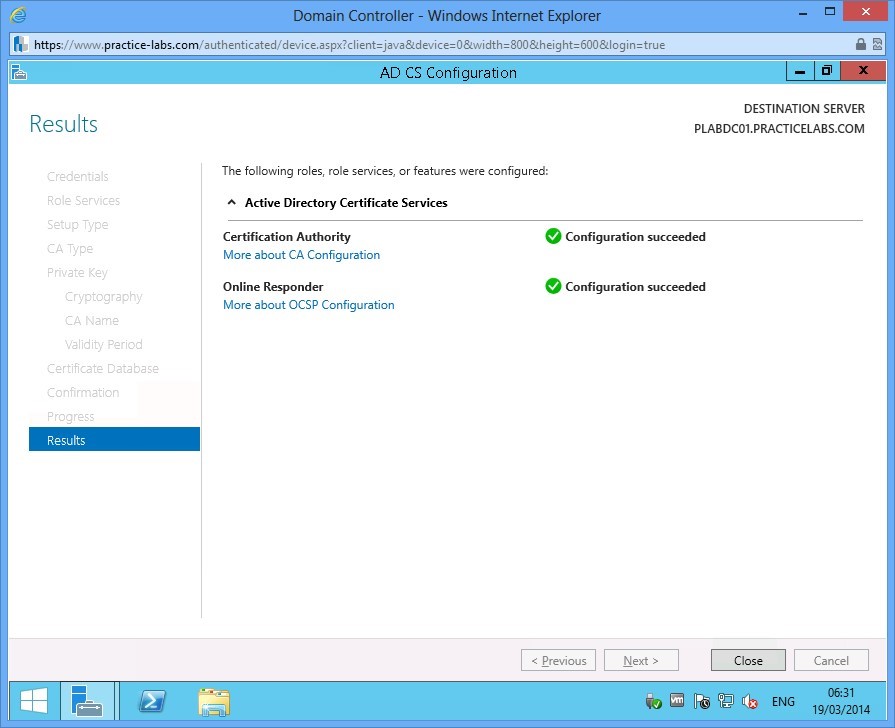
Step 26
When the Results are displayed, click Close.
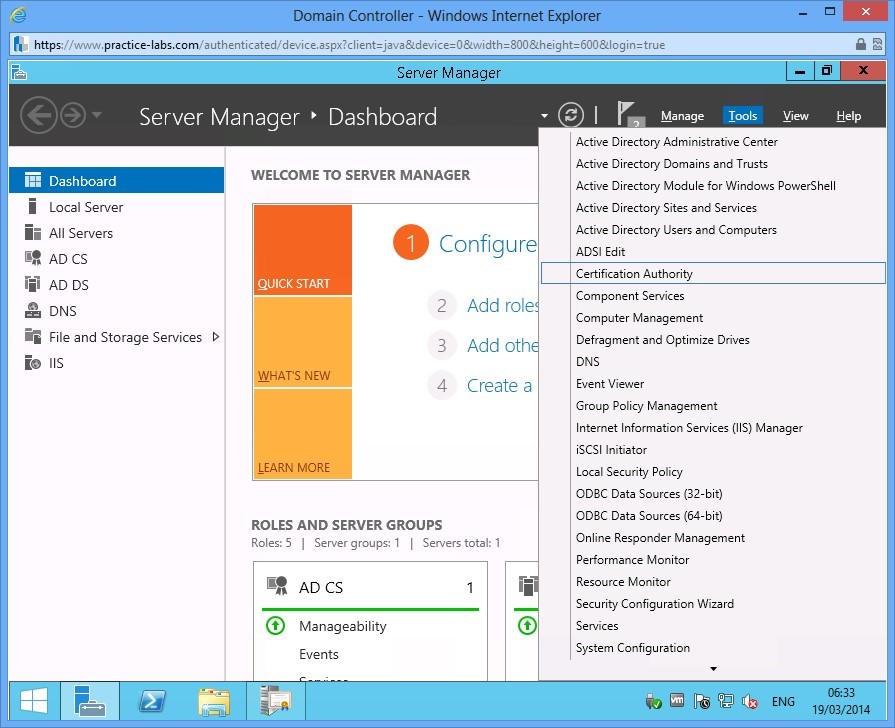
Step 27
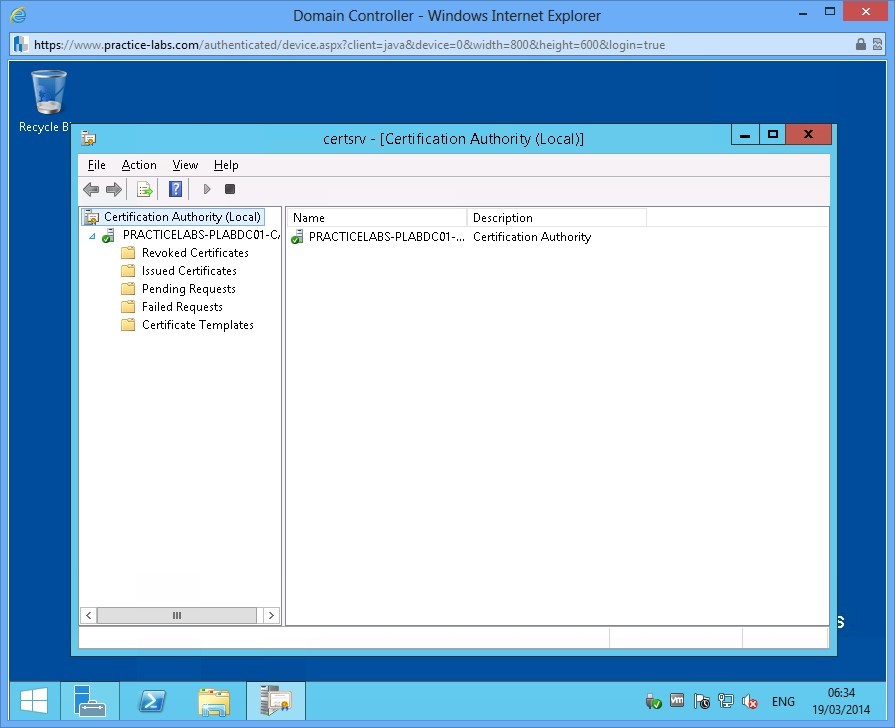
To verify that AD CS is working, From Server Manager Dashboard, go to Tools > Certification Authority.
Step 28
Verify Certification Authority snap-in works. Then close afterwards.
Exercise 2 - Configure Certificate Revocation Lists (CRLs)
In this exercise, you will configure certificate revocation lists in Certificate Services. When a user certificate is revoked by an administrator regardless of the reason, the Certificate Server records that cancellation to prevent a user from reusing a revoked certificate. In a large network, the revocation of the certificate must be replicated to other CA servers to prevent cancelled certificates from being used to access network resources.
Please refer to your course material or use your preferred search engine to research this topic in more detail.
Task 1: Request User Certificates
Now that you have configured the CA servers, the next step is to ask for a certificate as an Active Directory user.
Step 1
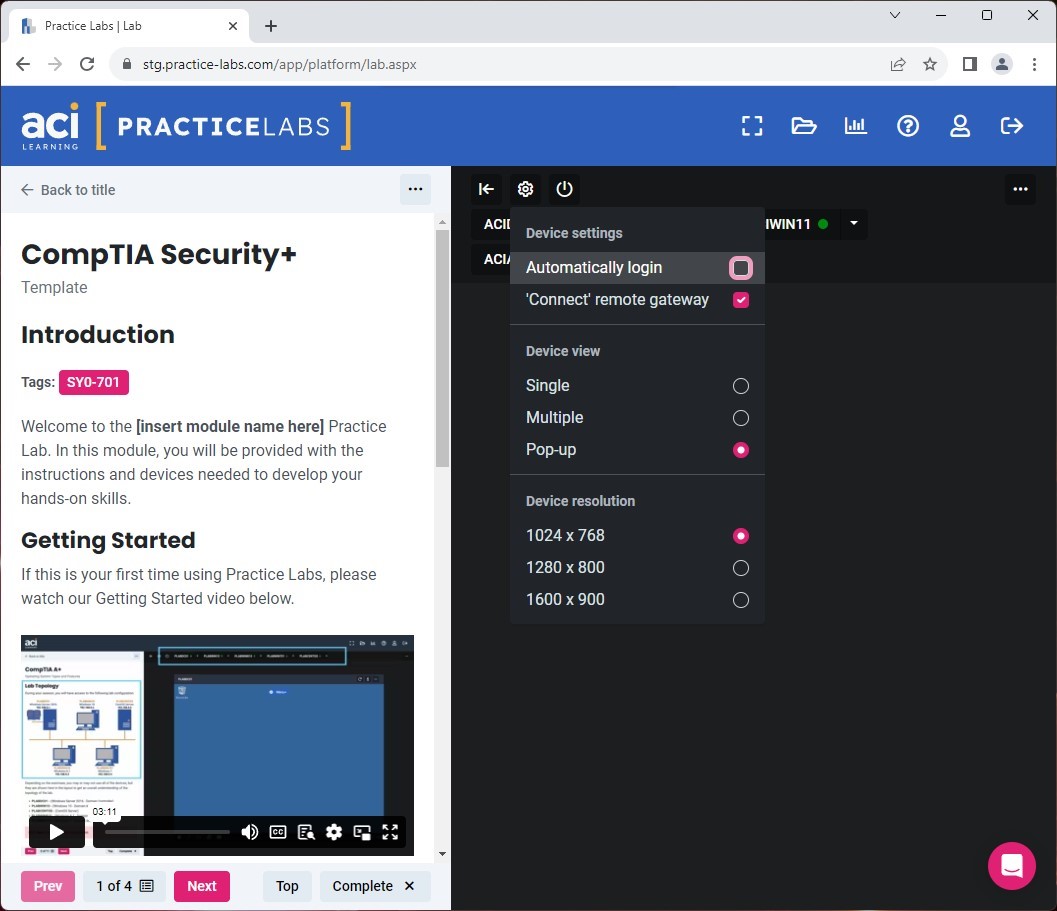
In the Lab Toolbar, select the Lab Settings gear icon.
In the Device settings drop-down, uncheck the box next to Automatically login.
Step 2
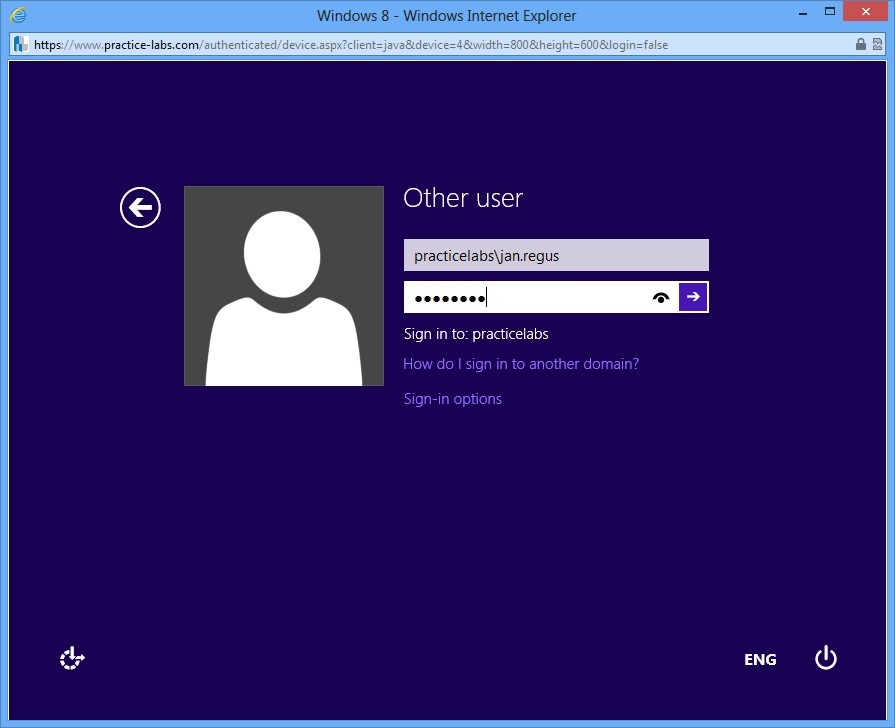
Connect to PLABWIN810 and sign on as practicelabs\jan.regus password is Passw0rd
Step 3
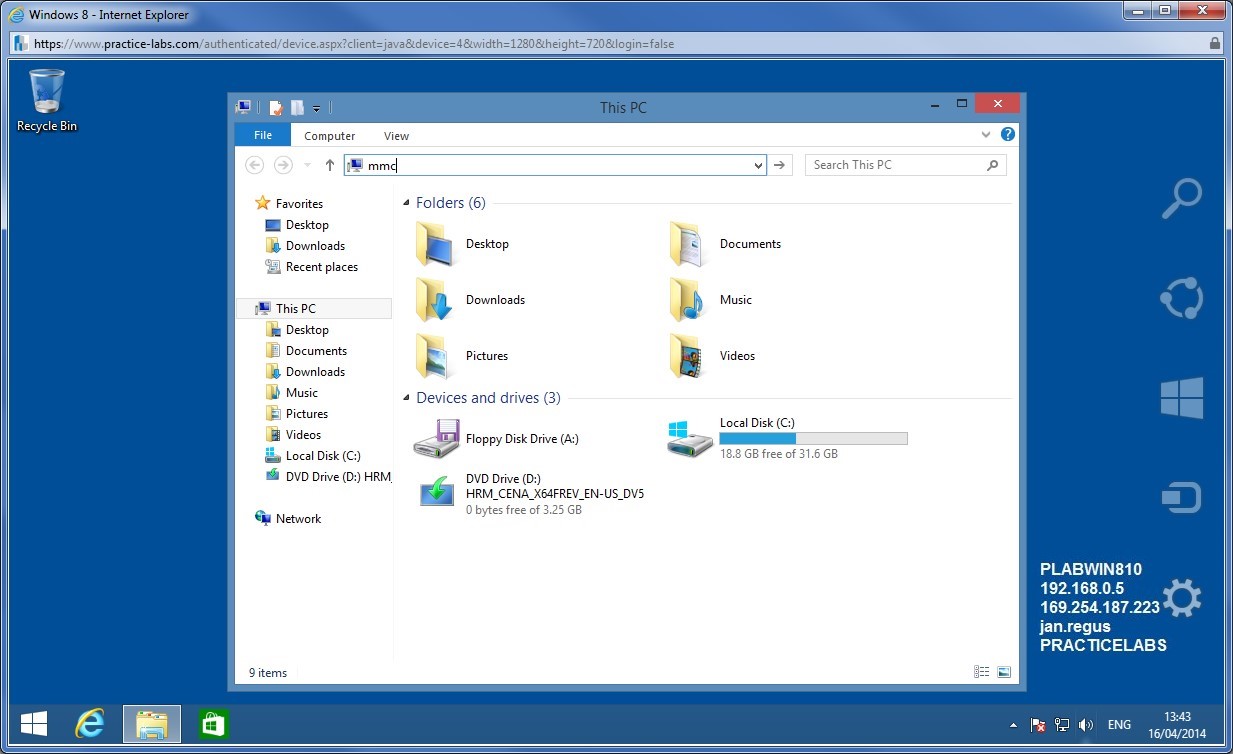
Click File Explorer on task bar. In the address bar type
mmc
Press Enter.
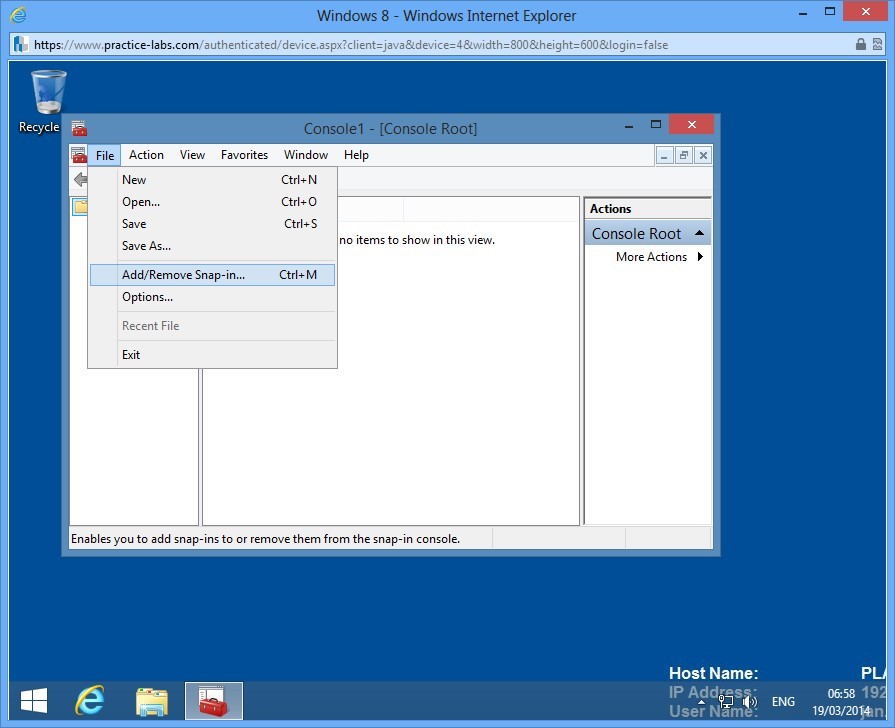
Step 4
In Console1, click on File and choose Add/Remove Snap-in.
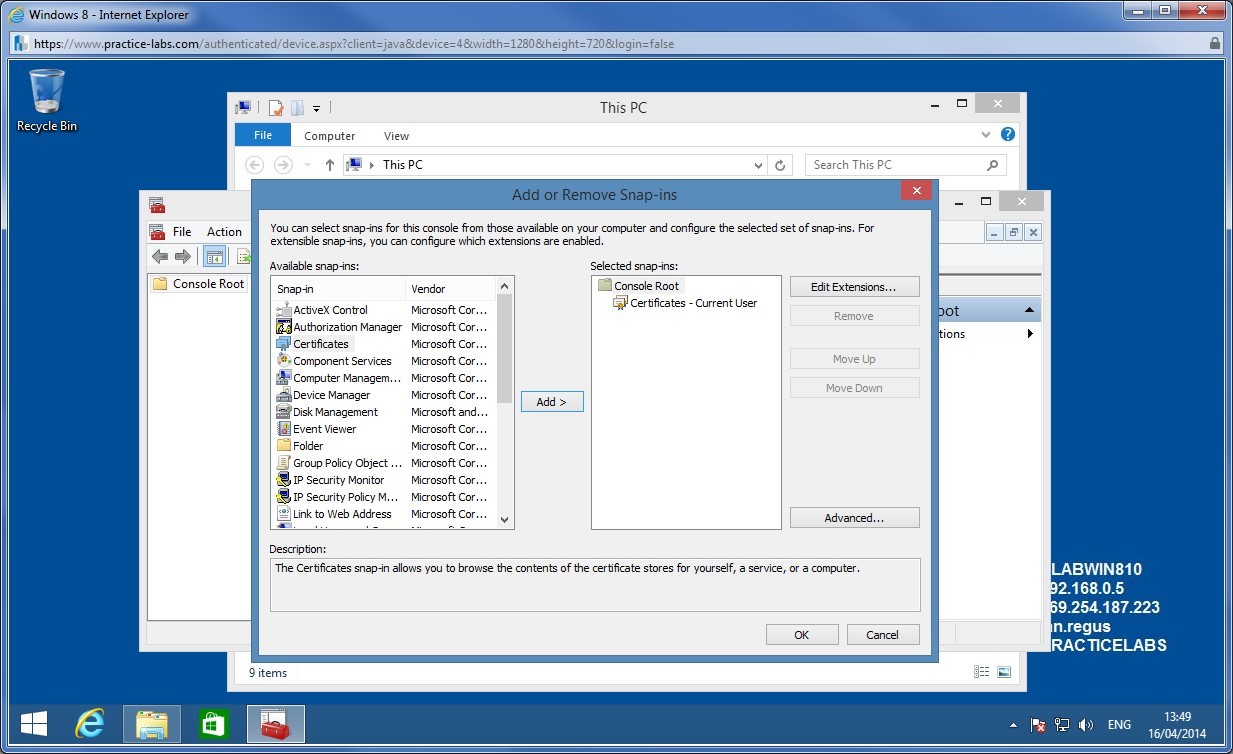
Step 5
From Add or Remove Snap-ins, select Certificates and click Add.
Click OK to close.
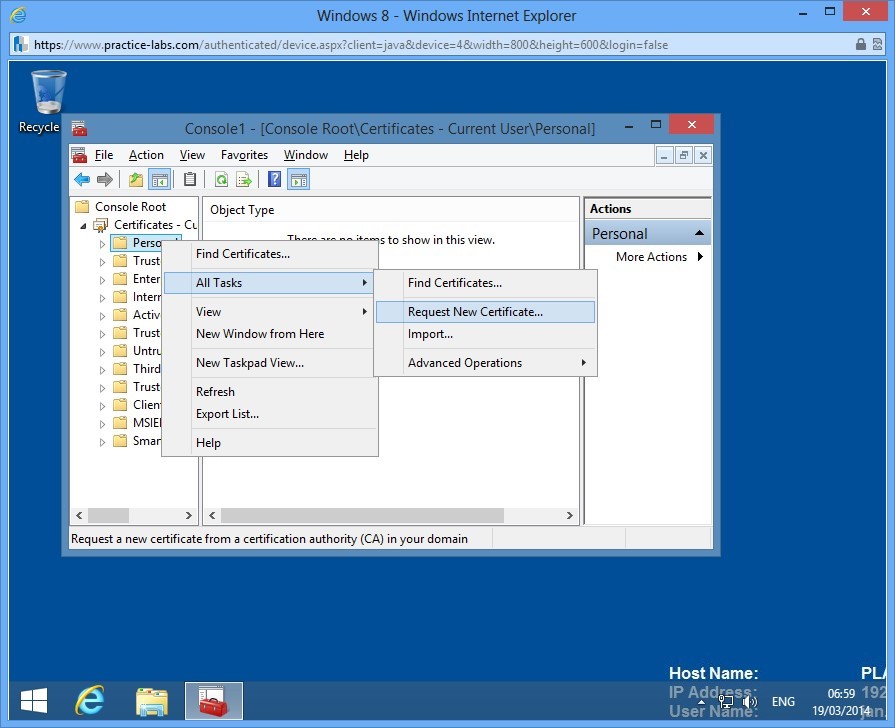
Step 6
From Console1, right-click on Personal and choose All Tasks > Request New Certificate.
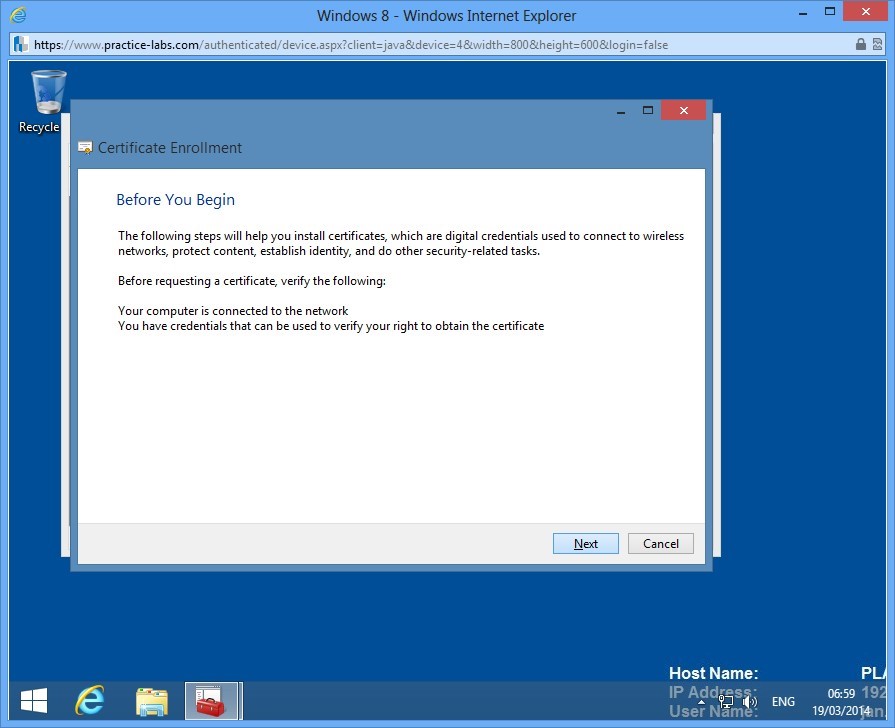
Step 7
In Before you begin, click Next.
Step 8
In Select Certificate Enrollment Policy, click Next.

Step 9
In Request Certificates, click User check box and click Enroll.
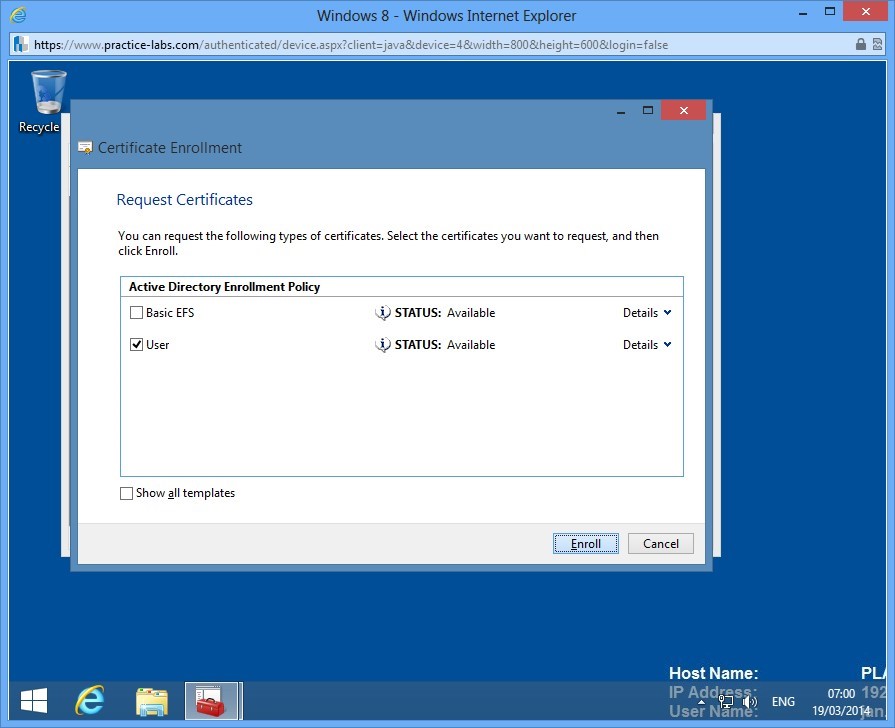
Step 10
Wait for the enrollment to be completed and then click Finish.
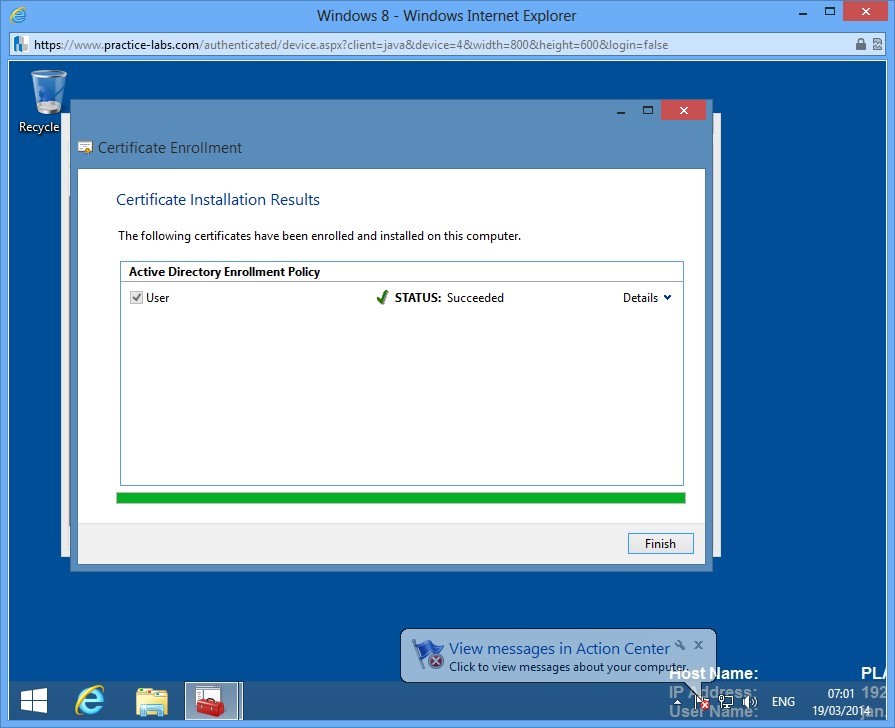
Step 11
A user certificate has now been issued to Jan Regus.
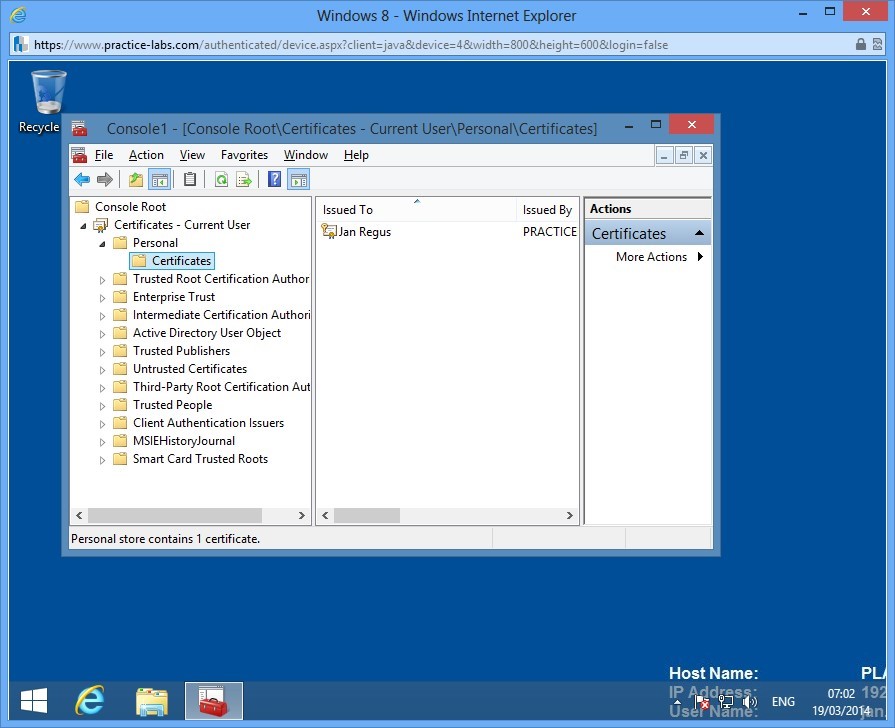
Task 2: Verify Issued Certificate
In this step, you will verify the certificate issued to Jan Regus.
Step 1
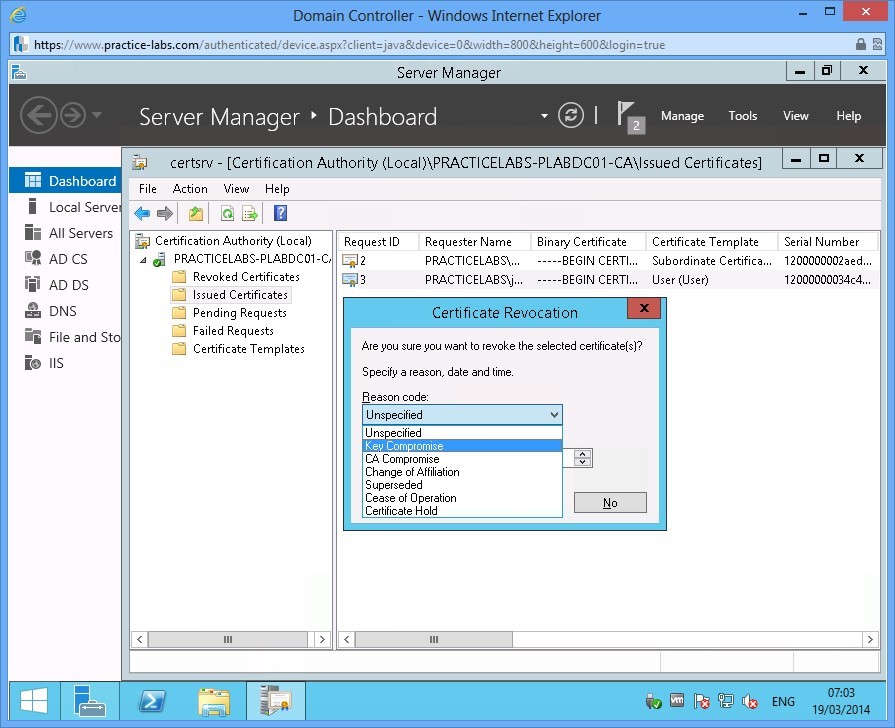
Switch to PLABDC01 and open Certification Authority.
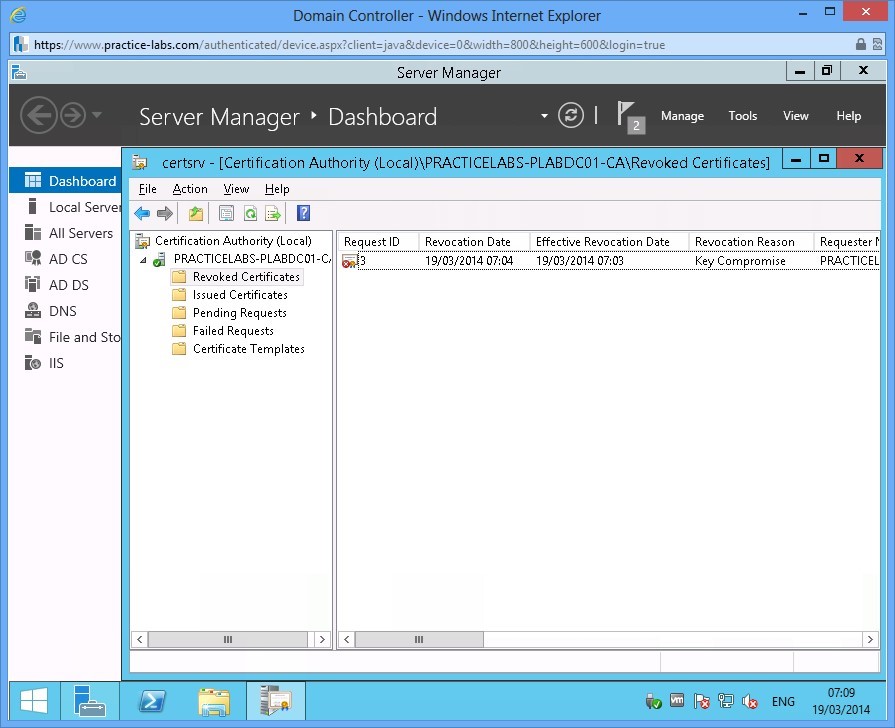
Go to Issued Certificates folder and you can view the issued certificate Jan Regus.
Right-click on the certificate issued to Jan Regus, choose Revoke Certificate.

Step 2
In Certificate Revocation, select Key Compromise and then click Yes to proceed.
Note: If Reason code for certificate revocation is Certificate Hold, it can be unrevoked by the administrator.
Step 3
The Jan Regus' certificate is now located in Revoked Certificates folder.
Leave the devices you have powered on in their current state and proceed to the next exercise.
Exercise 3 - Configure Active Directory Certificate Services Backup and Recovery
If Certificate Services fails to start on the server, no certificate can be issued to a user or computer and certificate revocation lists (CRLs) cannot be published among CA servers in the network. It is essential that you become familiar with different ways to backup and restore AD Certificate Services.
Please refer to your course material or use your preferred search engine to research this topic in more detail.
Task 1: Manual Backup using AD Certificate snap-in
Step 1
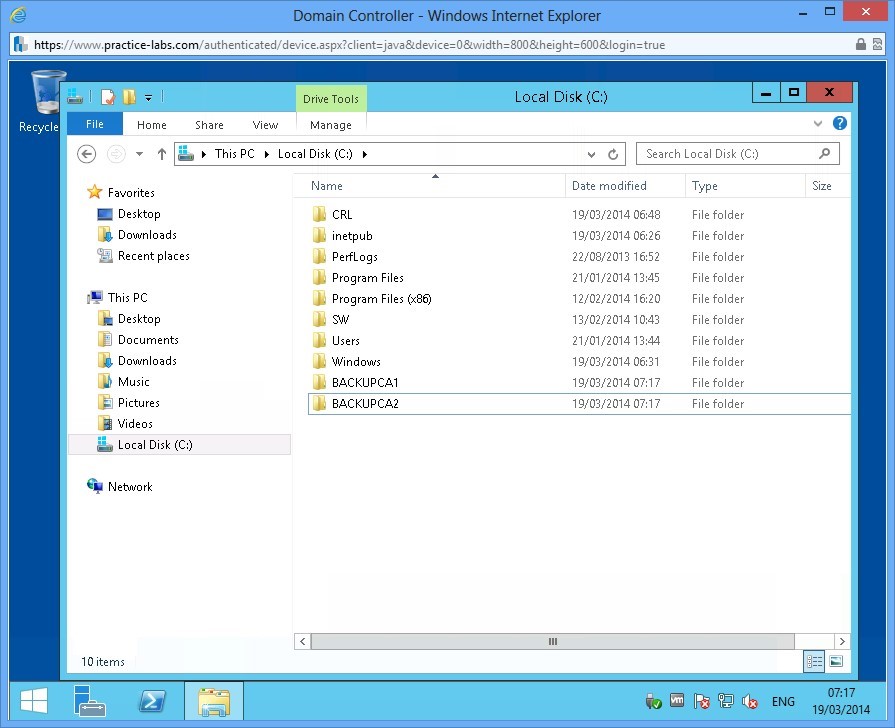
Connect to PLABDC01 and launch Windows Explorer. Create two folders called BackupCA1 and BackupCA2.
Step 2
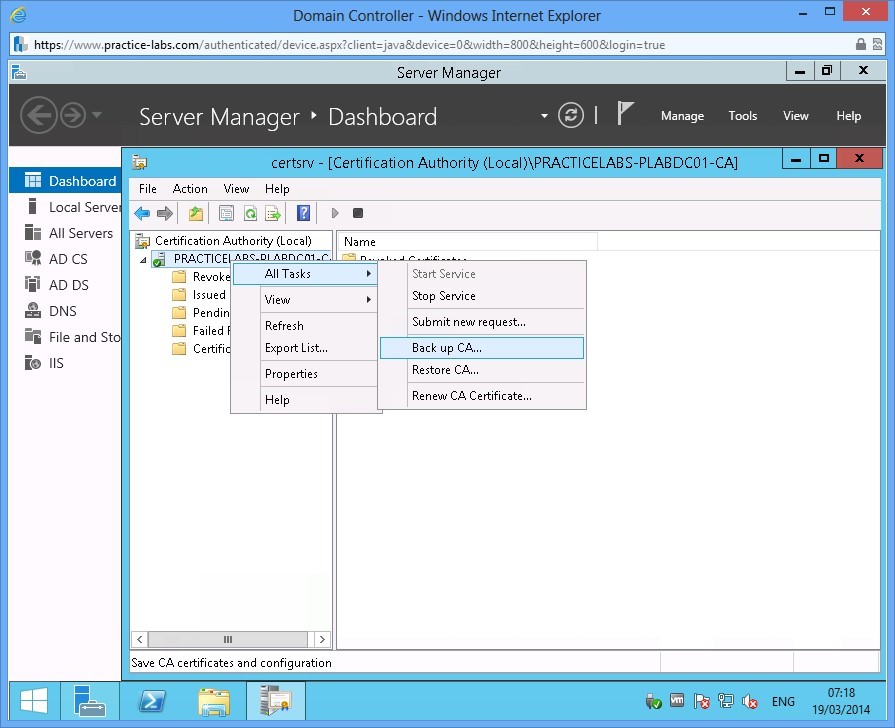
In this step, you will backup AD Certificate Services using the mmc console. From Server Manager, go to Tools and choose Certification Authority.
Right-click on PRACTICELABS-PLABDC01-CA and choose All Tasks > Back up CA
Step 3
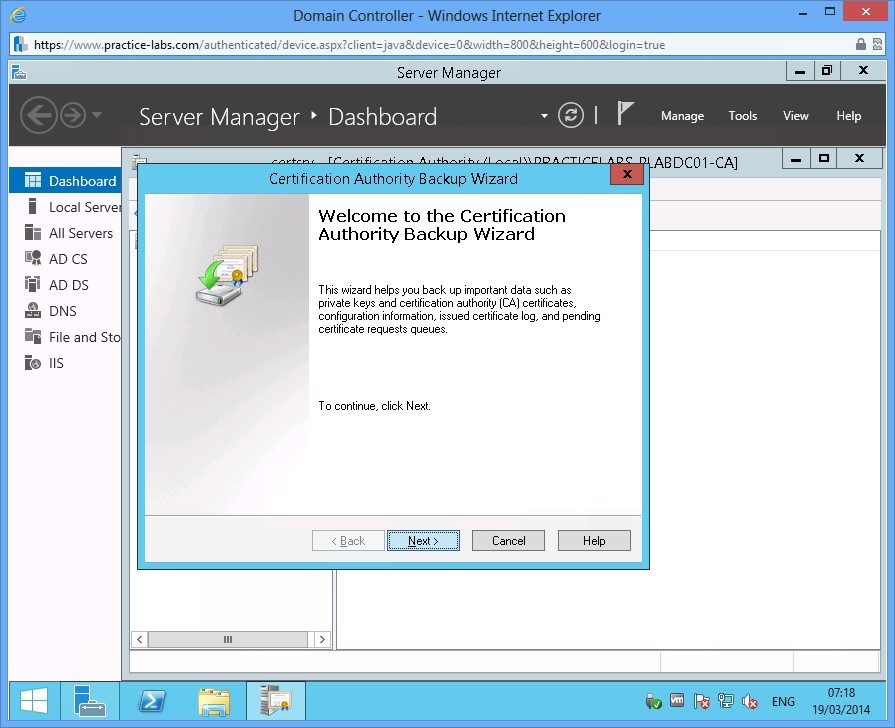
In Welcome to the Certification Authority Backup Wizard, click Next.
Step 4
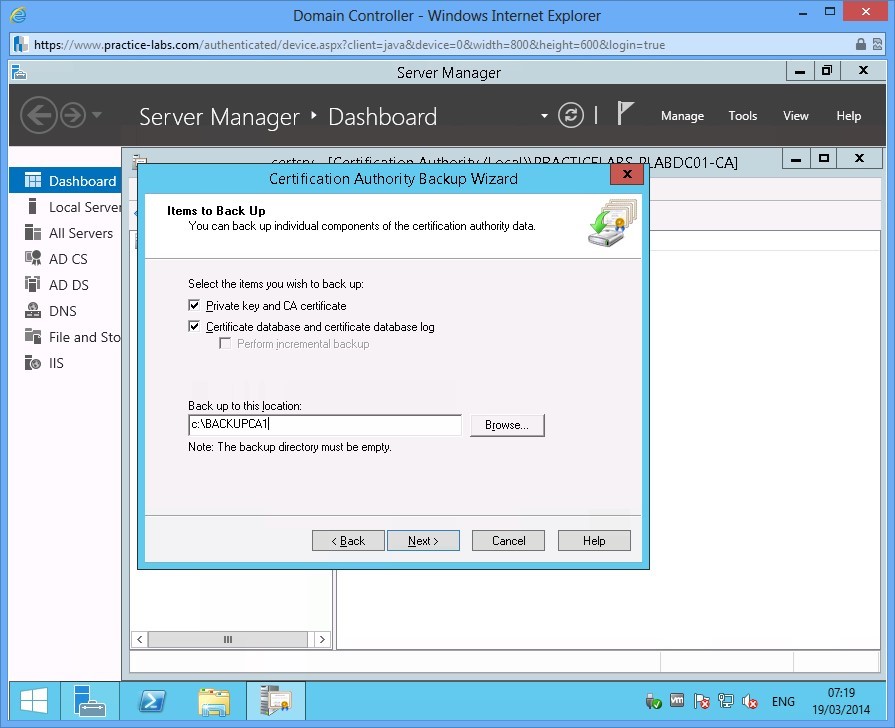
In Items to Back Up page, check the following boxes:
Private key and CA certificate
Certificate database and certificate database log
Click Back up to this location and type c:\BackupCA1
Choose Next.
Step 5
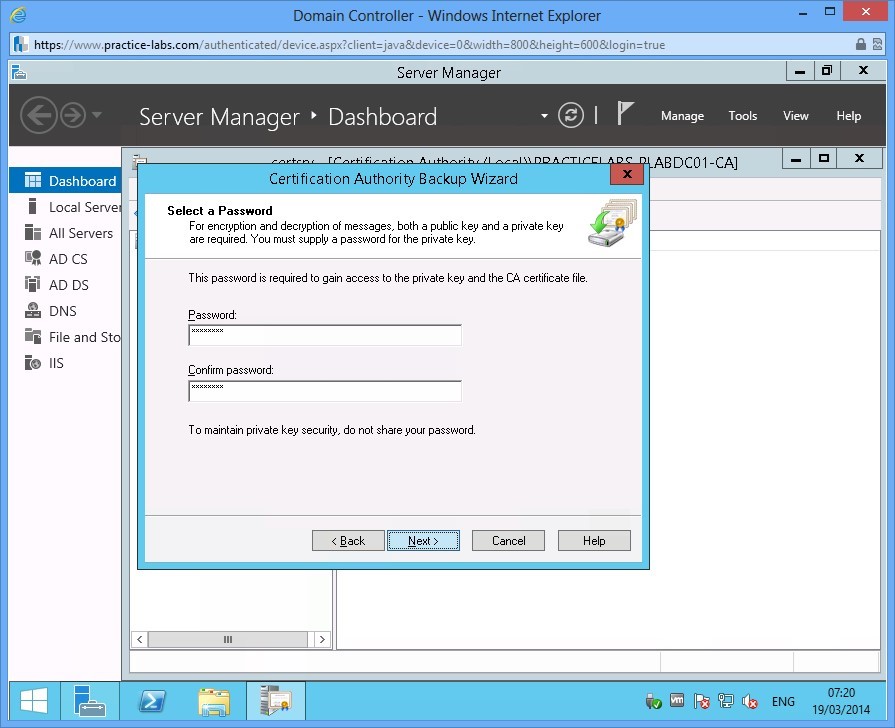
To protect the keys from being restored by non-authorised users, a password must be set.
Type Passw0rd in each password field and click Next.
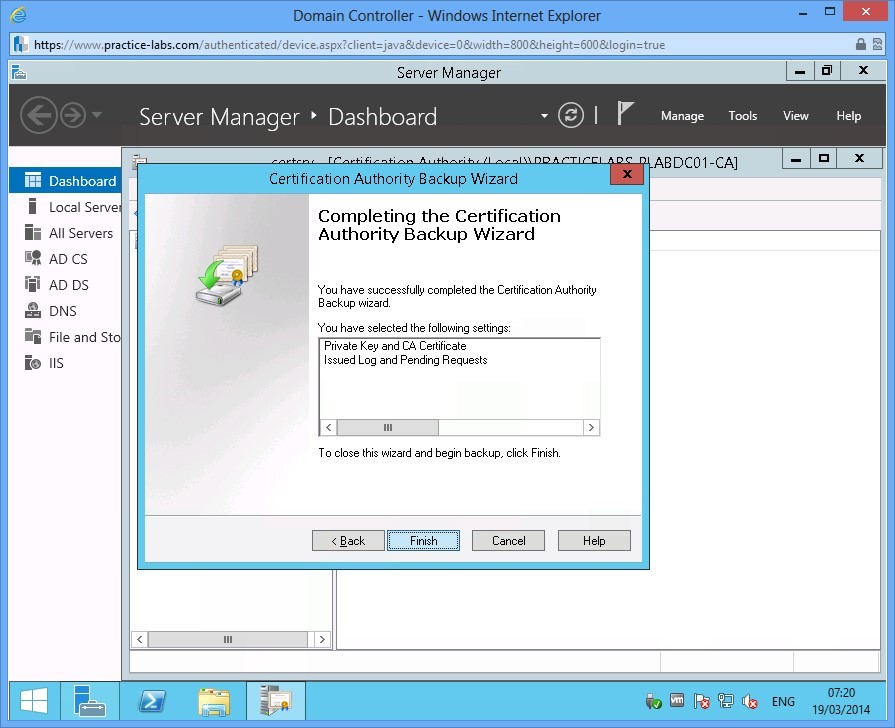
Step 6
When Completing the Certification Authority Backup Wizard appears, click Finish to proceed with the backup.
Step 7
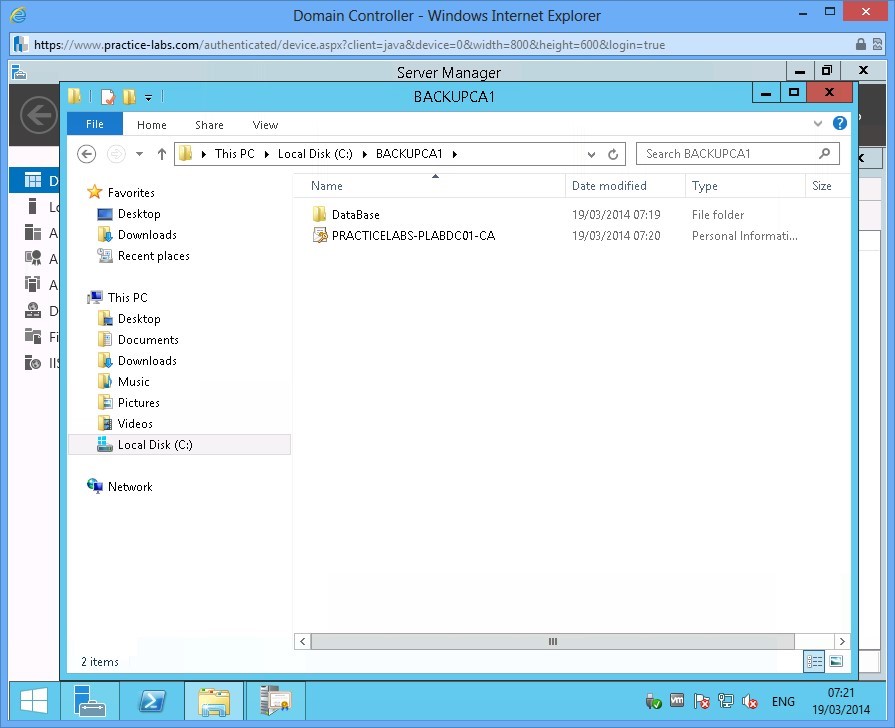
When backup is completed, open Windows Explorer and go to BackupCA1 folder. Notice the database and private key are saved in the folder.
Task 2: Backing up using Certutil
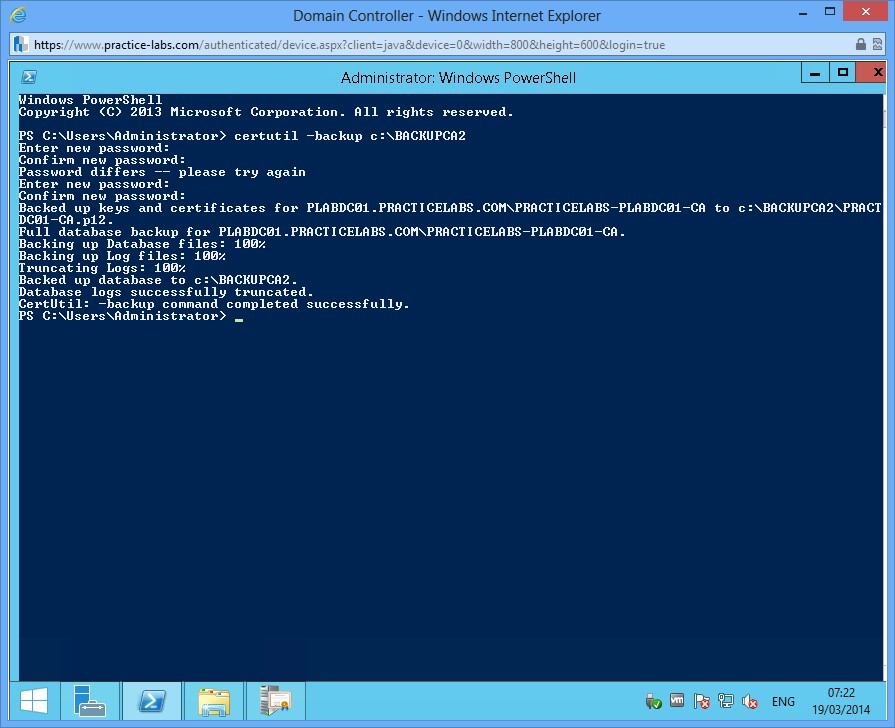
Another method to backup keys in Certification Authority server is via the command line using certutil.
Step 1
Open a command prompt on PLABDC01 and type the following
certutil -backup c:\BackupCA2
When asked for password, type Passw0rd
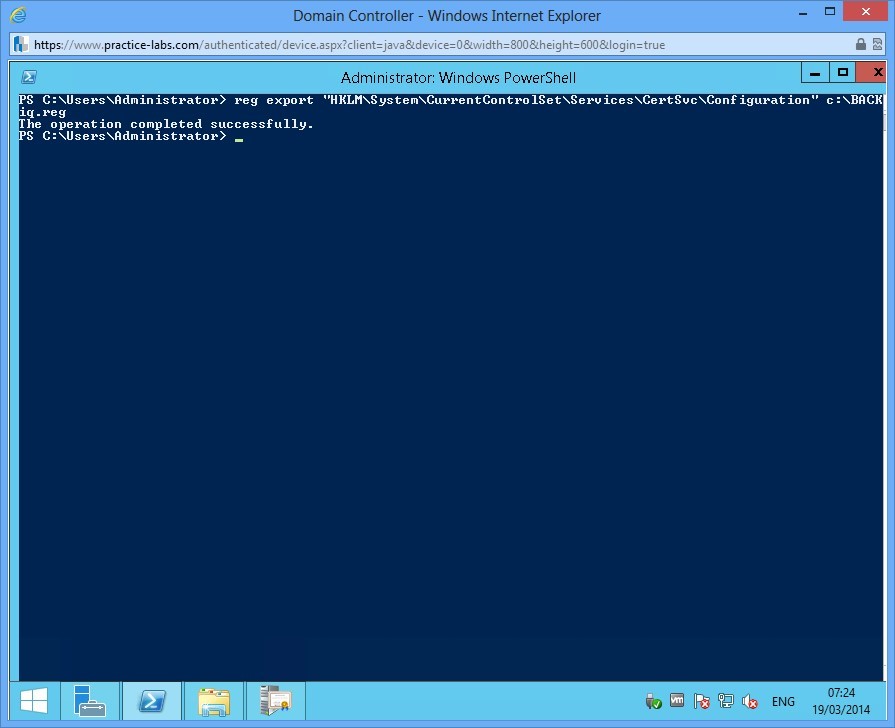
Step 2
After the keys and database have been backed up, you also need to backup the configuration of CA server.
Type the following command and press Enter.
reg export "HKLM\System\CurrentControlSet\Services\CertSvc\Configuration" c:\backupCA1\CAConfig.reg
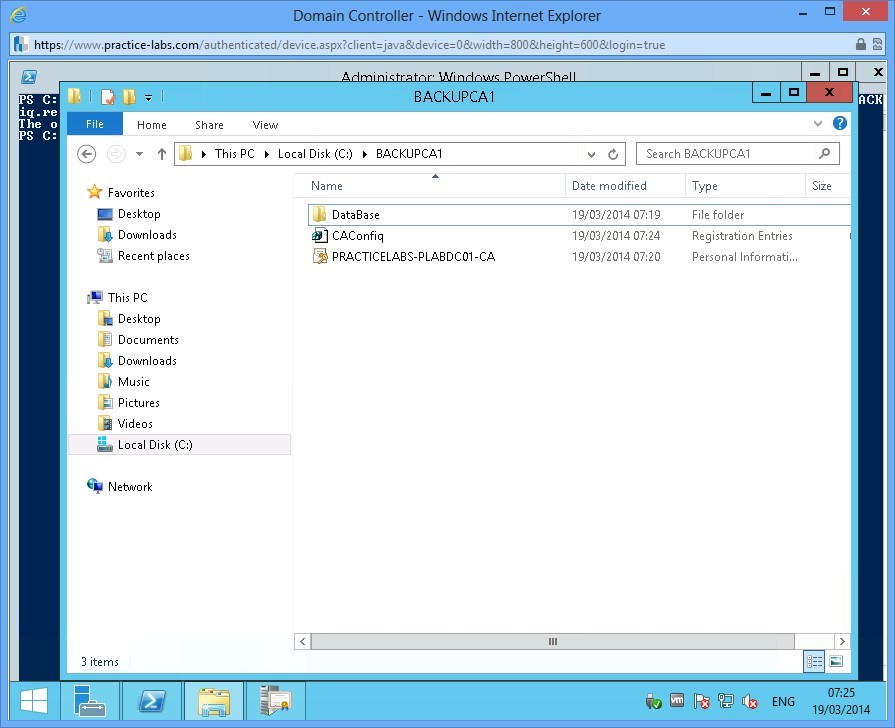
Step 3
Open Windows Explorer and verify that CAConfig registration file is saved on the target folder.
Shutdown all virtual machines used in this lab, by using the power functions located in the Tools bar before proceeding to the next module. Alternatively you can log out of the lab platform.
Summary
In this module you covered the following topics:
- Install and Configure Active Directory Certificate Services
- Configure Certificate Revocation Lists (CRLs)
- Configure Active Directory Certificate Services Backup and Recovery