Southern New Hampshire University | SNHU-CYB300: System and Communication Security
Customize or Write Simple Scripts
Exercises
- Introduction
- Exercise 1 - Customize or Write Simple Scripts
- Summary
Introduction
The Customize or Write Simple Scripts module provides you with the instructions and devices to develop your hands on skills in the following topics.
- Use standard sh syntax
- Use command substitution
- Use the test command
Lab time: It will take approximately 1 hour to complete this lab.
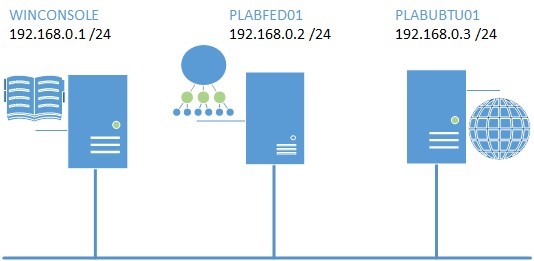
Lab Diagram
During your session you will have access to the following lab configuration. Depending on the exercises you may or may not use all of the devices, but they are shown here in the layout to get an overall understanding of the topology of the lab.
Connecting to your lab
In this module you will be working on the following equipment to carry out the steps defined in each exercise.
- WINCONSOLE (Windows Server 2008 R2)
- PLABFED01 (Fedora Server)
- PLABUBTU01 (Ubuntu Server)
To start, simply choose a device and click Power on. In some cases, the devices may power on automatically.
For further information and technical support, please see our Help and Support page.
Copyright Notice
This document and its content is copyright of Practice-IT - © Practice-IT 2015. All rights reserved. Any redistribution or reproduction of part or all of the contents in any form is prohibited other than the following:
1. You may print or download to a local hard disk extracts for your personal and non-commercial use only.
2. You may copy the content to individual third parties for their personal use, but only if you acknowledge the website as the source of the material. You may not, except with our express written permission, distribute or commercially exploit the content. Nor may you transmit it or store it in any other website or other form of electronic retrieval system.
Exercise 1 - Customize or Write Simple Scripts
Scripts allow you to automate a number of tasks or allow multiple commands to be executed at once. Assume that you have to add a few thousands of users. One method is to execute the useradd command thousands of times or simply write a script that will create these thousands of users without any user intervention. Scripts are especially relevant while executing loops and tests, that too without user intervention. In this exercise, you will understand how to write or customize simple scripts.
Please refer to your course material or use your favourite search engine to research for more information about this topic.
Task 1 - Log into a Linux System
To perform any operations on a system, you need to log into the system. In this task, you will log into a Fedora Linux system on the lab.
To log into a Linux system, perform the following steps:
Step 1
Ensure you have powered on the required devices mentioned in the introduction to the exercise.
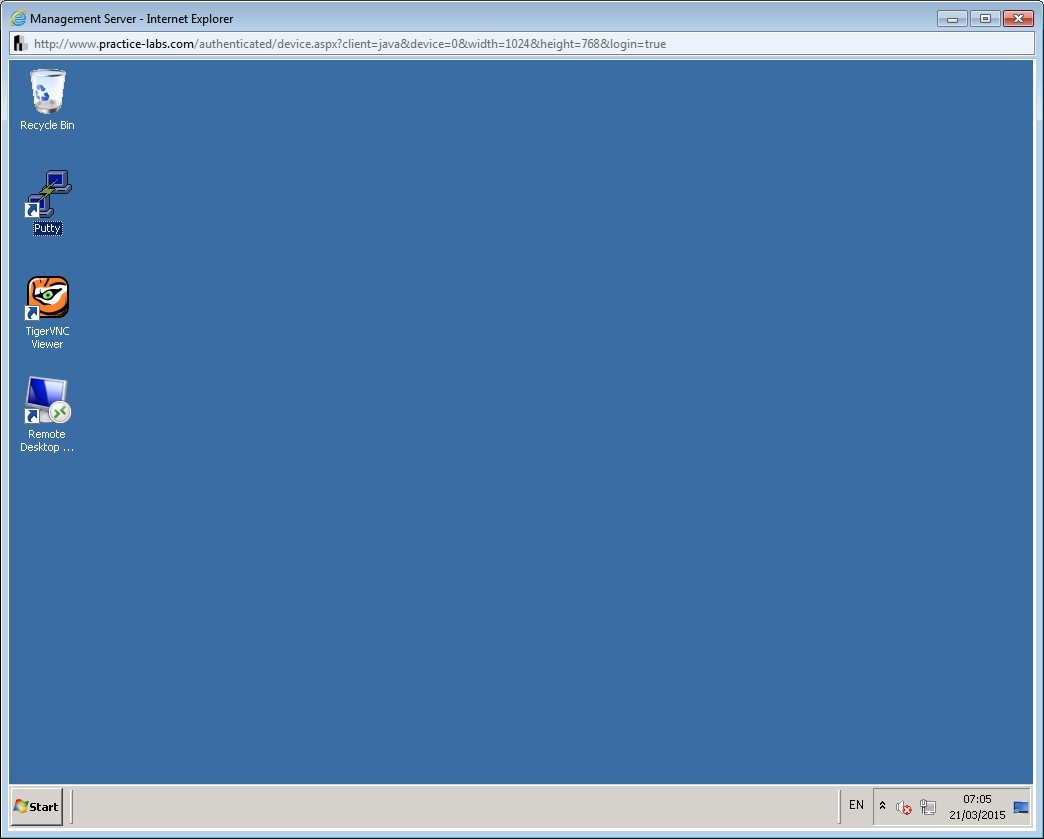
Connect to WINCONSOLE.
You will be logged into the Management Server and should now see the desktop. On the desktop, double-click PuTTY to launch it.
Step 2
The PuTTY Configuration dialog box appears.
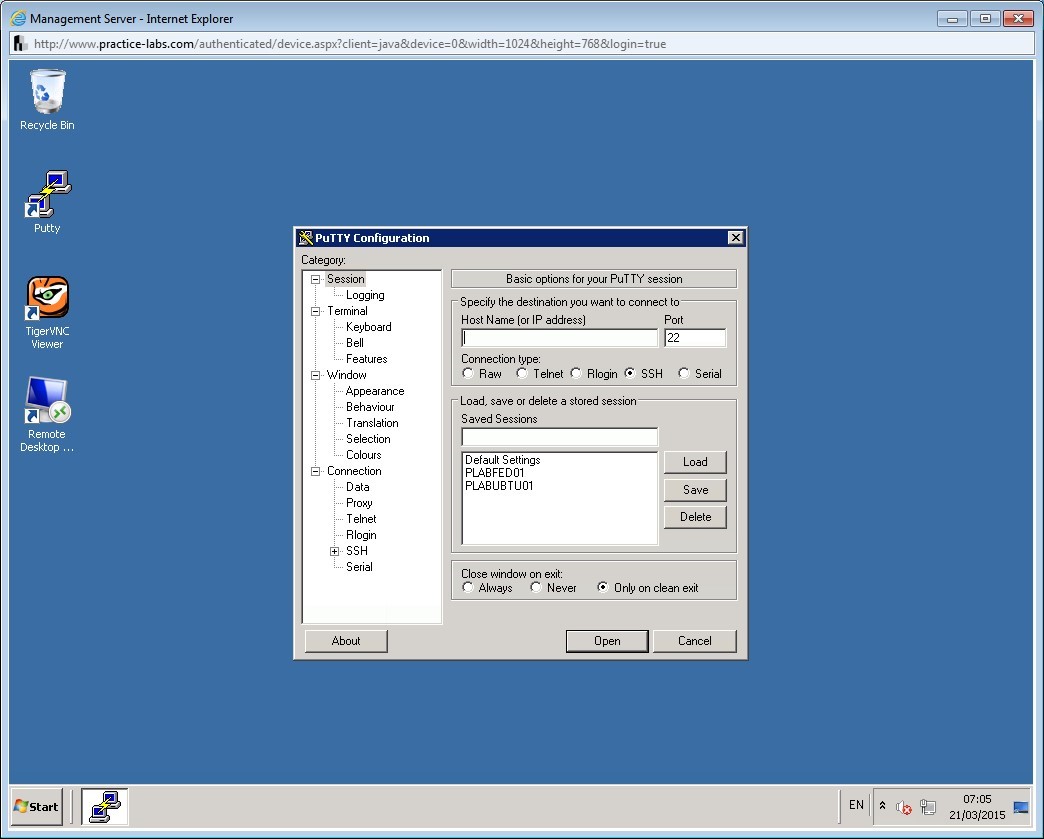
Step 3
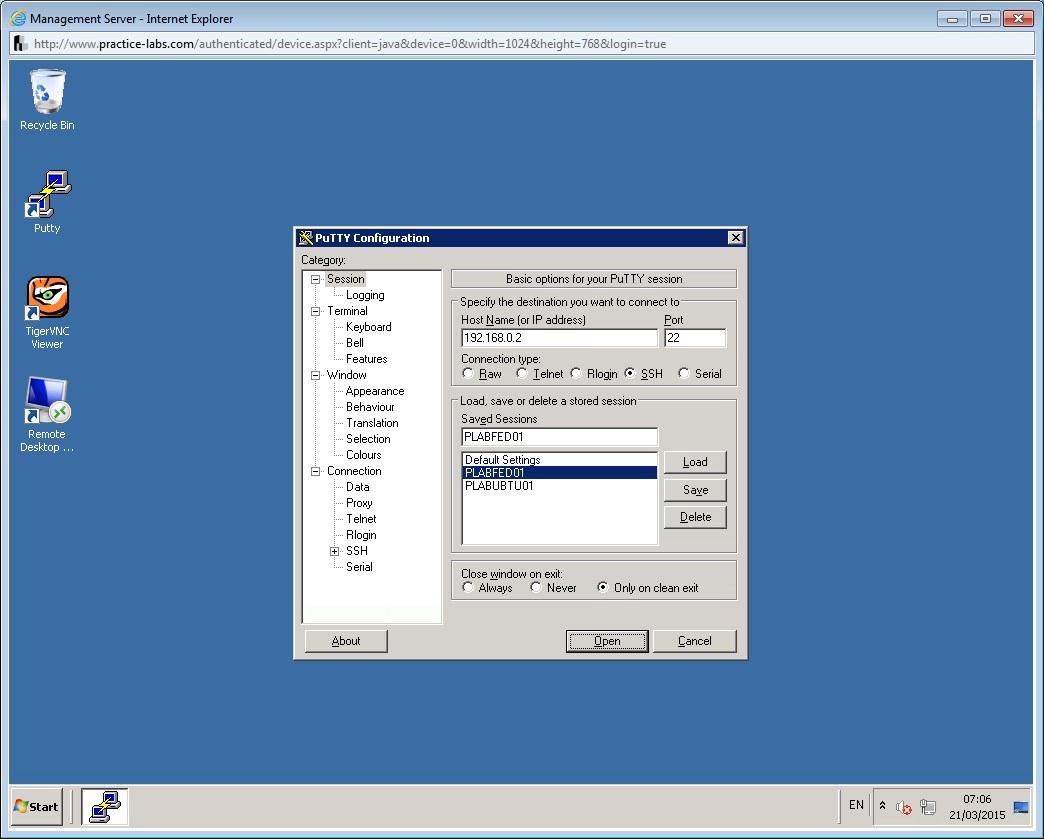
In the PuTTY Configuration dialog box, select PLABFED01 in the Load, save or delete a stored session section and click Load.
Ensure SSH is selected as the Connection type.
Click Open.
Step 4
The command shell is launched.
Alert: If you are shown Network error: Connection refused, please ensure that the PLABFED01 device has reached the log in screen as it may take some time for it to complete its boot cycle. After it has reached the log in screen, connect to WINCONSOLE again to reattempt from Step 1, ensuring to close the putty window that had the error.
Step 5
On the login screen, enter the following:
root
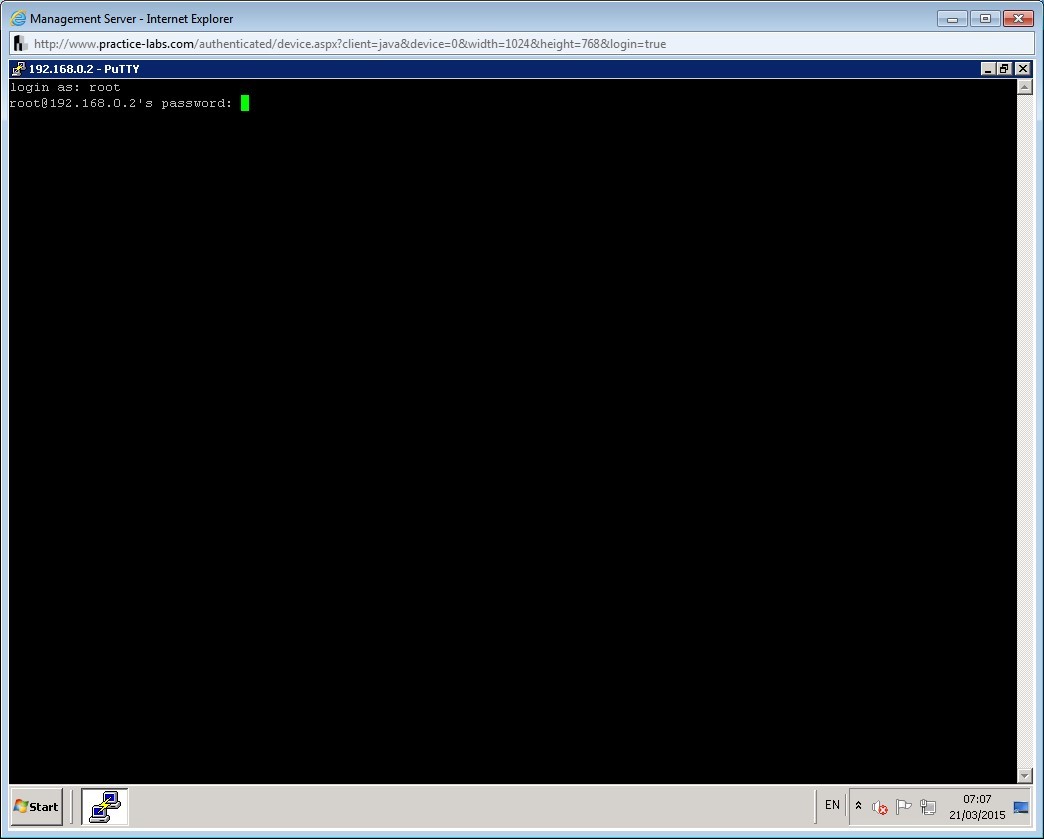
Step 6
Wait for a couple of seconds to allow the root@PLABFED01 password prompt to appear. At the password prompt, enter password as Passw0rd
Note: Unlike Windows, the username is case-sensitive on Linux systems. Also, the password field does not show any characters, so input the password above and press Enter.
You have successfully logged into the PLABFED01 system.
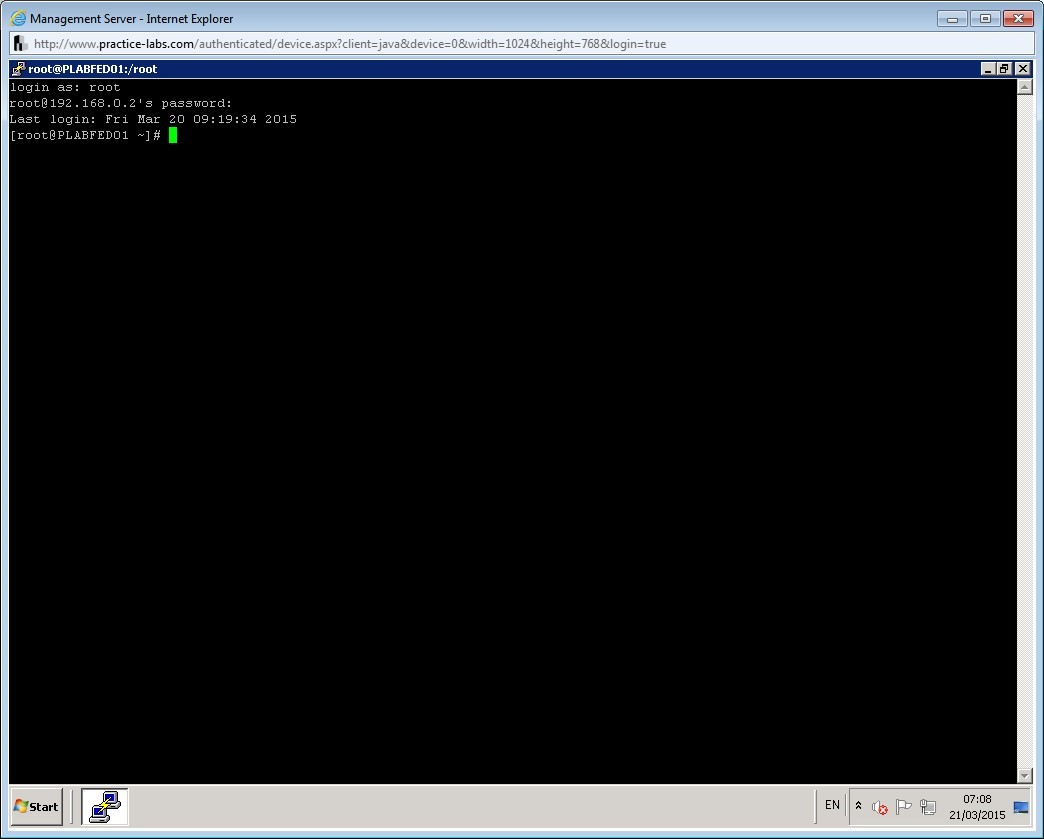
Leave the devices you have powered on in their current state and proceed to the next task.
Task 2 - Use standard sh syntax
The script files are stored with an extension of .sh. Each script contains a script interpreter that appears as a commented line in the script. In this task, you will create and execute simple script and scripts to implement loops. You will also learn how to execute the loops without writing shell scripts.
To use the standard sh syntax, perform the following steps:
Step 1
Clear the screen by entering the following command:
Clear
Note: The clear command is used before every step to enable the learners to get a clear view of the output of each command. Otherwise, it is not mandatory to use the clear command before every command.
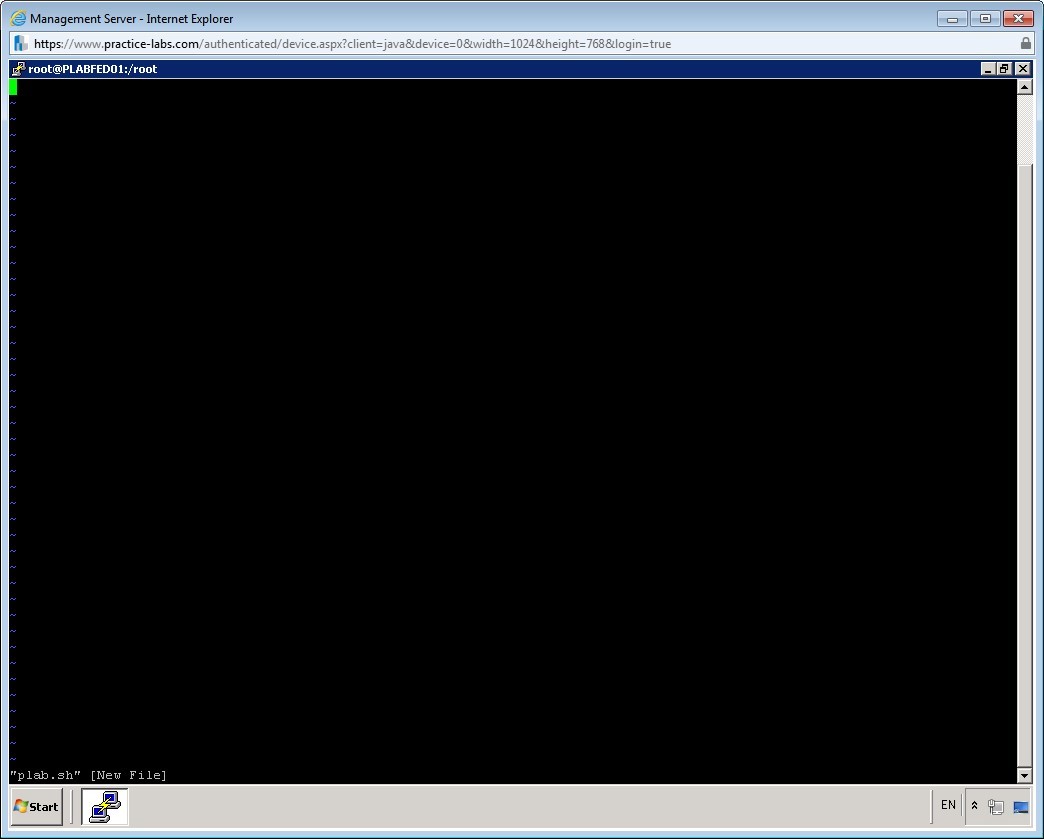
You can create a script using the vi editor.
To create a script, enter the following command:
vi plab.sh

Step 2
The vi editor is displayed.
Step 3
Press i to invoke the insert mode.
Step 4
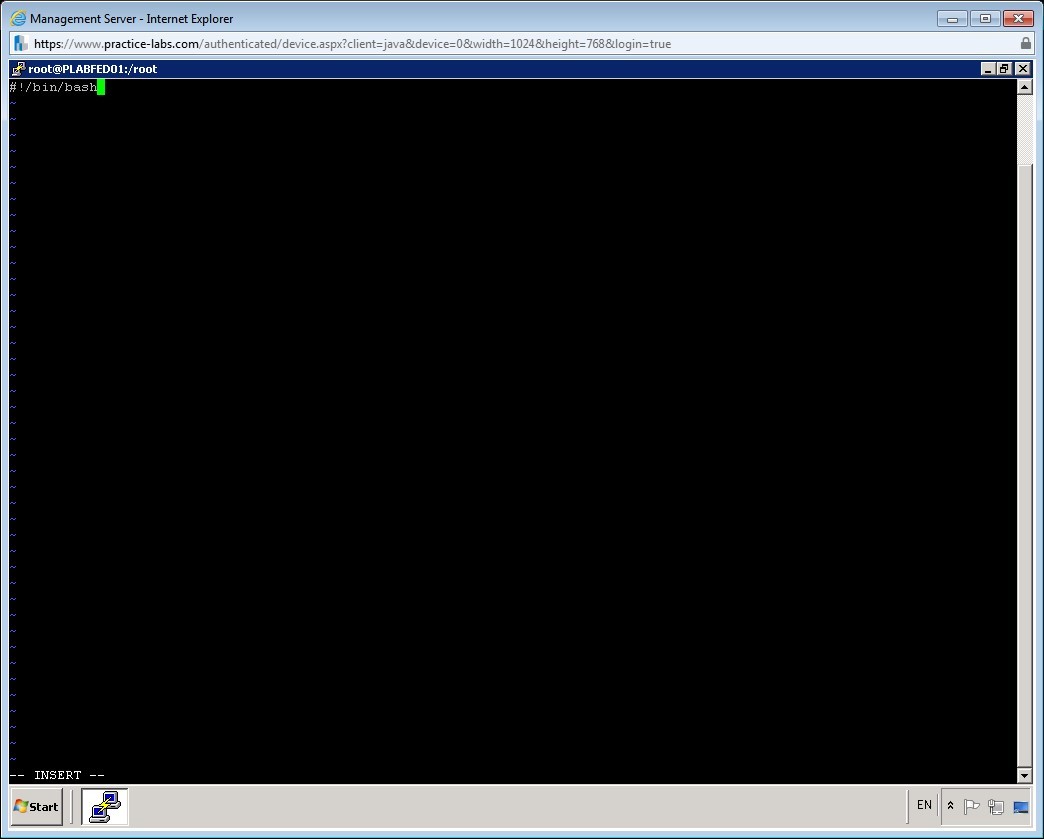
While creating a script, you need to first define the script interpreter. The commonly used interpreters include bash or sh, although other interpreters are available.
For this task, you specify bash as the script interpreter. Enter the following command:
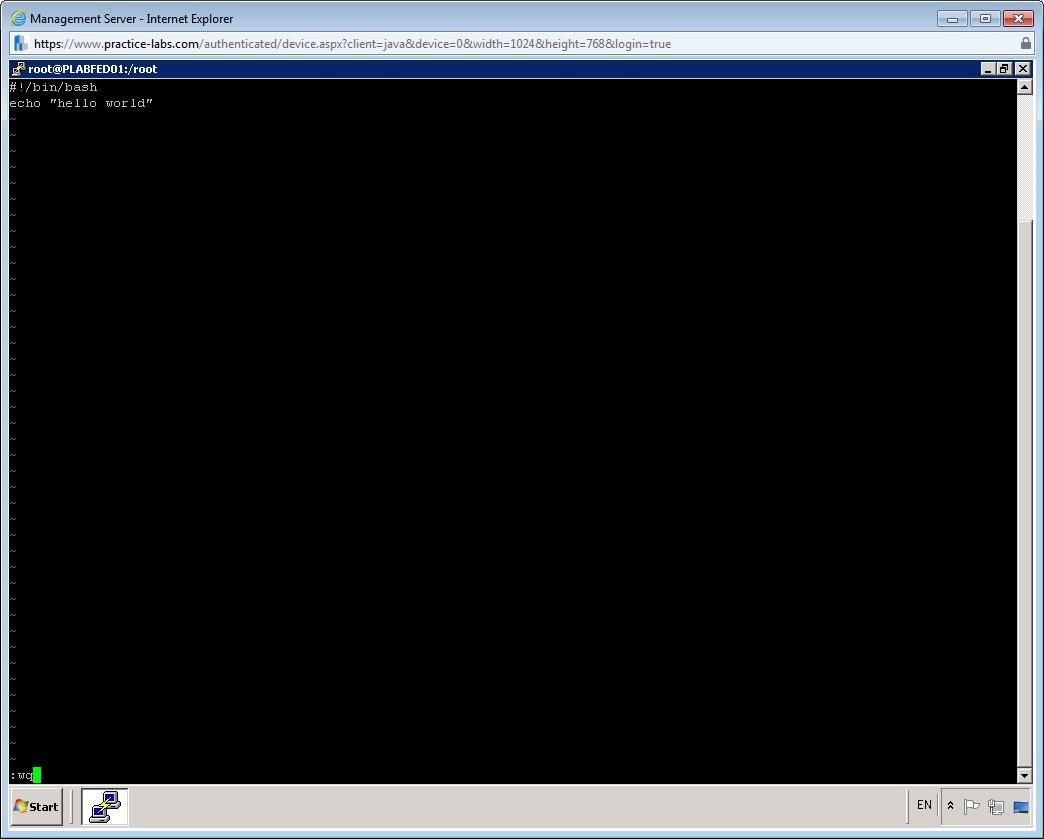
#!/bin/bash
Step 5
In the next line, enter the following command:
echo “hello world”

Step 6
Now, you need to save the file.
To save the file, press ESC and then enter :wq
Step 7
You are back on the command prompt.
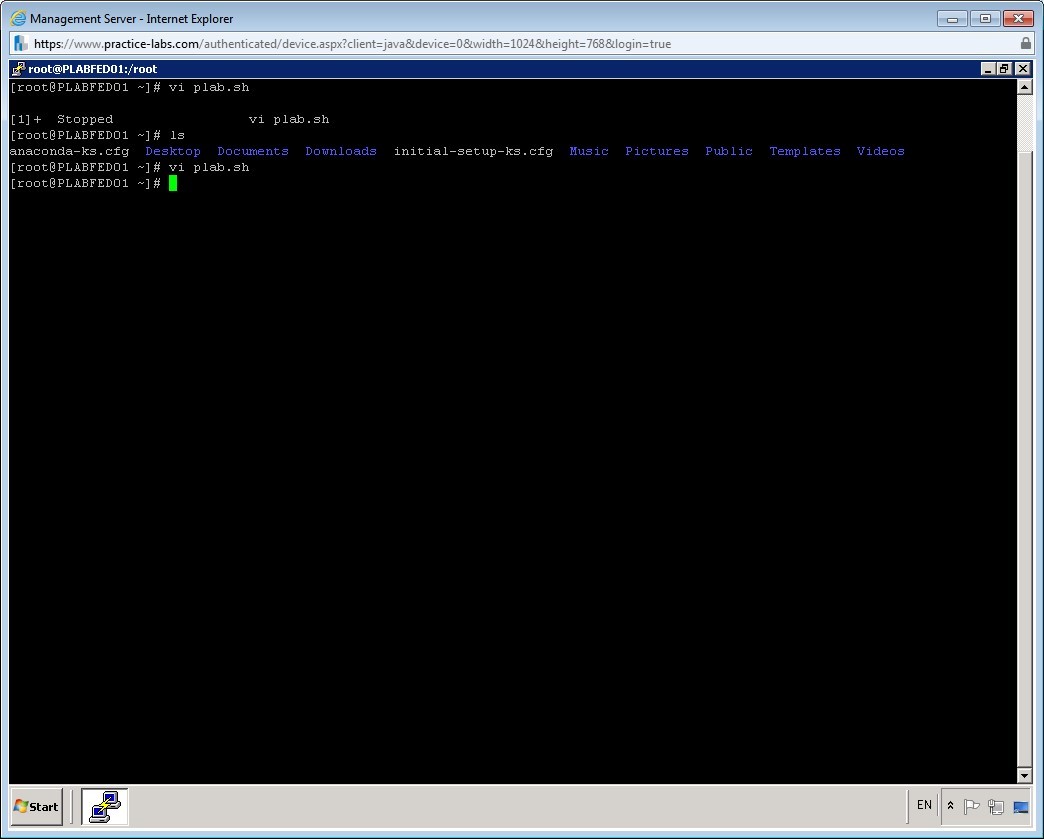
Step 8
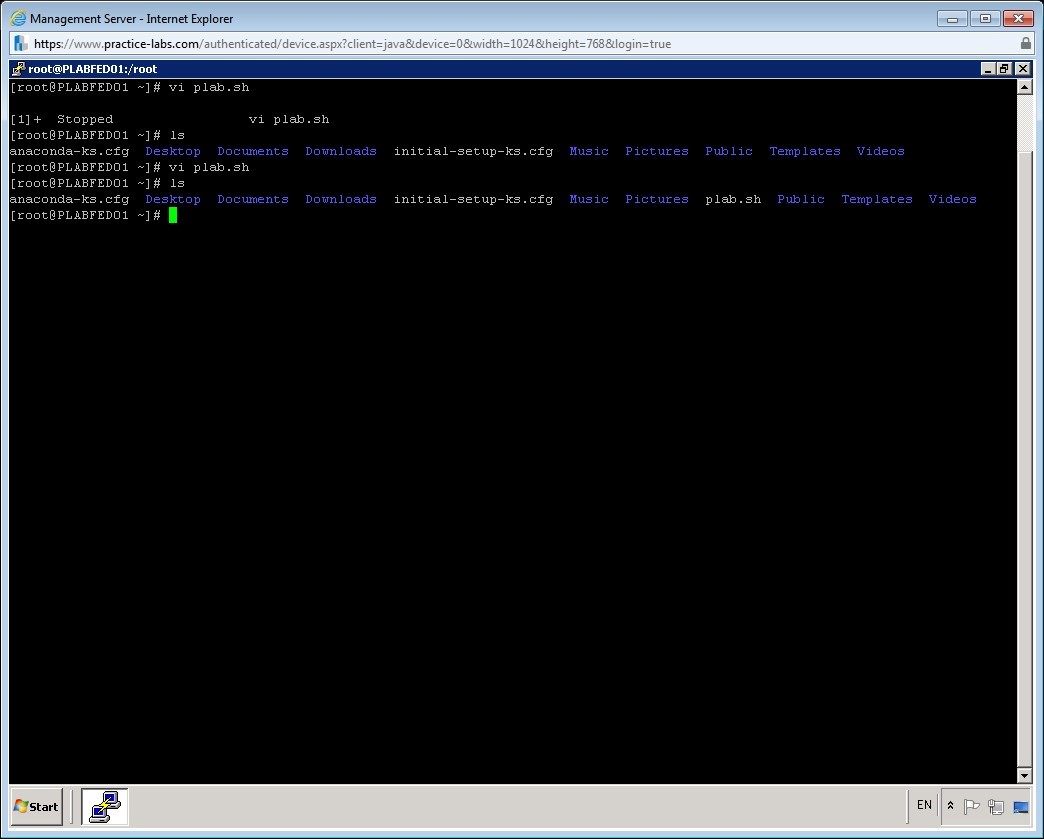
To verify that the script is created, enter the command ls.
Notice that the plab.sh file is listed in the root directory.
Step 9
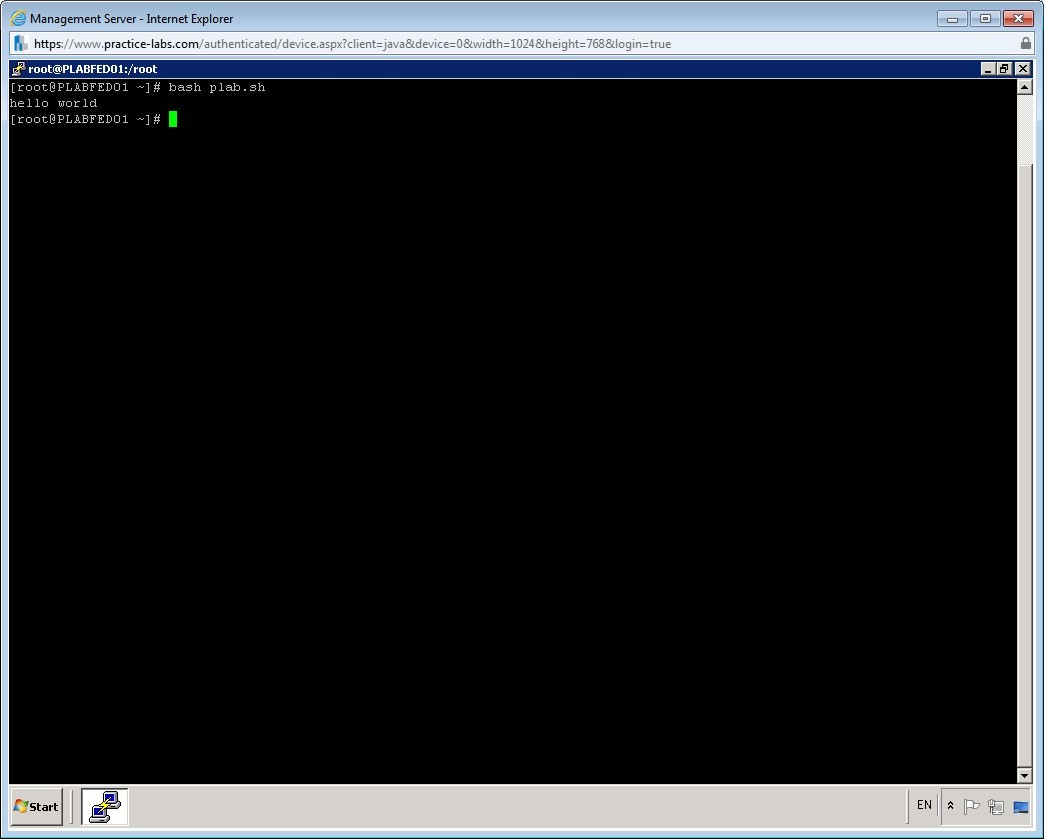
To run the bash scripts, enter the following command:
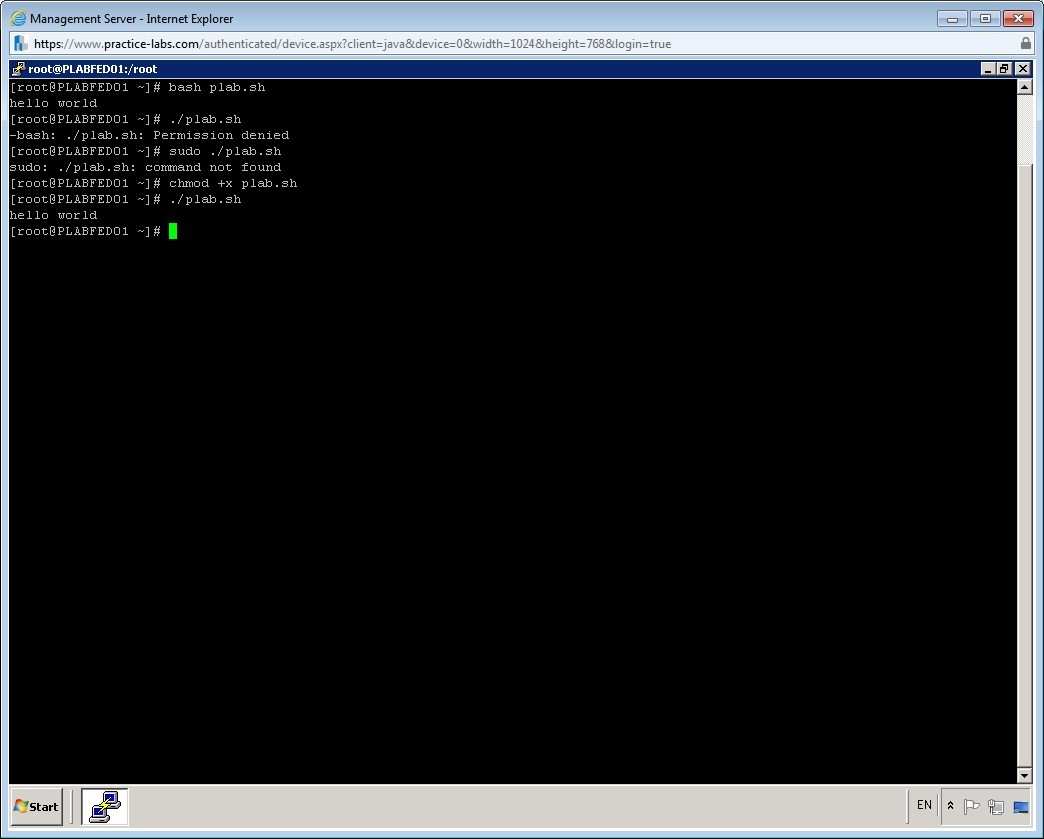
bash plab.sh
Note that the script runs successfully.
Step 10
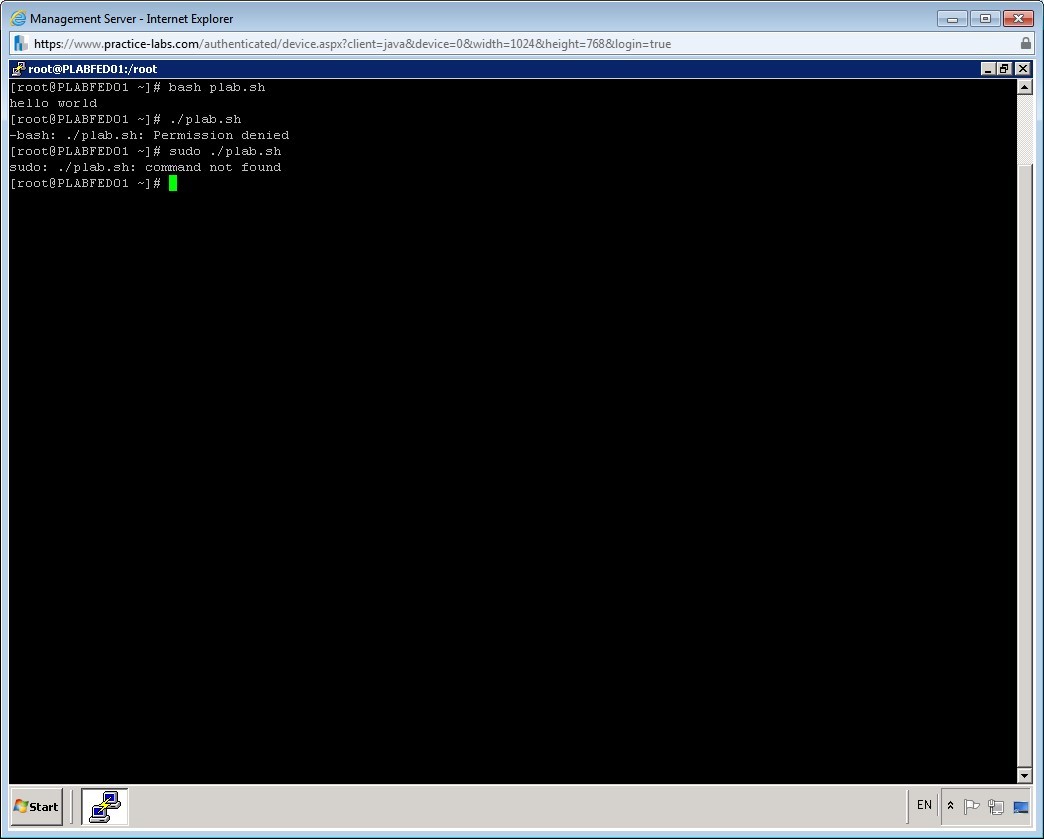
The scripts with executable permissions, can be run by prefixing the ./ with their names. For example, to execute plab.sh without the help of bash, you can enter ./plab.sh
To run plab.sh, enter the following command:
./plab.sh

Step 11
To run the plab.sh script using the sudo command, enter the following command:
sudo ./plab.sh
Note that there is an error.
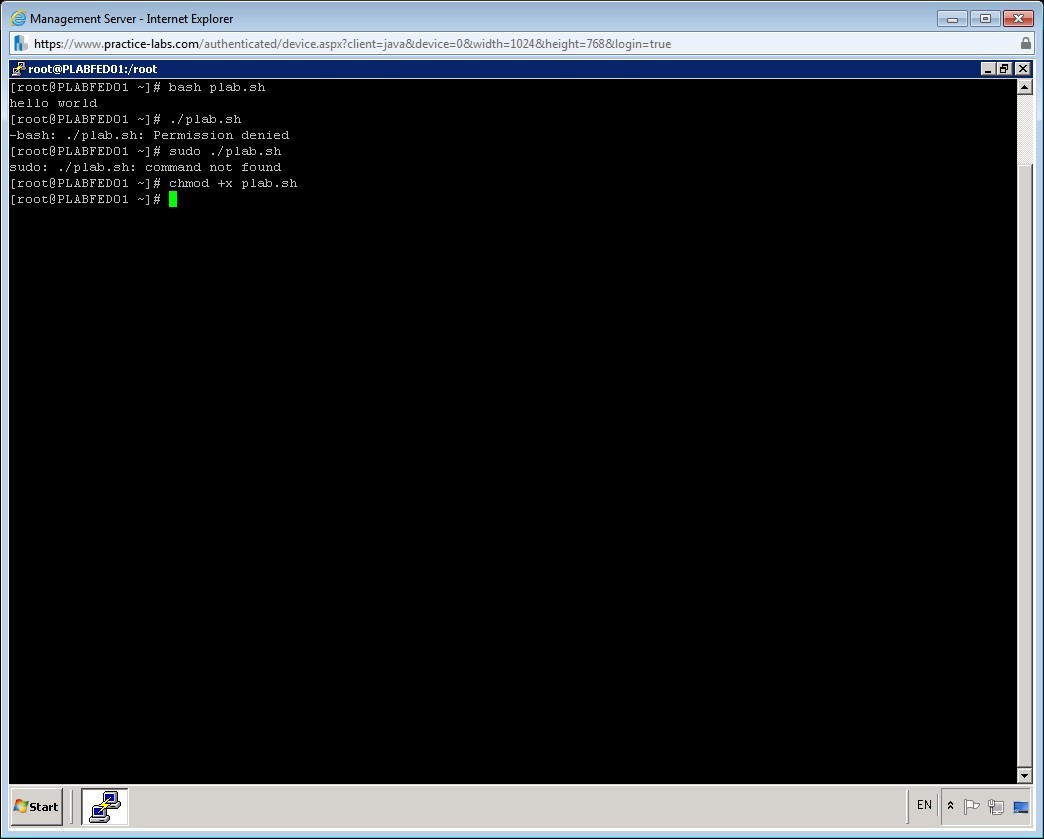
Step 12
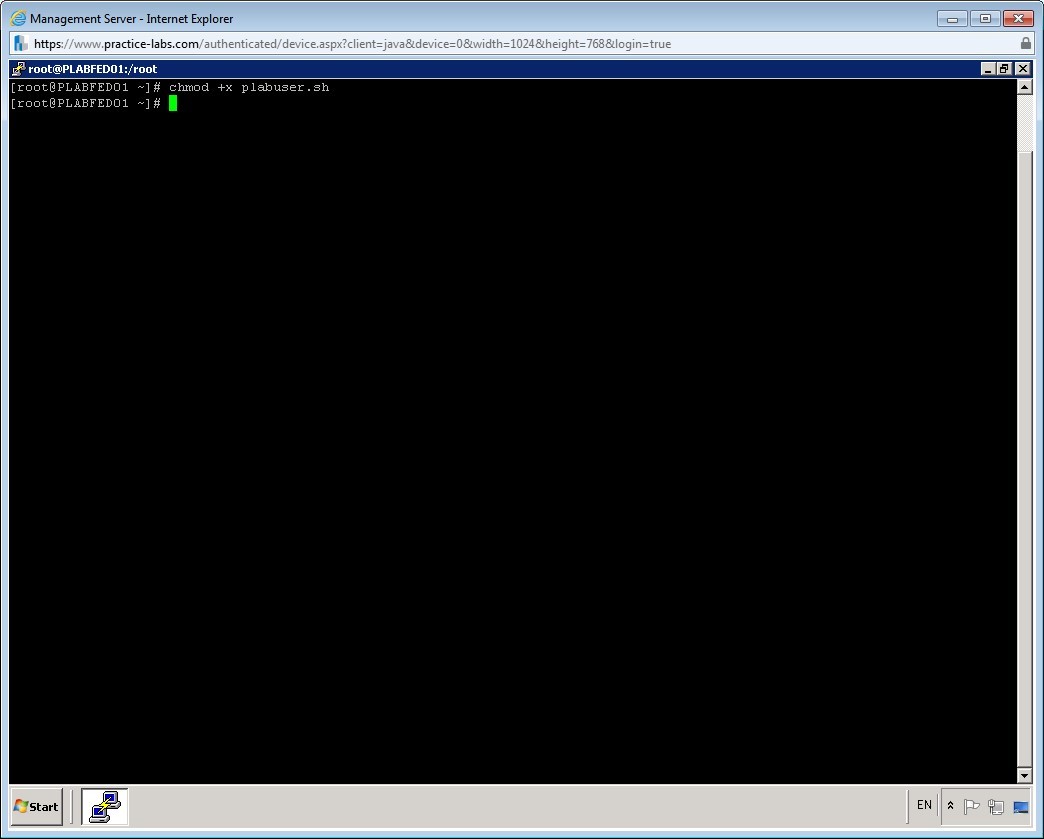
Let’s now change the permissions on the scripts to allow everyone to execute this script. To add permissions, enter the following command:
chmod +x plab.sh
Step 13
To run the plab.sh script, again enter the following command:
./plab.sh
Notice that the script is running now.
Step 14
You can also create a script to execute a loop. For example, you can write a script to create 10 users without having to enter the useradd command 10 times. You will use the for loop to do this.
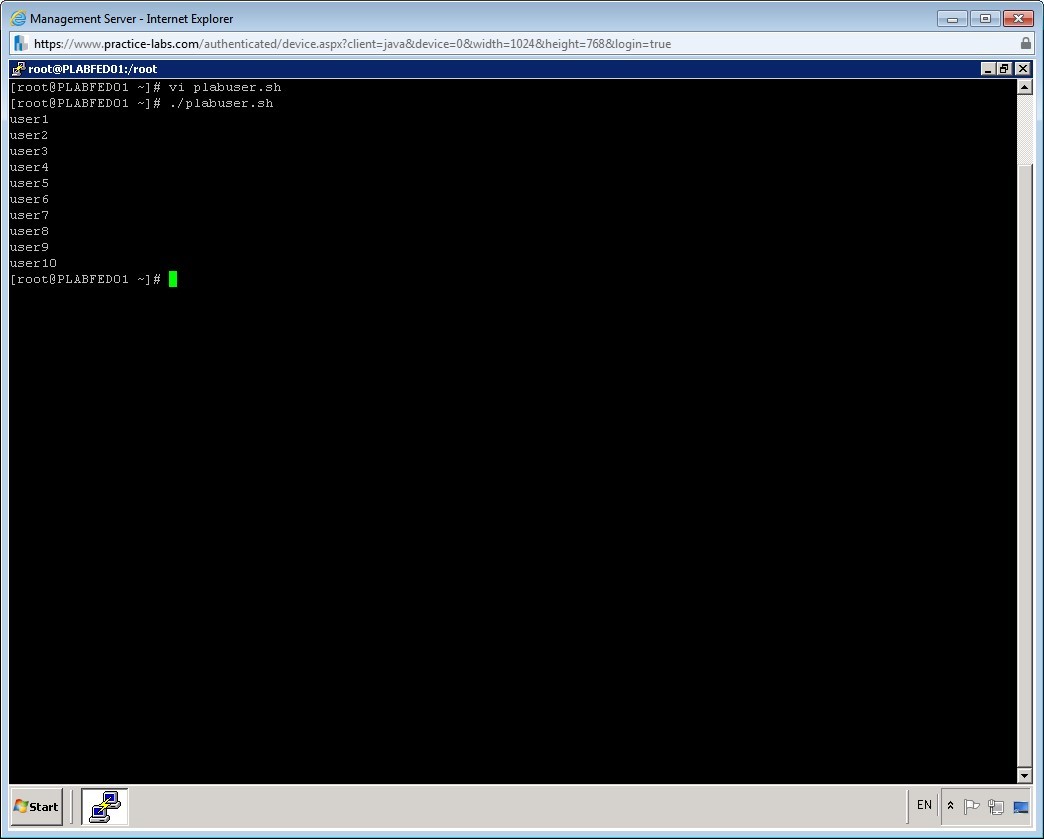
To use the vi editor to create a new script with the name plabuser.sh, enter the following command:
vi plabuser.sh

Step 15
The vi editor is displayed.

Step 16
Press i to invoke the insert mode.
Step 17
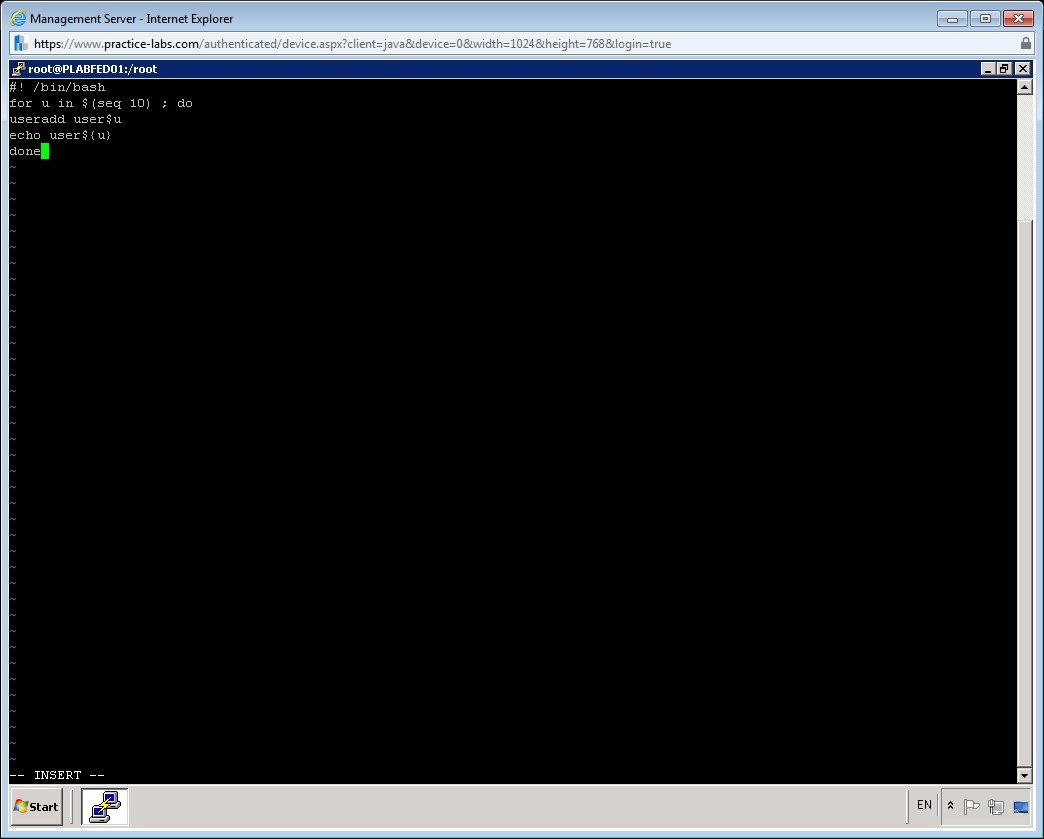
To specify the script interpreter, enter the following command:
#!/bin/bash
After that, enter the following lines:
for u in $(seq 10) ; do
useradd user$u
echo user${u}
done
This script creates 10 users with the names starting with user1, user1, and so on.
Step 18
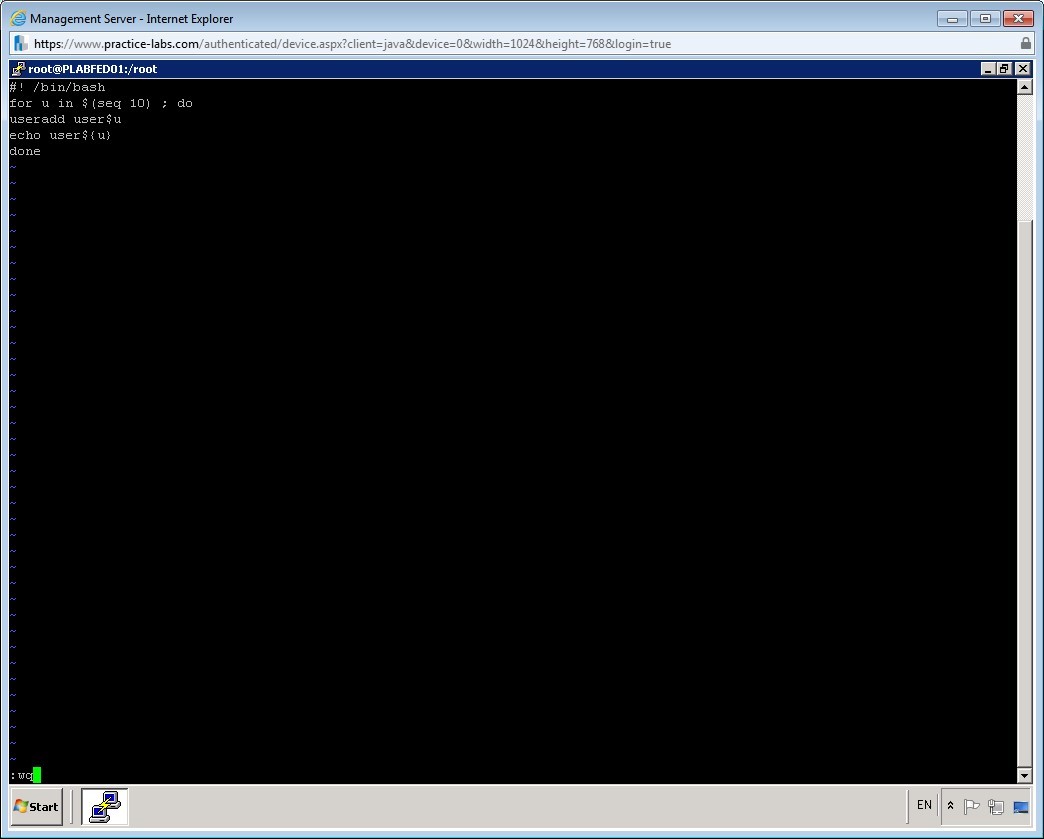
Now, you need to save the file. To save the file, press ESC and then enter :wq
Step 19
You are back on the command prompt.

Step 20
Clear the screen by entering the following command:
clear
To execute the plabuser.sh script, you change the permissions given to the script.
To change permissions, enter the following command:
chmod +x plabuser.sh
Step 21
Now, you run the script using the following command:
./plabuser.sh
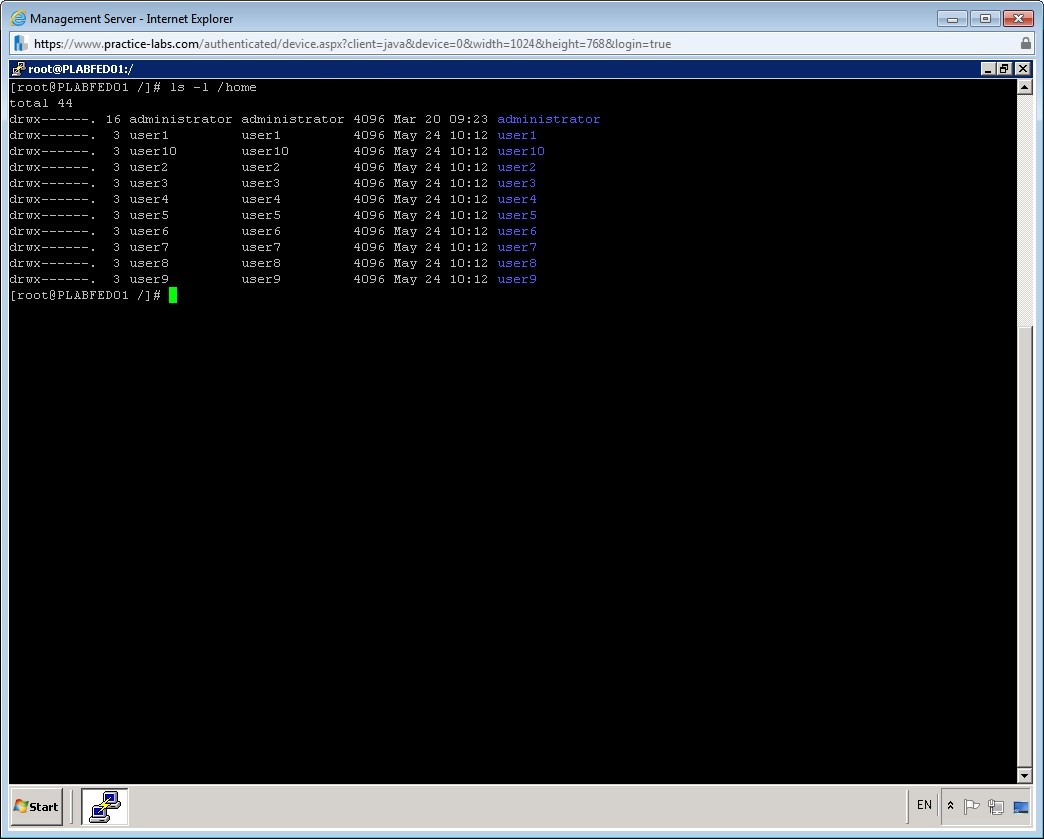
Note that 10 users have been created.
Step 22
Clear the screen by entering the following command:
clear
To verify that the users and their home directories have been created, enter the following command:
ls -l /home
Step 23
Similar to the for-do loop, you can also write the while loop. It executes a list of commands repeatedly till the specified condition is reached.
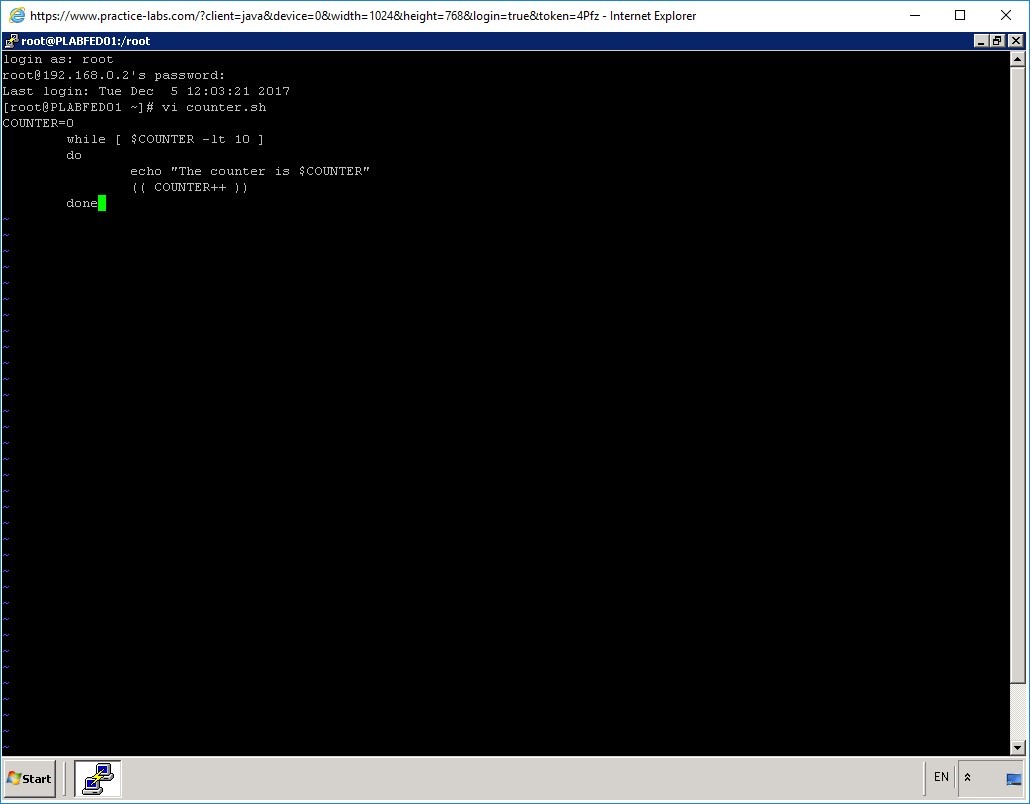
Create a new script named counter.sh and invoke the insert mode. Enter the following lines and then save the file:
#!/bin/bash
COUNTER=0
         while [  $COUNTER -lt 10 ]
         do
             echo “The counter is $COUNTER”
             (( COUNTER++ ))
         done
Step 24
Save the file by pressing ESC and then entering the command :wq.
Then run the chmod command to make the file executable.
Now, run the counter.sh script, by entering the following command:
./counter.sh

Step 25
You can also use these loops without having to write a shell script. This is useful if you want to repeat a task. For example, you can define a condition in the for loop and then display the values on separate lines.
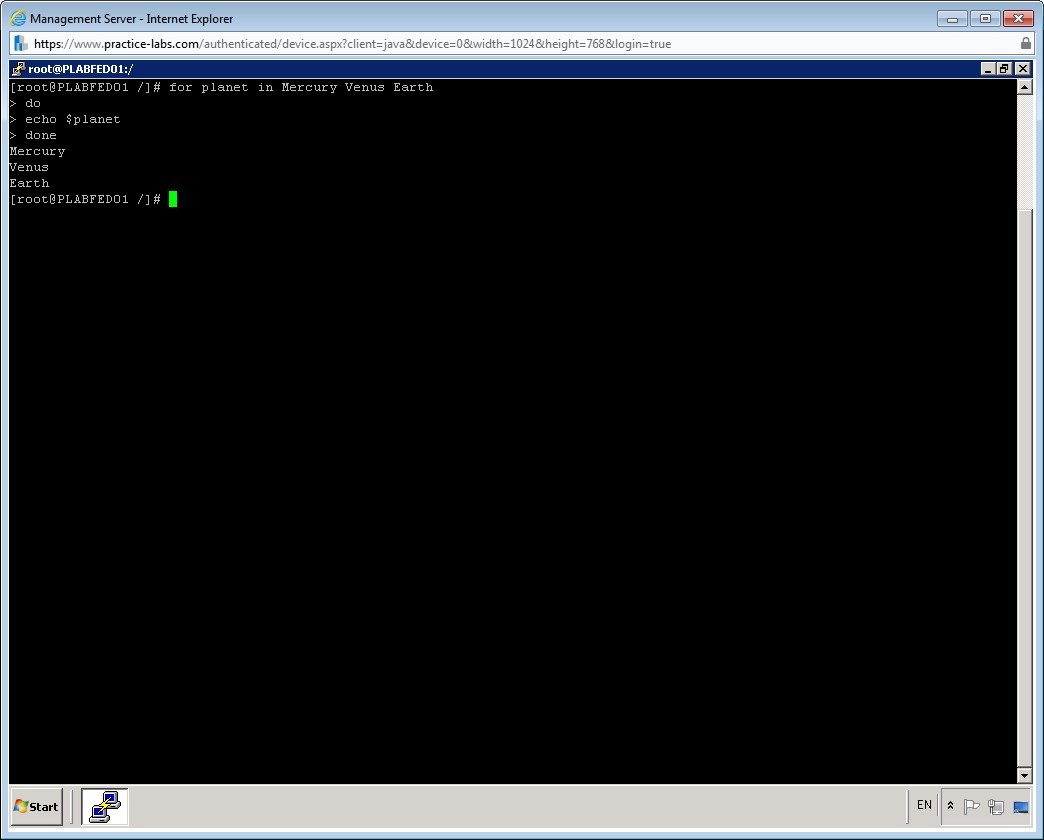
To use the for loop, enter the following lines on the command prompt:
for planet in Mercury Venus
do
echo $planet
done
Note that the specified text, based on the defined condition, is displayed in separate lines.
Step 26
You can use the if loop to check for a condition and perform a task. If that particular condition is not met, then you can use another condition to complete a task.
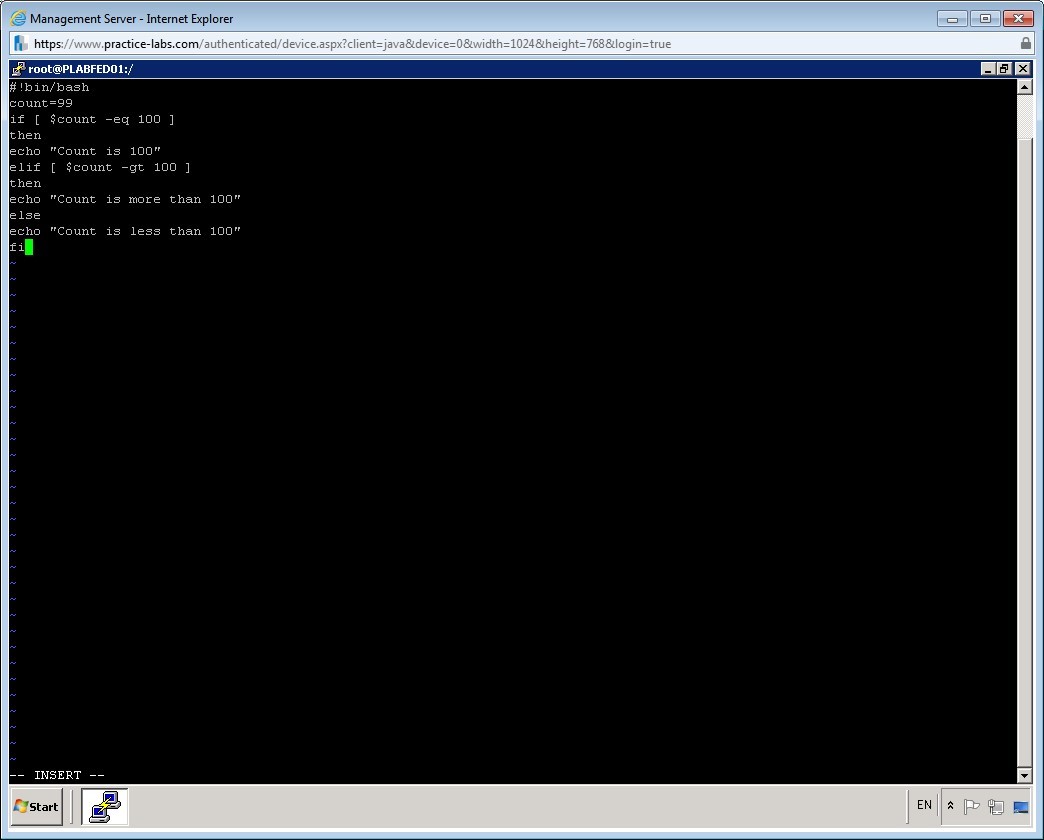
Create a new script named count.sh and enter in the insert mode. Enter the following lines and then save the file:
#!/bin/bash
count=99
if [ $count -eq 100 ]
then
  echo "Count is 100"
elif [ $count -gt 100 ]
then
  echo "Count is more than 100"
else
  echo "Count is less than 100"
fi
In this script, if loop is specified to have a value of 99. It compares this value to 100 and depending on the result of the comparison, it displays the output.
Step 27
After you save the file, make it executable with the chmod command.
To run the count.sh script, enter the following command:
./count.sh

Leave the devices you have powered on in their current state and proceed to the next task.
Task 3 - Use Command Substitution
In command substitution, a variable is substituted by its value while printing. You can assign a value to a variable. This is especially useful when a process is assigning/modifying the value of a variable, and you want to find the current value of the variable. In this task, you will use command substitution to display the value of a variable.
To use command substitution, perform the following steps:
Step 1
Clear the screen by entering the following command:
clear
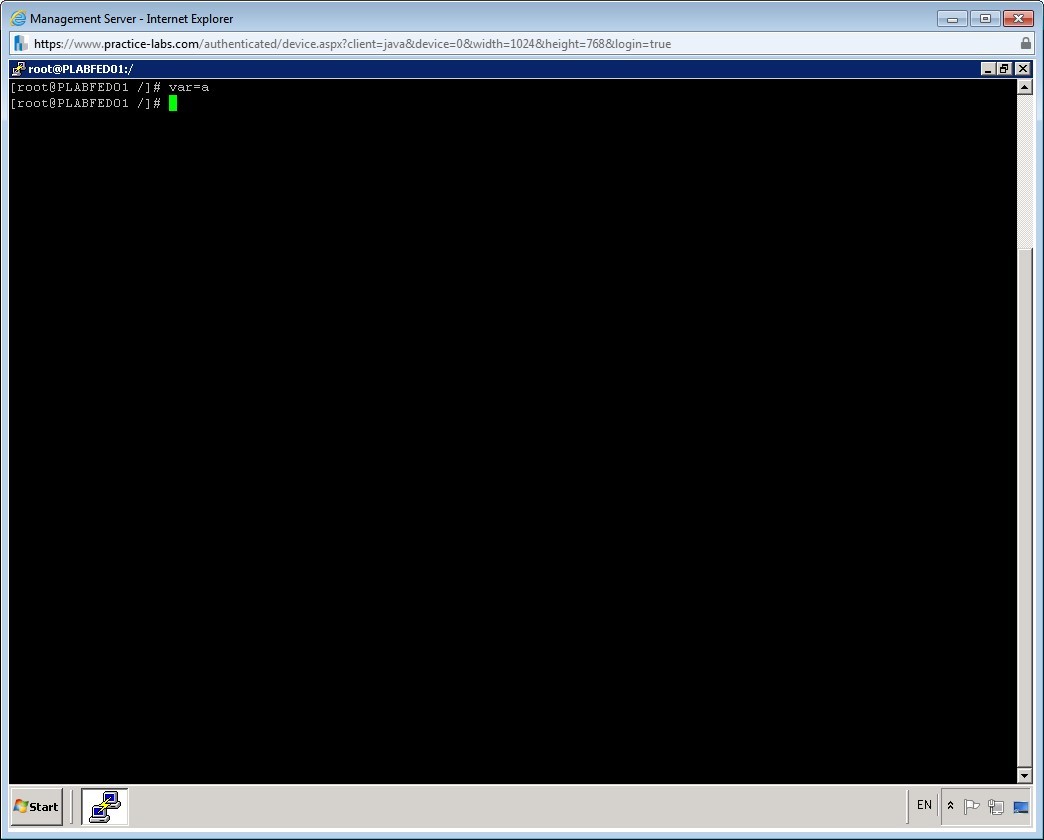
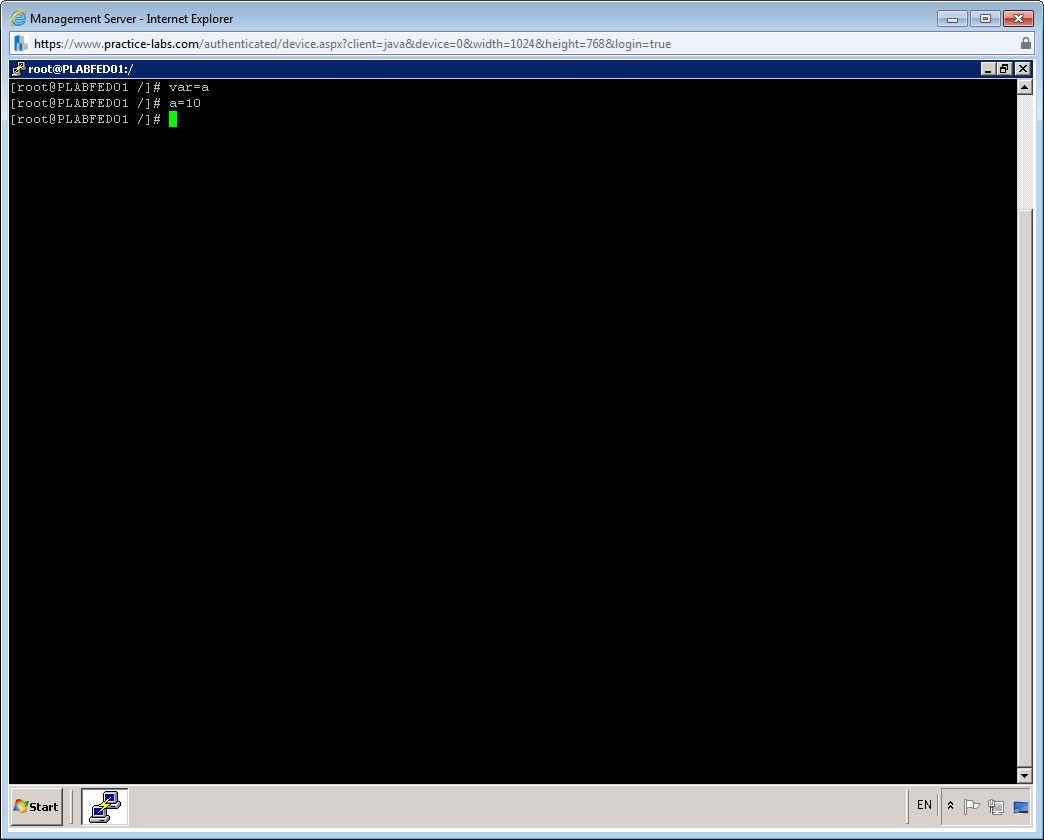
You need to define a variable. To do this, enter the following command:
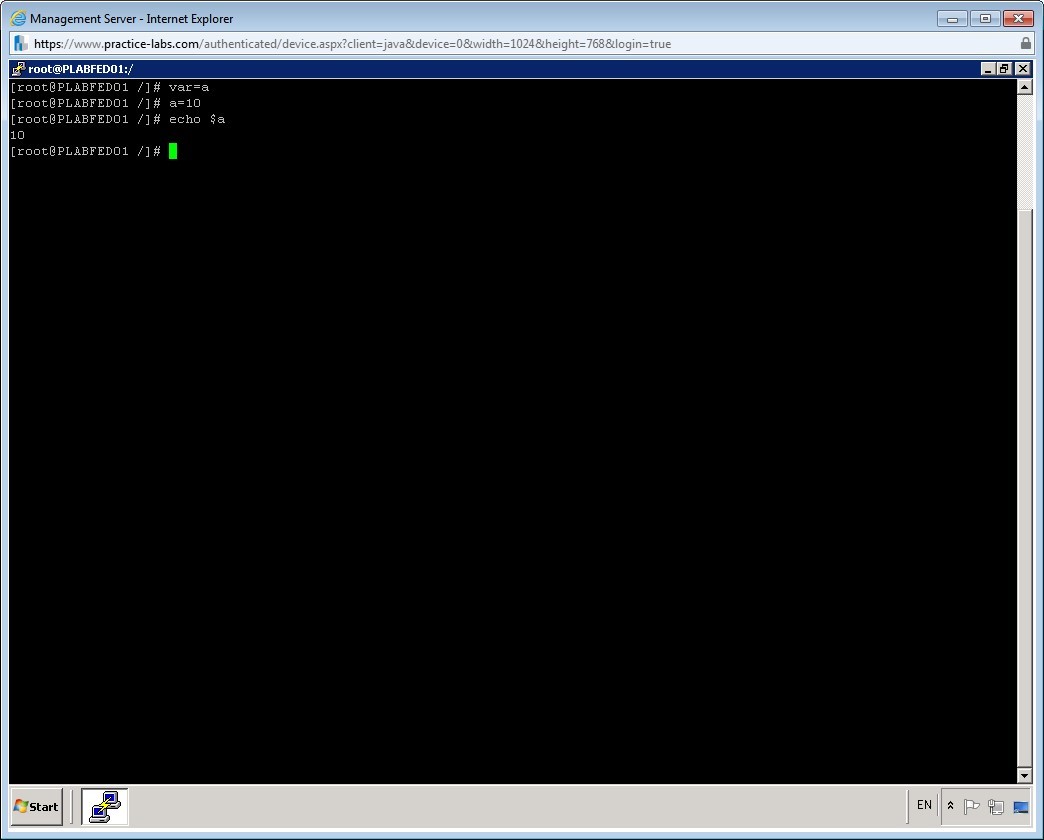
var=a
Step 2
Now, you need to specify a value for this variable.
To specify the value, enter the following command:
a=10
Step 3
Now, you will use the variable to print its value. To do this, enter the following command:
echo $a
notice that the value, 10, of the variable a is printed. This is a simple example of command substitution.
Step 4
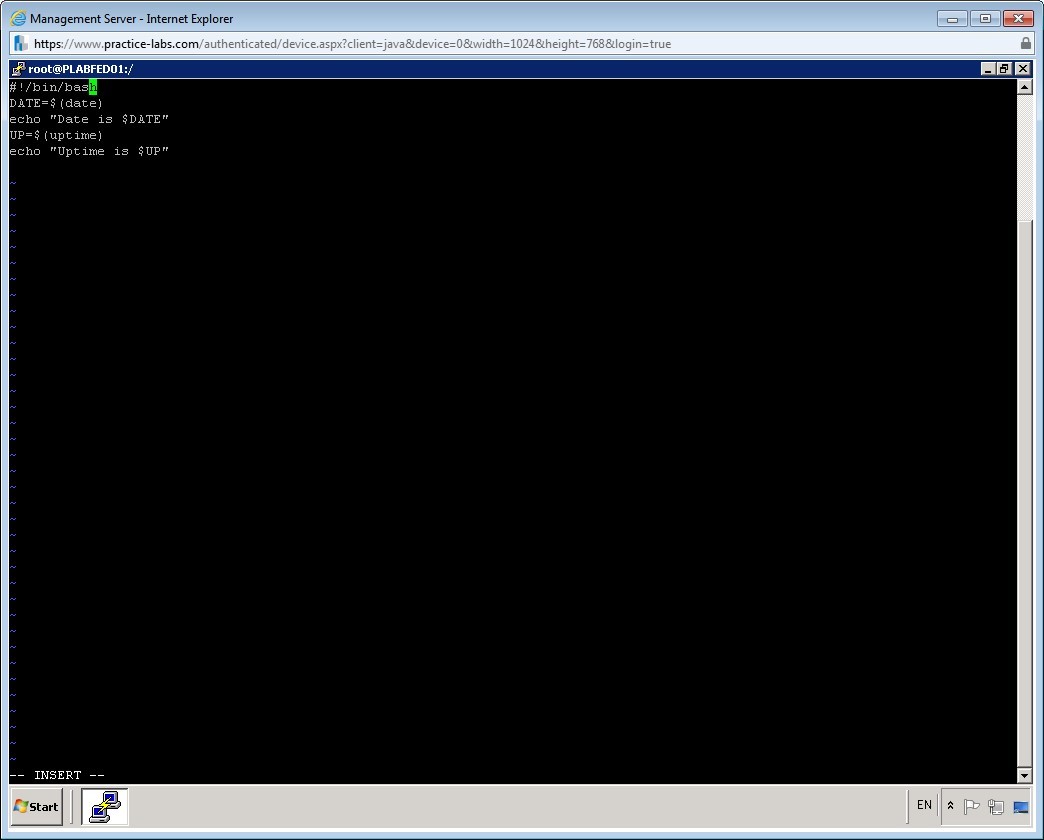
Let’s write a small script based on command substation. Create a new script with the name command.sh, invoke the insert mode, and enter the following lines:
#! /bin/bash
DATE=$(date)
echo "Date is $DATE"
UP=$(uptime)
echo "Uptime is $UP"
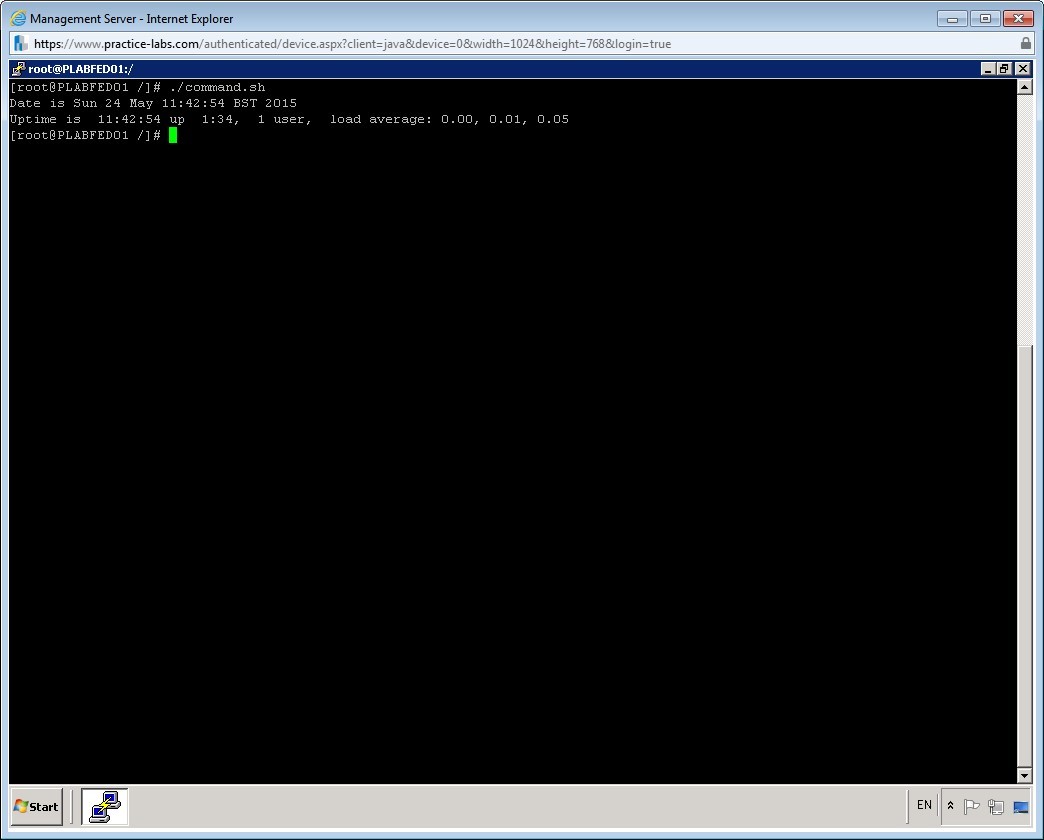
This script will display the current date and uptime for the system.
Save the file by pressing ESC and the typing the command :wq
Step 5
Clear the screen by entering the following command:
clear
Change the permissions of the file using the chmod command.
To run the file enter the following command:
./command.sh
Leave the devices you have powered on in their current state and proceed to the next task.
Task 4 - Use the Test Command
You the test command to access the value returned by a command. This value indicates success, failure, or any other status of the command. The test command can also be used for arithmetic comparisons. You can use this command for comparing the file attribute and string comparisons. In this task, you will use the test command to compare mathematical numbers. You will then use the output of this comparison to take a decision.
To use the test command, perform the following steps:
Step 1
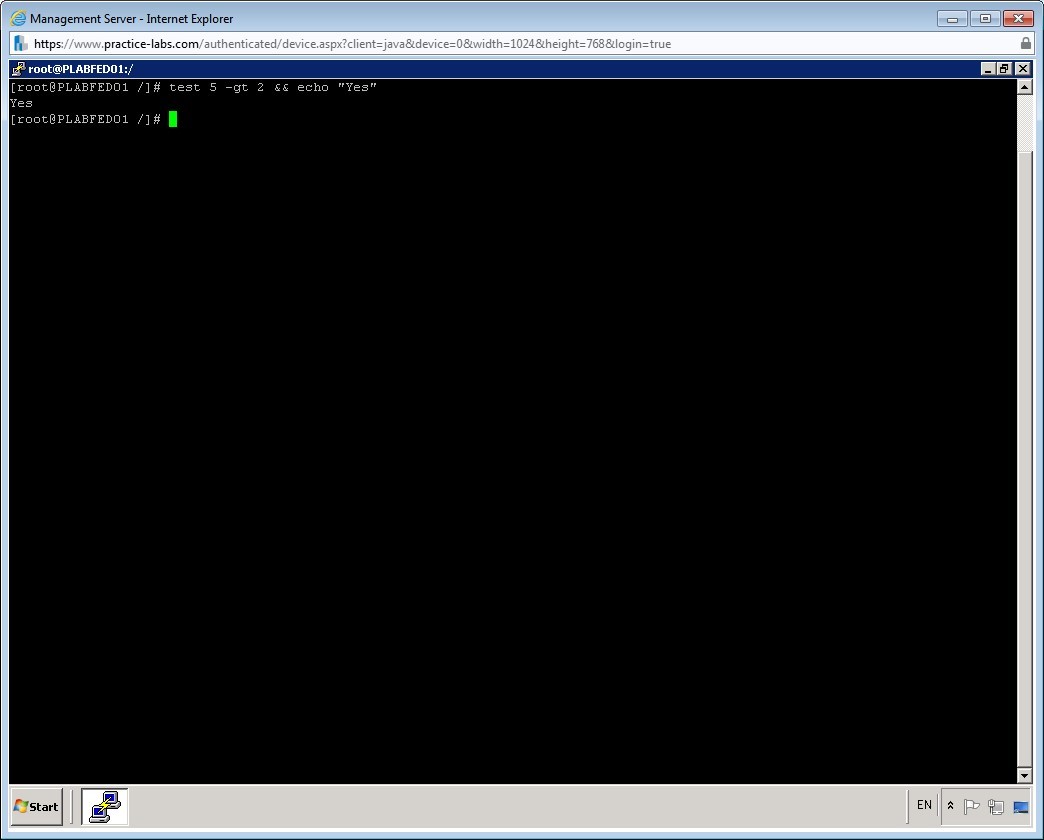
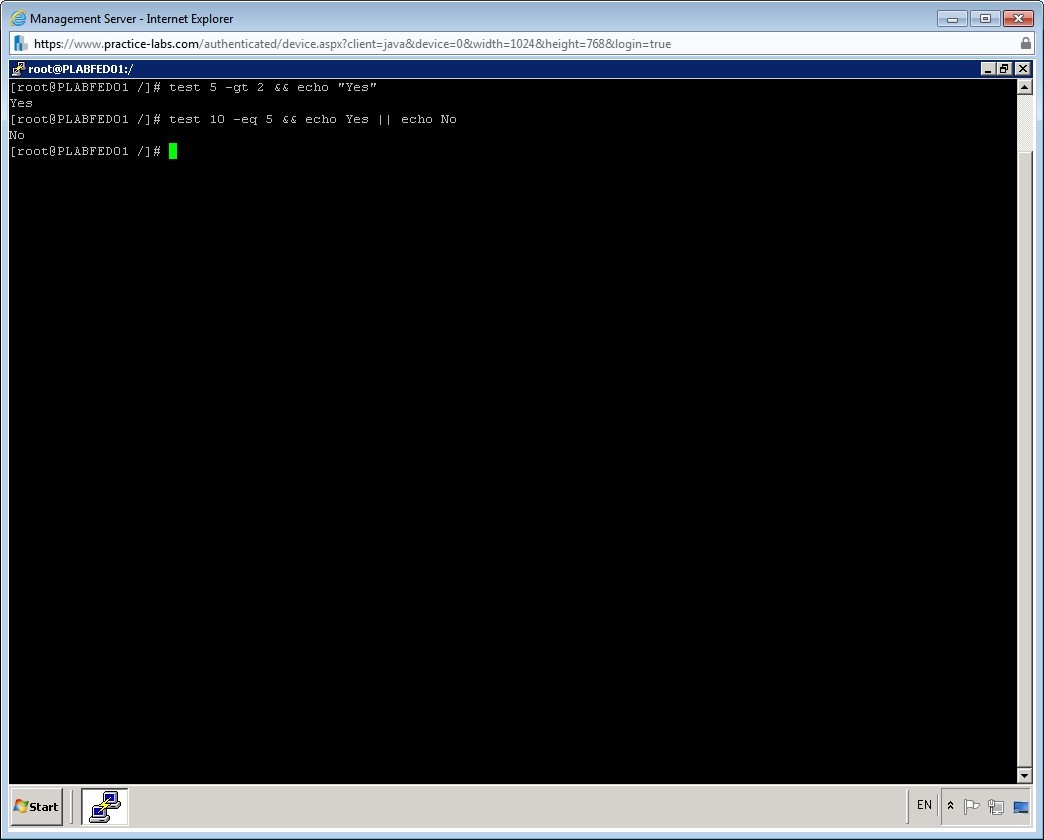
To compare two arithmetic numbers using the test command, enter the following command:
test 5 -gt 2 && echo "Yes"
Step 2
You can also use test command to make decisions based on a condition.
To make a decision based on a condition, enter the following command:
test 10 -eq 5 && echo Yes || echo No
This command compares 10 and 5 and if they are equal, then Yes message is displayed. Else, No message is displayed.
Shutdown all virtual machines used in this lab, by using the power functions located in the Tools bar before proceeding to the next module. Alternatively, you can log out of the lab platform.
Summary
You covered the following activities in this module:
- Used standard sh syntax
- Used command substitution
- Used the test command