Southern New Hampshire University | SNHU-CYB220: Network Security
Evading IDS Firewalls and Honeypots
Exercises
- Introduction
- Exercise 1 - Install and Configure ZoneAlarm Firewall
- Exercise 2 - Install and Configure Snort
- Exercise 3 - Using Anonymous Proxy Sites
- Summary
Introduction
The Evading IDS, Firewalls, and Honeypots module provides you with the instruction and server hardware to develop your hands on skills in the defined topics. This module includes the following exercises:
- Install and Configure ZoneAlarm Firewall
- Install and Configure Snort
- Using Anonymous Proxy Sites
Lab Diagram
During your session you will have access to the following lab configuration.
Connecting to your lab
In this module you will be working on the following equipment to carry out the steps defined in each exercise.
- PLABDC01 (Windows Server 2008 R2 - Domain Controller)
- PLABWIN701 (Windows 7 - Domain Workstation)
Each exercise will detail which console you are required to work on to carry out the steps.
To start simply click on the named Server from the device list (located on the left hand side of the screen) and click the Power on from the in tools bar. In some cases the devices may power on automatically.
During the boot up process an activity indicator will be displayed in the name tab:
- Black - Powered Off
- Orange - Working on your request
- Green - Ready to access
If the remote console is not displayed automatically in the main window (or popup) click the Connect icon located in the tools bar to start your session.
If the remote console does not appear please try the following option:
- Switch between the HTML 5 and Java client versions in the tools bar.
In the event this does not resolve your connectivity problems please visit our Help / Support pages for additional resolution options.
Copyright Notice
This document and its content is copyright of Practice-IT - © Practice-IT 2015. All rights reserved. Any redistribution or reproduction of part or all of the contents in any form is prohibited other than the following:
1) You may print or download to a local hard disk extracts for your personal and non-commercial use only.
2) You may copy the content to individual third parties for their personal use, but only if you acknowledge the website as the source of the material. You may not, except with our express written permission, distribute or commercially exploit the content. Nor may you transmit it or store it in any other website or other form of electronic retrieval system.
Exercise 1 - Install and Configure ZoneAlarm Firewall
A firewall is a device that prevents unauthorized access to a host or a network either from within the corporate environment or coming from the public network like the Internet. Generally, there are two types of firewalls. A hardware firewall takes the form of a closed proprietary appliance with its own operating system. This is considered faster however a bit expensive. A software firewall is installed on a computer and it utilizes the computer’s operating system. Firewalls either hardware or software use rules to filter incoming and outgoing traffic to the network.
In this exercise, you will install a software-based firewall called ZoneAlarm Free Firewall. This software is a lightweight version of the ZoneAlarm PRO which has additional features and capabilities not found on the free version. You may choose to evaluate both versions and find out if they meet your firewall requirements.
To get a better understanding of these tasks, please refer to your course material or use your preferred search engine to research this topic in greater detail.
Task 1 - Download and install ZoneAlarm Free Firewall
ZoneAlarm Free Firewall is one of the most re-known desktop firewall. It contains the following features:
- Two-way firewall
- Private browsing
- Identity protection
- Online backup
In this task, you will learn to use ZoneAlarm Free Firewall.
To use ZoneAlarm Free Firewall, perform the following steps:
Step 1
Ensure that have powered on the required devices in the Introduction.
Connect to PLABWIN701 device.
Click Internet Explorer icon on the taskbar.
Step 2
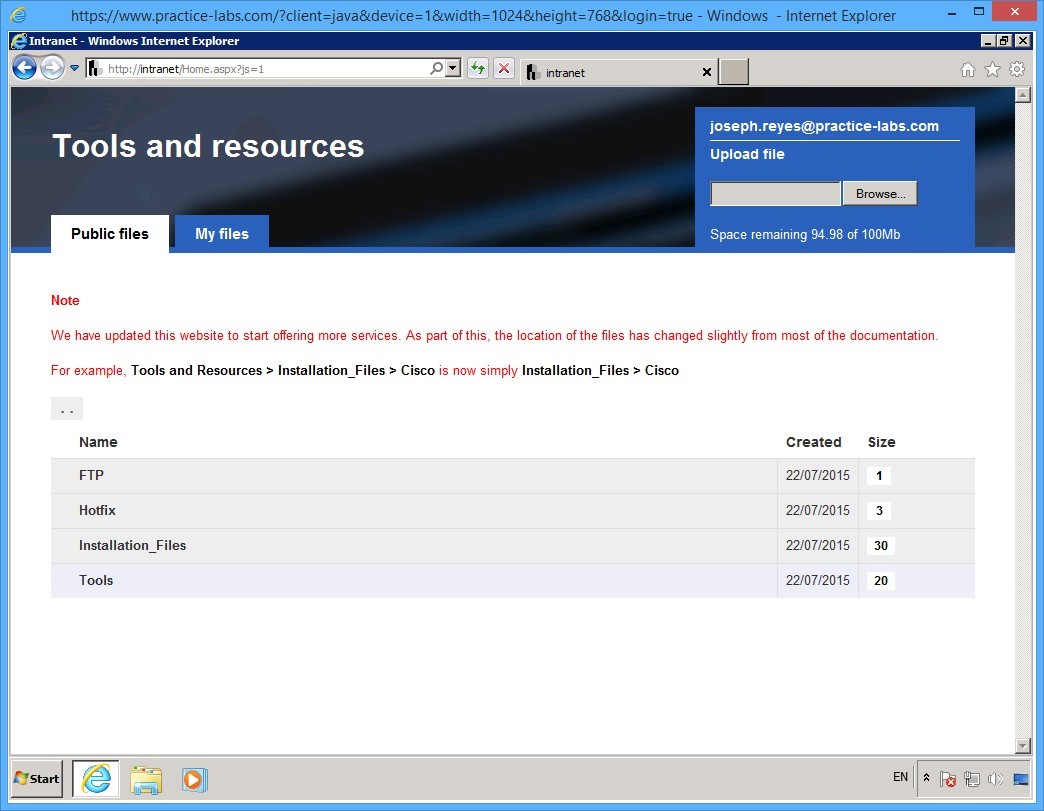
On the Tools and resources page, click Tools.
Step 3
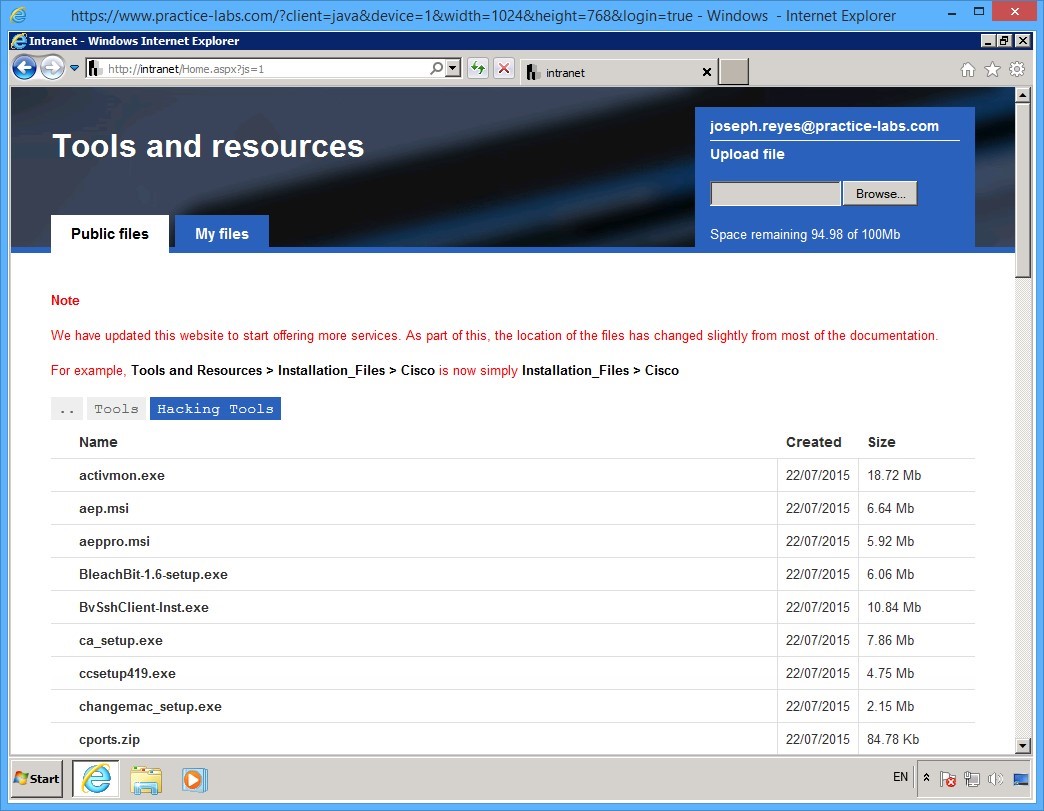
On the [..] > Tools page, click Hacking Tools.

Step 4
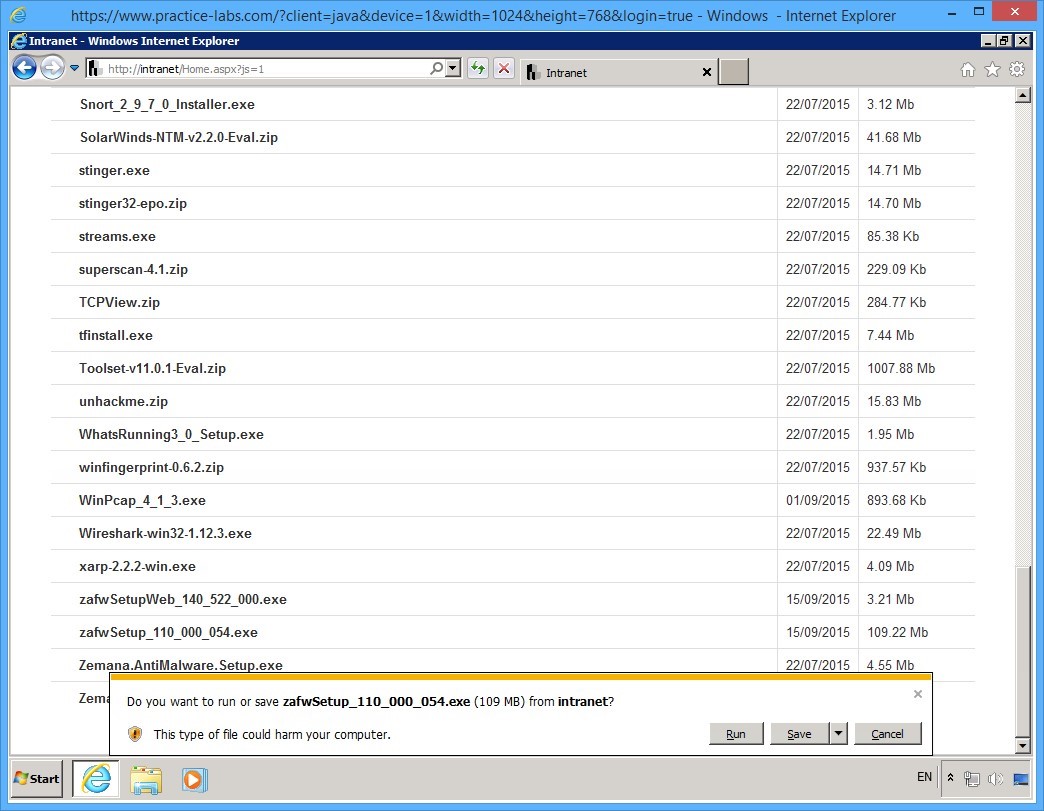
On the [..] > Tools > Hacking Tools page, scroll down and locate zafwSetup_110__000_054.exe.
Step 5
Click zafwSetup_110__000_054.exe and on the notification toolbar, click Save.
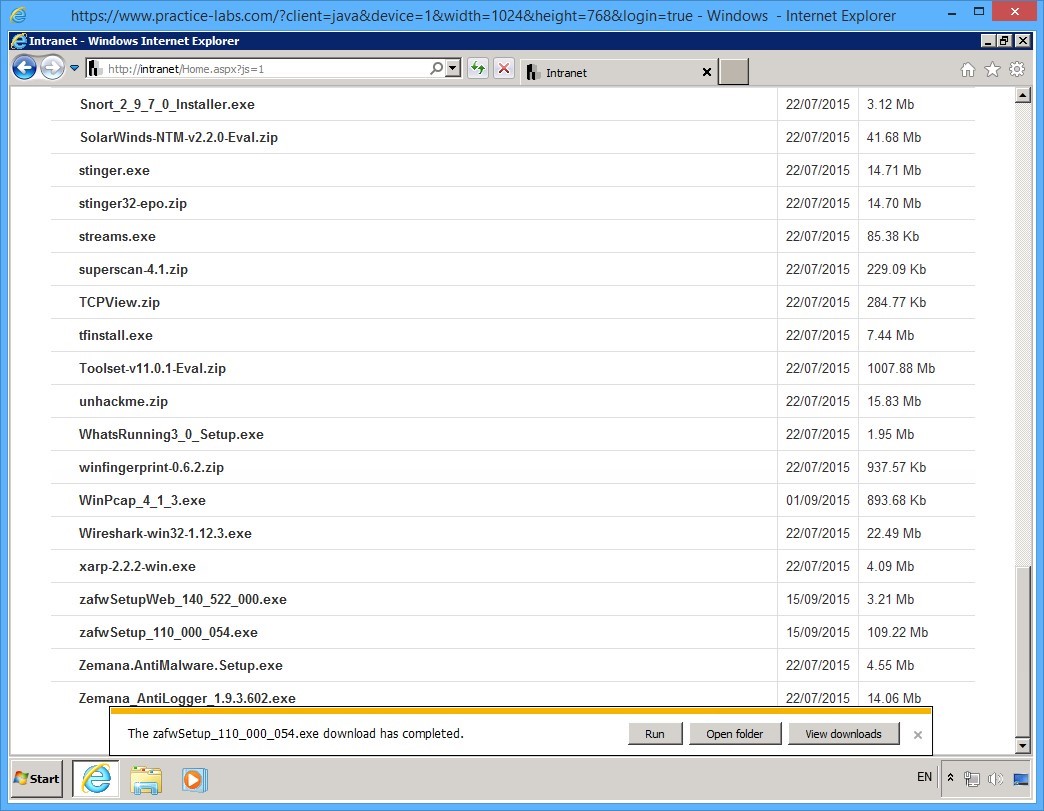
Step 6
When download is completed, click Open folder.
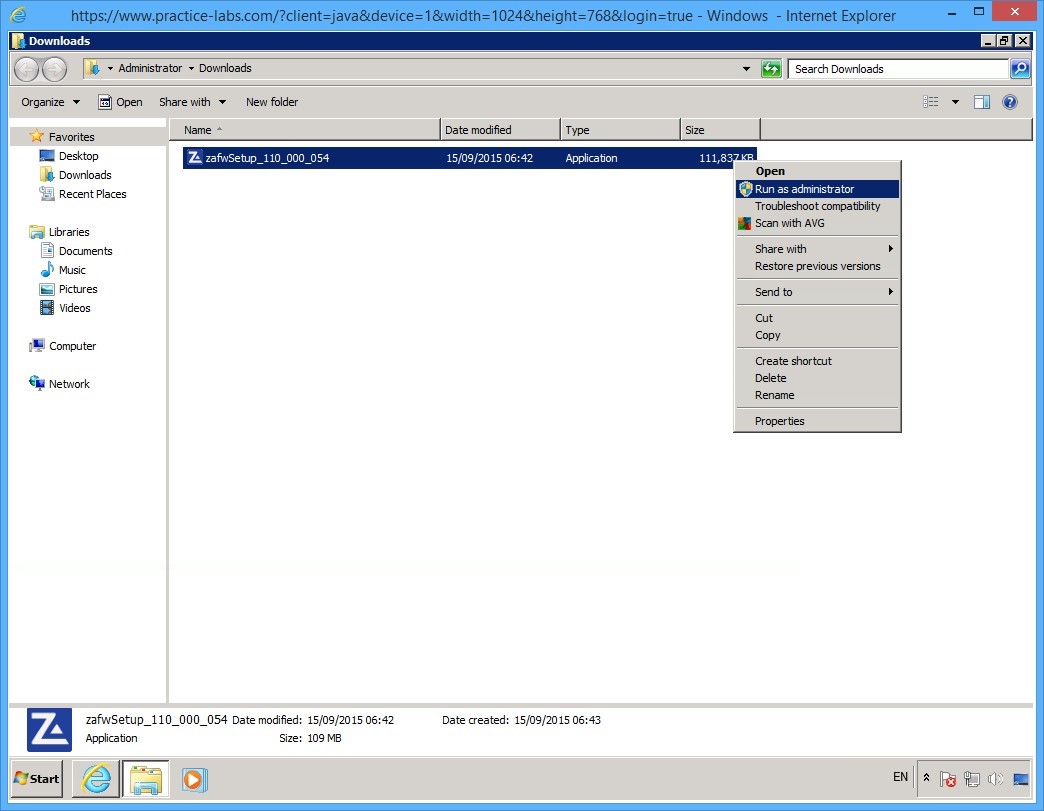
Step 7
Windows Explorer opens and redirects you to Downloads folder.
Right-click on zafwSetup_110__000_054.exe and select Run as administrator.
Step 8
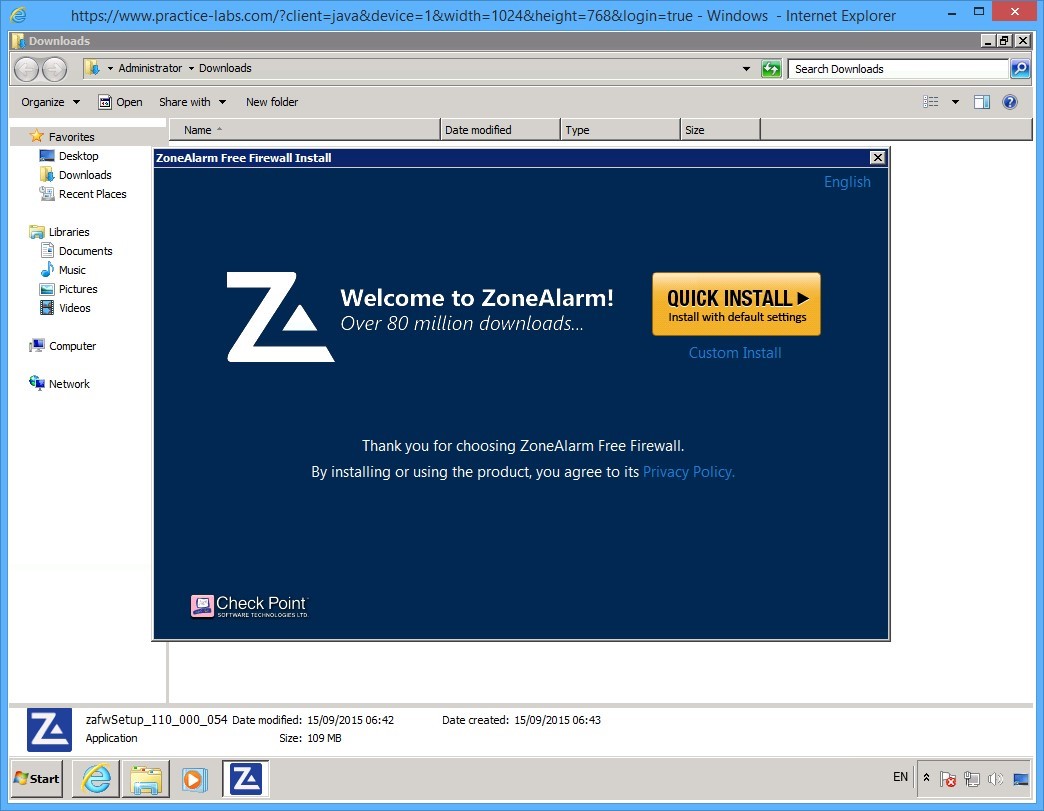
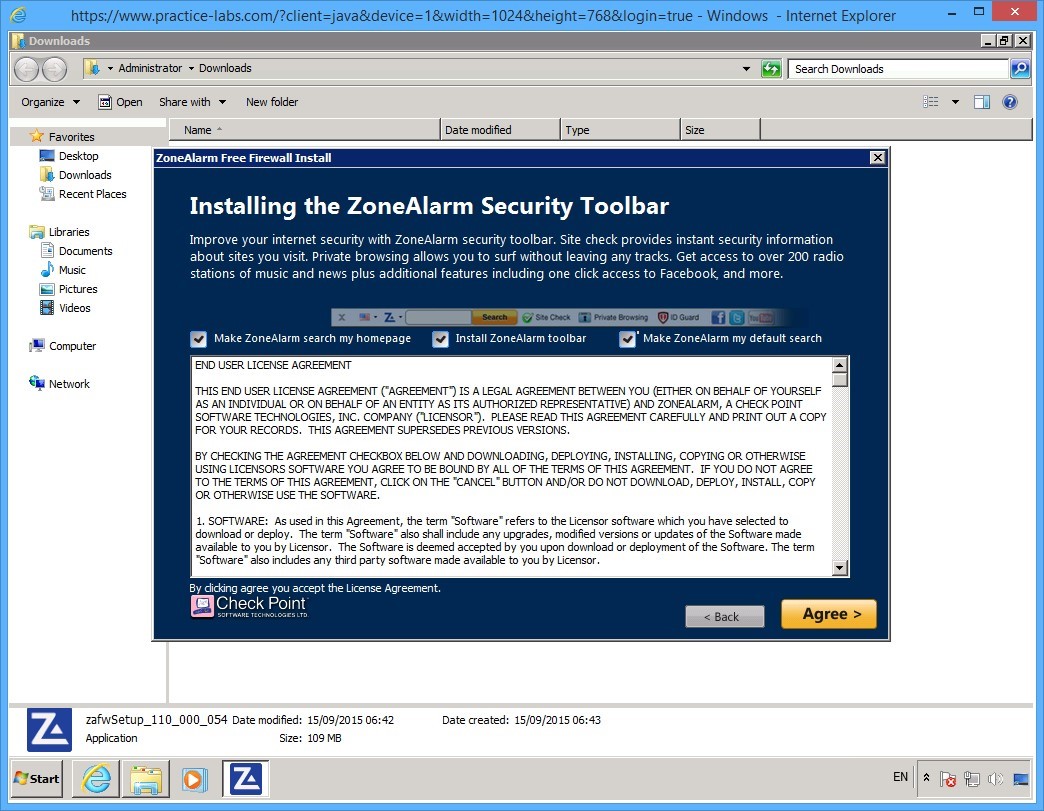
On the ZoneAlarm Free Firewall Install welcome screen, click QUICK INSTALL.
Step 9
On the Installing the ZoneAlarm Security Toolbar page, accept the default specifications and click Agree.
Step 10
Please wait while the installation of ZoneAlarm components is in progress.
Important: Let the installation run for about 2 minutes and it may appear to have stopped. This is expected because ZoneAlarm will disconnect you from PLABWIN701 device due to firewall restrictions enforced on the computer.
Close the PLABWIN701 window. You will connect to PLABWIN701 through PLABDC01 using Remote Desktop Services in the next task.
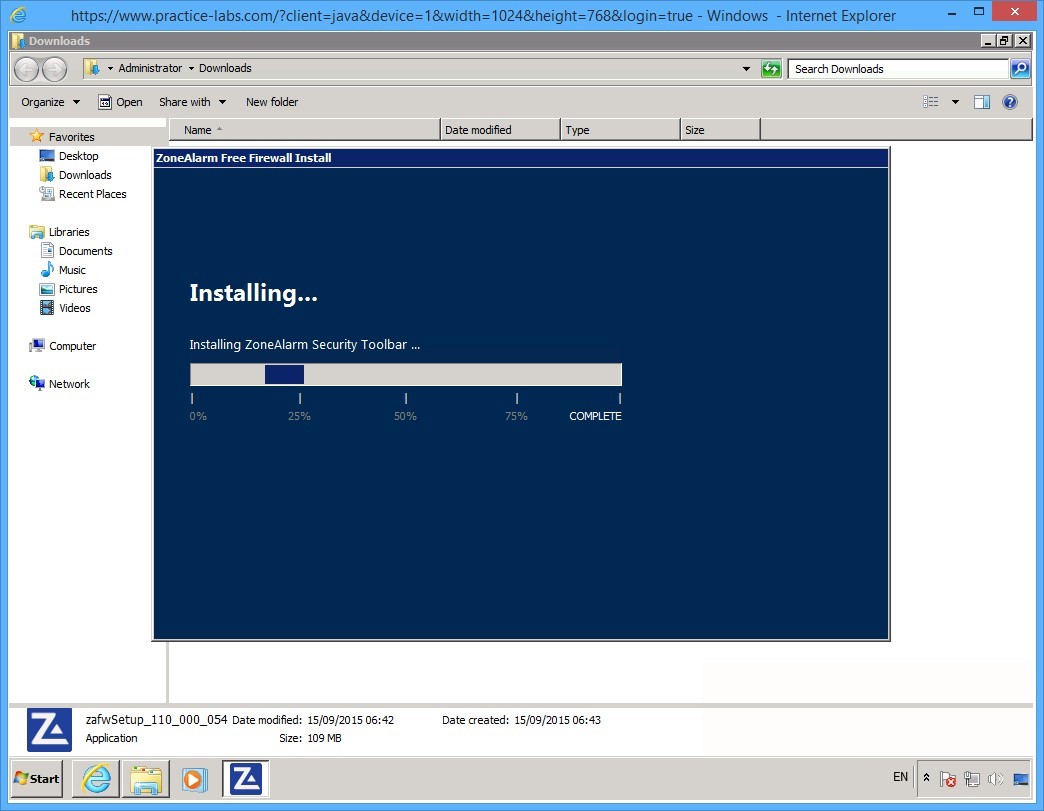
Keep all devices powered on in their current state and proceed to the next task.
Task 2 - Verify ZoneAlarm Installation
To verify the ZoneAlarm installation on PLABWIN701, perform the following steps:
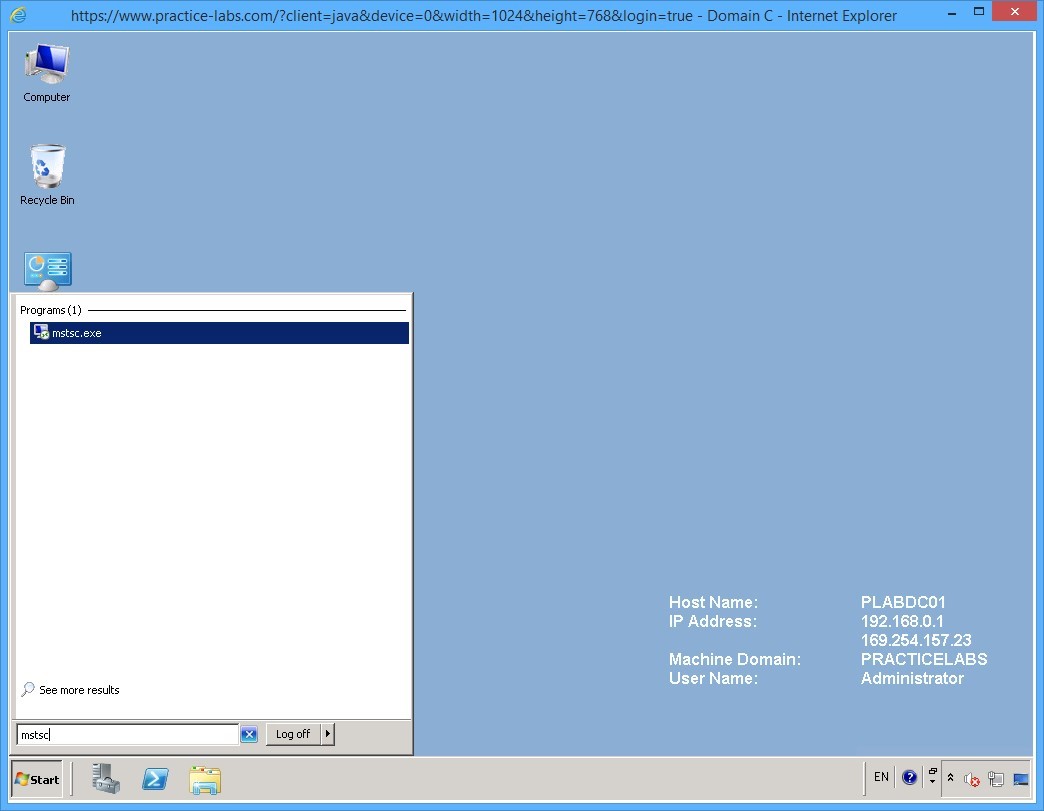
Step 1
Connect to PLABDC01 device.
Click Start and click in Search programs and files box, type:
mstsc
Press Enter.
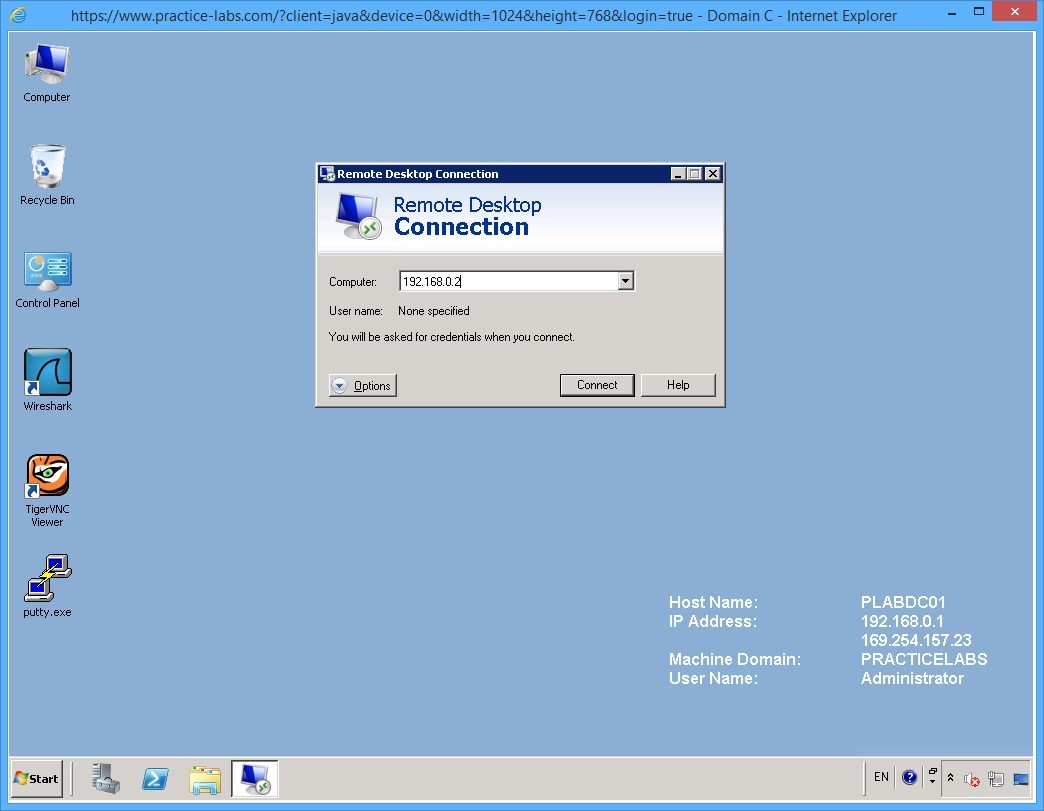
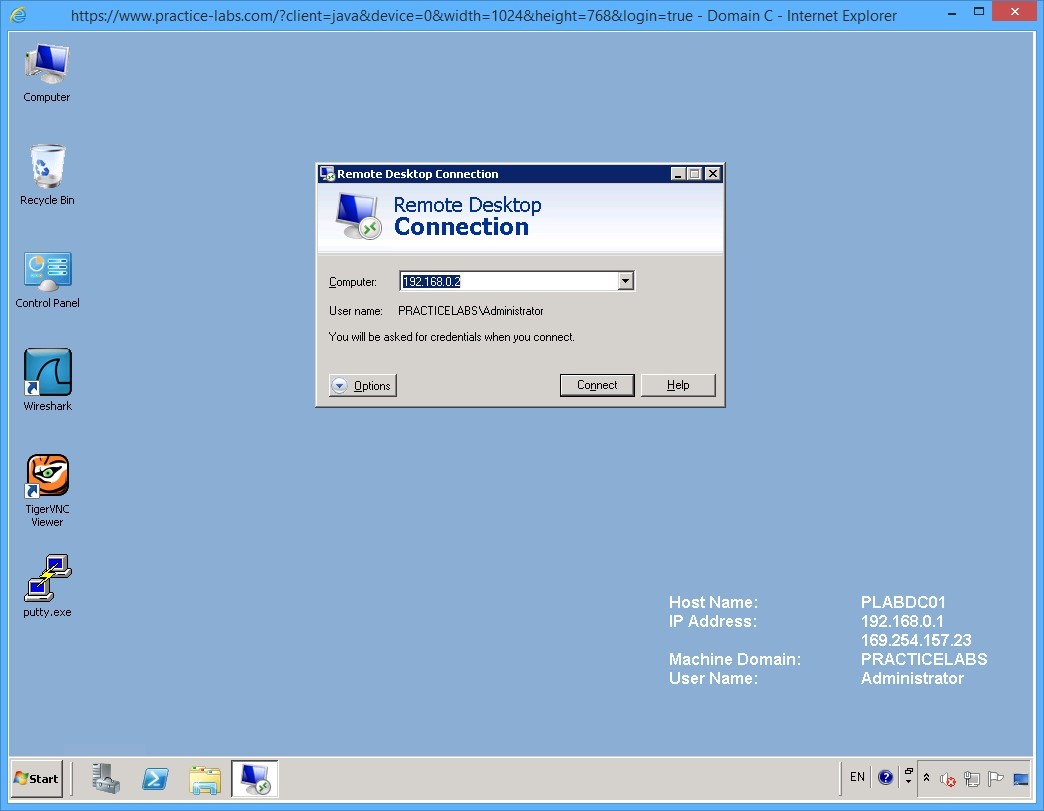
Step 2
On the Remote Desktop Connection dialog box, in the Computer text box, type:
192.168.0.2
Press Enter.
Note: 192.168.0.2 is the static IP address assigned to PLABWIN701 device.
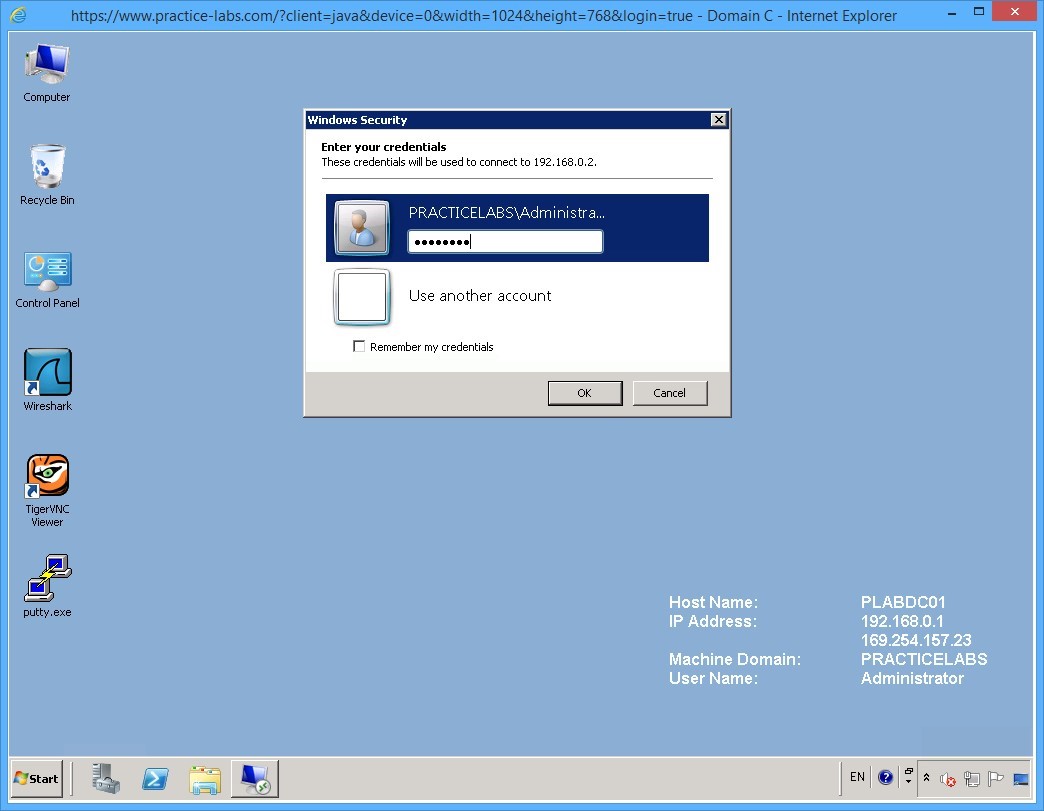
Step 3
On the Windows Security dialog box, in the password box, type:
Passw0rd
Press Enter.

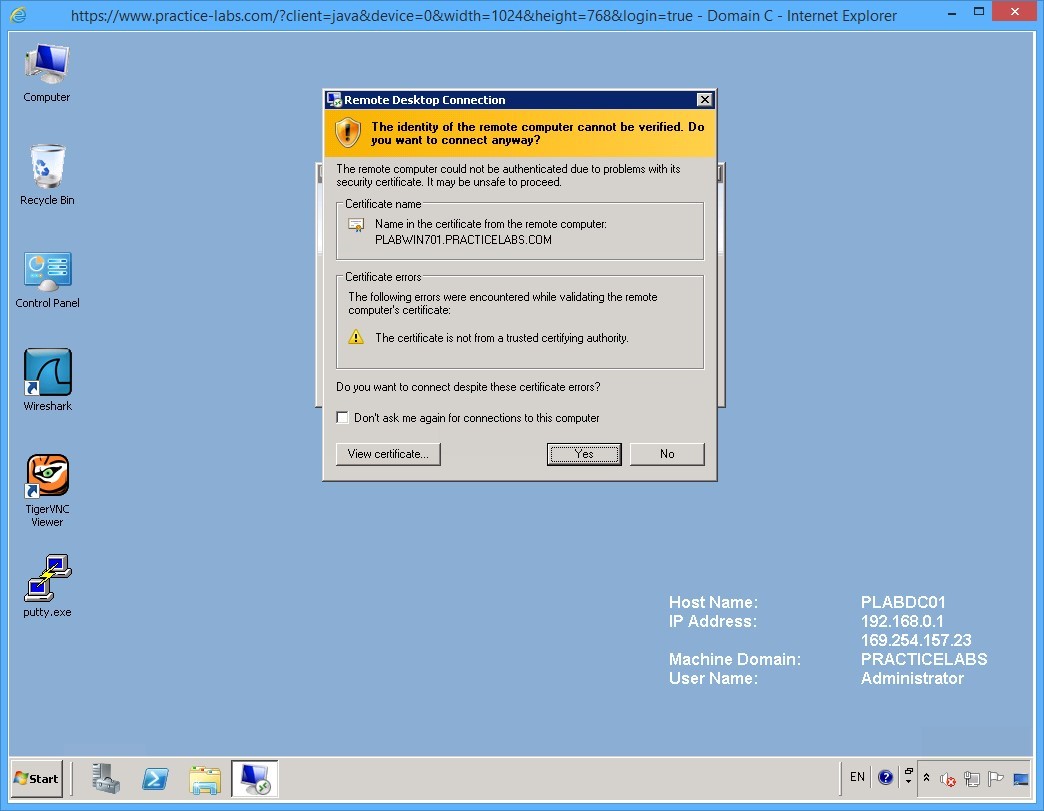
Step 4
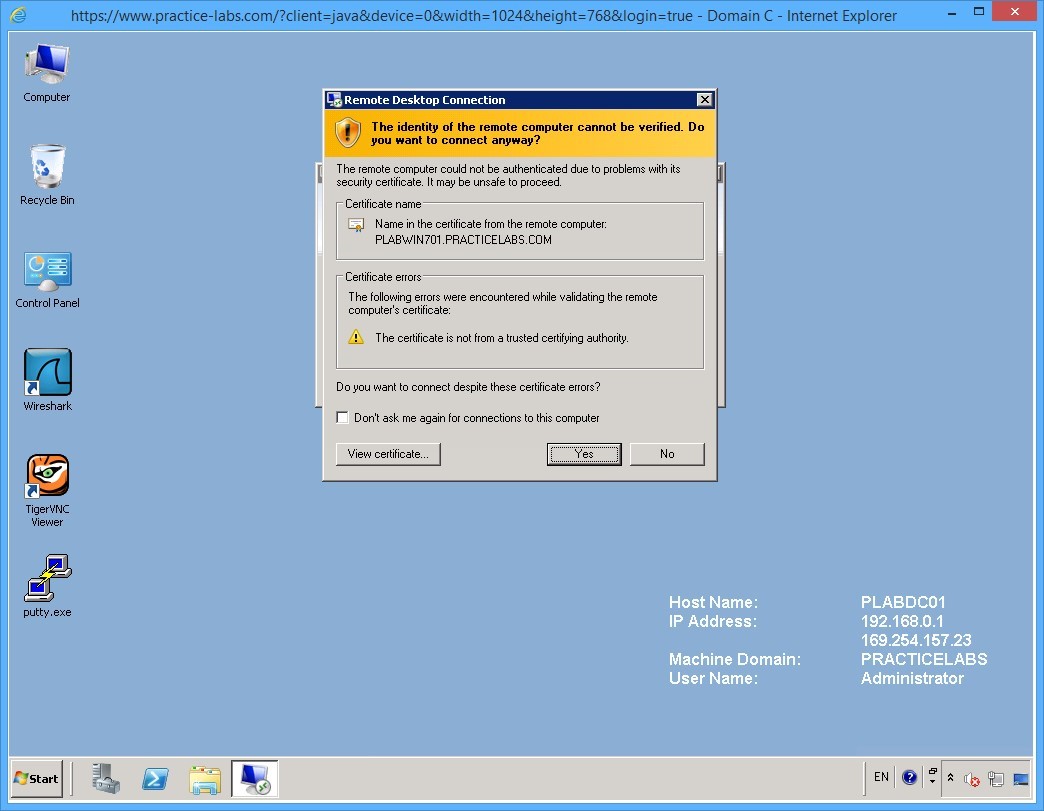
On the Remote Desktop Connection dialog box, you are prompted with a message saying “The identity of the remote computer cannot be verified…”
Click Yes.
Step 5
You will notice at the top of the screen the connection bar 192.168.0.2. This indicates that you are connected to PLABWIN701 via remote desktop.
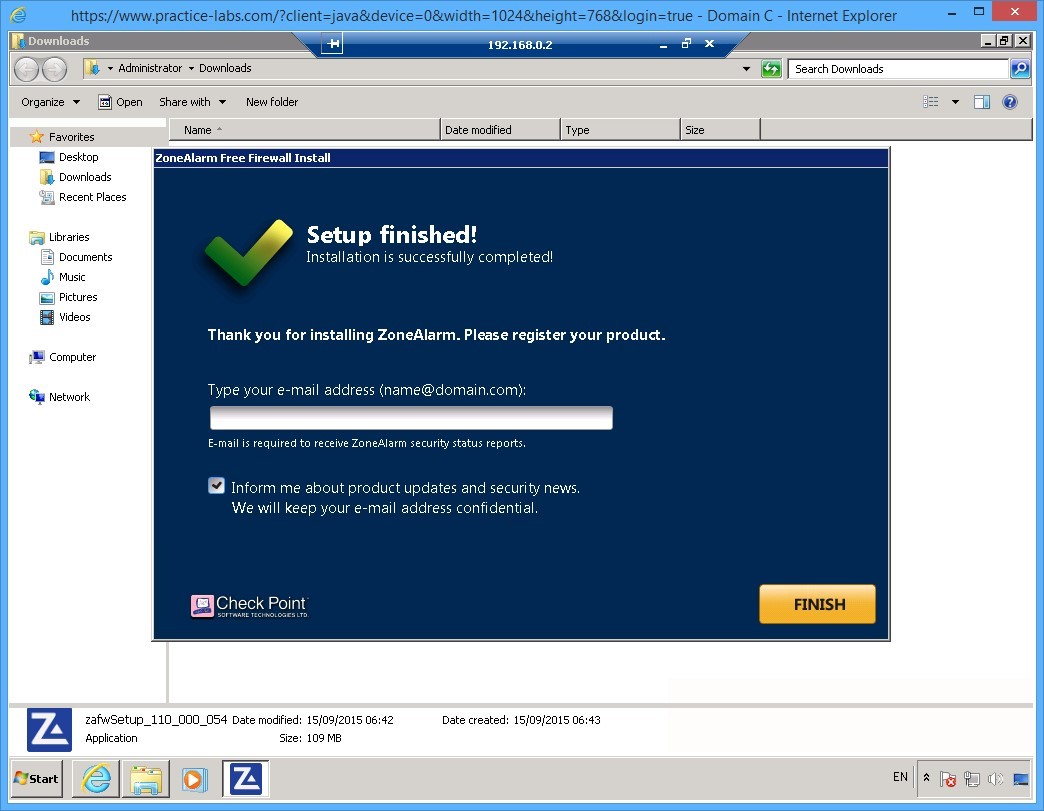
On the ZoneAlarm Free Firewall Install, the Setup finished is displayed.
Clear Inform me about product updates… check box.
Click Finish.
Step 6
Close the Firefox window that appears and all tabs.
Similarly, close Windows Explorer window.
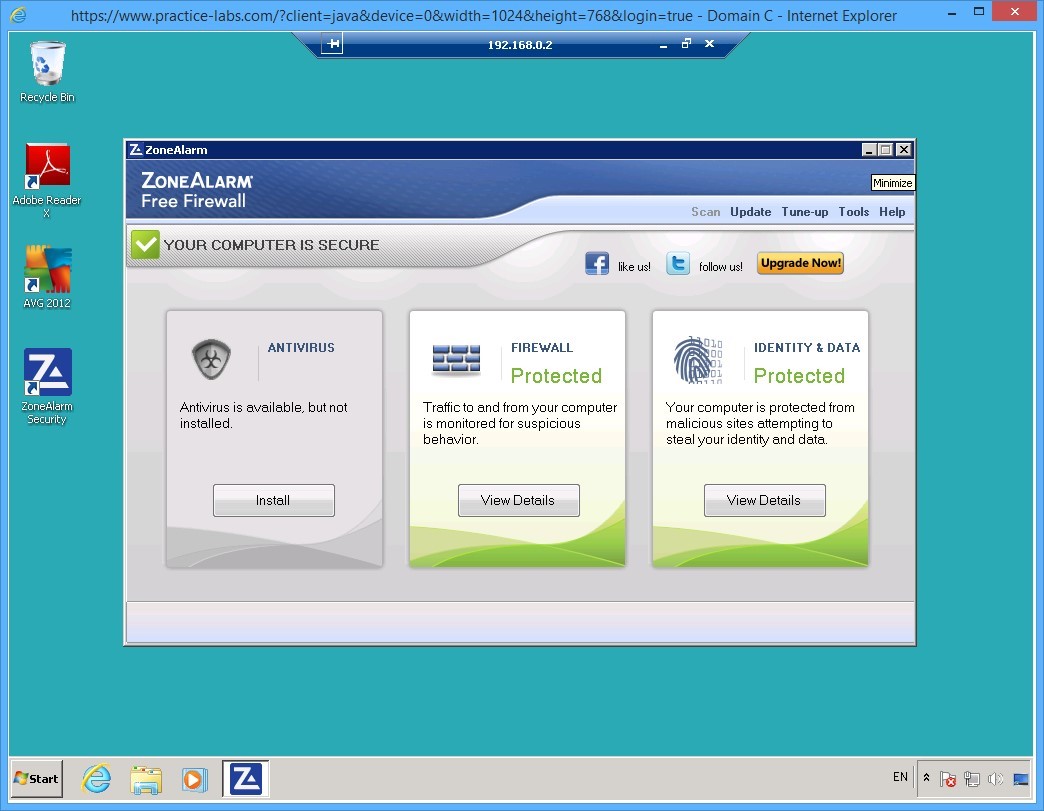
The ZoneAlarm Free Firewall window is now displayed.
Minimize this window for now.
Keep all devices powered on in their current state and proceed to the next task.
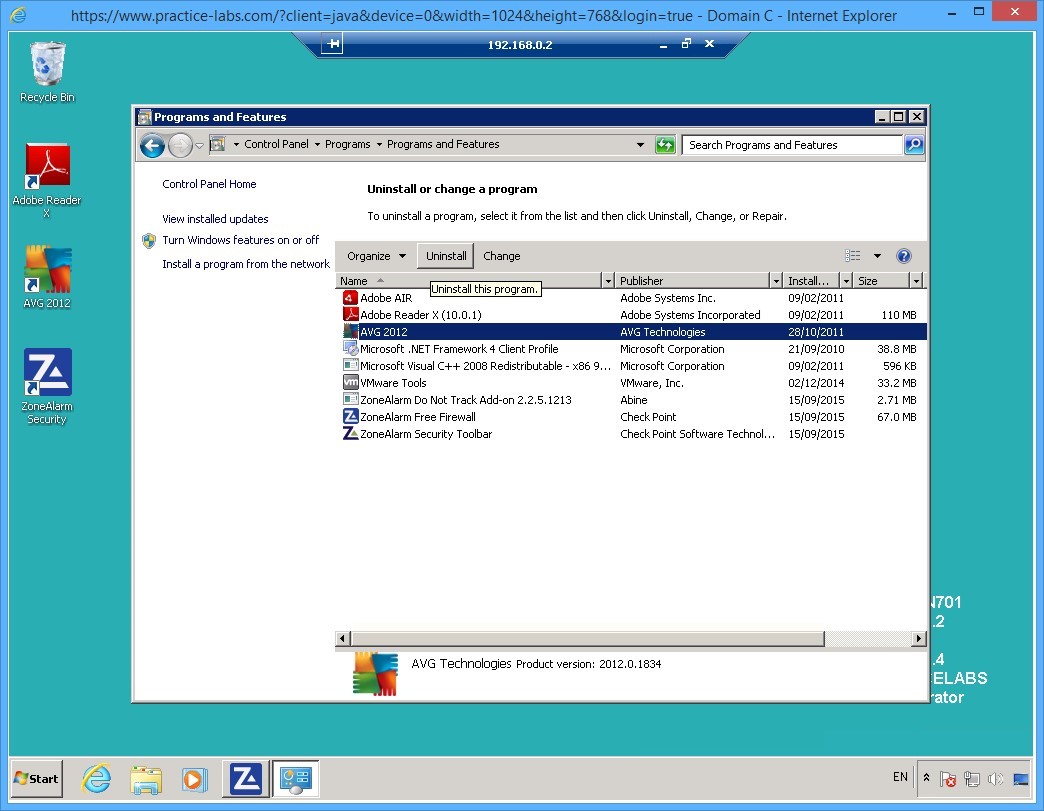
Task 3 - Uninstall AVG Antivirus
There is an antivirus installed on PLABWIN701 called AVG 2012. This software must be removed first to avoid system conflict with ZoneAlarm which you will be installing in a later task.
To uninstall the AVG antivirus, perform the following steps:
Step 1
You are on 192.168.0.2 remote desktop connection.
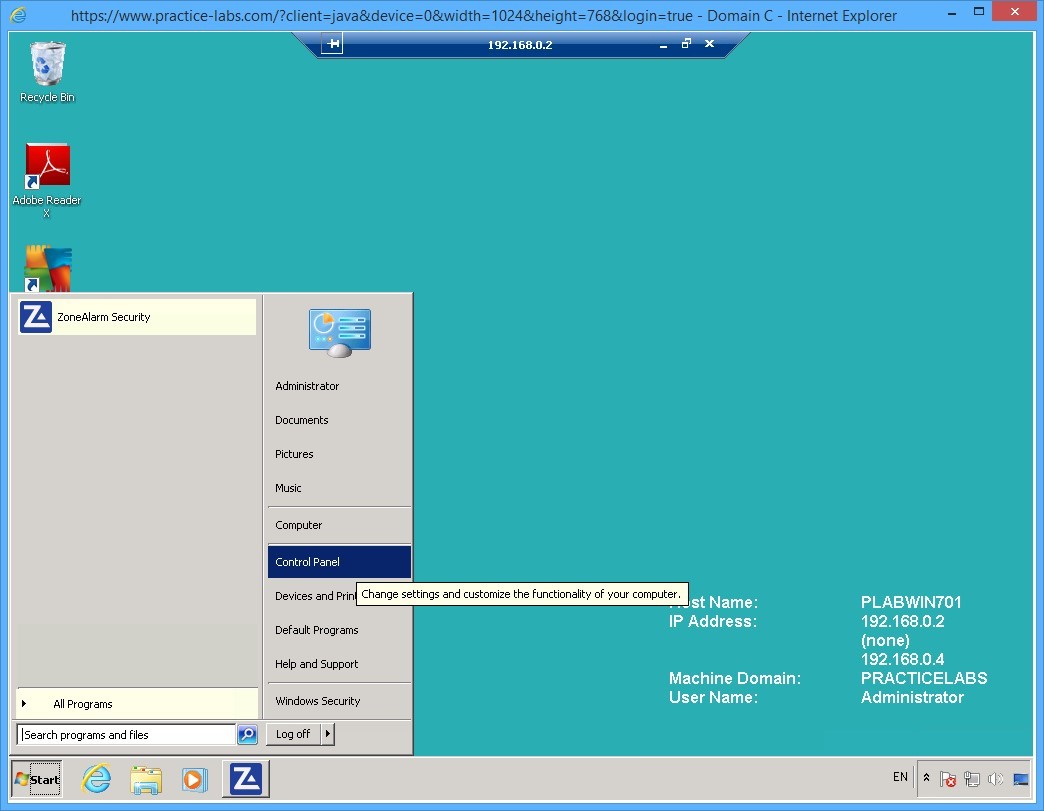
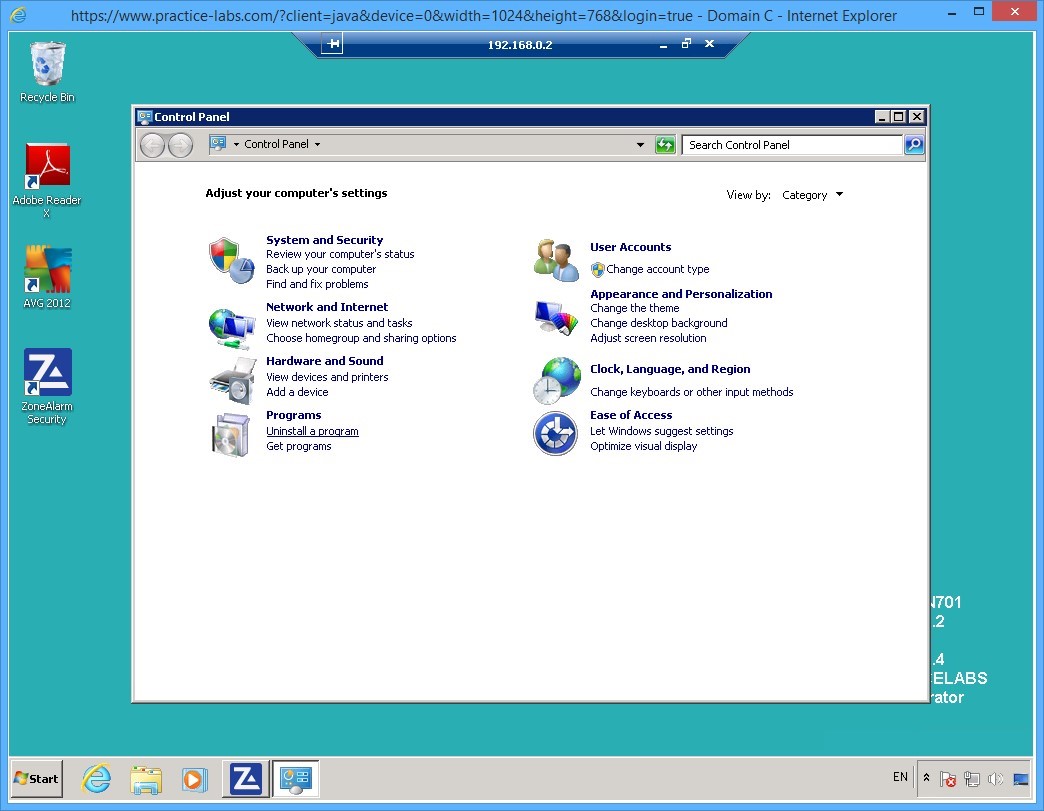
Click Start and then click Control Panel.
Step 2
On the Control Panel window, under Programs section click Uninstall a program.
Step 3
On the Programs and Features window, select AVG 2012 and click Uninstall.
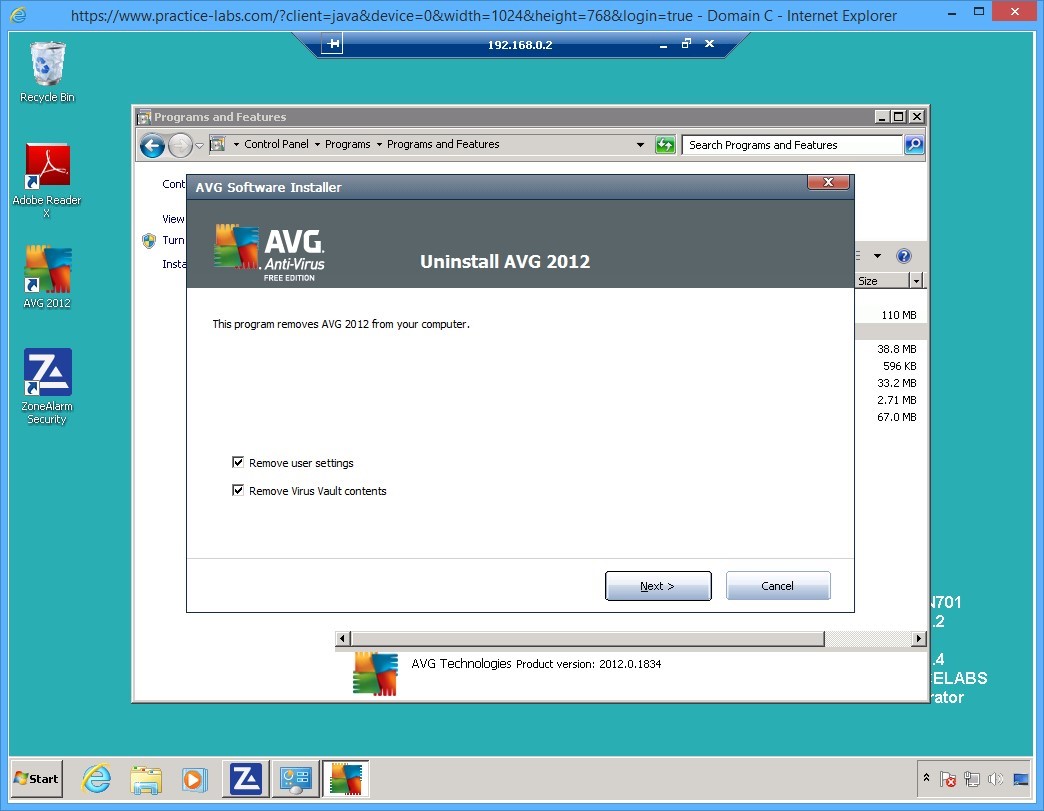
Step 4
On the Uninstall AVG 2012 dialog box, select Remove user settings and Remove Virus Vault contents check boxes.
Click Next.
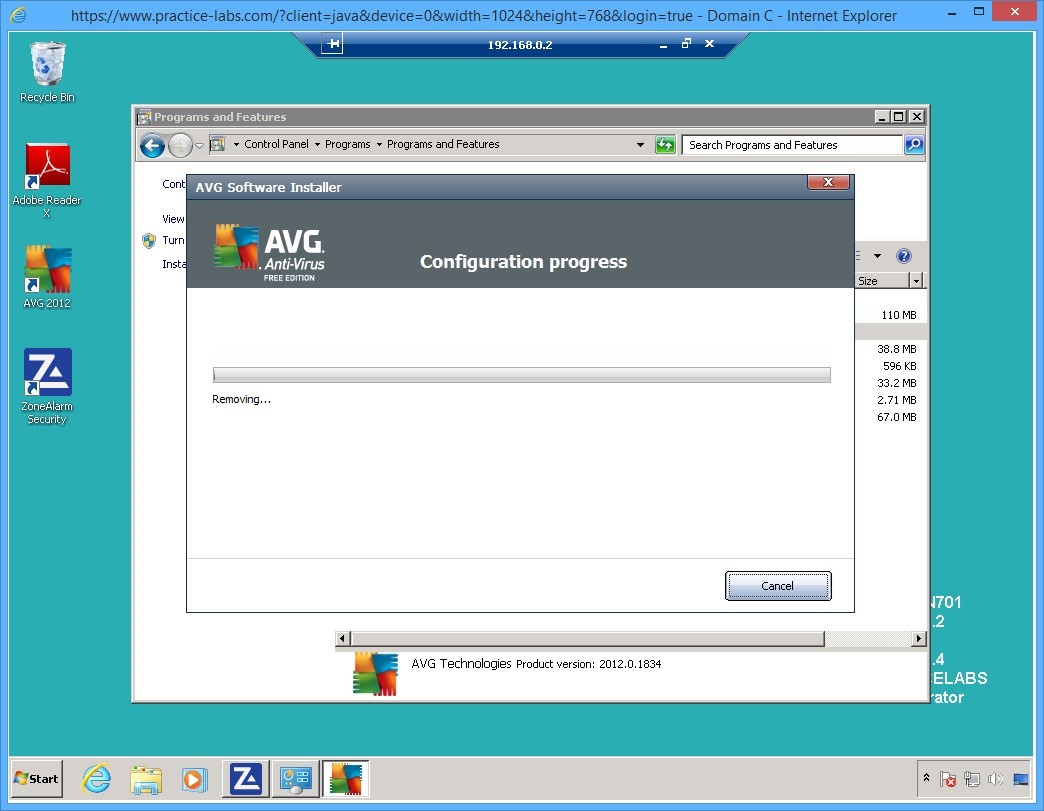
Step 5
Please wait while the antivirus is being uninstalled.
The uninstallation process will take a few minutes.
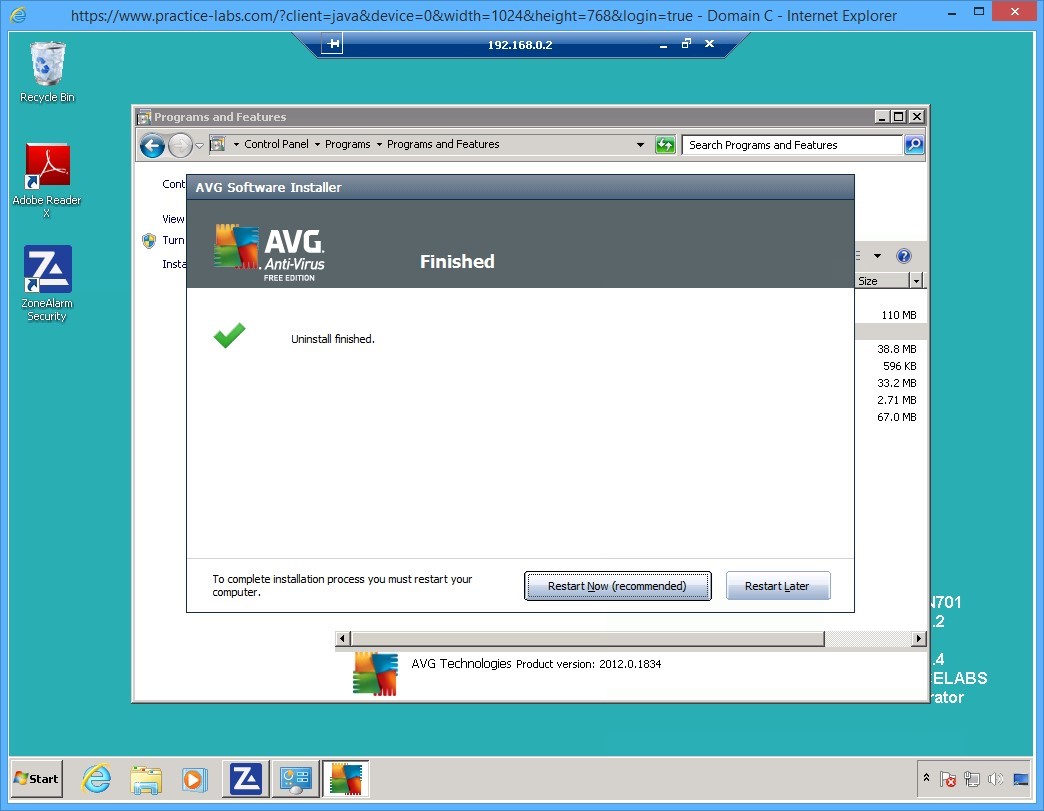
Step 6
When Uninstall is successfully completed, click Restart Now (recommended) button.
The 192.168.0.2 remote desktop window will automatically close.
Important: Please wait for 2 minutes before reconnecting to PLABWIN701 in the next task. This is to give PLABWIN701 device sufficient time to finish its restart after the removal of the anti-virus program.
Keep all devices powered on in their current state and proceed to the next task.
Task 4 - Install ZoneAlarm Antivirus
To install the ZoneAlarm antivirus, perform the following steps:
Step 1
On PLABDC01 device, click again on Start and click in Search programs and files box type:
mstsc
Press Enter.

Step 2
On the Remote Desktop Connection dialog box, the Computer IP address 192.168.0.2 which refers to PLABWIN701 is added.
Click Connect.
Step 3
On the Windows Security dialog box, type:
Passw0rd
Press Enter.
Step 4
On the Remote Desktop Connection dialog box, the message saying “The identity of the remote computer cannot be verified…”
Click Yes.
Step 5
Notice that you can see the 192.168.0.2 remote desktop connection bar at the top of the screen.
The ZoneAlarm Free Firewall automatically opens.
On the ANTIVIRUS section, click Install.

Step 6
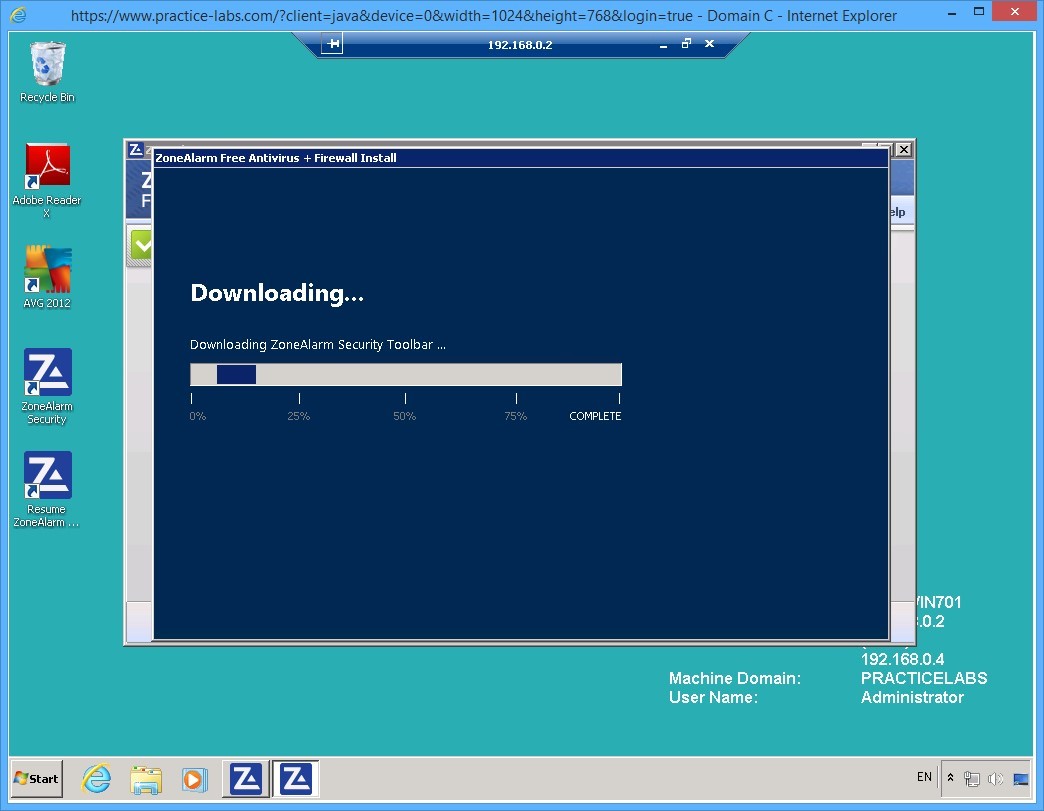
The ZoneAlarm security toolbar will commence the download.
Please wait as this process will take a few minutes.
Step 7
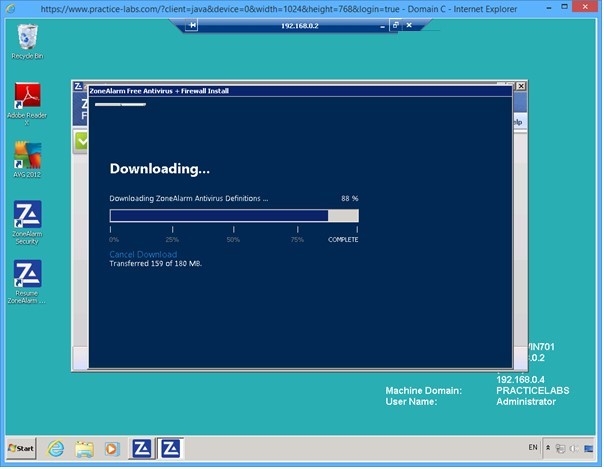
Please wait while Downloading of the antivirus definition is in progress.
Step 8
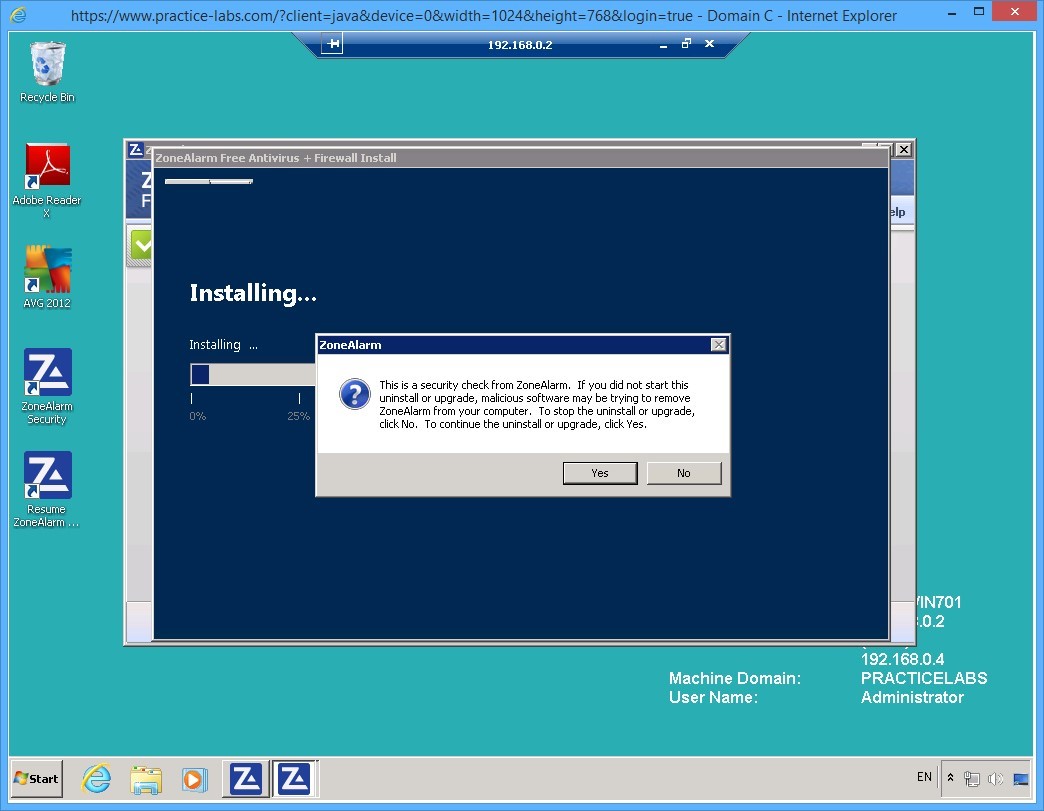
On the ZoneAlarm dialog box, a security check prompt will be displayed.
Click Yes to continue with the installation.
Step 9
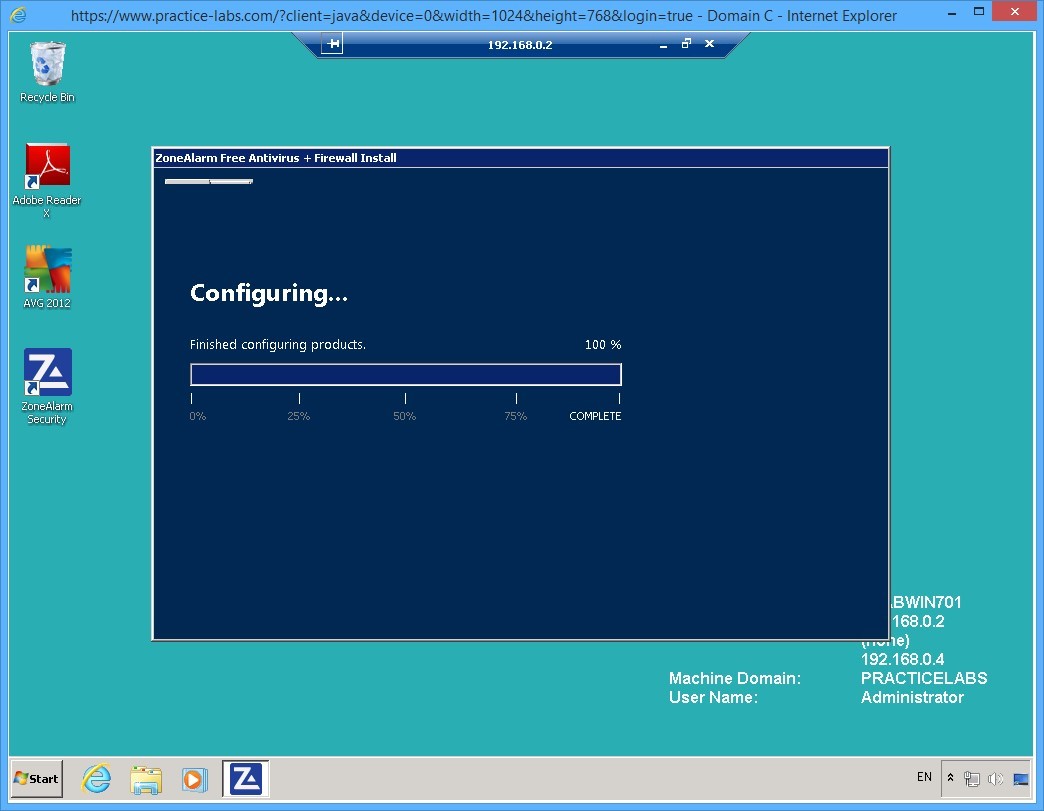
Please wait while installation of ZoneAlarm antivirus is in progress.
Step 10
The configuring phase of the antivirus program continues.
Keep all devices powered on in their current state and proceed to the next task.
Task 5 - Managing ZoneAlarm settings
To manage ZoneAlarm settings, perform the following steps:
Step 1
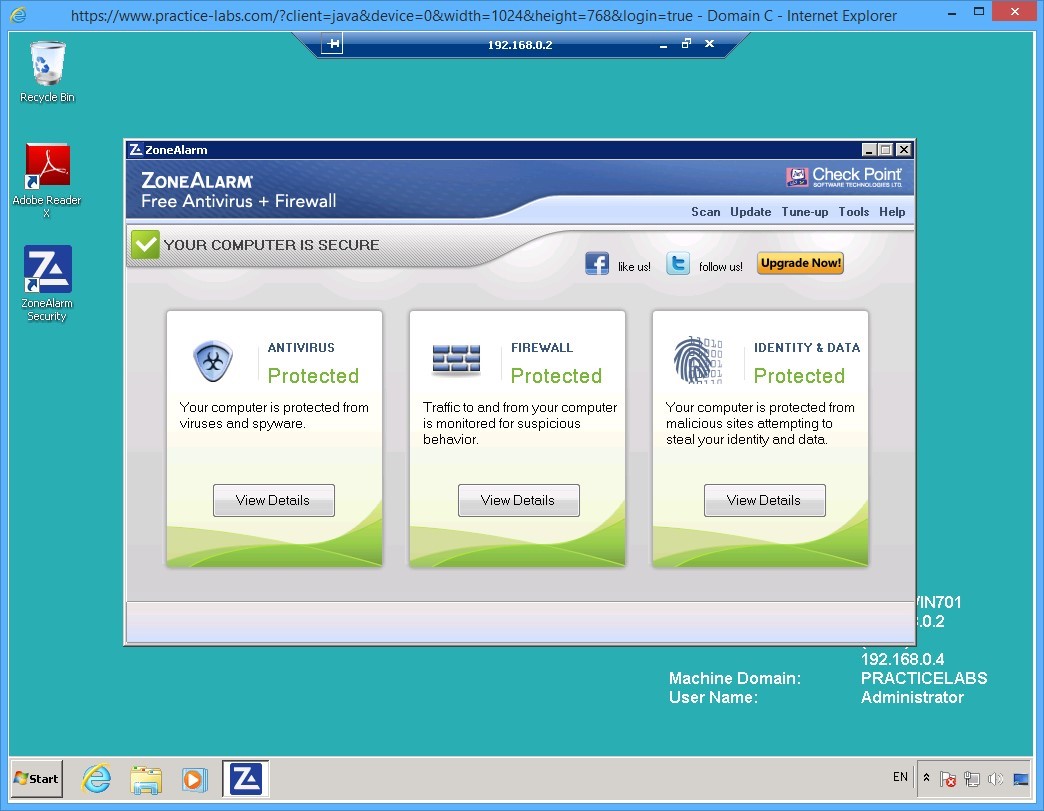
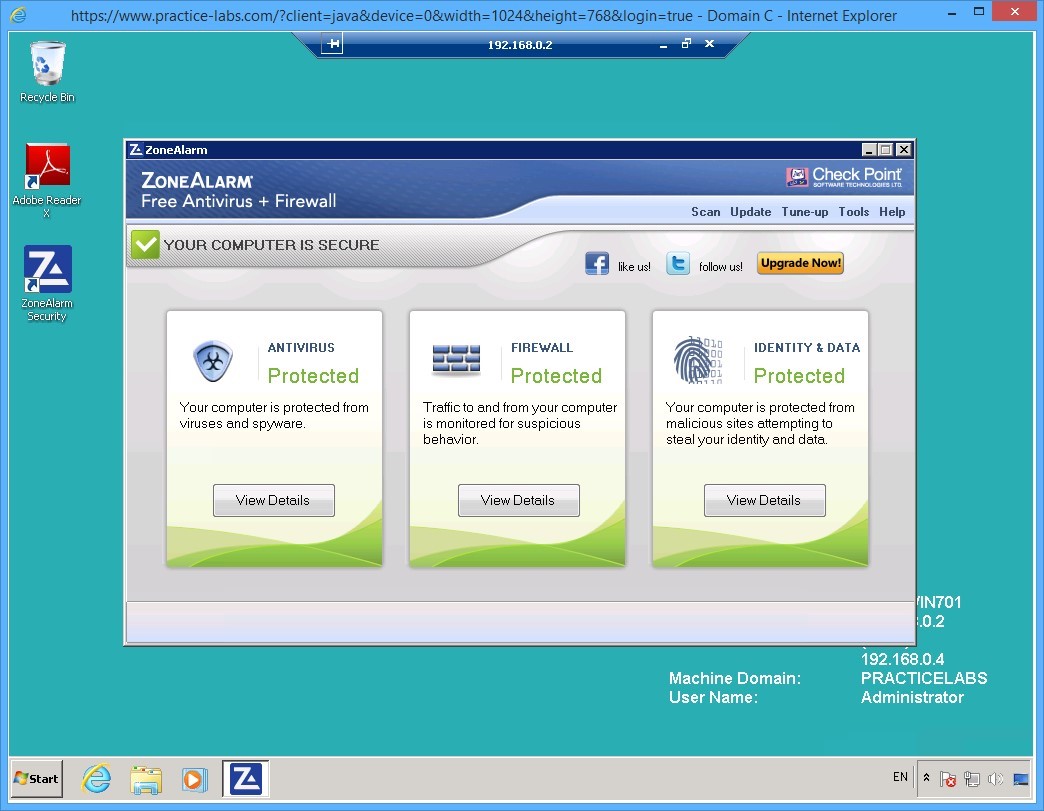
When installation of the antivirus program is completed, the ZoneAlarm main window will be displayed.
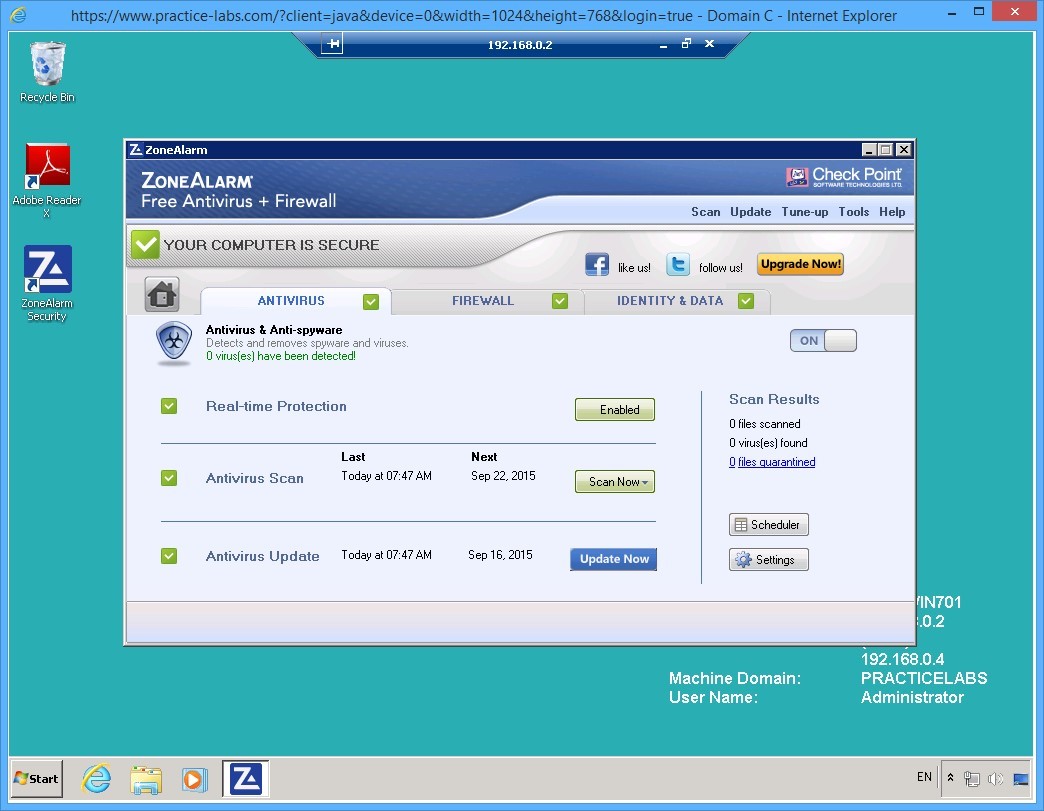
Click View Details in the ANTIVIRUS section.
Step 2
Note that the Real-time Protection is enabled.
On this tab, you can also schedule a scan and configure settings.
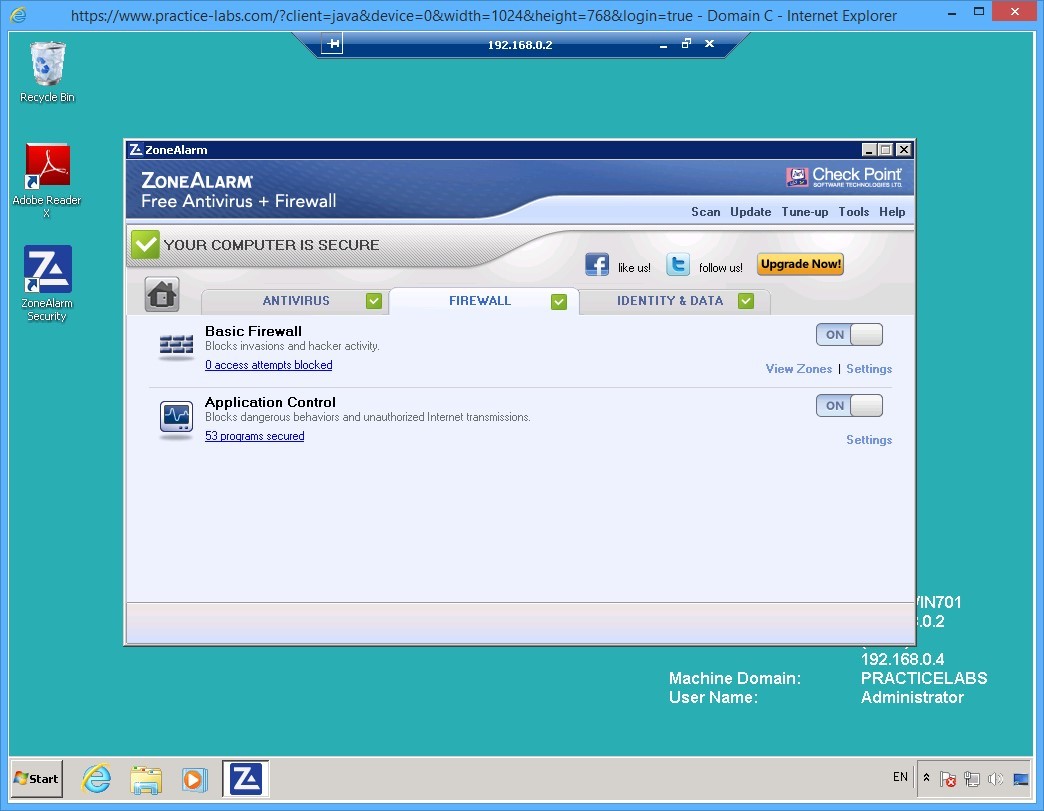
Click FIREWALL tab.
Step 3
On the FIREWALL tab, you will notice that Basic Firewall and Application Control are enabled.
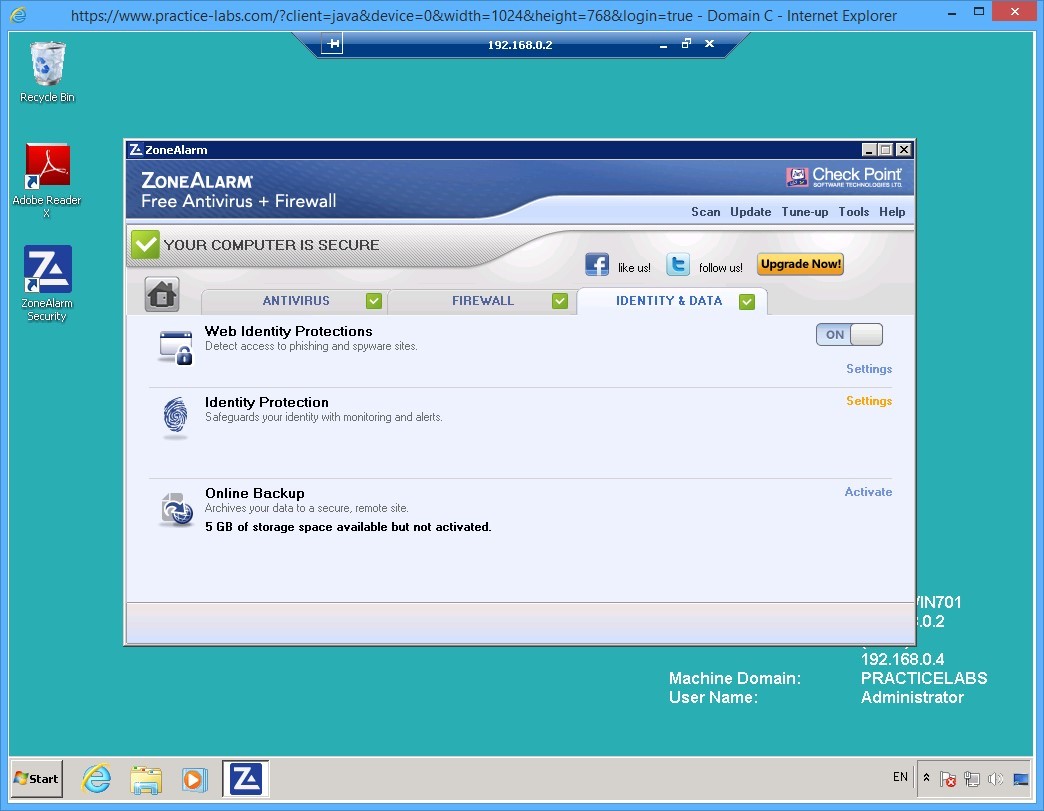
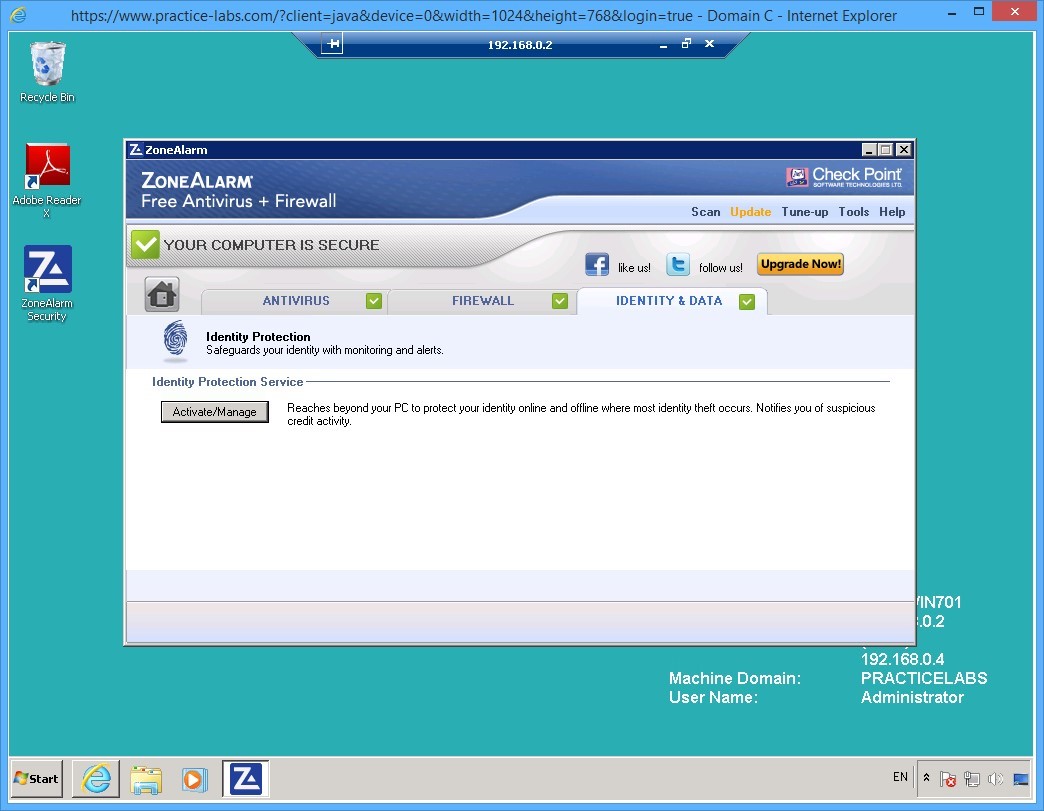
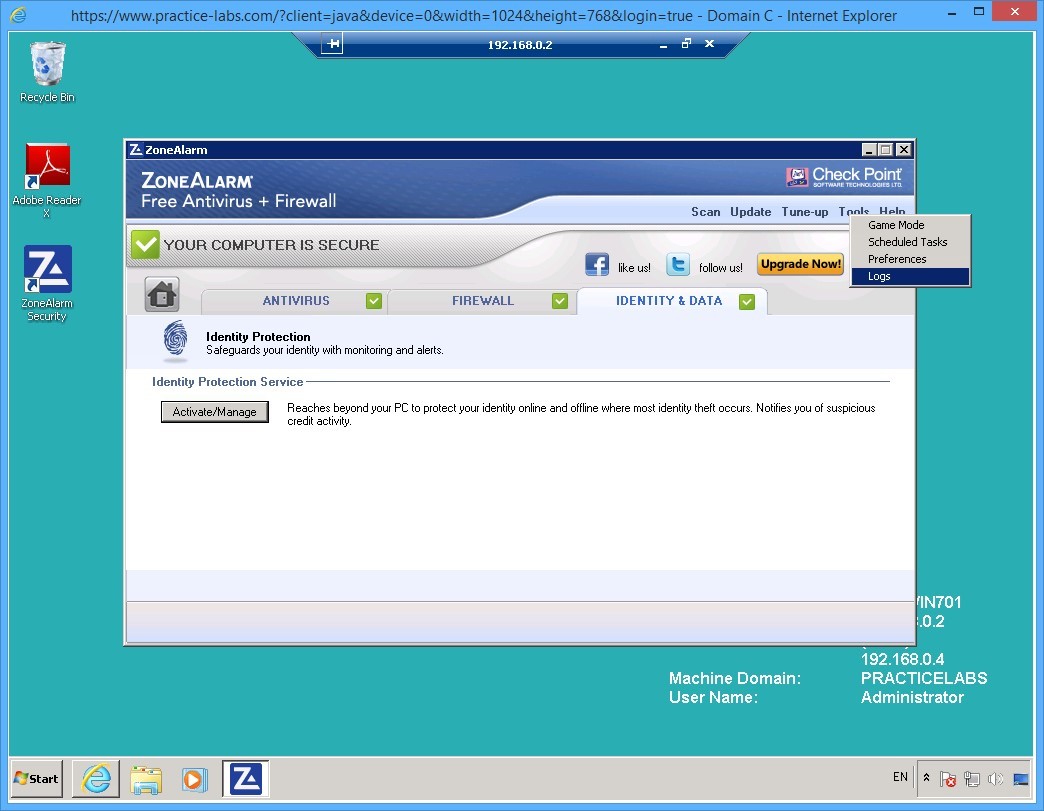
Click IDENTITY & DATA tab.
Step 4
Under the IDENTITY & DATA tab, locate Identity Protection and click Settings.
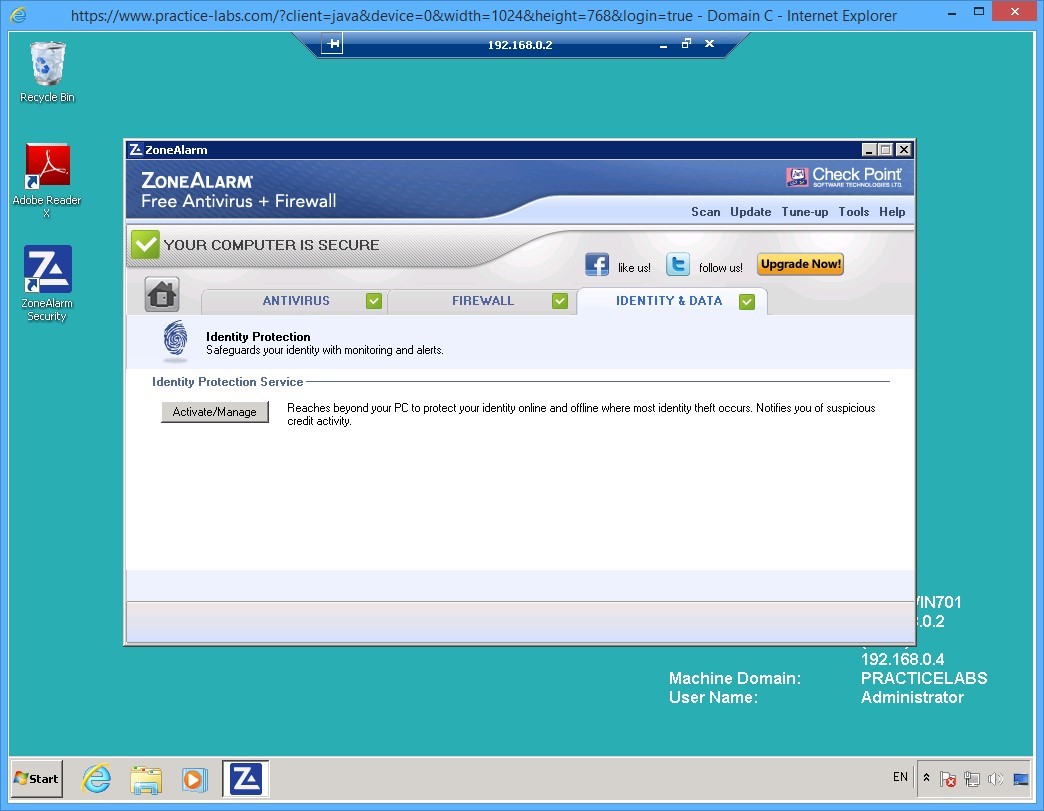
Step 5
On the Identity Protection Service section, click Activate/Manage.
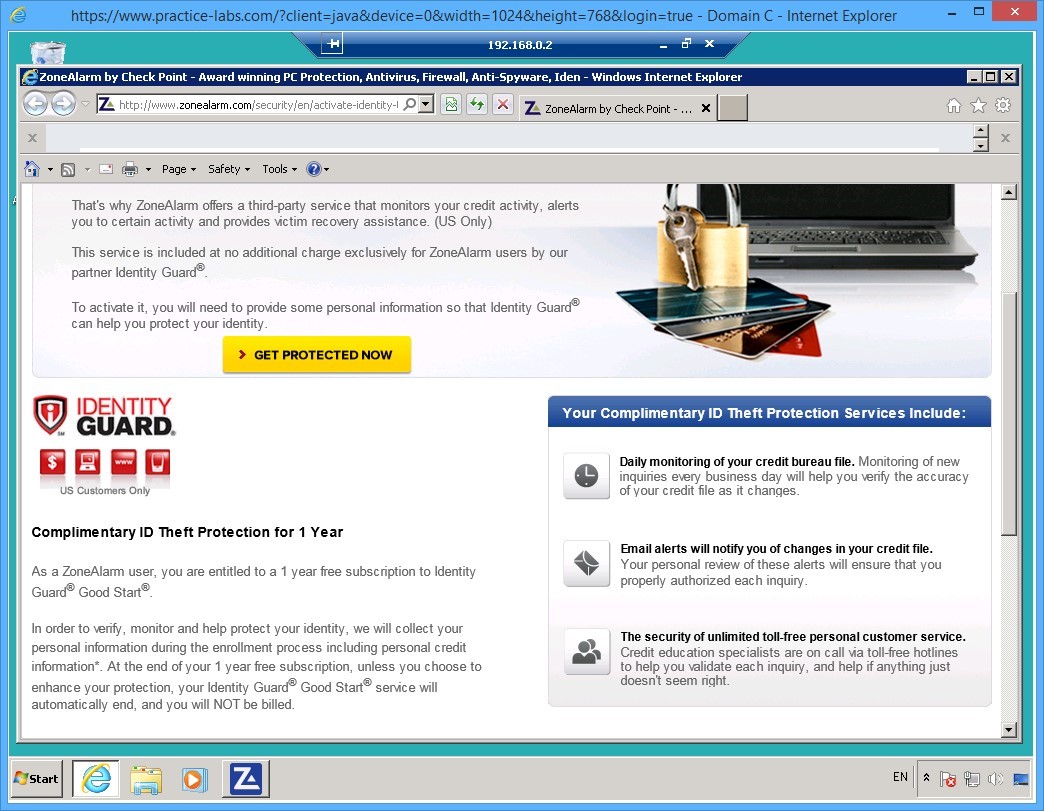
Step 6
A new web page opens.
Alert: The ZoneAlarm REPEAT PROGRAM pop-up message may appear at lower right corner of the screen. Click Allow. If the ZoneAlarm REPEAT PROGRAM pop-up message reappears, click Allow.
If the web page does not load like the below screenshot, please disregard this step and continue to the following step.
Scroll down the page and read additional information on ZoneAlarm Identity Protection Services about activating IDENTITY GUARD.
Please note that this lab will not show the actual use of IDENTITY GUARD. If you are a resident in the US, you can proceed with activation of this feature and follow the instructions that will be given to you to use this service.
Close the browser after going over the IDENTITY GUARD information webpage.
Keep all devices powered on in their current state and proceed to the next task.
Task 6 - Configure ZoneAlarm to use a proxy server
Before downloading the updates of antivirus definitions, you need to set up ZoneAlarm to use the proxy server in this lab.
To configure ZoneAlarm to use the proxy server, perform the following steps:
Step 1
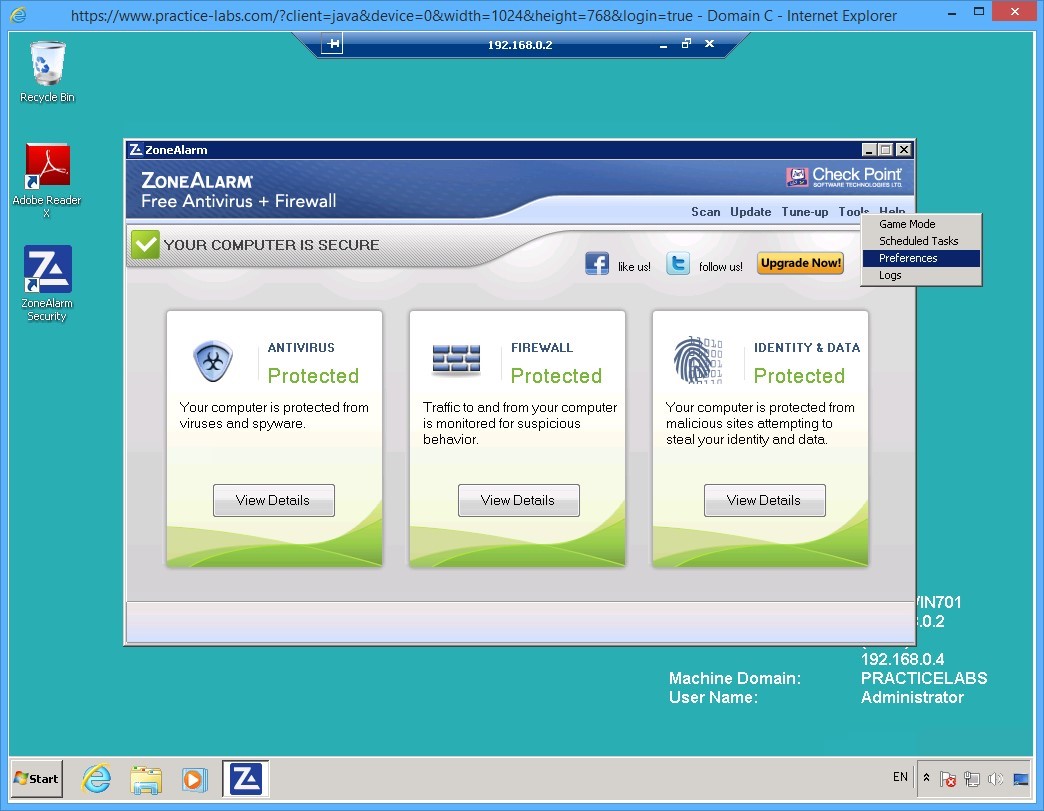
On ZoneAlarm window, click Tools menu near the top-right corner of the window and select Preferences.
Step 2
On the Preferences dialog box, under the Proxy Configuration section, enter the following settings:
Select Enable Proxy Server check box.
In the Proxy Server text box, type:
proxy
In the Port text box, type:
8080
Click OK.

Step 3
Keep the ZoneAlarm window open for the next activity.
Keep all devices powered on in their current state and proceed to the next task.
Task 7 - Update the ZoneAlarm definitions and perform a quick scan
Like other anti-malware applications, you need to update the signatures of the program to make it effective in fending off unwanted malware from infecting your system.
To update the antivirus definitions and perform a quick scan, perform the following steps:
Step 1
On the ZoneAlarm application, click Update on the near the top-right corner of the window.
Step 2
Please wait while update is downloading the signatures.
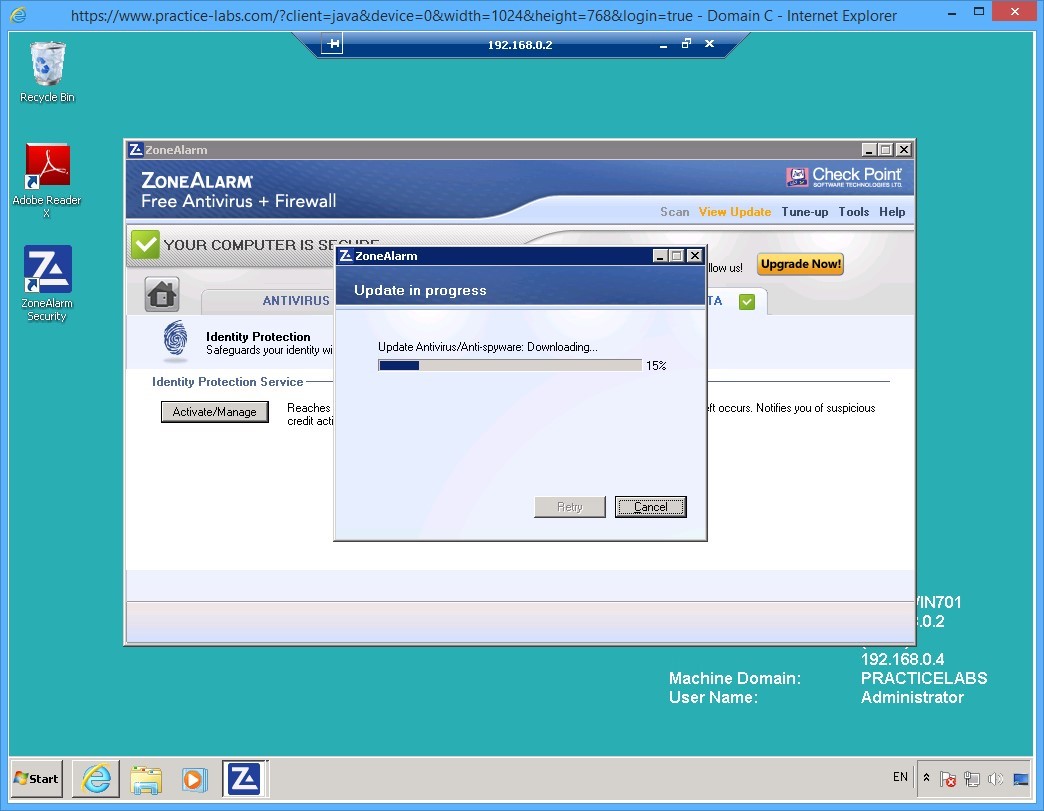
Step 3
After the update is successfully completed, if you get a “Product Update error” on either component, click Retry.
Important: If you get an error again, close ZoneAlarm window. Reopen ZoneAlarm and perform the same steps indicated in this task. This error is caused by delays in connecting to the proxy server by the ZoneAlarm application.
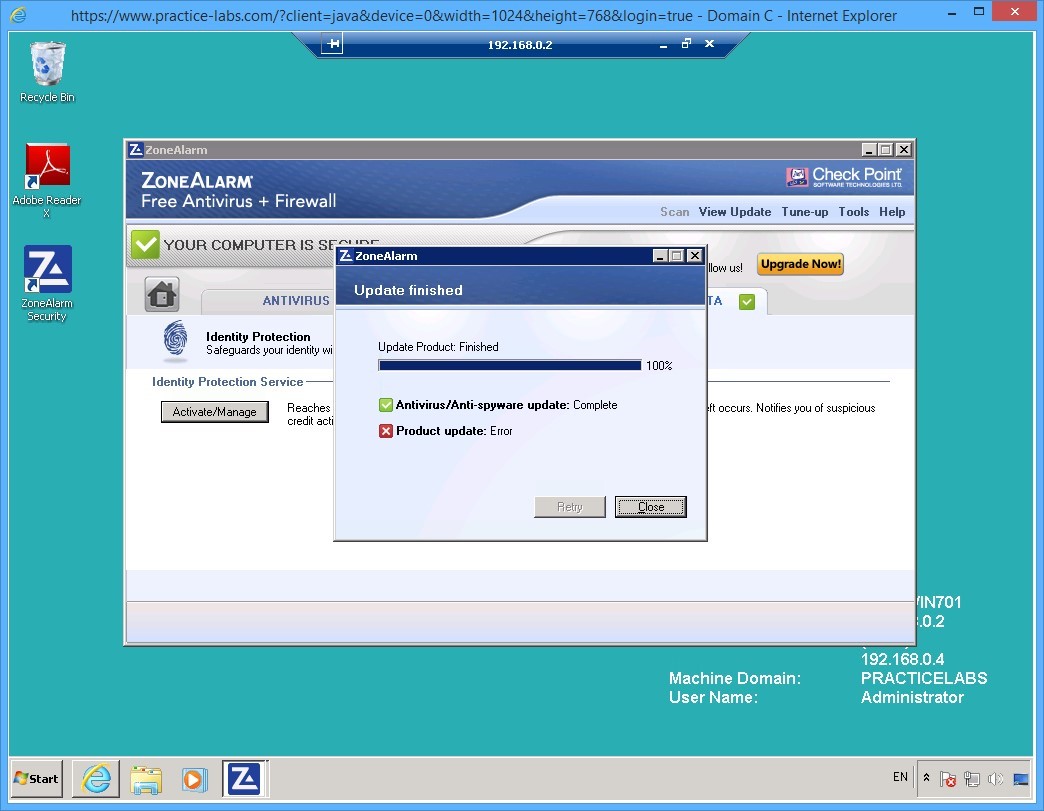
Step 4
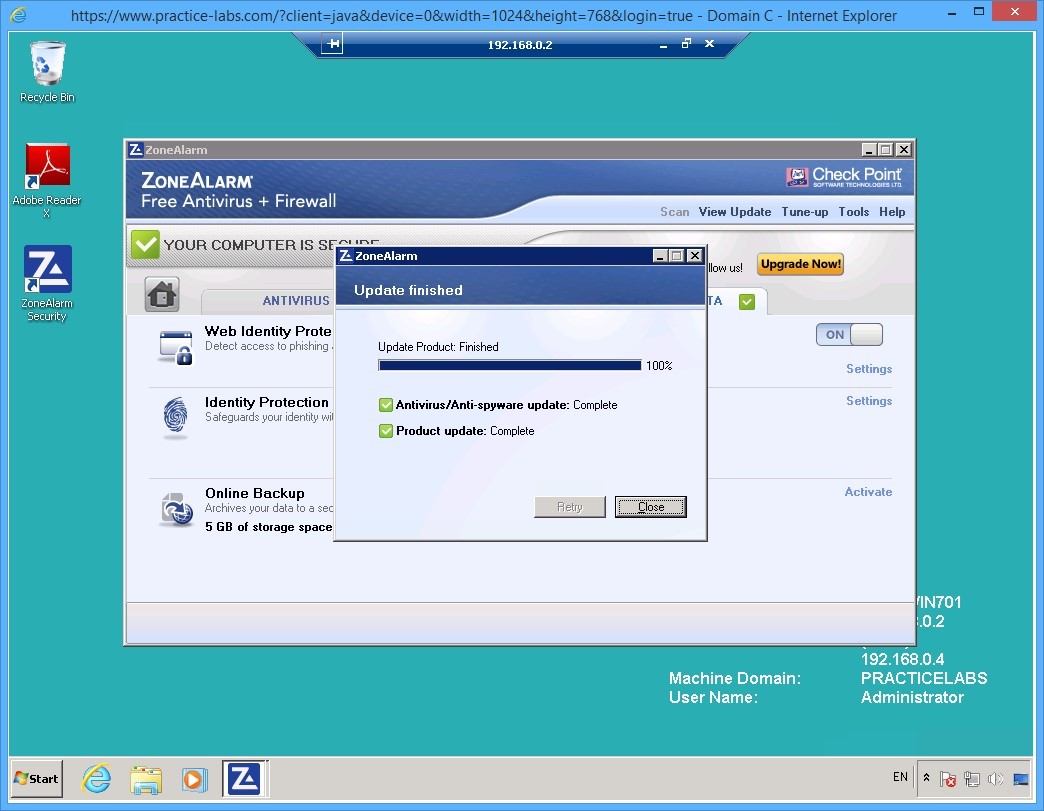
Please wait while product update is running.
When the Antivirus/anti-spyware update and Product Update indicate Complete status, click Close.
Step 5
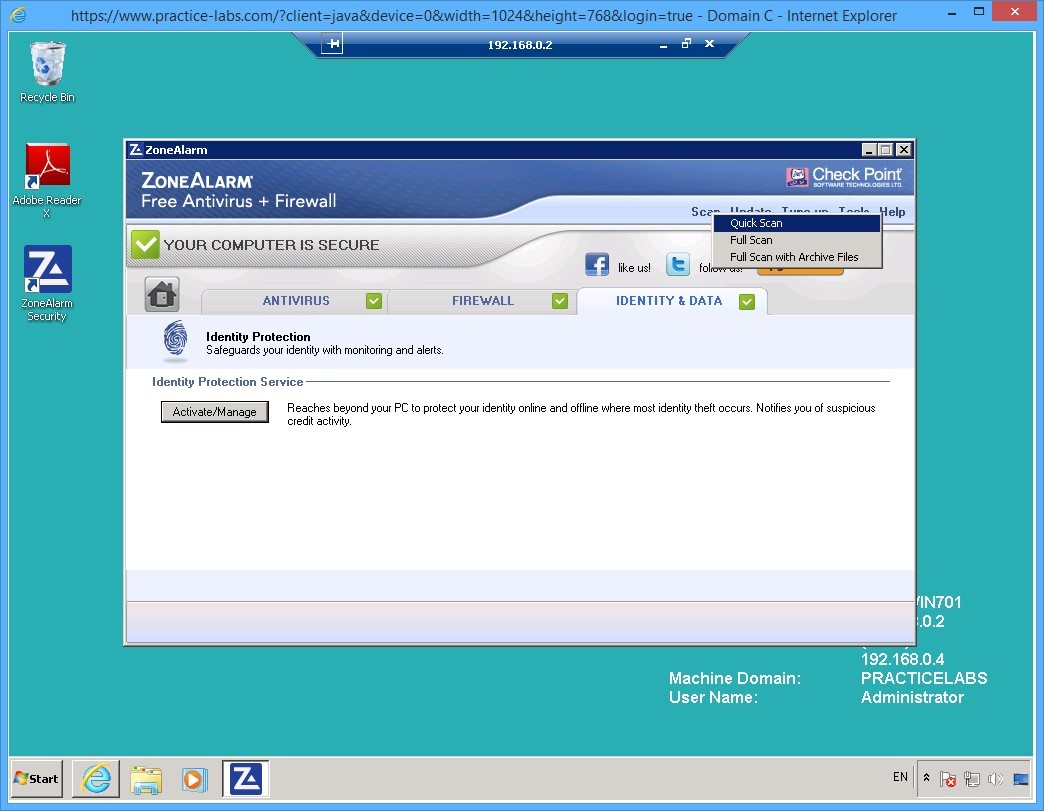
Click Scan menu near the top-right corner and then select Quick Scan.
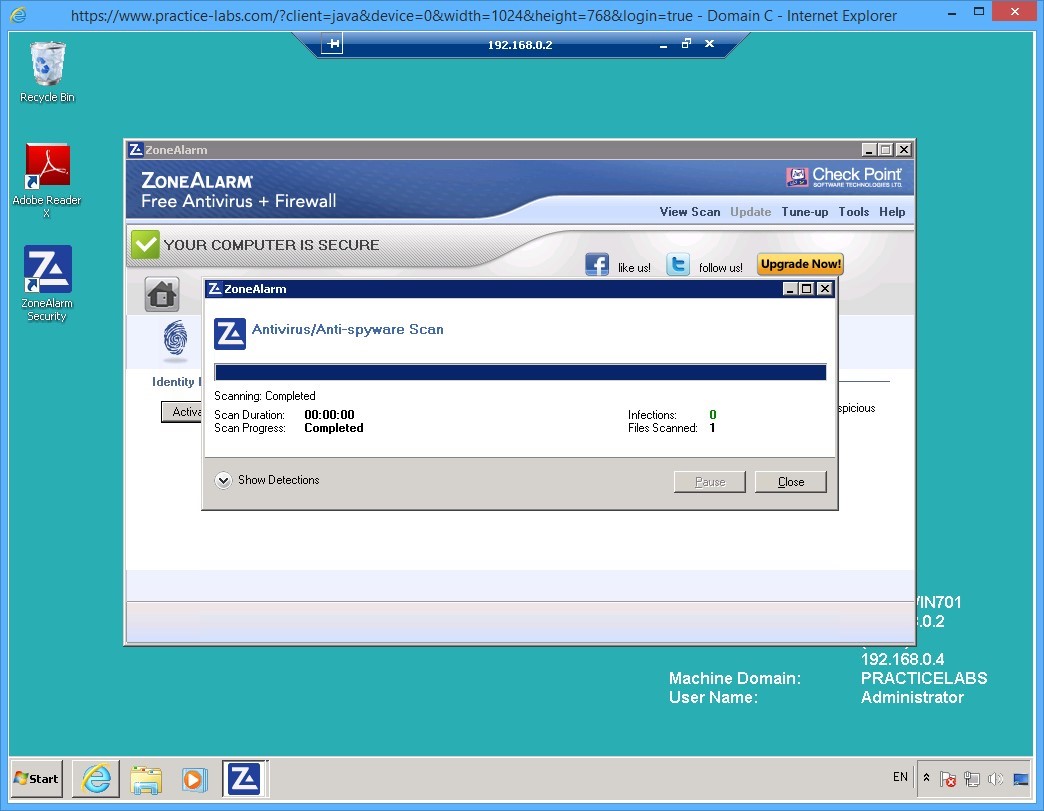
Step 6
The quick scan completed successfully.
Click Show Detections down arrow.
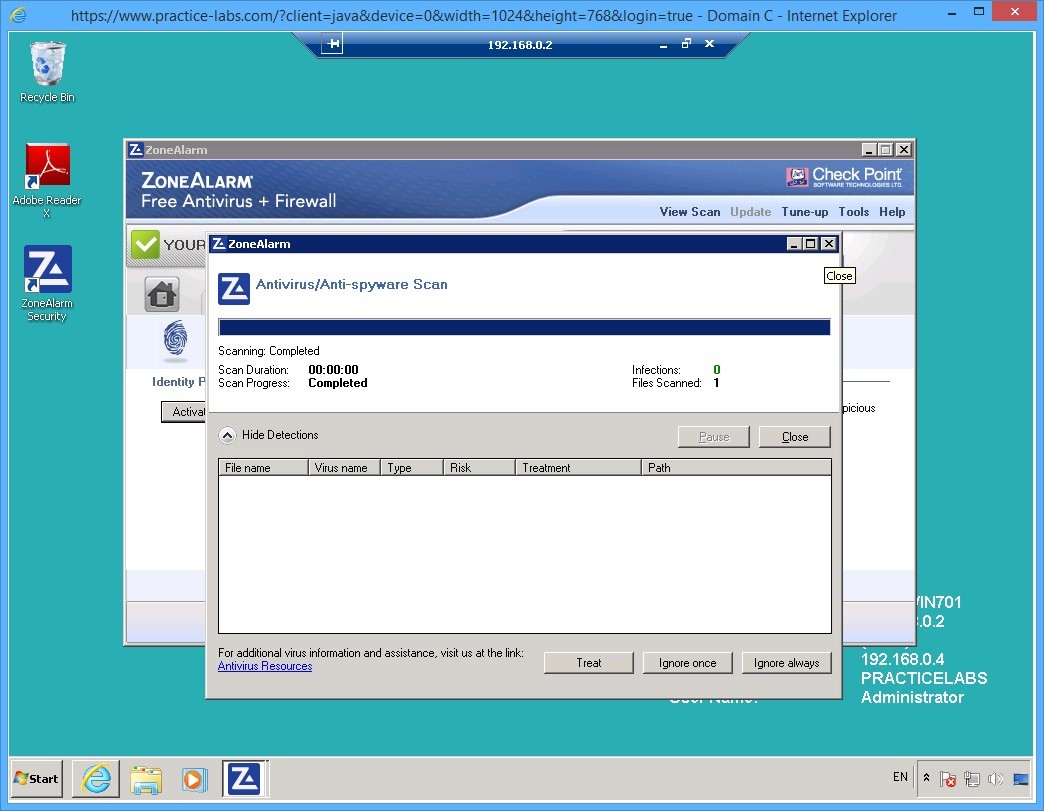
Step 7
There are no viruses detected in this scan.
Click X Close.
Keep all devices powered on in their current state and proceed to the next task.
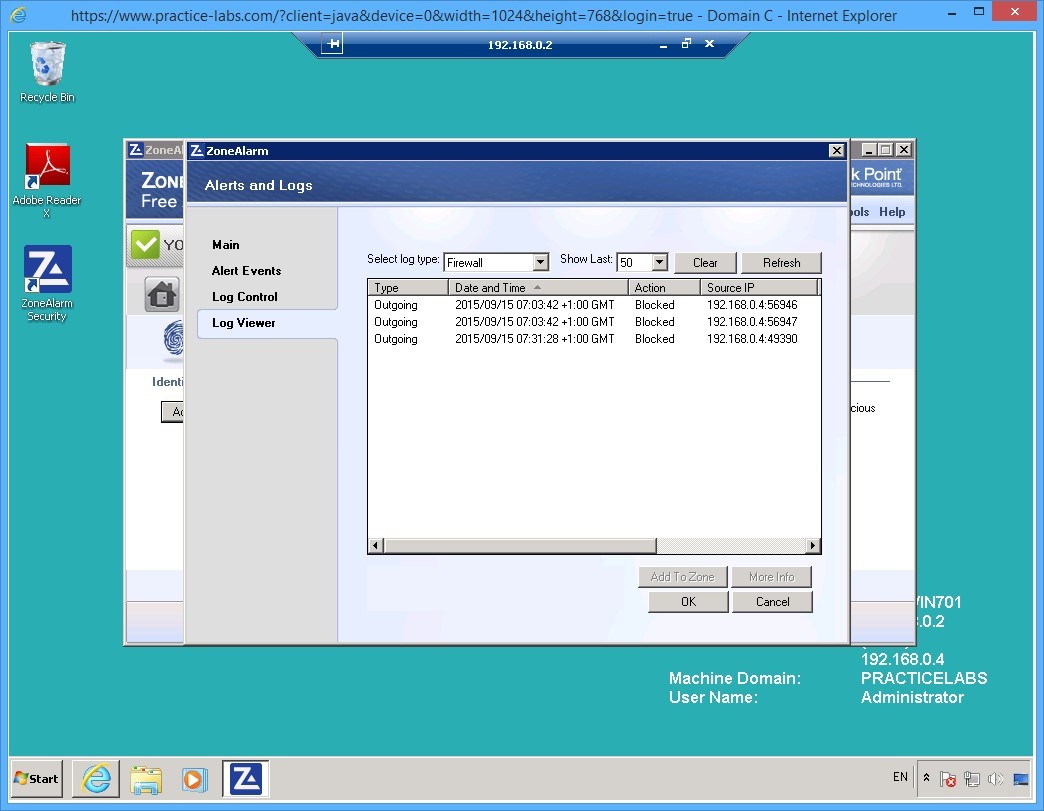
Task 7 - Working with ZoneAlarm logs
To view the logs in ZoneAlarm, perform the following steps:
Step 1
Click Tools on the top-right menu and select Logs.
Step 2
The ZoneAlarm - Alerts and Logs dialog box, the Log Viewer tab show the Firewall log and outgoing connections that were blocked along with other details.
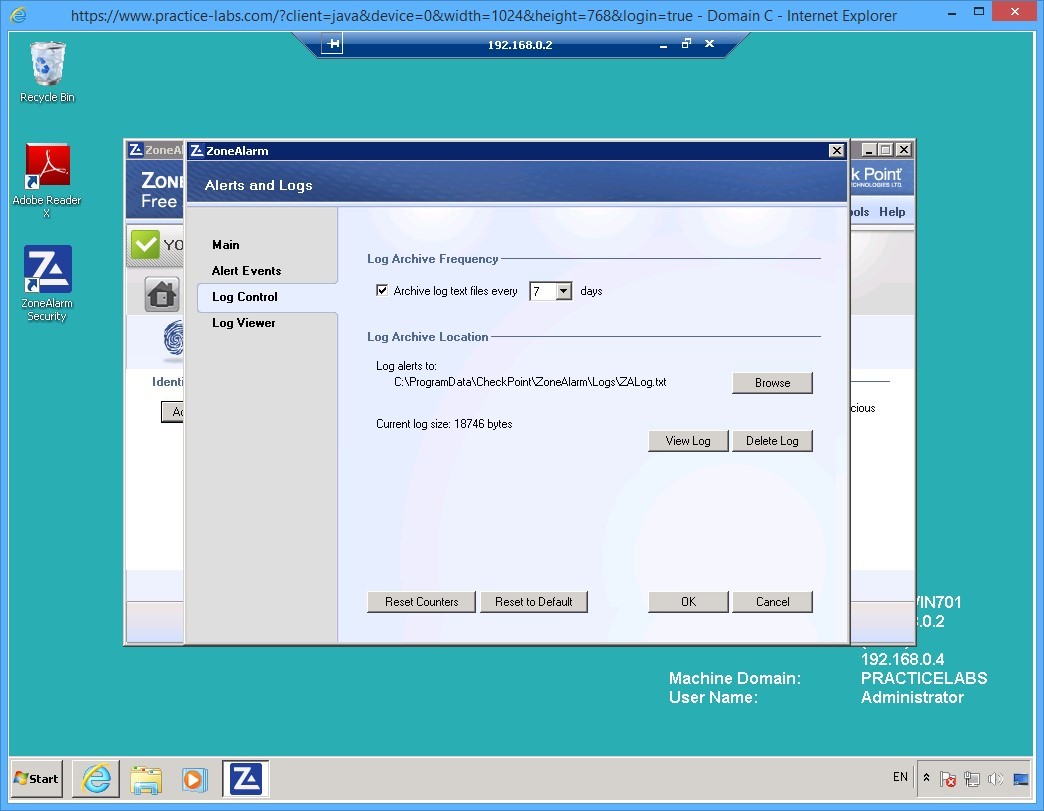
Click Log Control.
Step 3
On the Log Control, the log archive frequency and log archive locations have been automatically set.
Keep the default selections.
Click Alert Events.
Step 4
On the Alert Events tab, you have the settings for different system events.
Keep the default selections.
Click OK.

Shut down all virtual machines used in this exercise using Practice Labs power button function to revert these devices to their default settings.
Alert: In the preparation for the next exercise, power back on PLABDC01 and PLABWIN701. When the devices are ready, proceed to Exercise 2 which is about using Snort.
Exercise 2 - Install and Configure Snort
Snort is a portable intrusion detection system (IDS) for Windows and Linux operating systems. This tool is capable of capturing real-time network traffic analysis and perform packet logging on TCP/IP networks.
To get a better understanding of this technology, please refer to your course material or use your preferred search engine to research this topic in more detail.
Task 1 - Download and Install WireShark Network Analyzer
WireShark is an open source network protocol analyser available for public download. This is a pre-requisite to a later task about using an intrusion detection tool called Snort.
Step 1
Ensure that you have powered on the required devices indicated at the Introduction.
On PLABWIN701 device, click Internet Explorer on taskbar.
Step 2
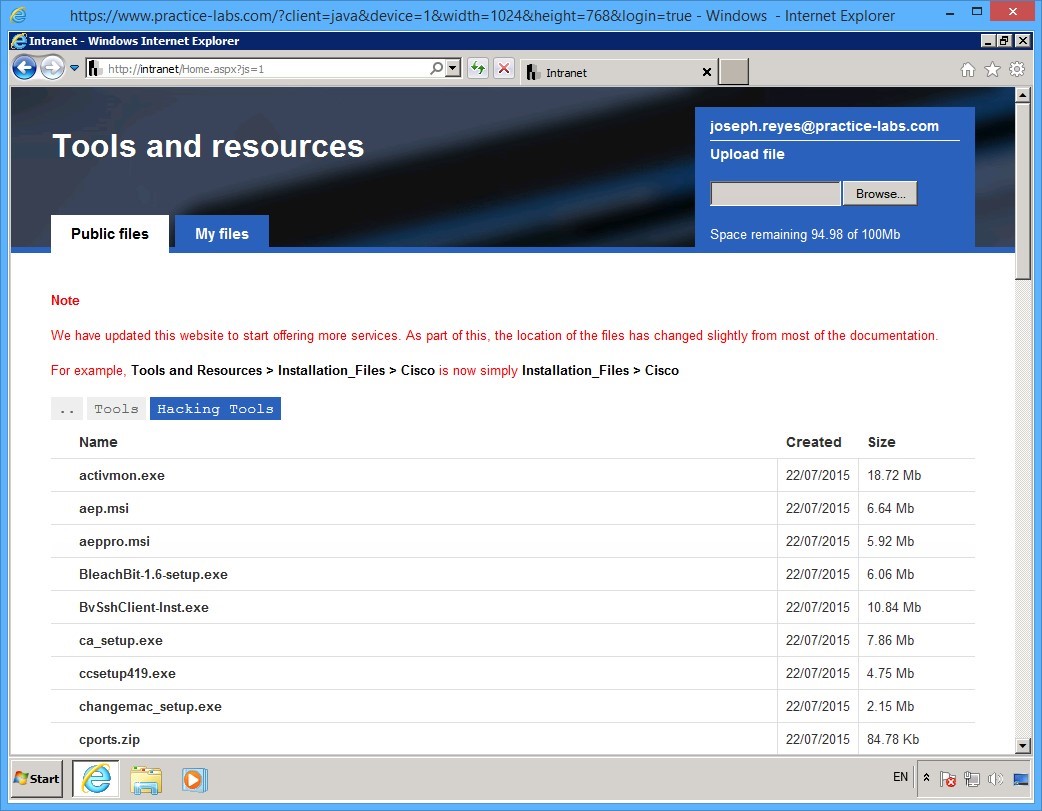
You will be redirected to Tools and resources web page.
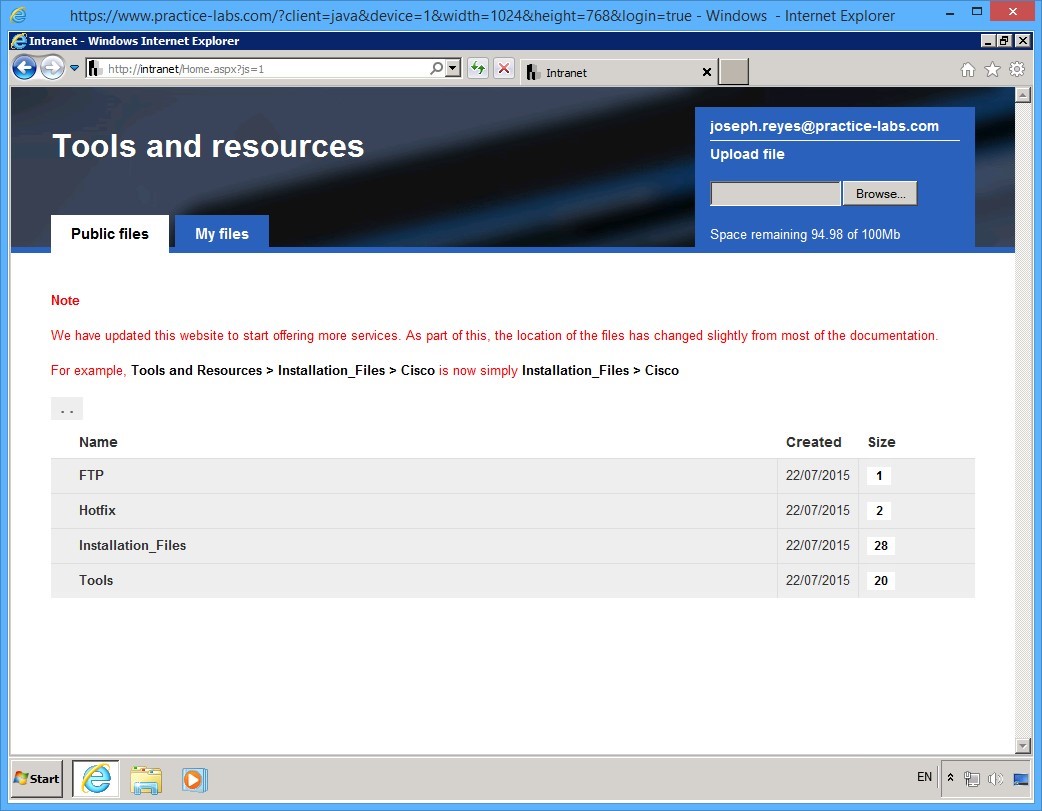
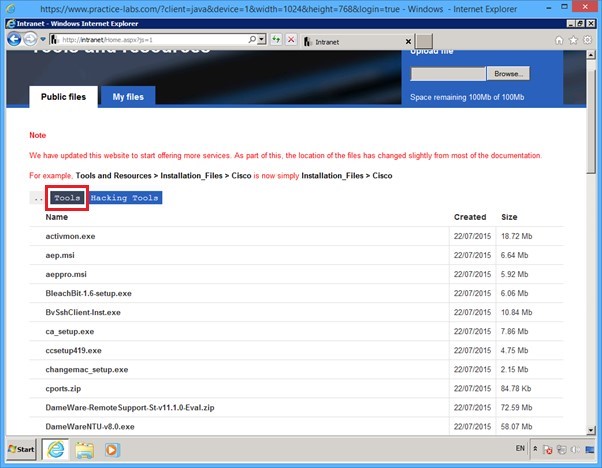
Under the Public files tab, click on Tools.
Step 3
On the [..] > Tools page, click Hacking Tools.

Step 4
On the [..] > Tools > Hacking Tools page, scroll down the page and locate WireShark-win32-1.12.3.exe.

Step 5
Click on WireShark-win32-1.12.3.exe
On the notification toolbar, click Run.

Step 6
On the Welcome to the WireShark 1.12.3 (32-bit) Setup Wizard dialog box, click Next.

Step 7
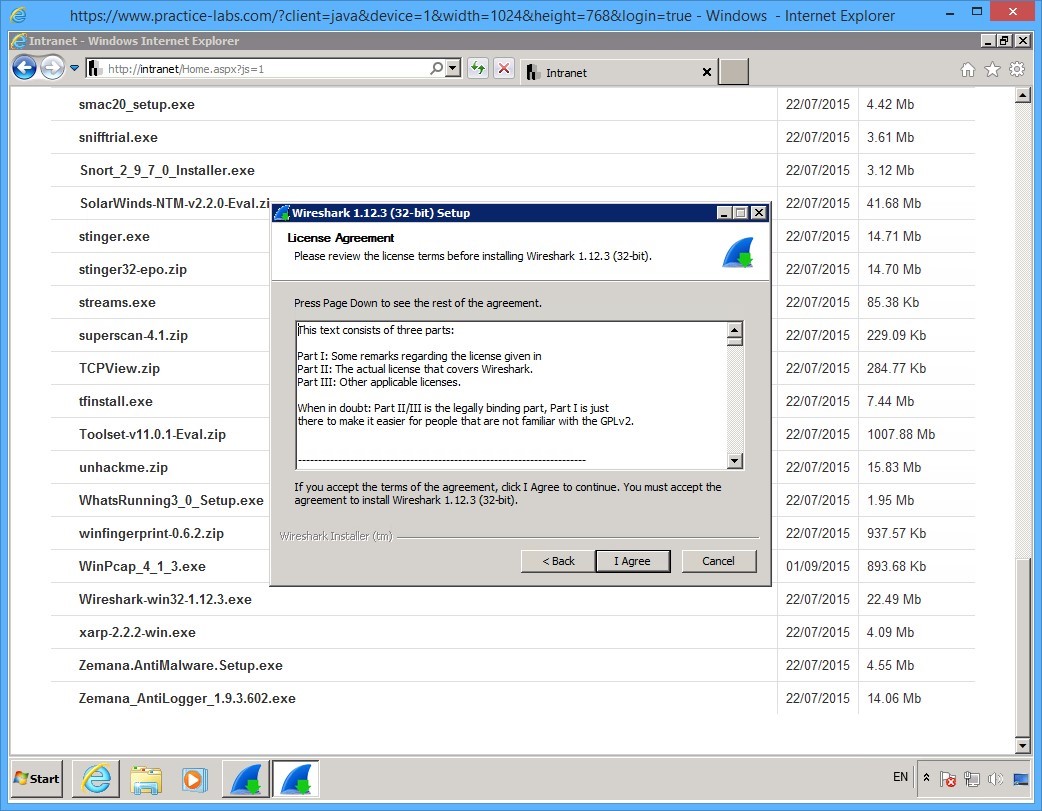
On the License Agreement page, click I Agree.
Step 8
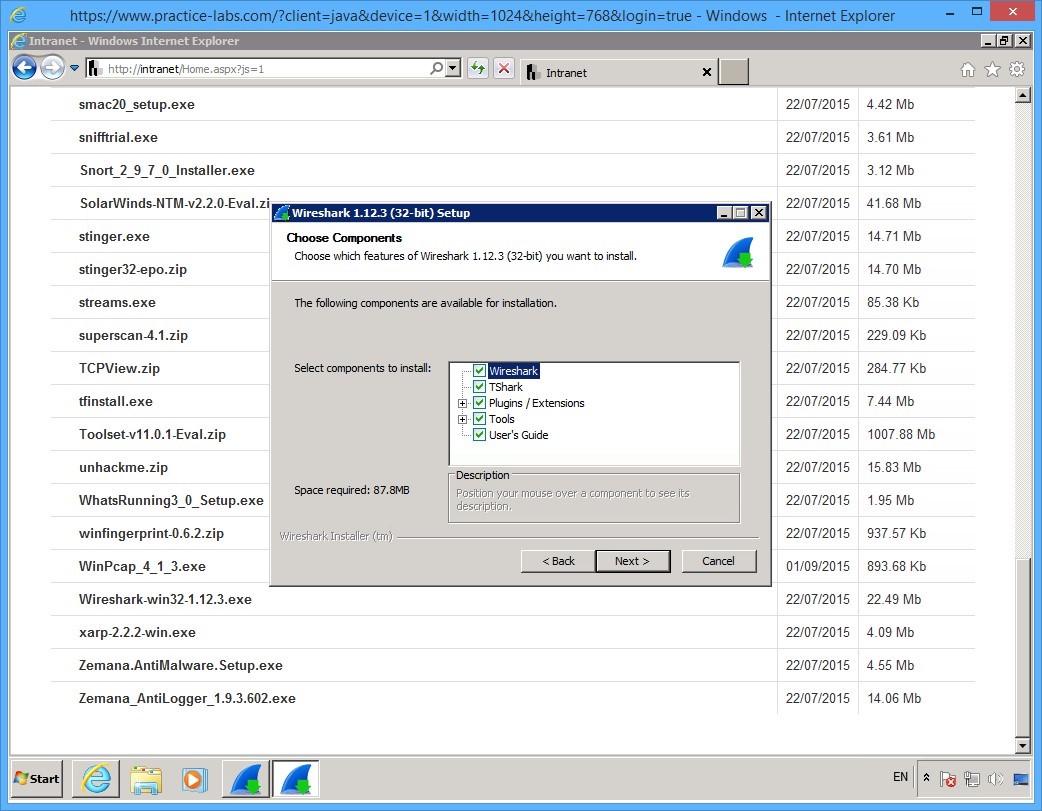
On the Choose Components page, click Next.
Step 9
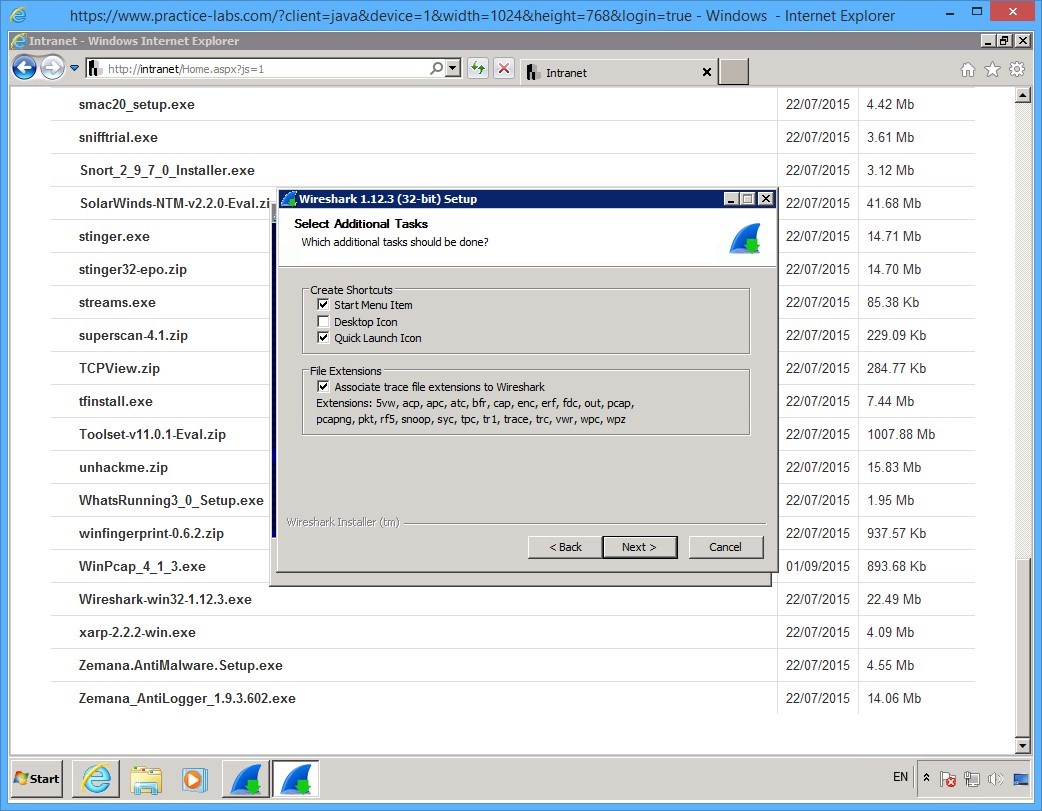
On the Select Additional Tasks page, keep the default selections and click Next.
Step 10
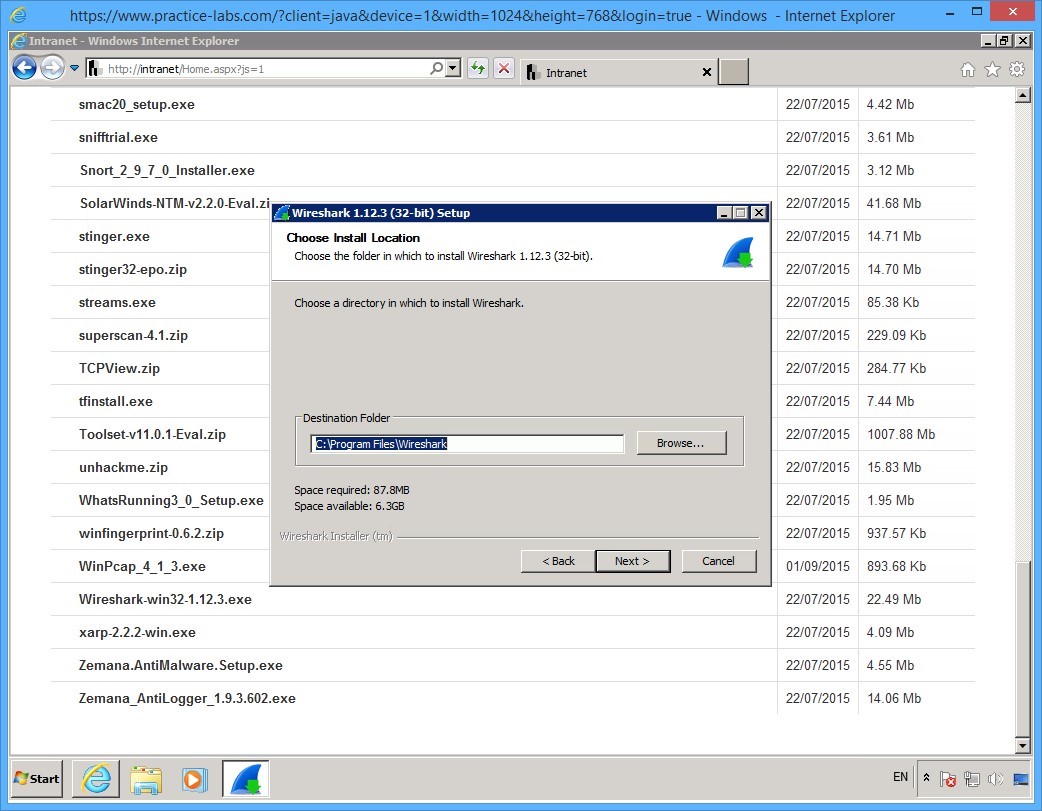
On the Choose Install Location page, click Next.
Step 11
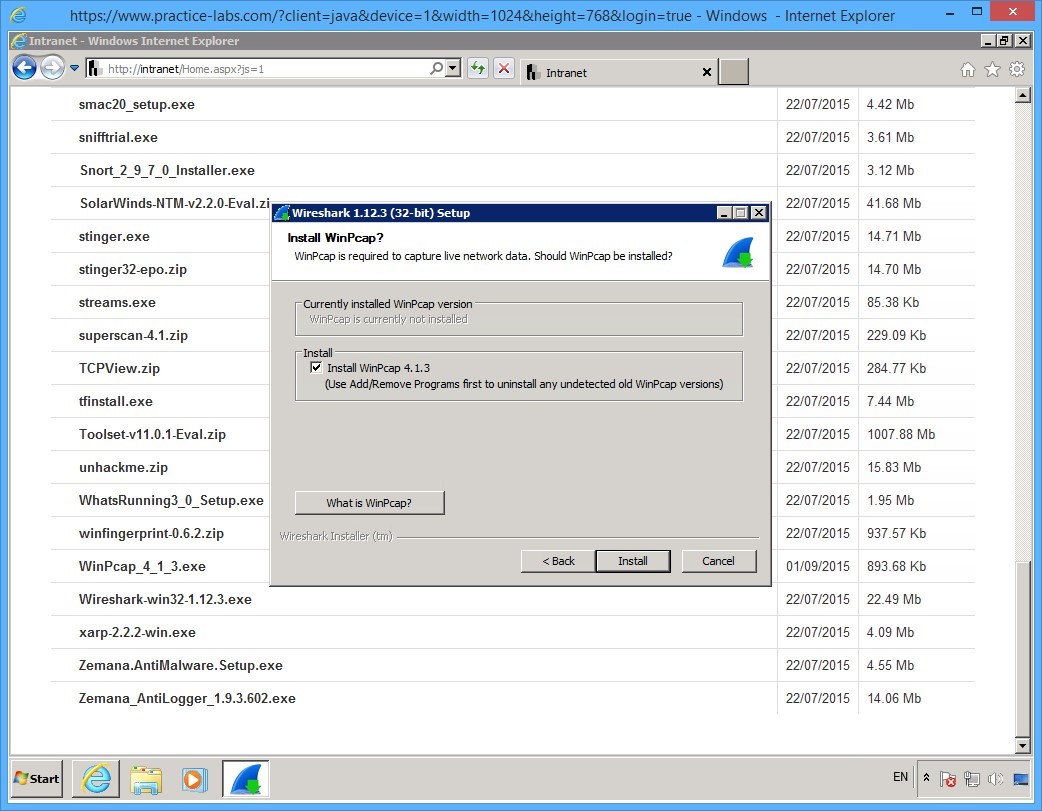
On the Install WinPcap page, click Install.
Step 12
Please wait while installation is in progress.
Step 13
The Welcome to the WinPcap 4.1.3 Setup Wizard dialog box appears, click Next.

Step 14
On the License Agreement page, click I Agree.

Step 15
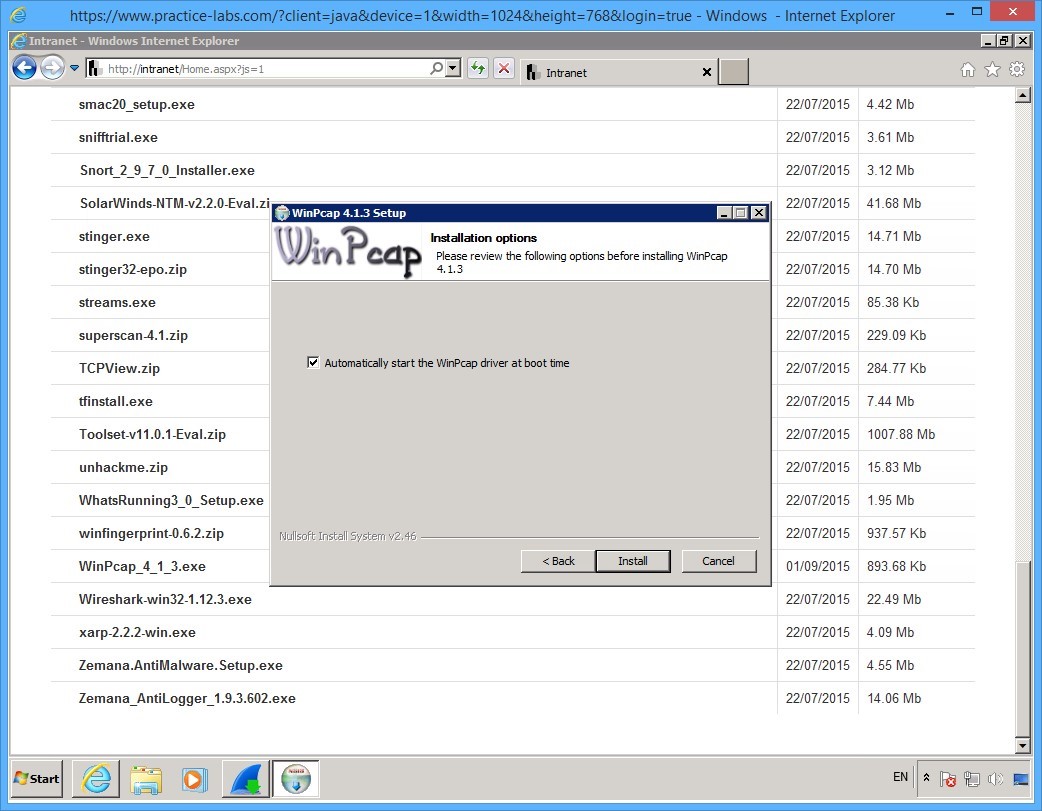
Finally on the Installation Options page, click Install.
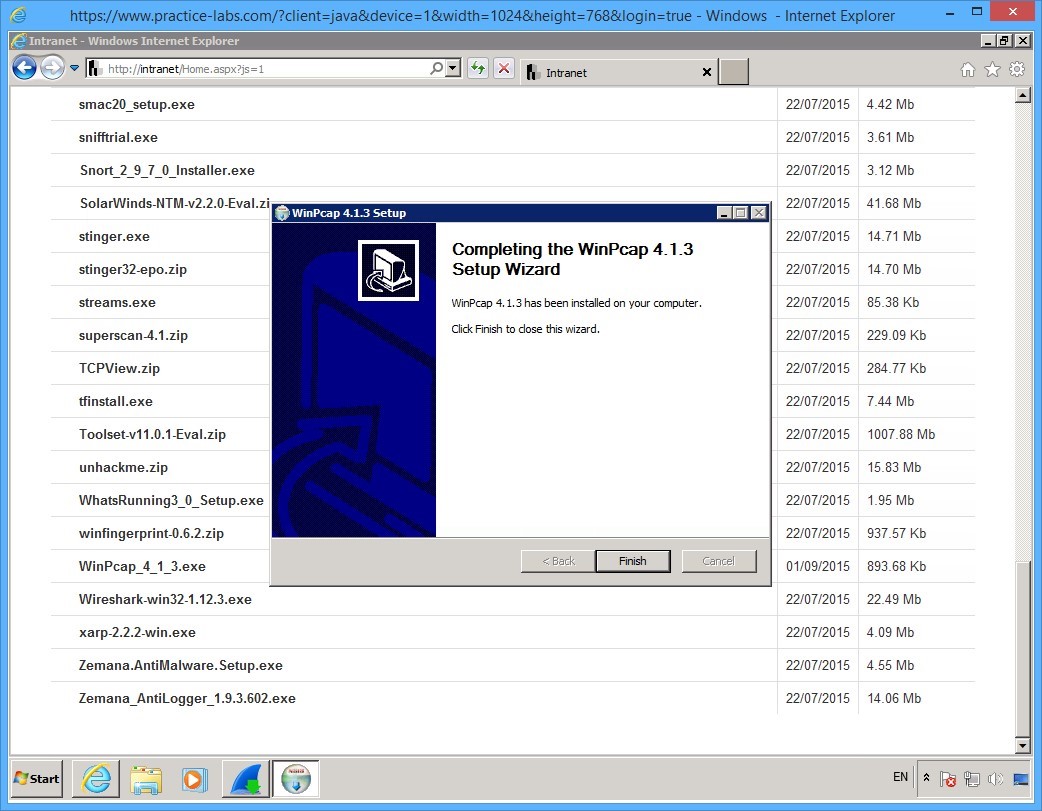
Step 16
On the Completing the WinPcap 4.1.3 Setup Wizard dialog box, click Finish.
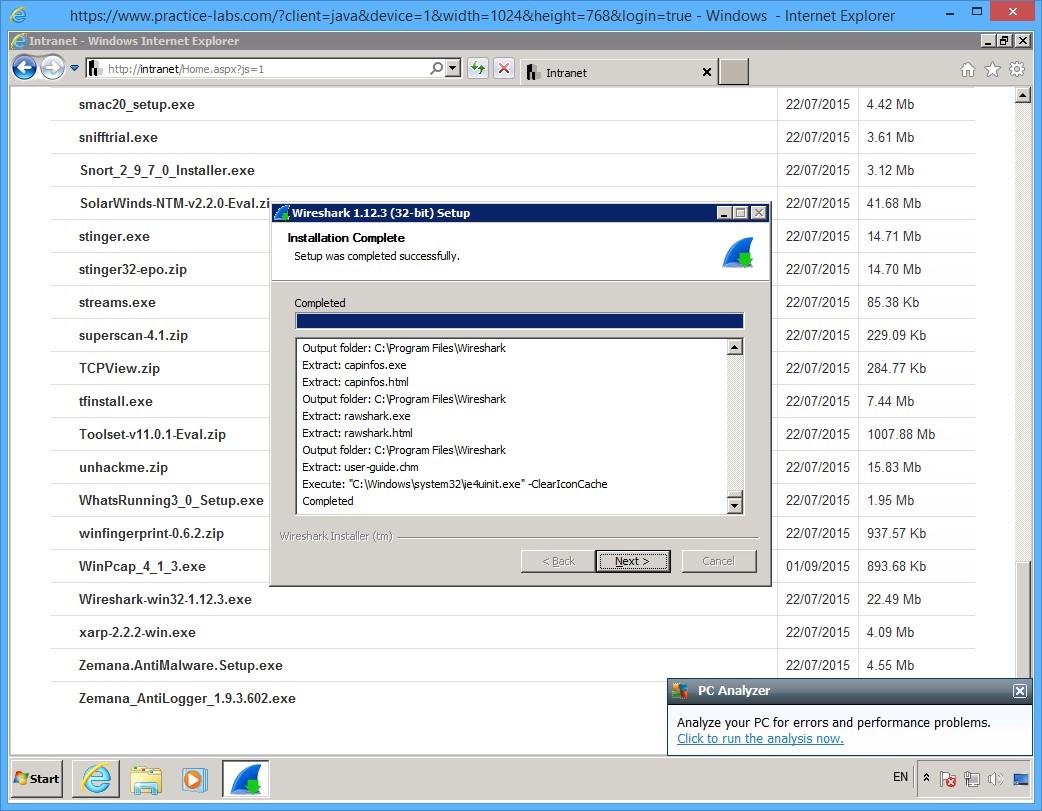
Step 17
On the Installation Complete page, click Next.
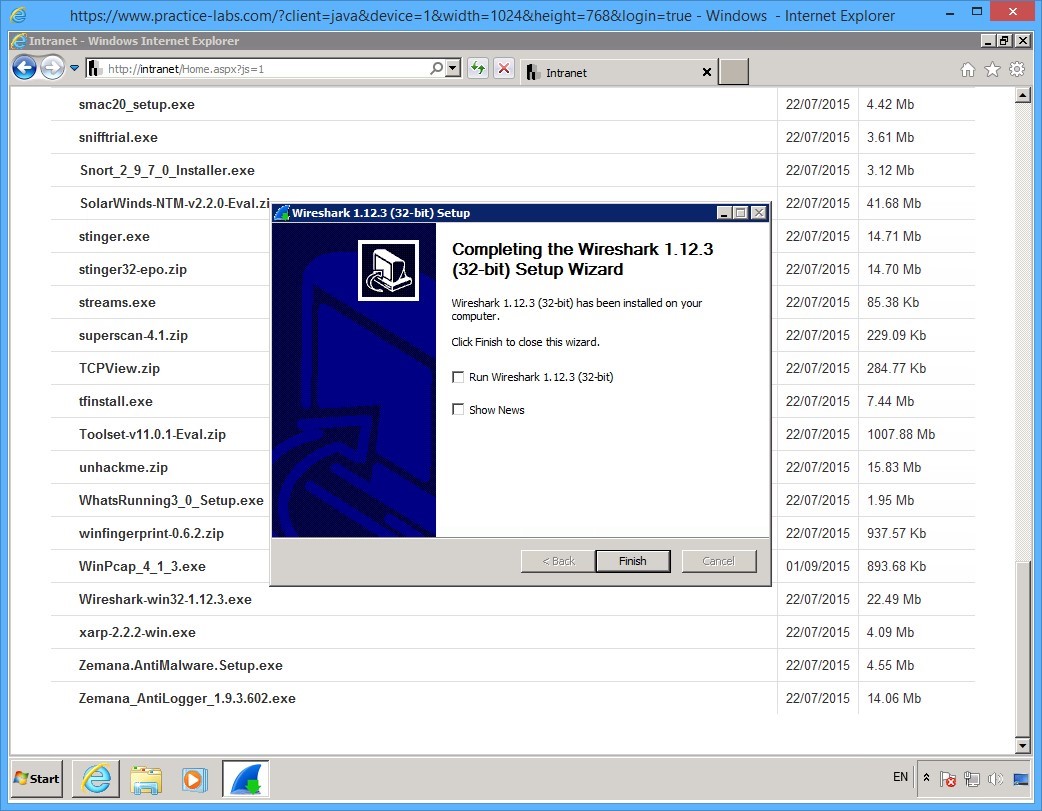
Step 18
On the Completing the Wireshark 1.12.3 (32-bit) Setup Wizard page, keep the default selections.
Click Finish.
Step 18
Keep Internet Explorer with the Tools and resources web page open for the next task.
Ensure that you are in [..] > Tools > Hacking Tools path.

Leave the devices you have powered on in their current state and proceed to the next task.
Task 2 - Download and Install NotePad++
In this task, you will download and install NotePad++. You will need this tool to edit the snort configuration file in a later task.
If you encounter an error when you run the Snort IDS tool, it will reference a line number in the snort.conf file where the issue was found. Therefore, it will be easier to resolve problems in the snort.conf file.
To download and install Notepad++, perform the following steps:
Step 1
On PLABWIN701 device, while Tools and resources web page is open, verify that you are in [..] > Tools > Hacking Tools path.
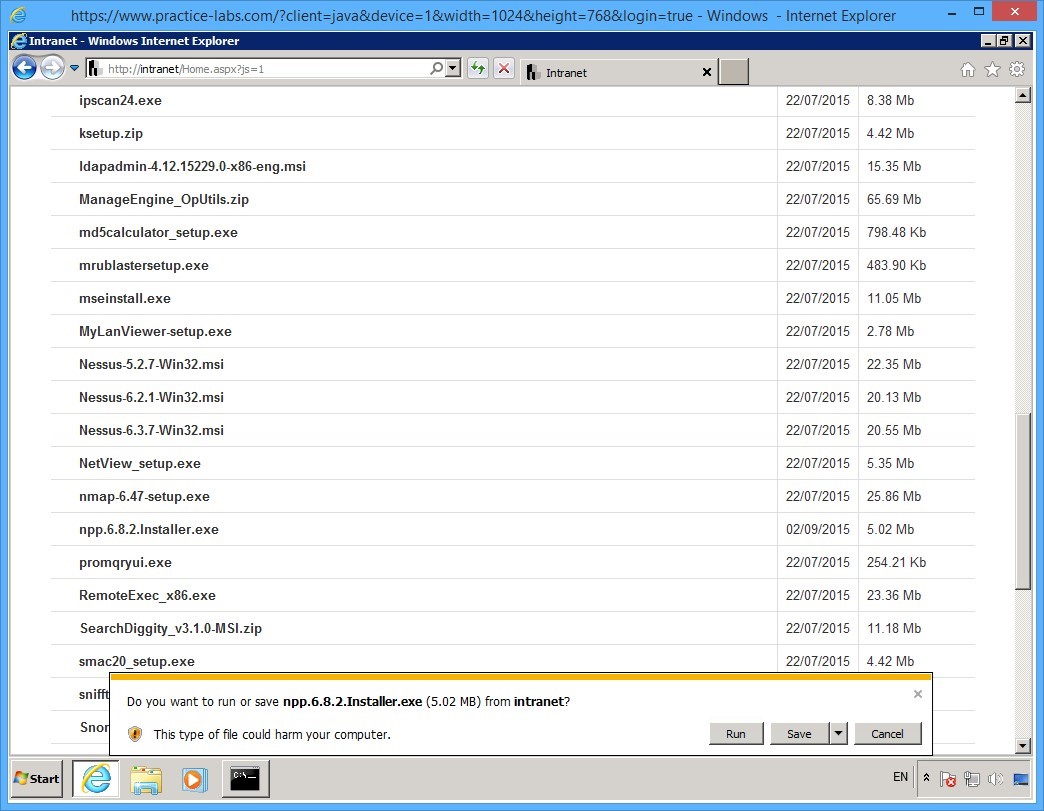
Locate npp.6.8.2.Installer.exe link.
Step 2
Click npp.6.8.2.Installer.exe link.
The notification toolbar will appear at the bottom of the screen.
Click Run.
Step 3
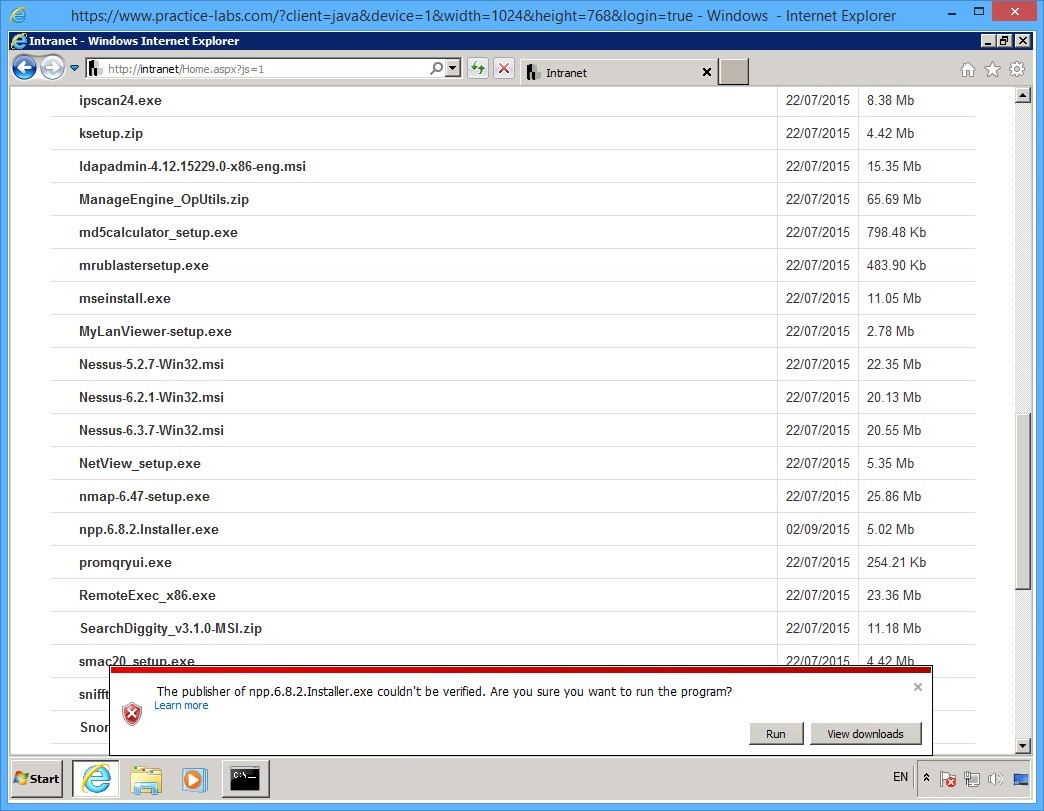
If you get the publisher couldn’t be verified message, click Run.
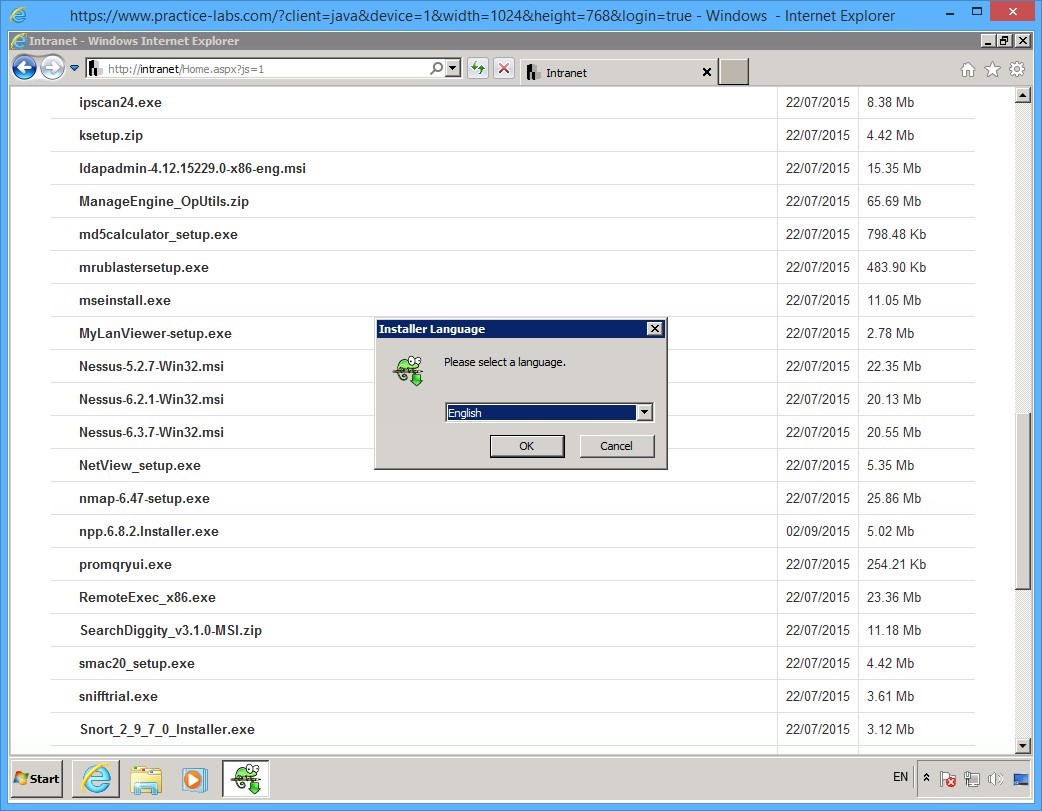
Step 4
Click OK in the Installer Language dialog box.
As in the earlier tasks, install Notepad++ by accepting all the default settings.
Step 5
When you get to the Choose Components page, select Create Shortcut on Desktop check box.
Click Install.

Step 6
Click Finish when installation of notepad++ is completed.
Alert: Notepad++ that you’ve just installed will attempt to download updates from to update the application. Click Update Selected button and click Yes to accept the default settings. Please let the update complete itself. If the application prompts for a restart, click Yes button. Notepad++ application will reopen.

Step 7
Reconnect to PLABWIN701 after 1 minute to give the computer sufficient time to complete its restart.
Launch Notepad++ from desktop to verify that the application works.
Then minimize the Notepad++ application window as you will need this in a later task.
Step 8
Click Internet Explorer icon on taskbar.
You are back in the Tools and resources web page.
As before click Tools, then select Hacking Tools.

Keep all devices powered on in their current state and proceed to the next task.
Task 3 - Download and Install Intrusion Detection Tool: Snort
Snort is an open source intrusion detection system that can monitor and log the traffic in real time. With the help of signatures, it can respond to a number of threats.
To download and install Snort, perform the following steps:
Step 1
On PLABWIN701 device, while you are in [..] > Tools > Hacking Tools path, scroll down to locate Snort_2_9_7_0_Installer.exe.

Step 2
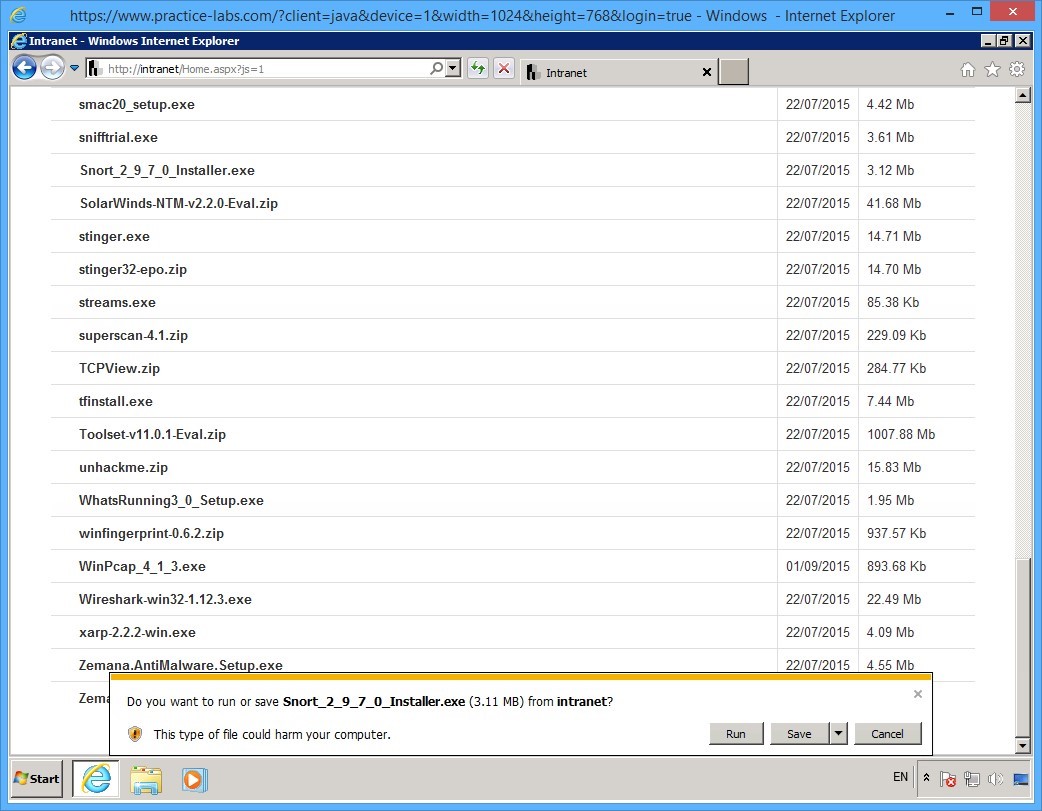
Click on Snort_2_9_7_0_Installer.exe
On the notification toolbar at the bottom of the page, click Run.
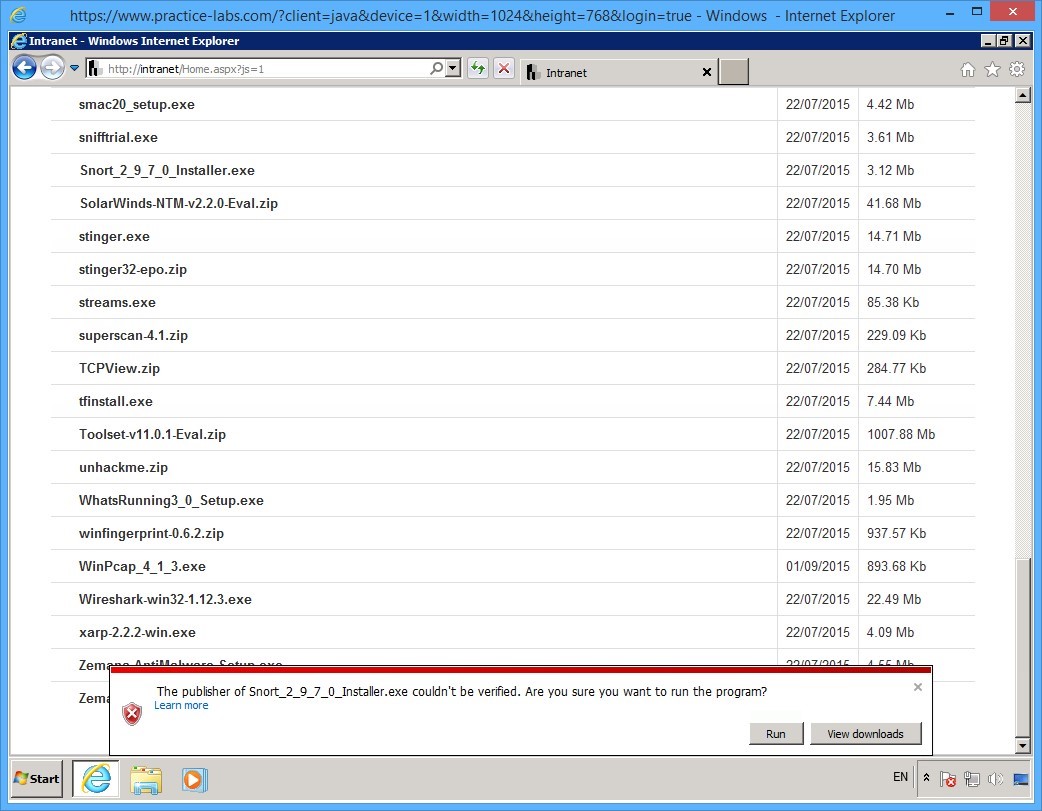
Step 3
When notified that the “Publisher of Snort_2_9_7_0_Installer.exe couldn’t be verified…” click Run.
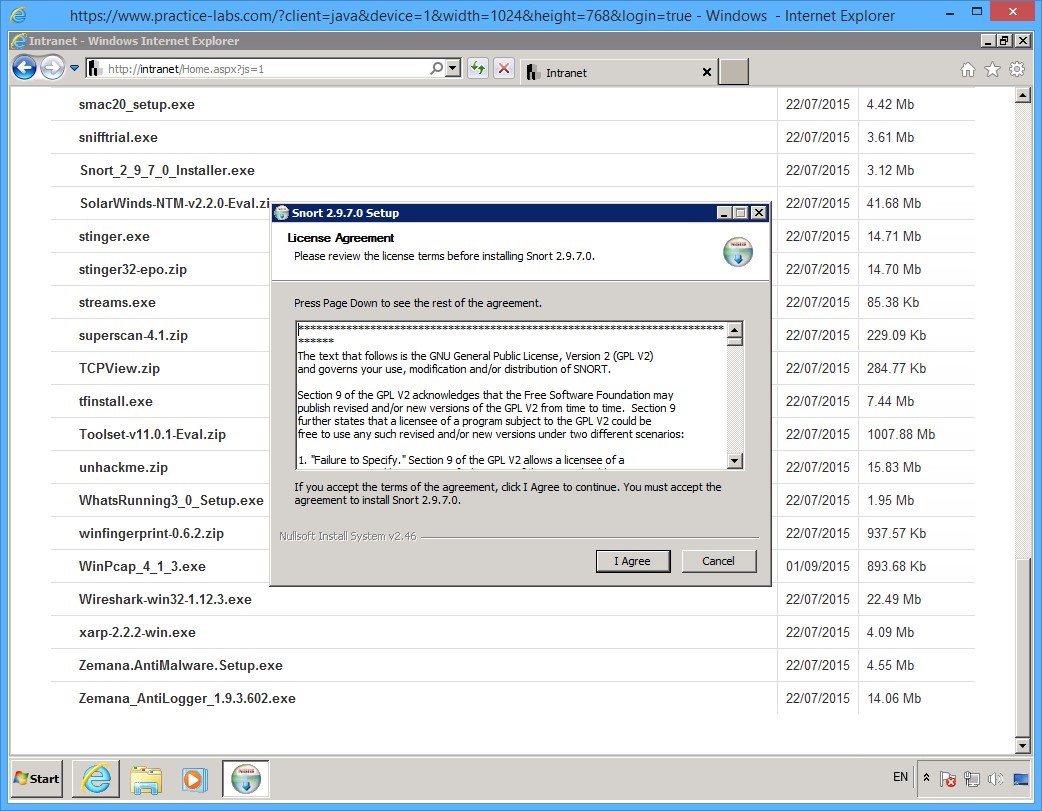
Step 4
On the License Agreement page, click I Agree.
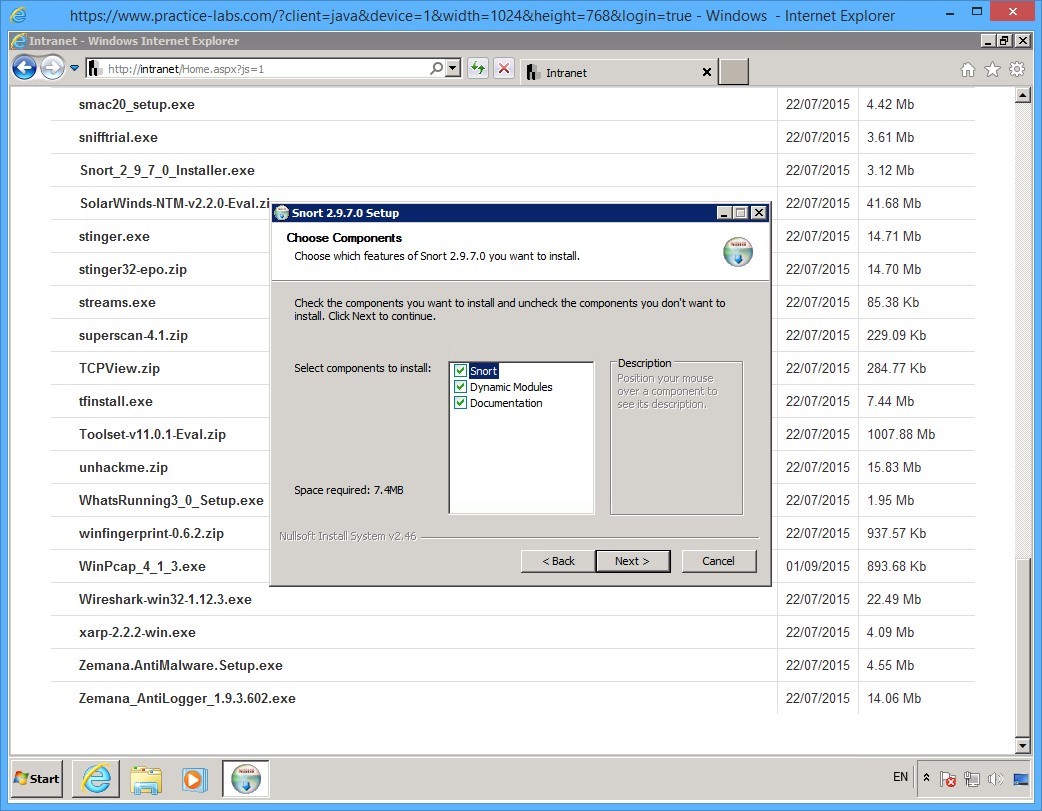
Step 5
On the Choose Components page, click Next.
Step 6
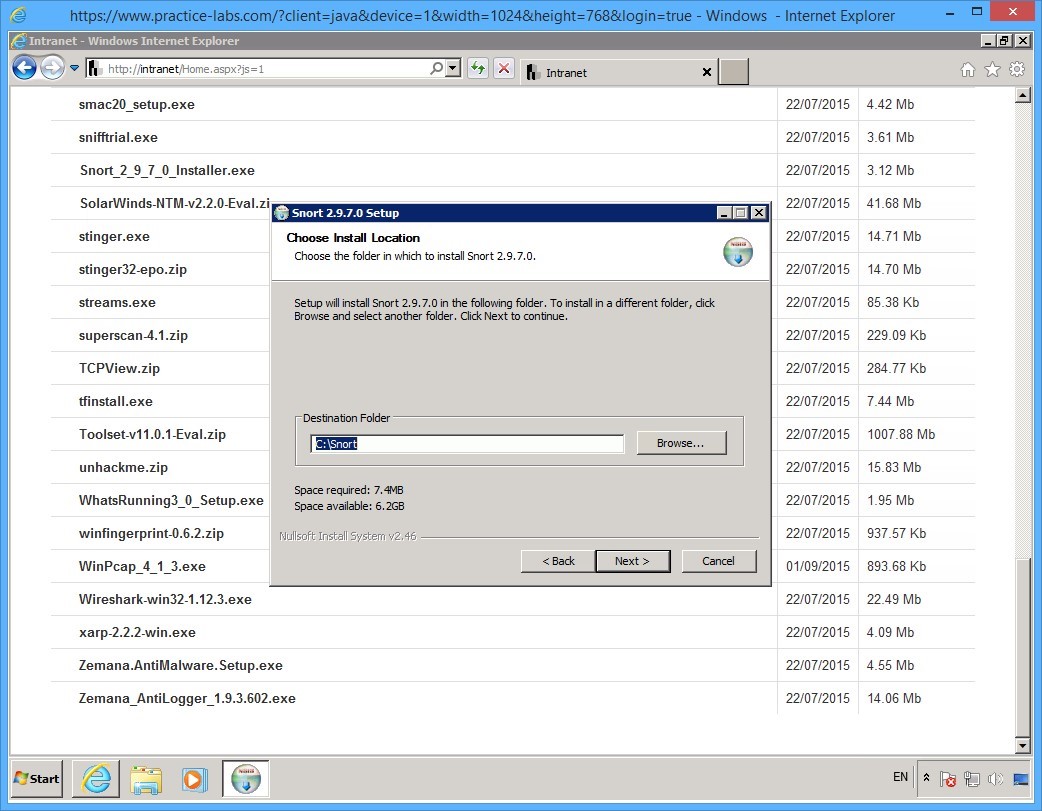
On the Choose Install Location page, accept the default settings and click Next.
Step 7
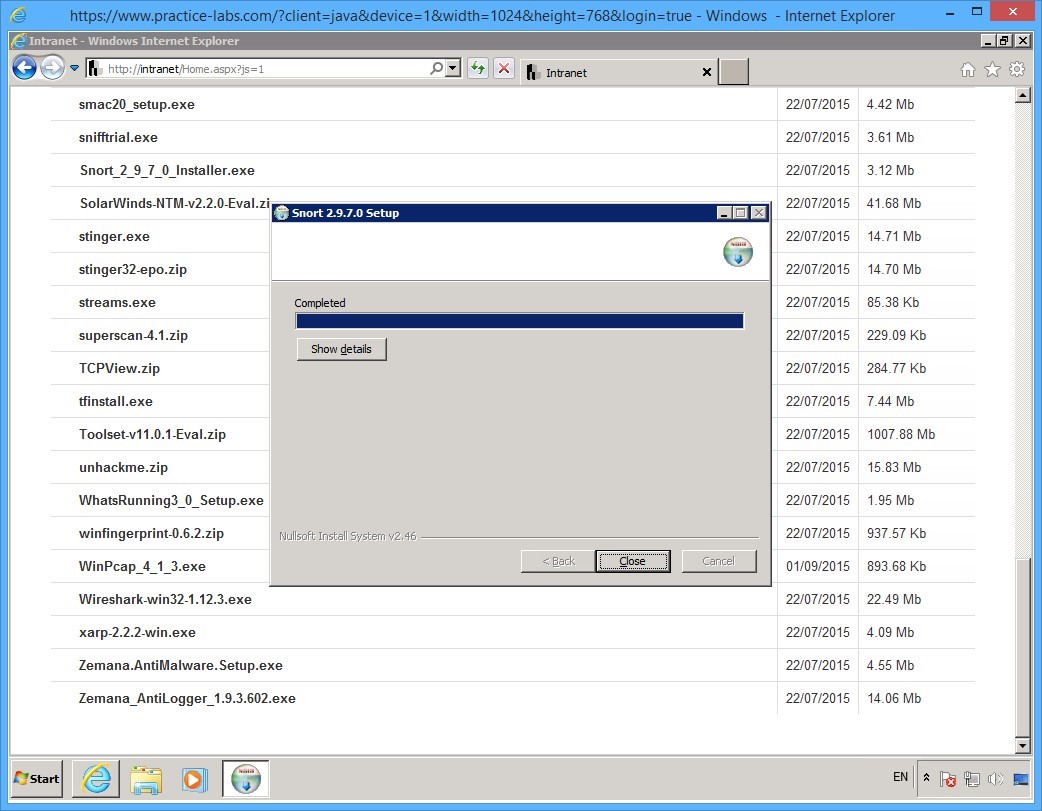
When installation of Snort is completed, click Close.
Step 8
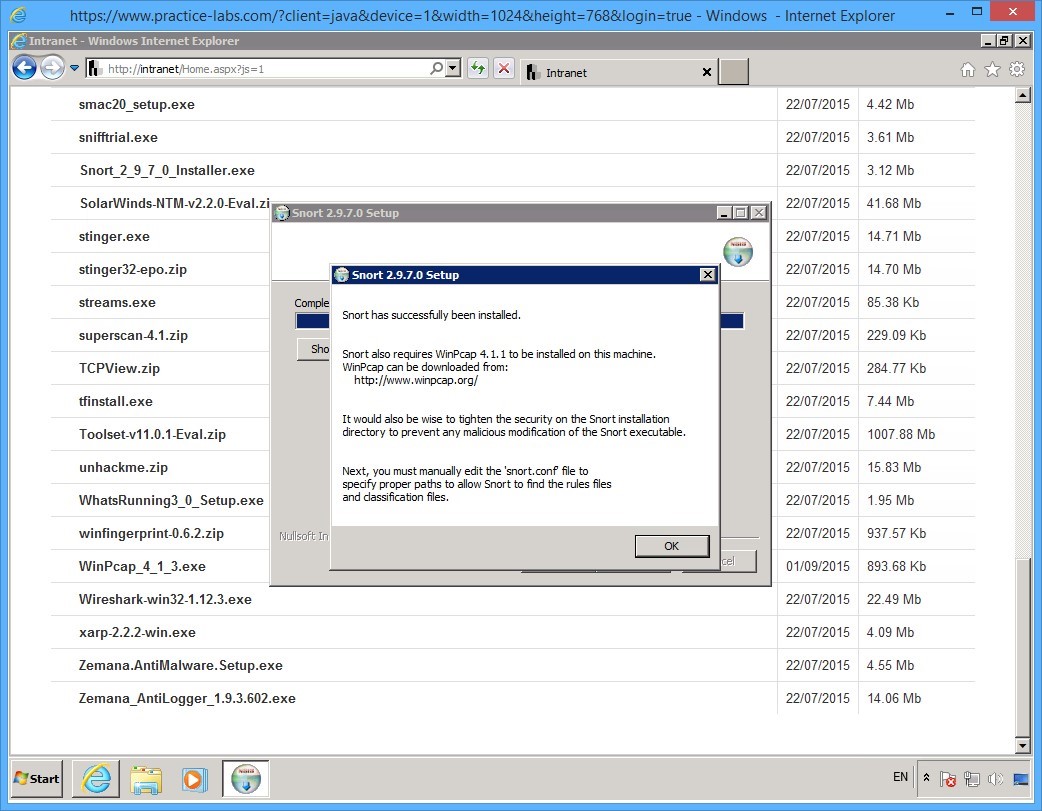
The system indicates that Snort has successfully been installed.
Click OK.
Keep Internet Explorer window open.
Keep all devices powered on in their current state and proceed to the next task.
Task 4 - Download Snort Rules
To download the Snort rules file, perform the following steps:
Step 1
On PLABWIN701 device, while Tools and resources web page is open, scroll up and click on [Tools].
Step 2
On the [..] > Tools path, scroll down and click Snort.

Step 3
You are redirected to [..] > Tools > Snort path.
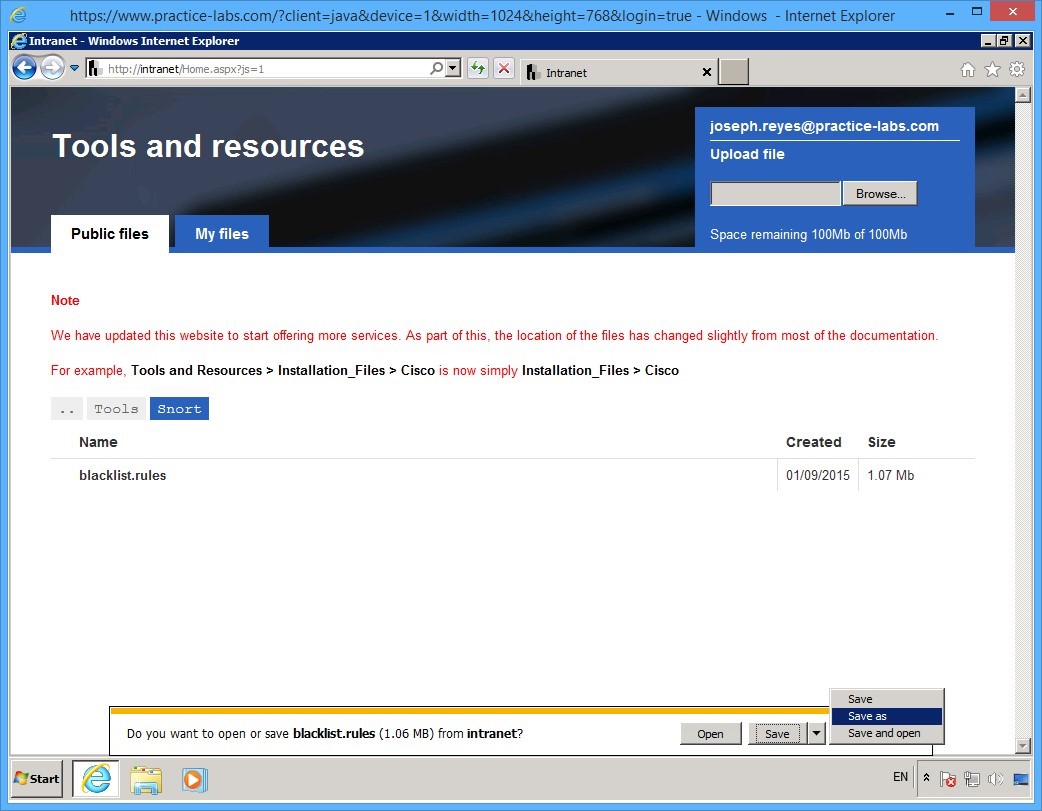
Click blacklist.rules
On the notification toolbar, click Save drop down list and select Save As.
Step 4
On the Save As dialog box, expand Computer > Local Disk C > Snort and then click rules folder
The File name box is automatically filled in, click Save.

Step 5
Minimize Internet Explorer.
Keep all devices powered on in their current state and proceed to the next task.
Task 5 - Running Snort Tool
To start running Snort tool, perform the following steps:
Step 1
On PLABWIN701 device, click Start and in the Search programs and files box, type:
cmd
Press Enter.
Step 2
On the command prompt window, change to different directory by typing:
cd\snort\bin
Press Enter.

Step 3
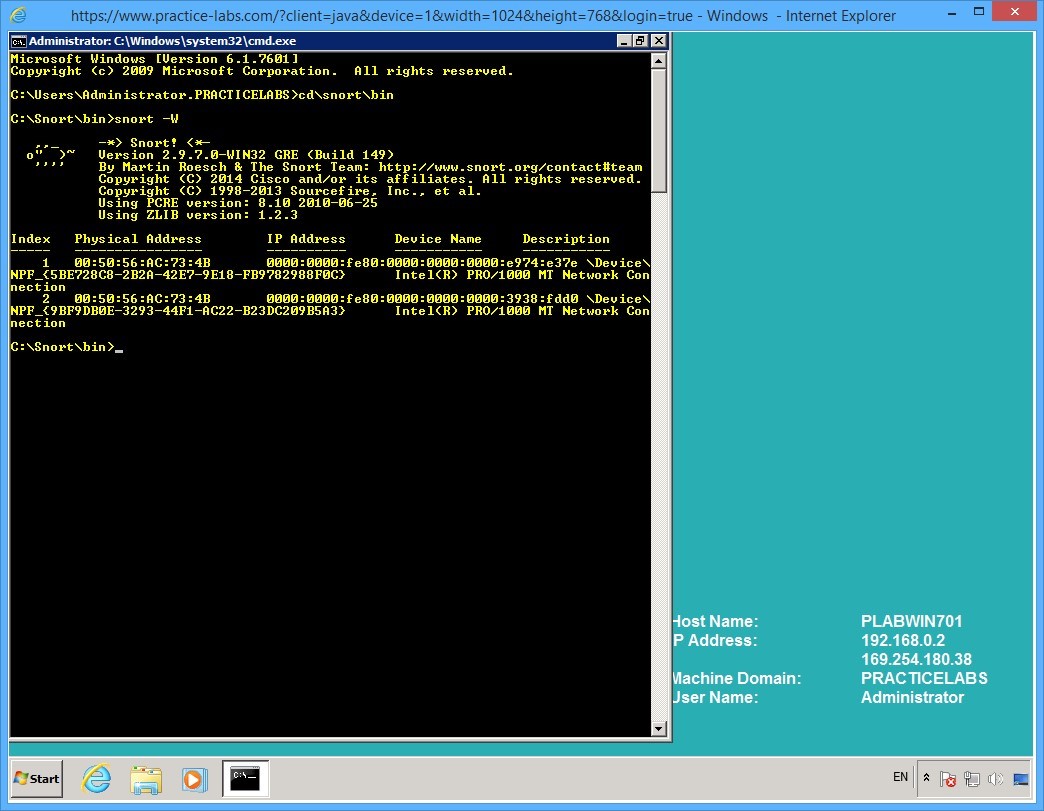
While in the c:>\snort\bin path, to display the available network interfaces for Snort type:
snort -W
Press Enter.
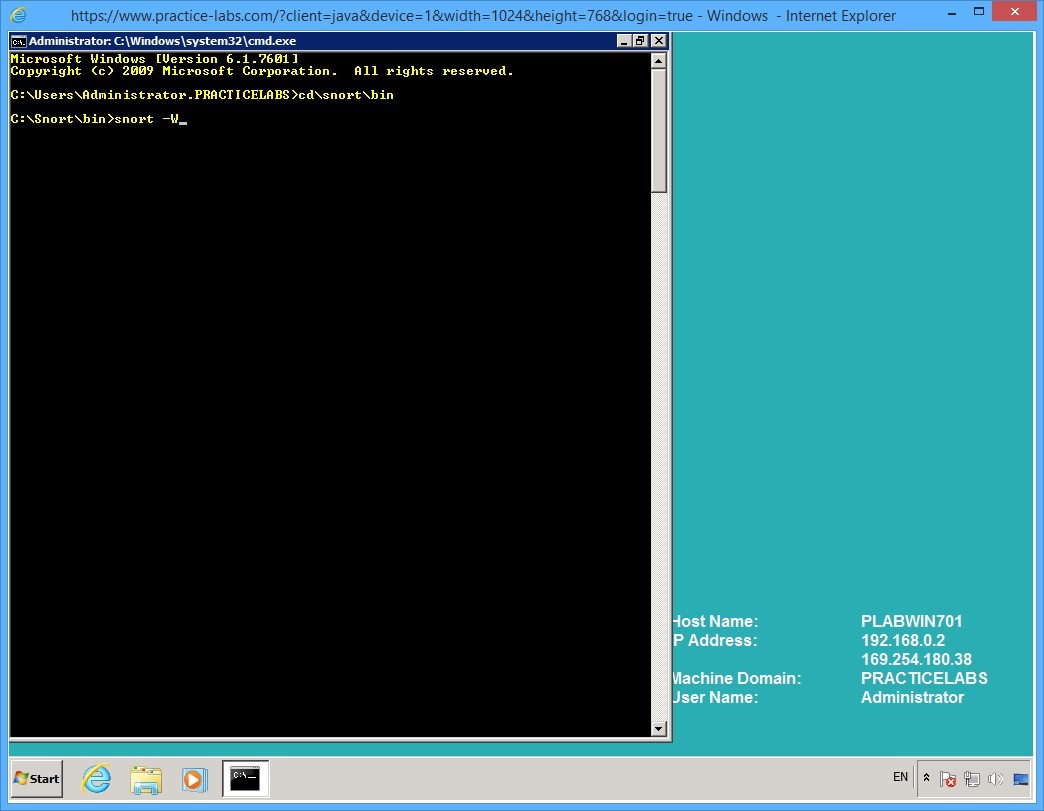
Step 4
The result of this command displays two network interfaces #1 and #2 as indicated by the Index column.
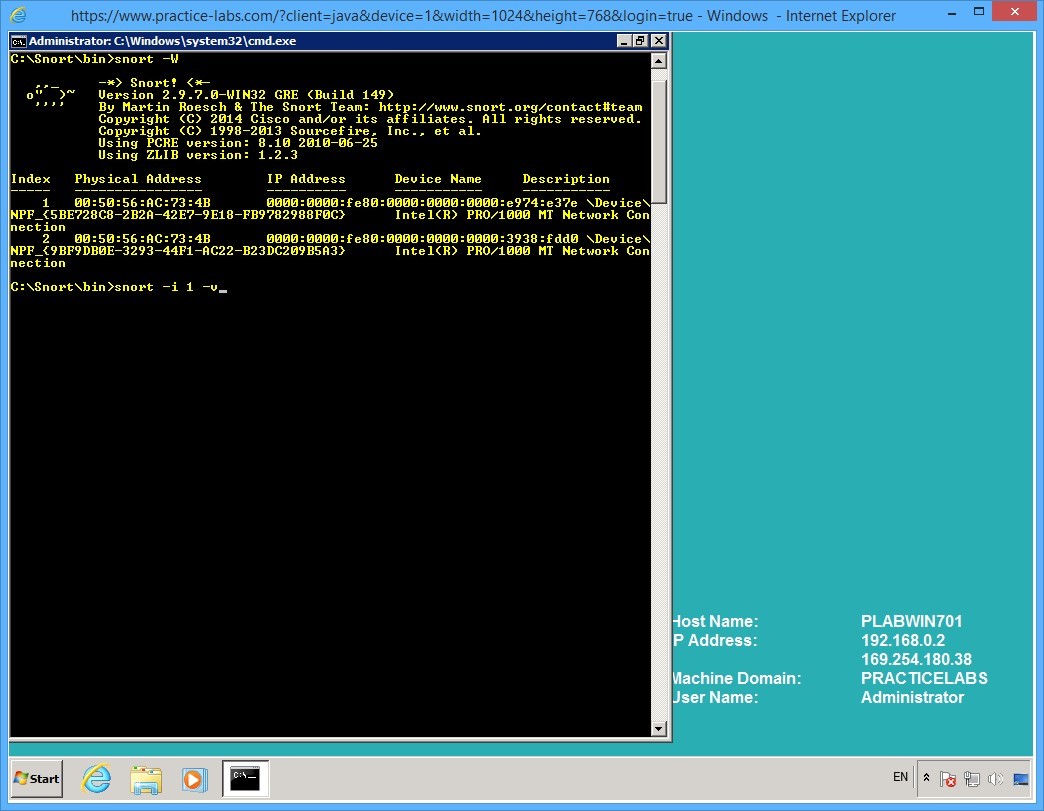
Step 5
Let's use network interface 1 to listen to all traffic.
Type the following command:
snort -i 1 -v
Press Enter.
Step 6
Snort will listen to network traffic on network interface #1.
Notice that the Snort runs continuously.
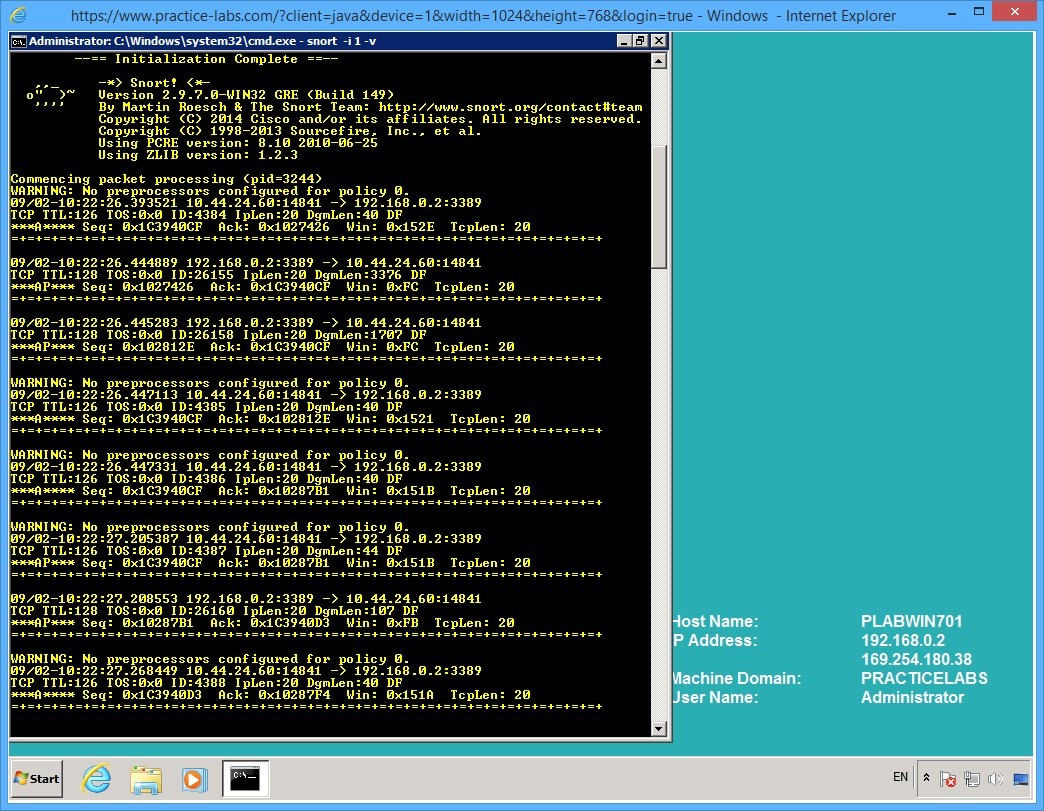
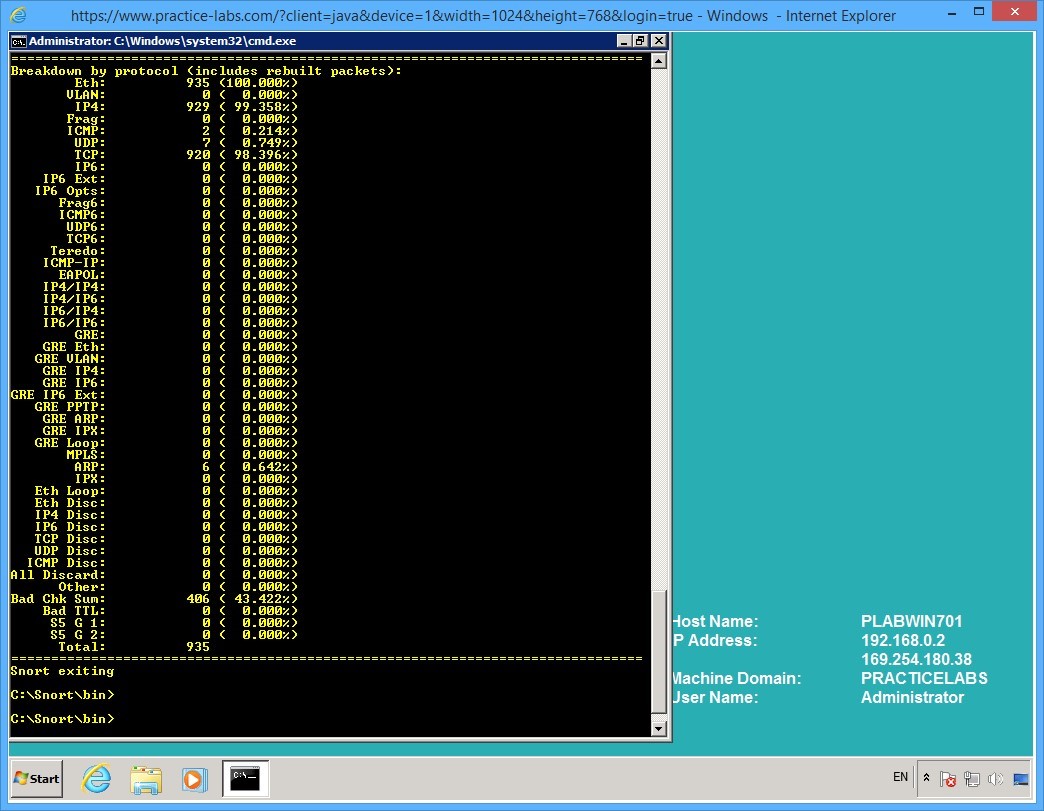
Step 7
First, break the previous command by pressing CTRL + C.
Snort will exit.
Note that a list of protocol is displayed with packet details.

Step 8
Enter the following command to capture and display packet payload:
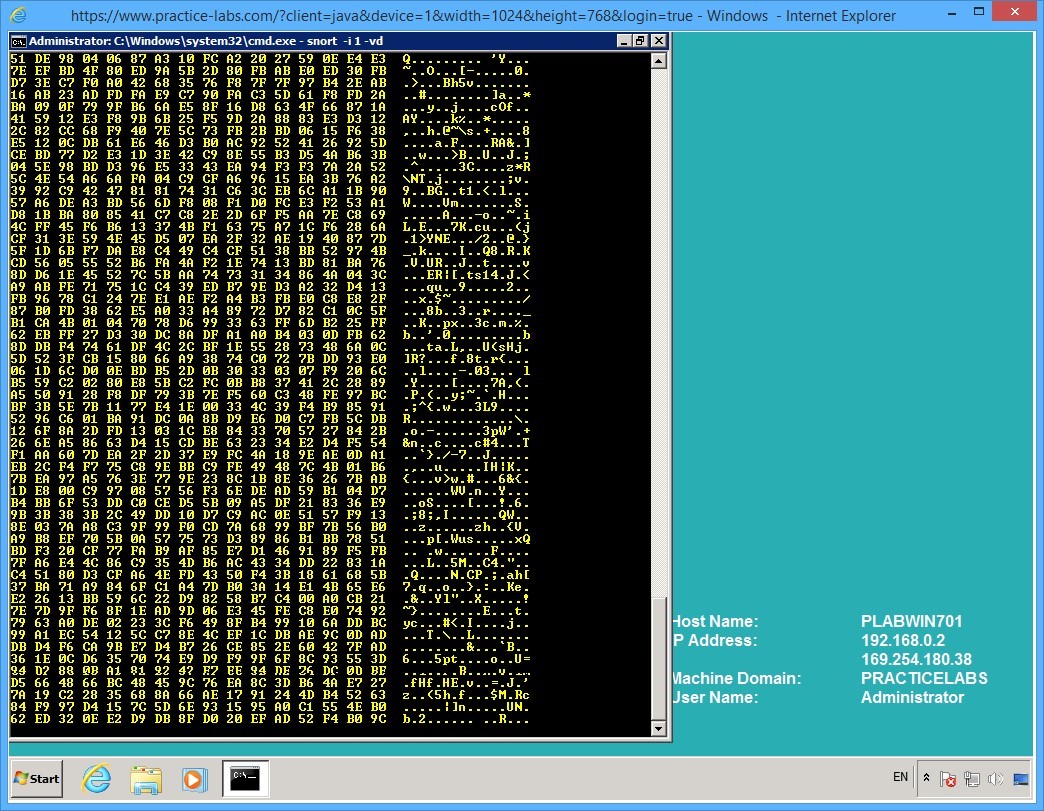
snort -i 1 -vd
Press Enter.
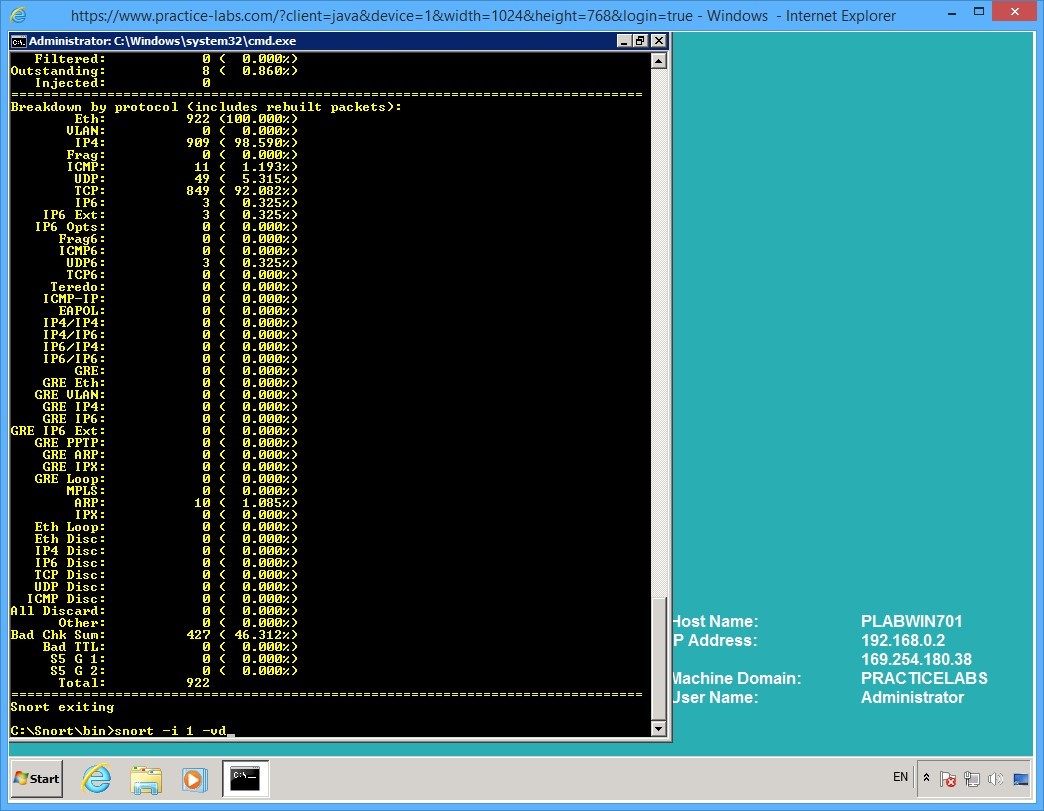
Step 9
Note the following output.
Snort will continue running as it listens on the selected interface.
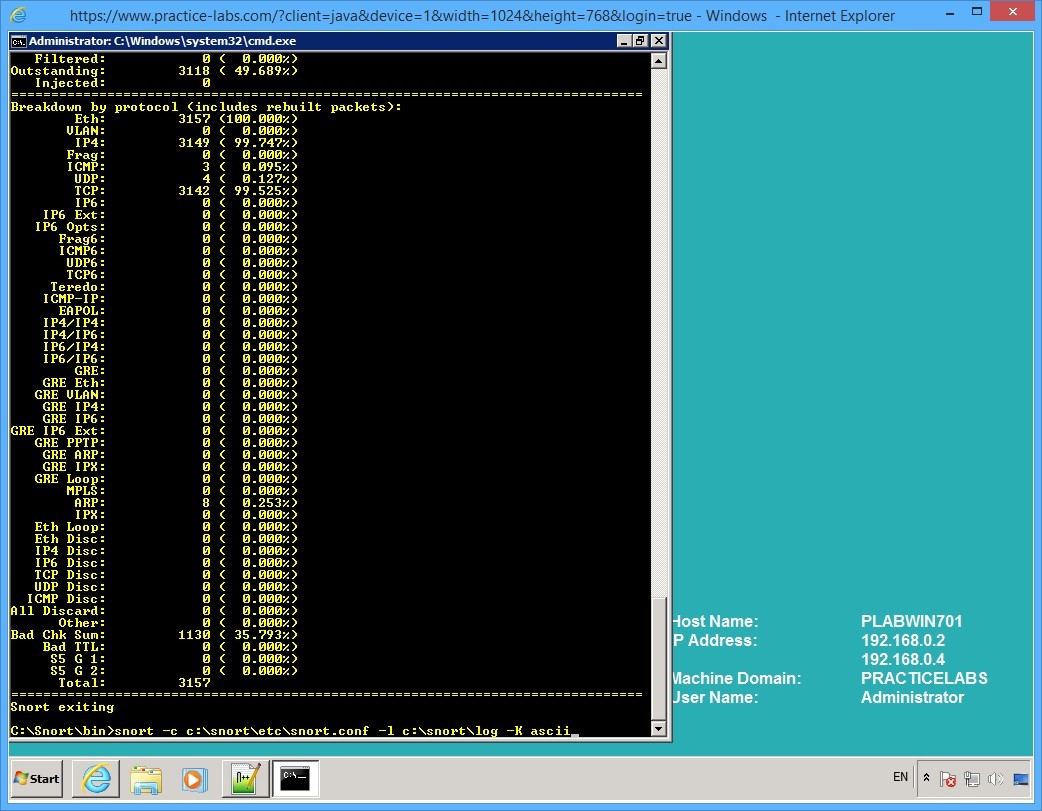
Step 10
Press CTRL + C to break it.
After you break the command, the protocol and packet details are displayed.
Step 11
Let's run Snort in the IDS mode.
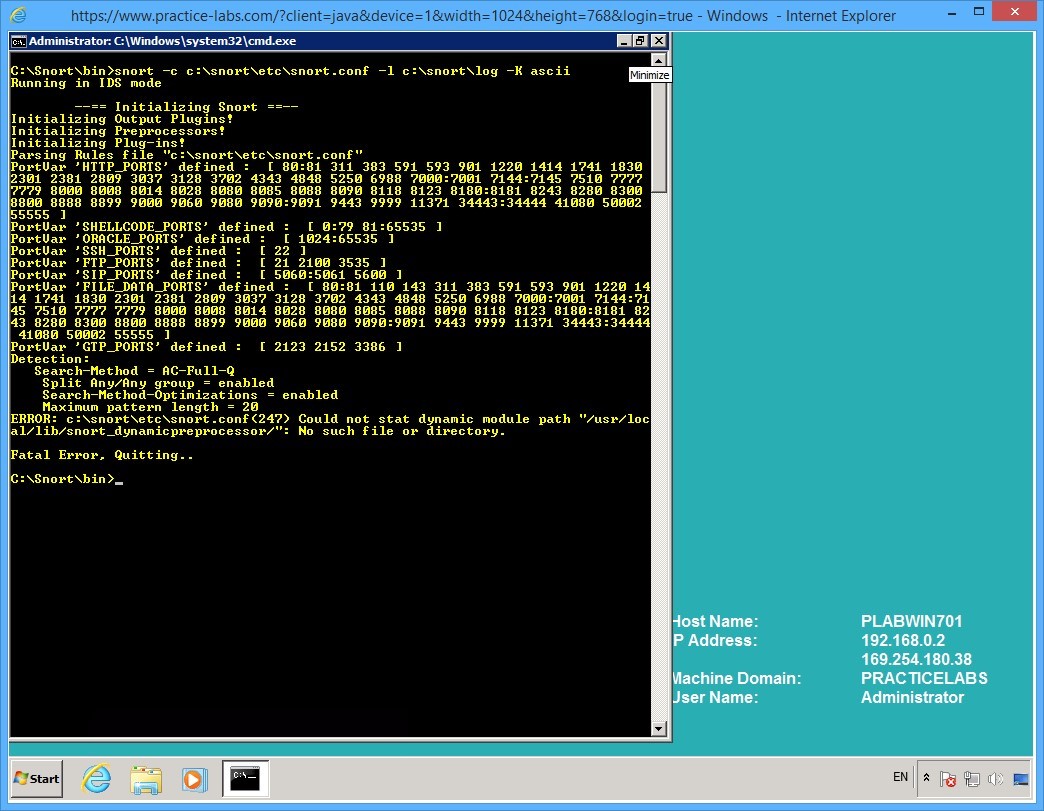
Type the following command:
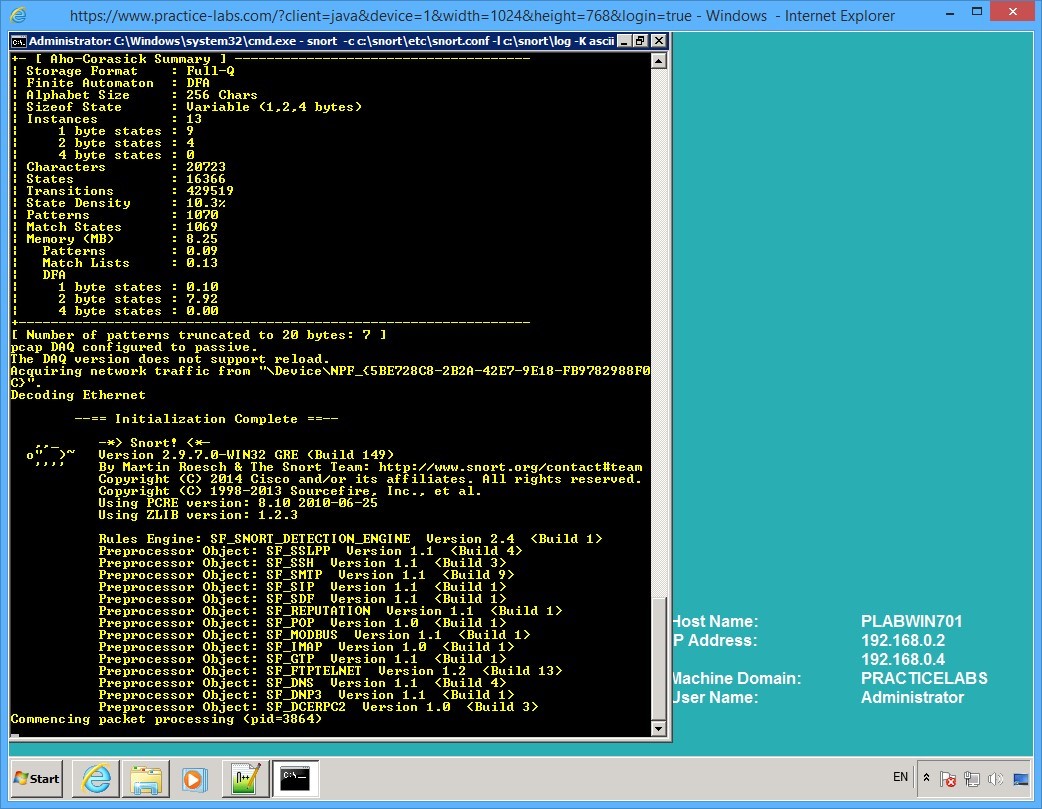
snort -c c:\snort\etc\snort.conf -l c:\snort\log -K ascii
Press Enter.
Step 12
Snort reports a fatal error.
You will need to resolve this error to ensure that you are able to run Snort in IDS mode.
Minimize command prompt window.
Keep all devices powered on in their current state and proceed to the next task.
Task 6 - Create folders and rules file in snort folder
To create the folder and rules file, follow these steps:
Step 1
On PLABWIN701, launch Windows Explorer on taskbar.
Navigate to C:\snort\lib path
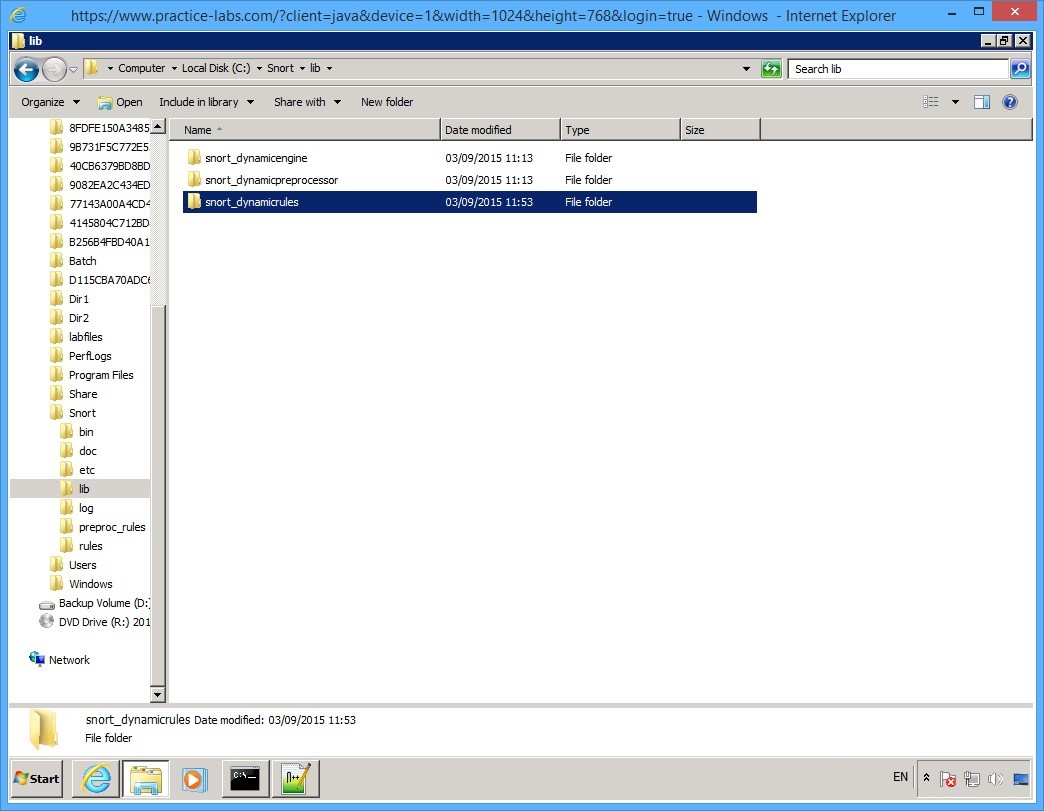
Create a folder called snort_dynamicrules
Step 2
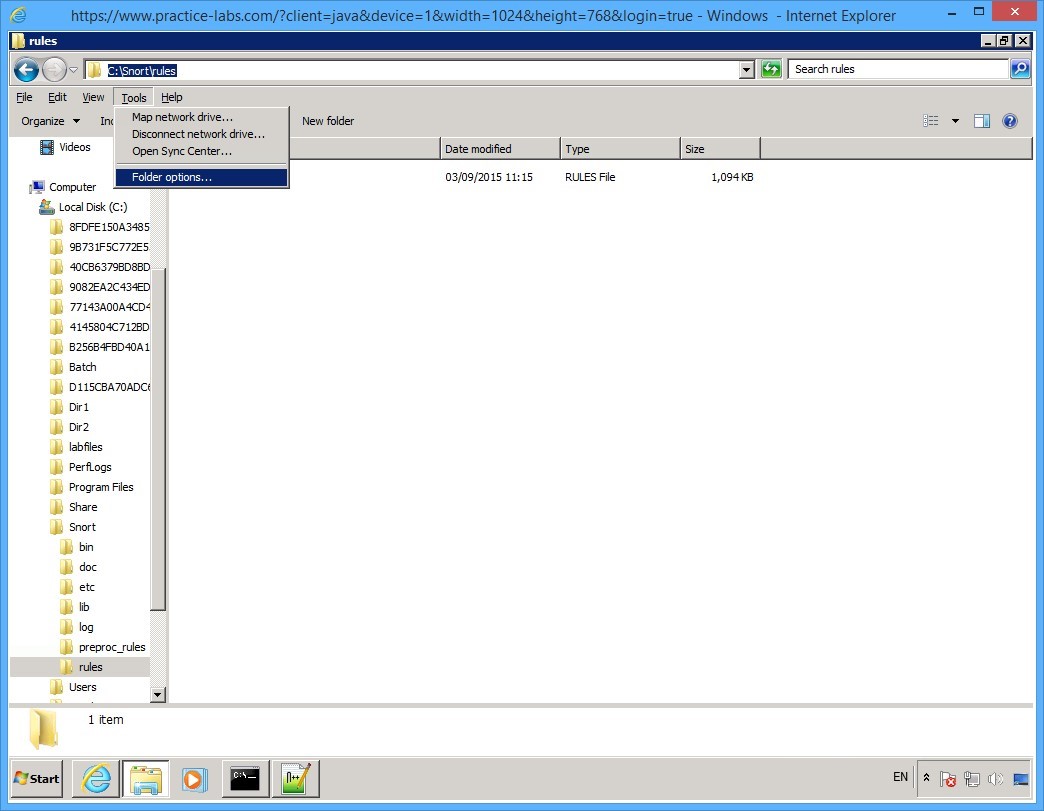
Press the ALT key to display the top menus.
Click Tools menu and select Folder options…
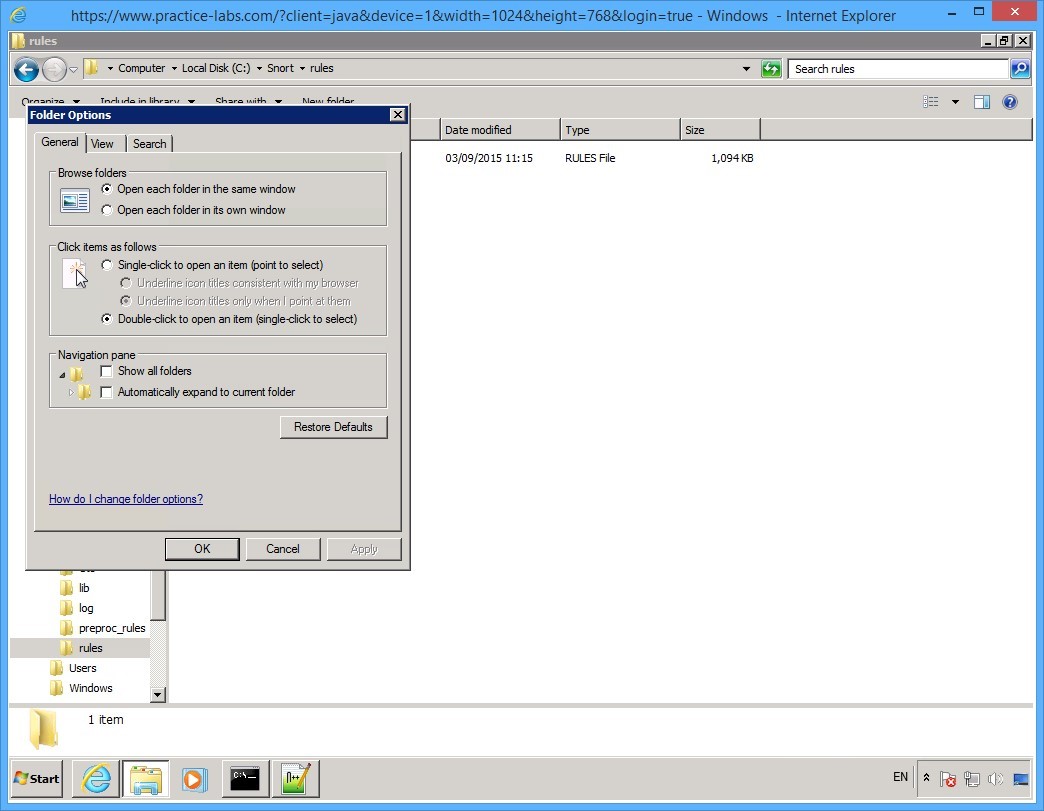
Step 3
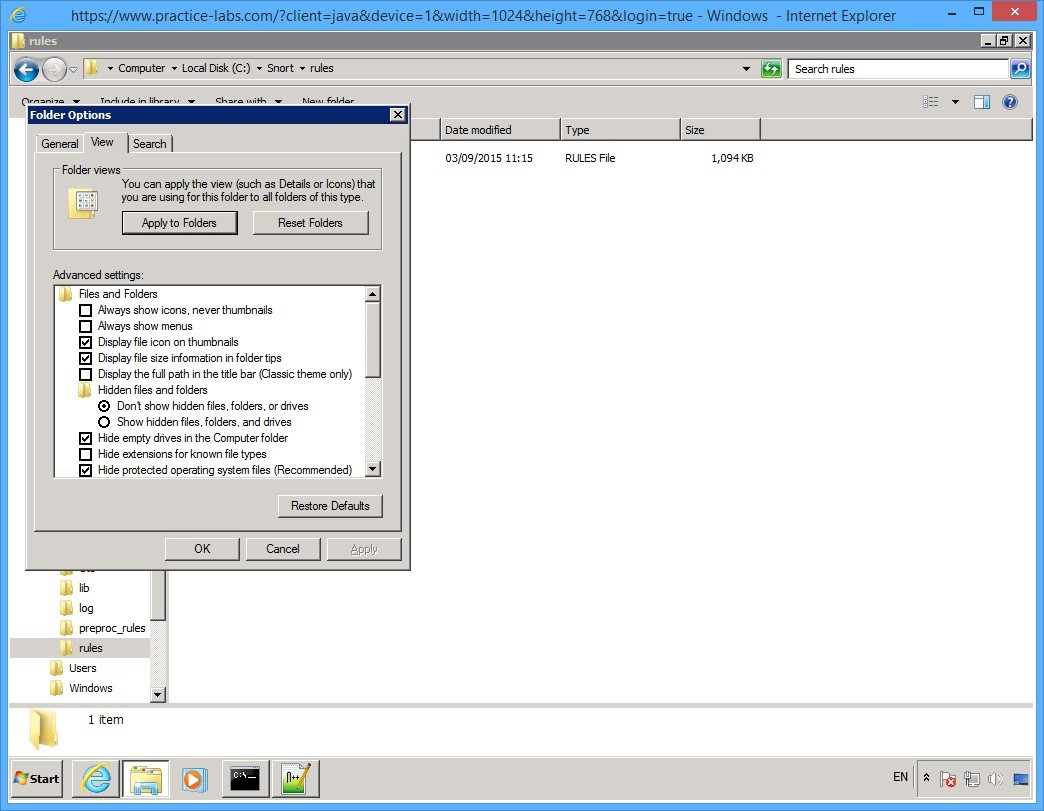
On the Folder options, click View tab.
Step 4
On the View tab, clear Hide extensions for known file types check box.
Click OK.
Step 5
Back in Windows Explorer window.
Navigate to c:\snort\rules folder path.
Create two text files.
Right-click on the details pane and select New > Text Document.

Step 6
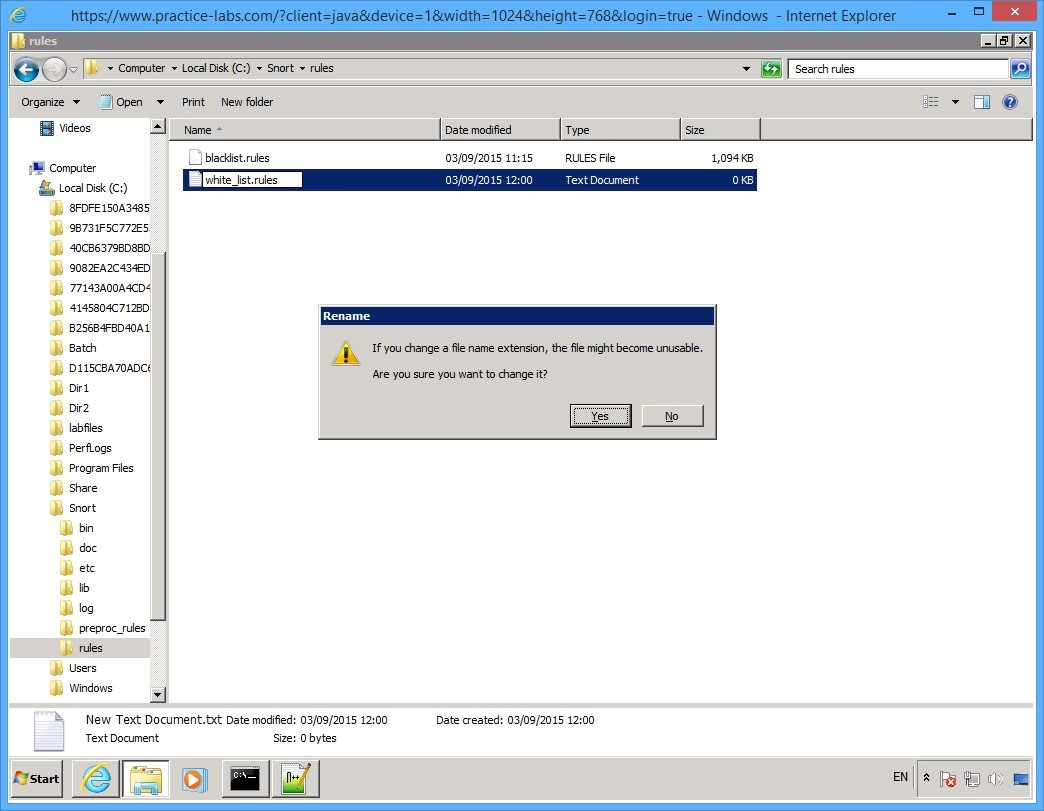
Rename the text file to:
white_list.rules
Click Yes when you get a warning about renaming a file.
Step 7
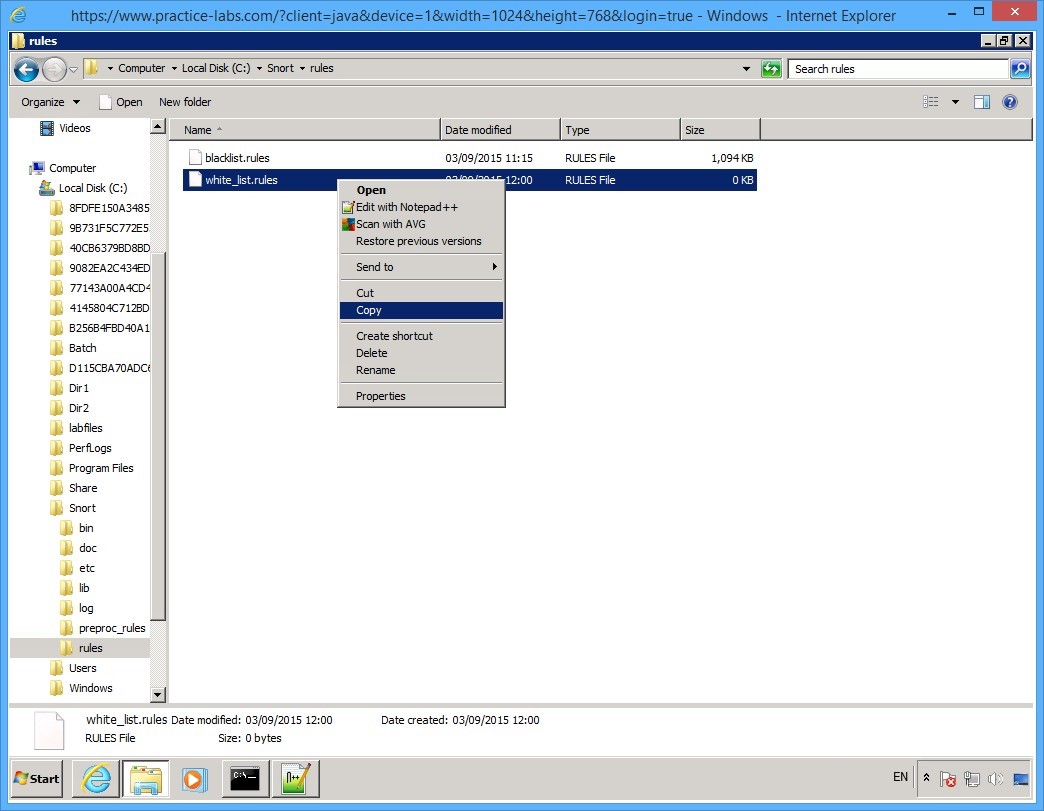
Right-click on white_list.rules file and select Copy.
Step 8
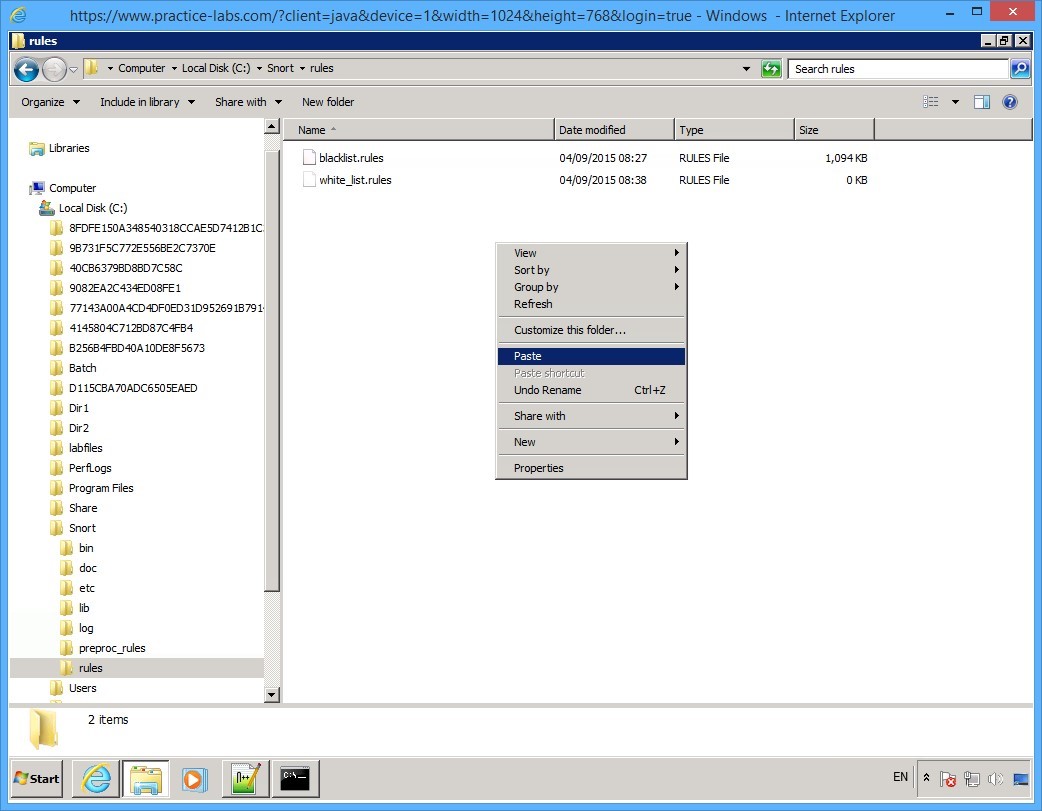
Right-click on the details pane and select Paste.
Step 9
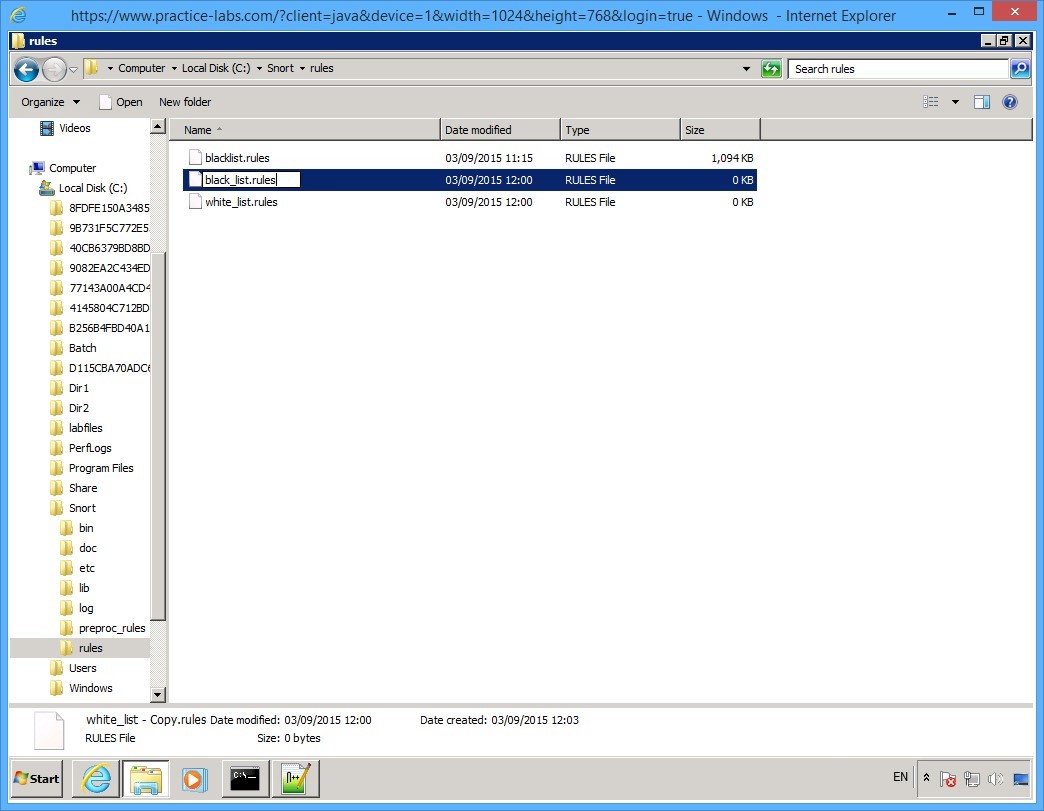
Paste the file on the same folder path and rename it to:
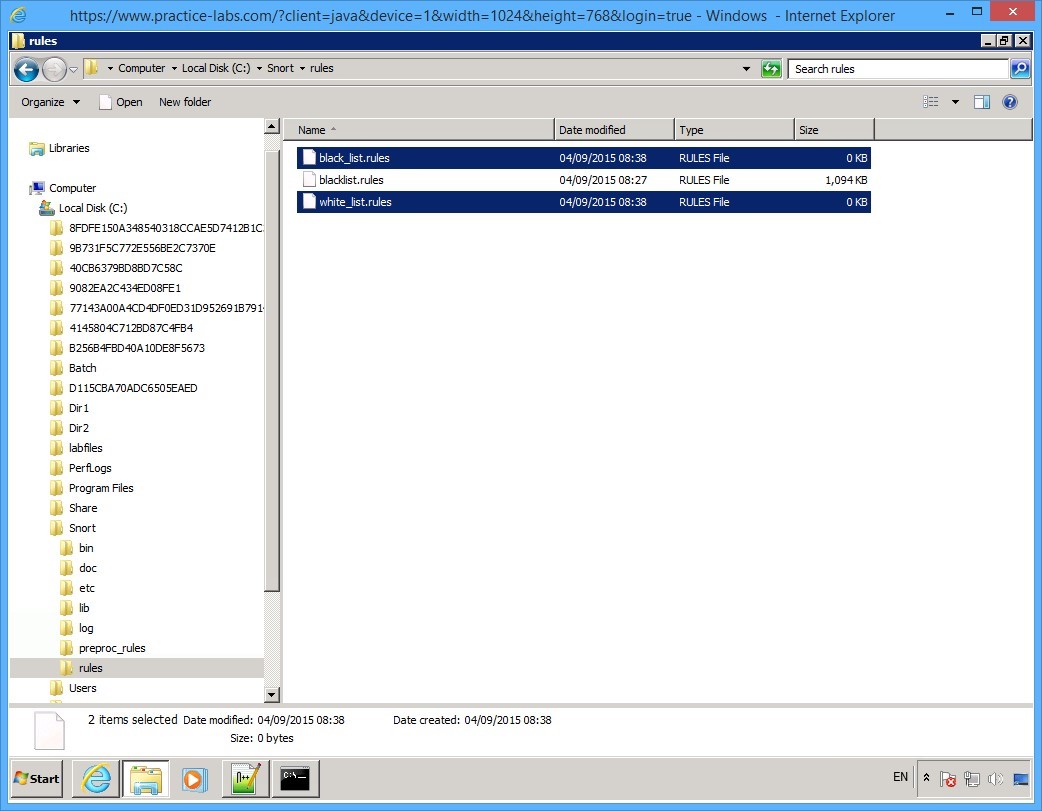
black_list.rules
Step 10
The black_list.rules and white_list.rules are now created.
Please note that these two rules file are empty.
If you want to get more information about writing your own rules, consult the snort documentation file.
Step 11
Navigate to c:\Snort\etc folder.
Create a folder called WHITE_LIST_PATH.
From the c:\Snort\etc folder, copy white_list.rules into c:\Snort\etc\WHITE_LIST_PATH folder.
Step 12
Navigate to c:\Snort\etc folder.
Create a folder called BLACK_LIST_PATH.
From the c:\Snort\etc folder, copy black_list.rules into c:\Snort\etc\BLACK_LIST_PATH folder.
Minimize Windows Explorer window.
Keep all devices powered on in their current state and proceed to the next task.
Task 7 - Modify snort configuration file
In this task, you will modify a configuration file to resolve the error that you found in the earlier task.
Step 1
On PLABWIN701 device, click Notepad++ on taskbar.

Step 2
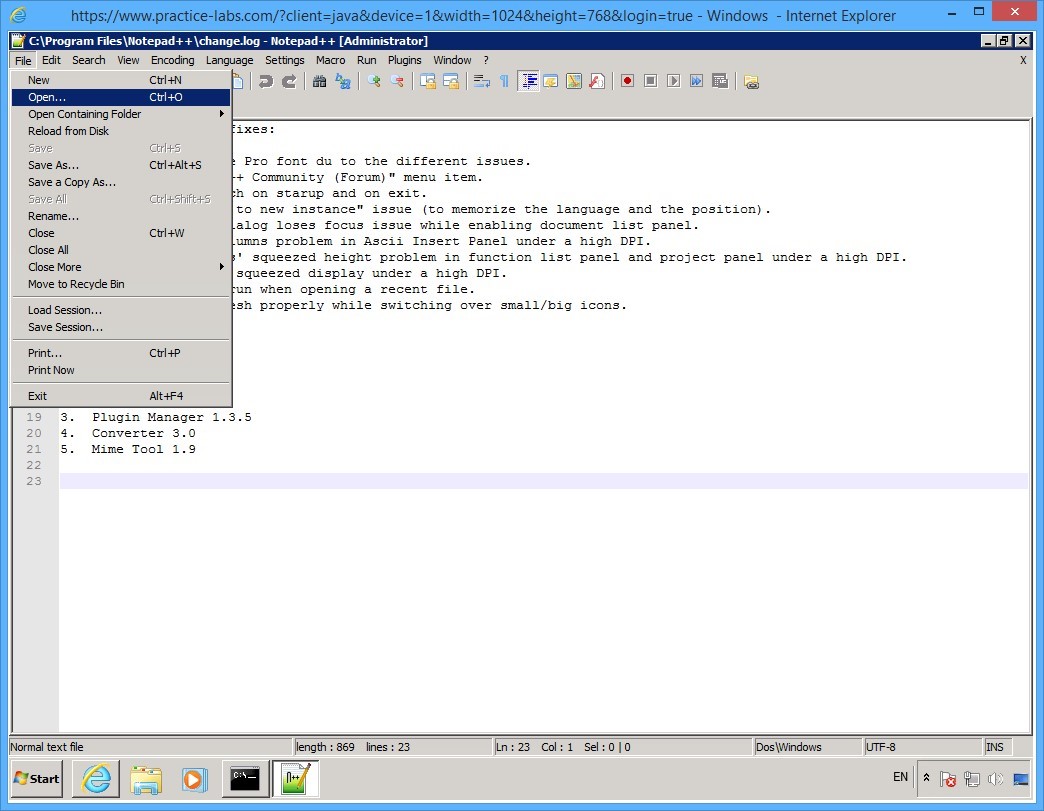
On Notepad++, click File menu and select Open.
Step 3
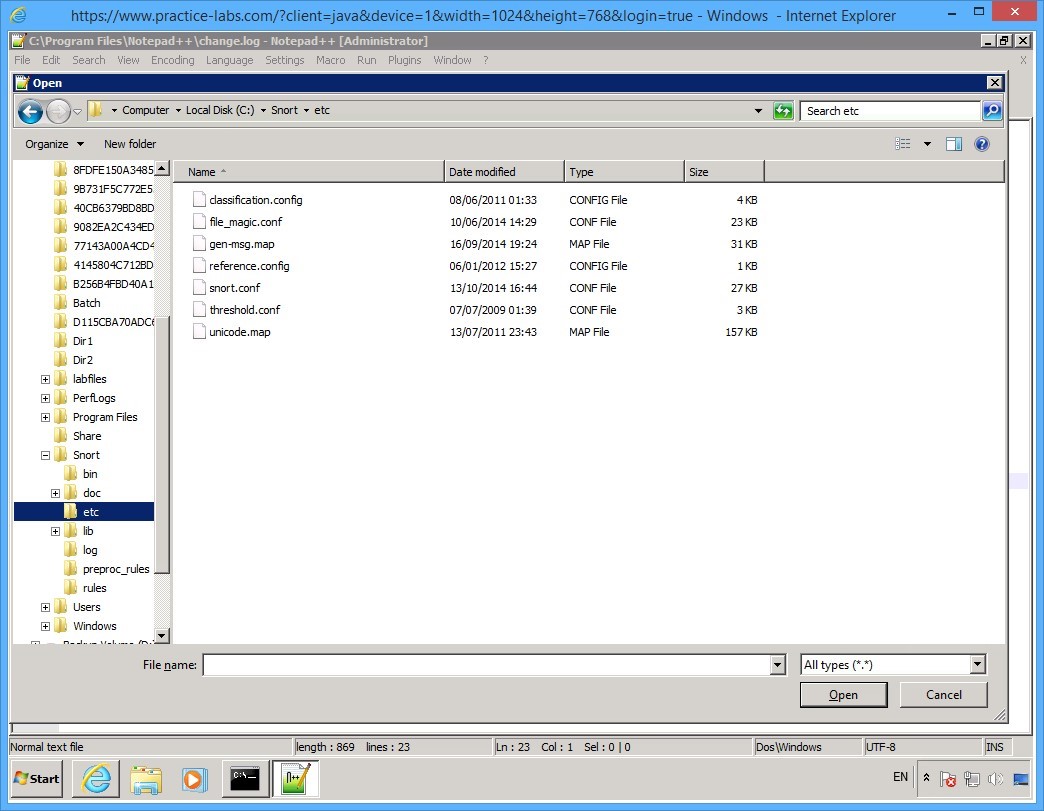
On the Open dialog box, expand Local Disk C, expand Snort folder.
Click on etc folder.
Notice that a number of files are available.
Step 4
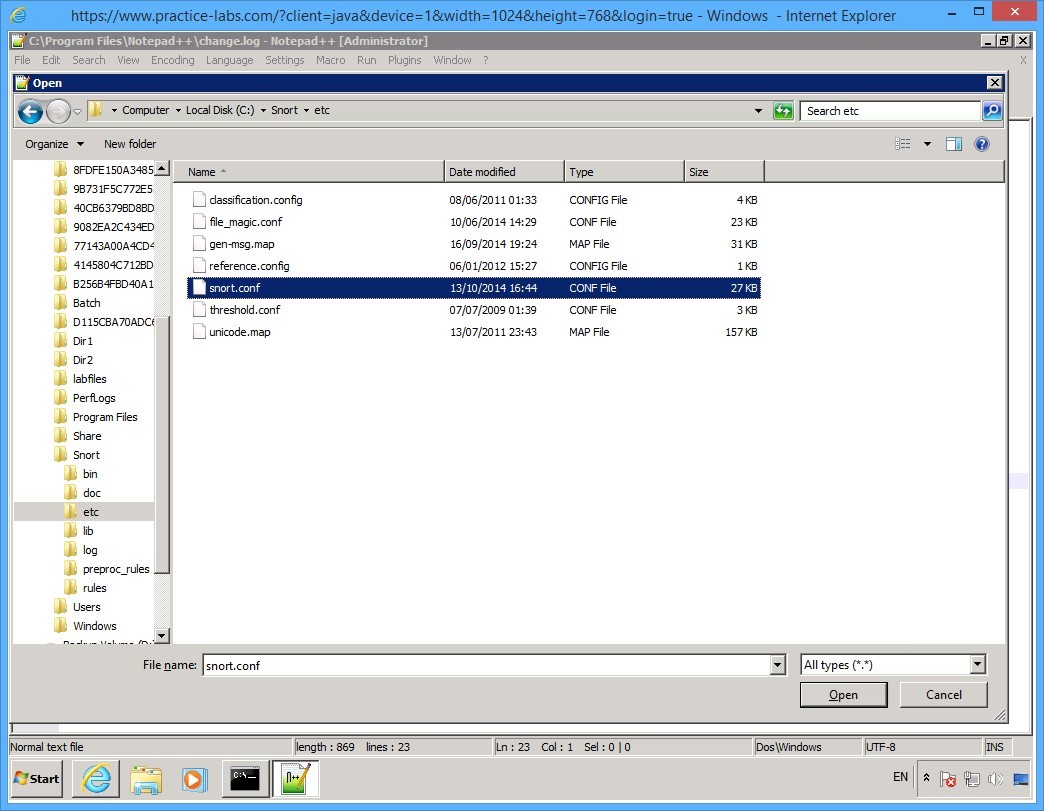
On the details pane, click snort.conf file and select Open.
Step 5
The snort.conf file opens.
Click on Search menu and select Replace…
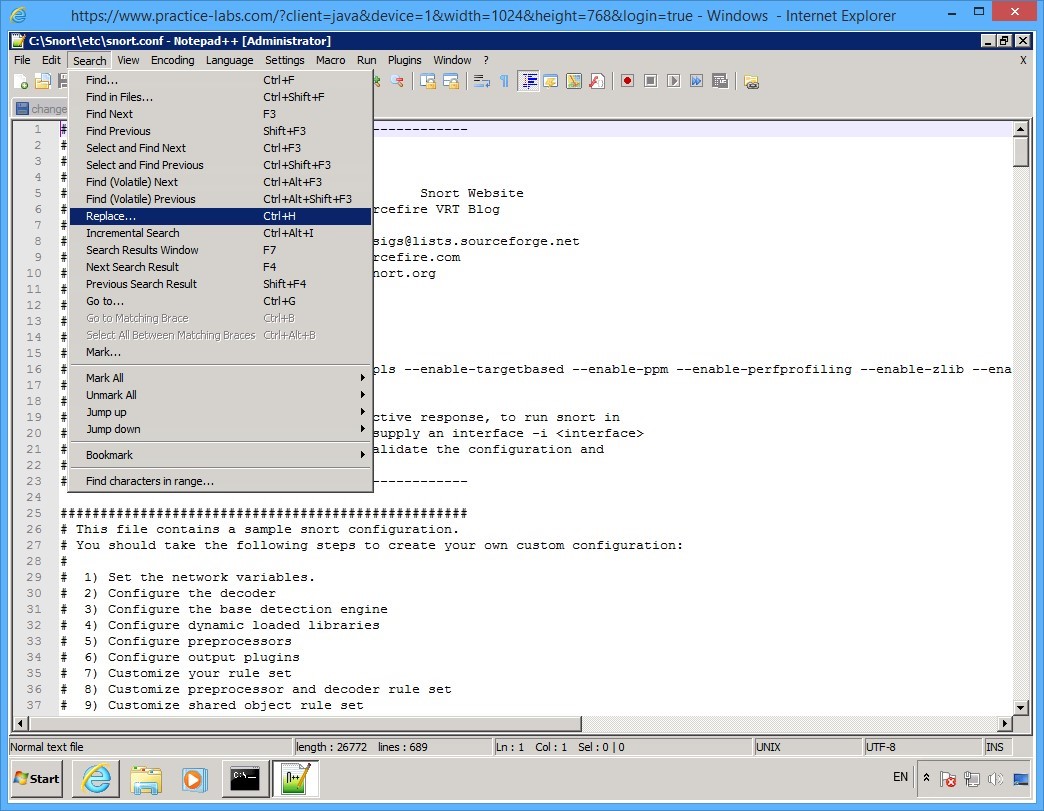
Step 6
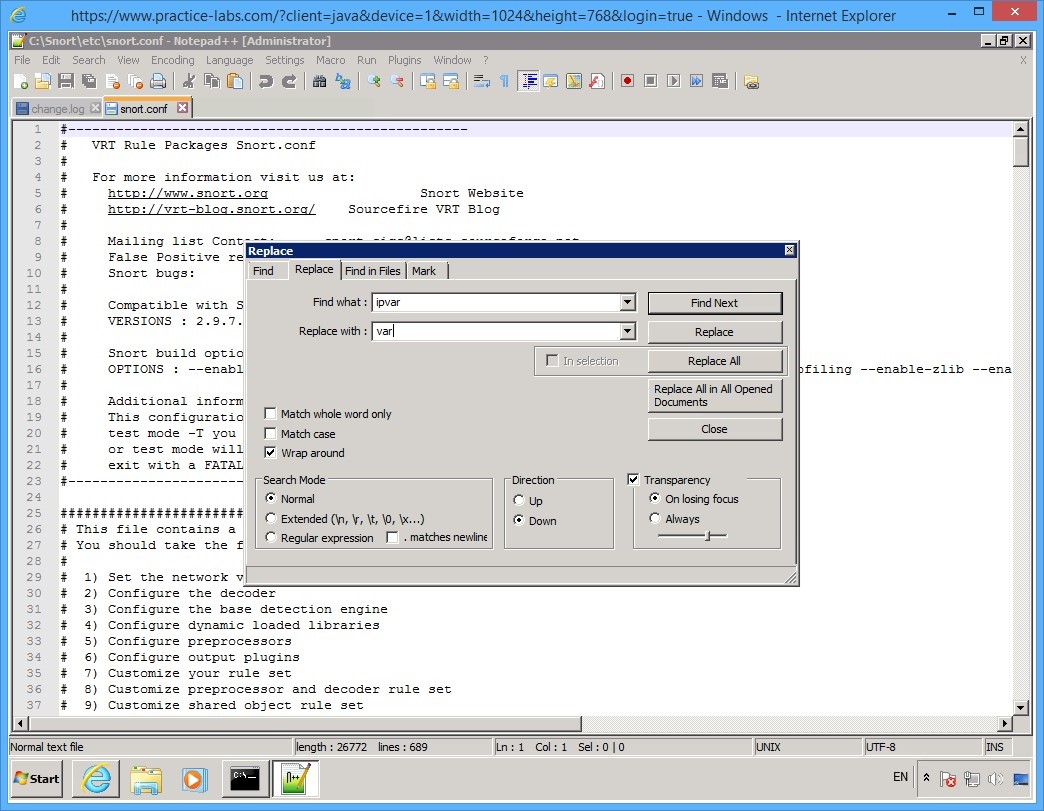
You will find all instances of ipvar and replace with var.
On the Replace dialog box, click in the Find what text box and type:
ipvar
Click in the Replace with text box, and type:
var
Click Replace All.
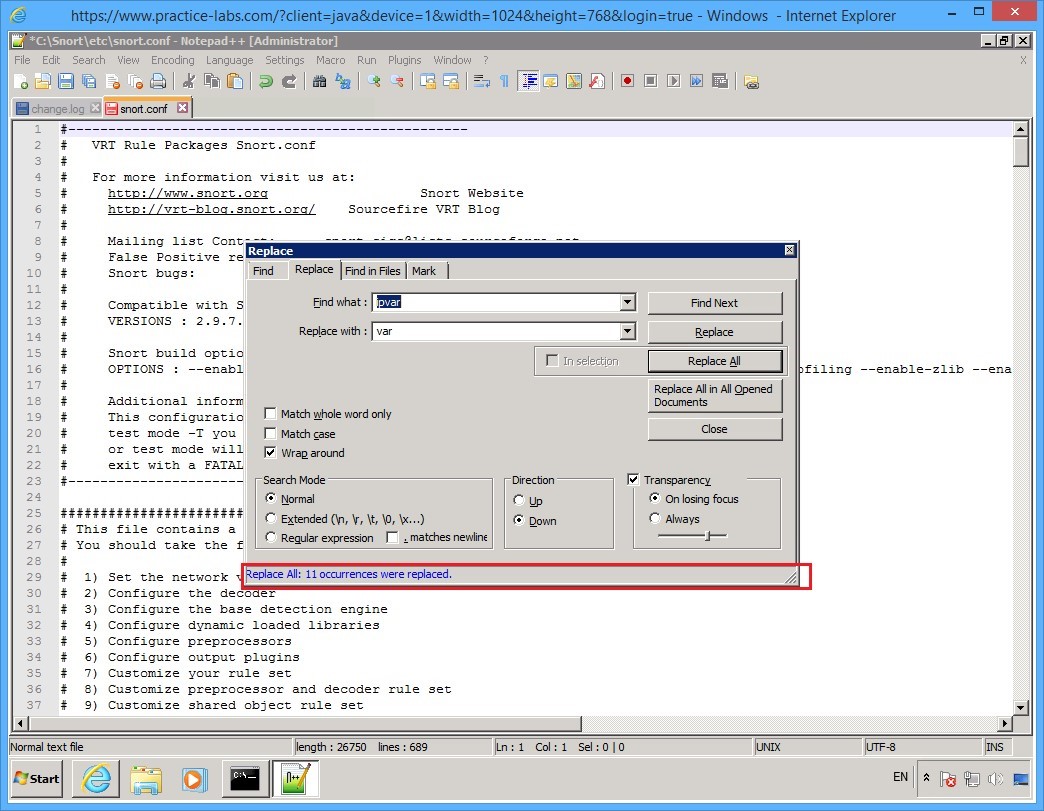
Step 7
The Replace dialog box is displayed indicating it has searched the document and made 11 occurrences were replaced.
Click Close.
Step 8
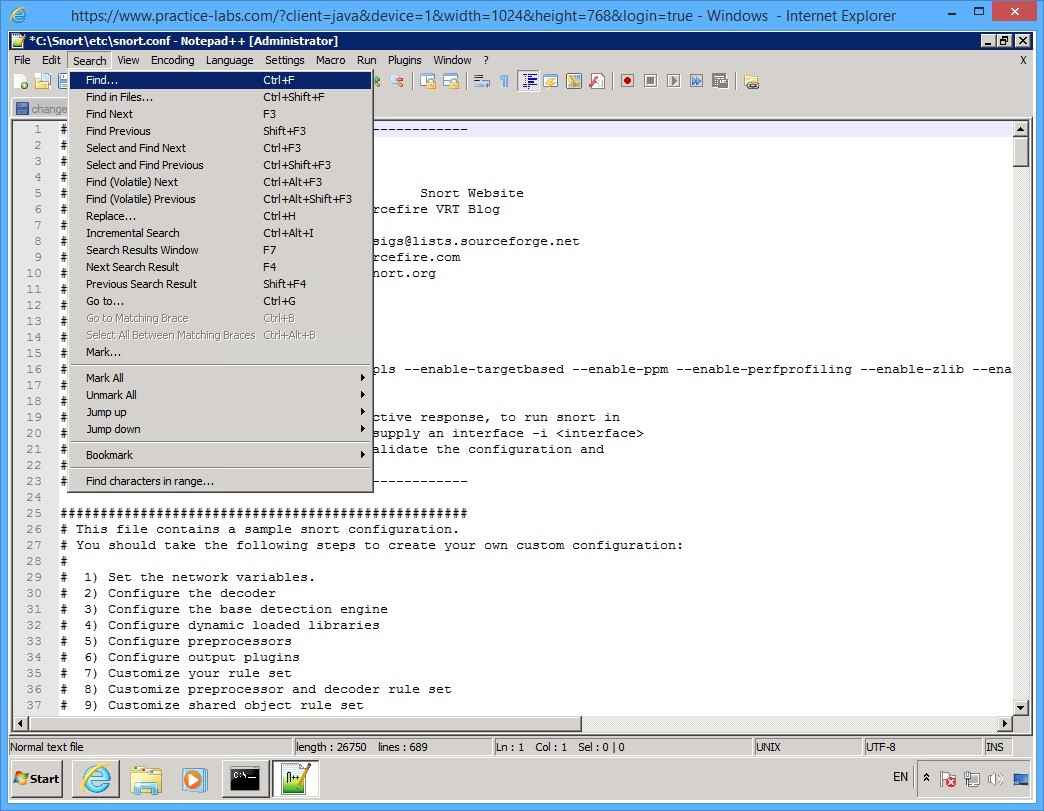
Click Search menu and select Find…
Step 9
On the Find dialog box, click in the Find what text box and type:
dynamicpreprocessor directory
Click Find Next.
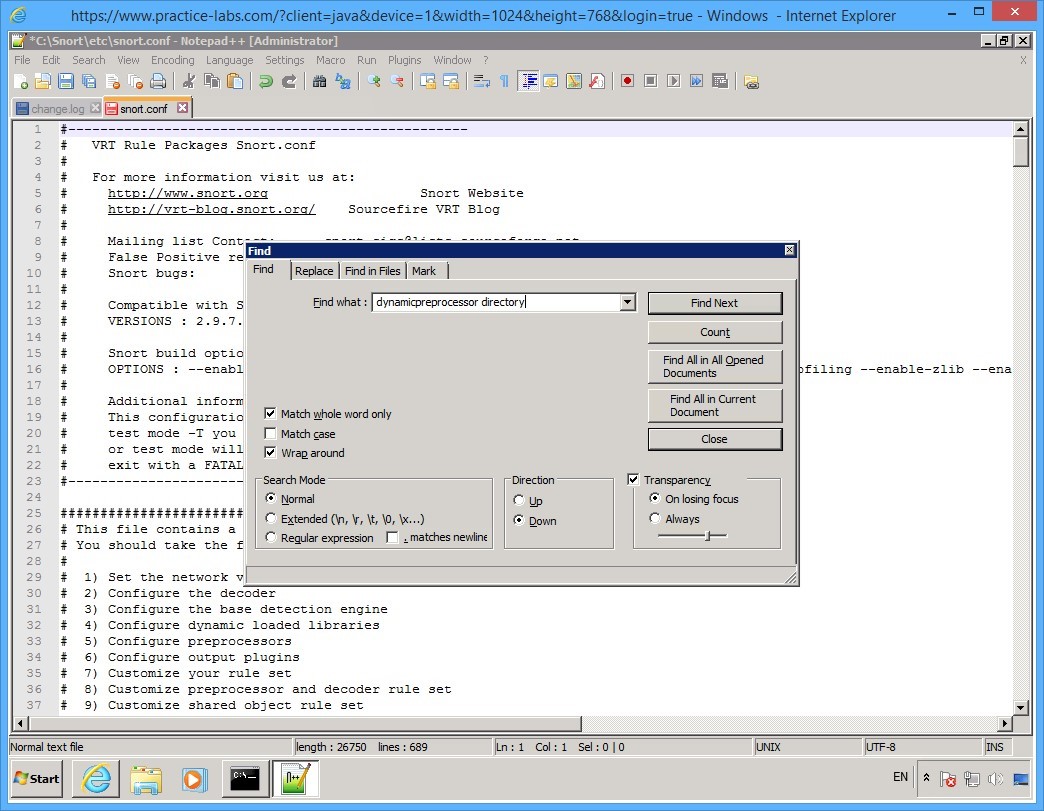
Step 10
Once the dynamicpreprocessor directory keyword is found, you will notice a highlight or a selection at the back of the Find dialog box.
Move the Find dialog box out of the way so you can see highlighted section.
You will notice that when you click on the contents, the Find dialog box fades away a bit.
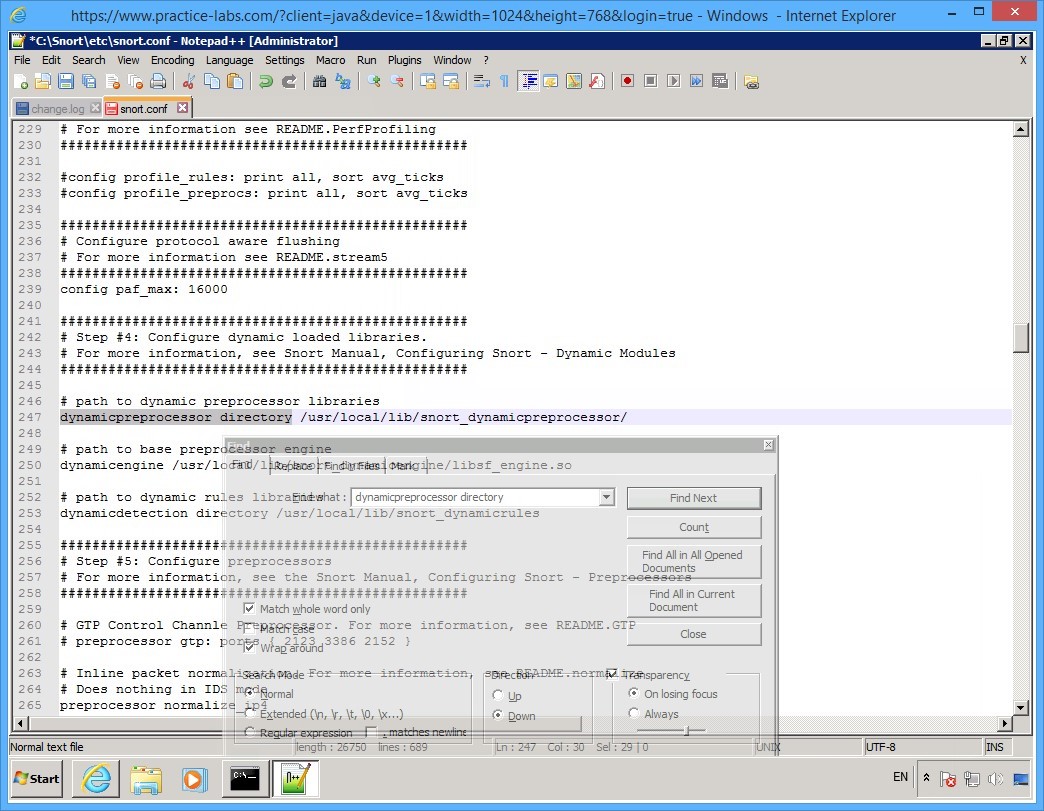
Step 11
Locate the dynamicpreprocessor directory section.
Change the path located beside dynamicpreprocessor directory to:
c:\snort\lib\snort_dynamicpreprocessor
Step 12
Click again on the Find dialog box to activate it.
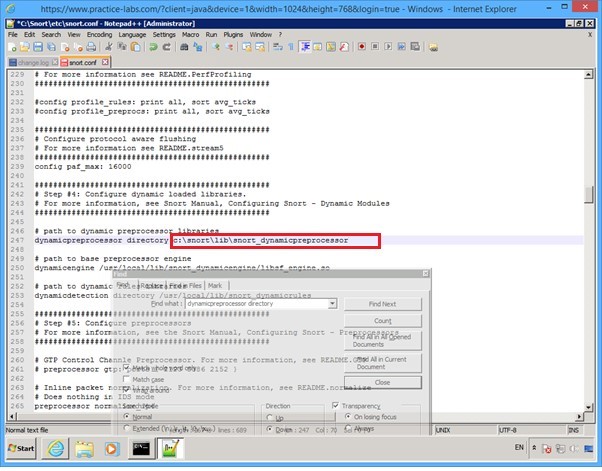
In the Find what text box, type:
# path to dynamic rules libraries
Click Find Next.
Step 13
The Find dialog box reports to finding the keywords.
Move the Find dialog box to the side so you can see the highlighted selection.
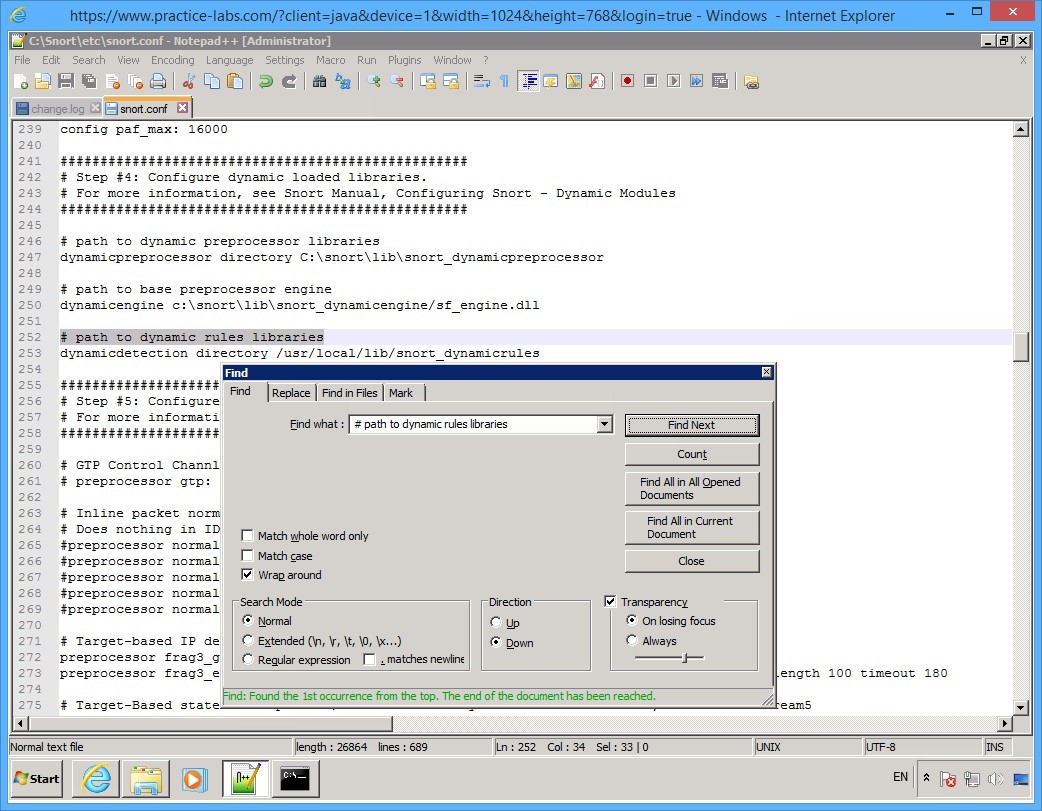
Step 14
Adjacent to the dynamicdetection directory section, change the path to:
c:\snort\lib\snort_dynamicrules
Step 15
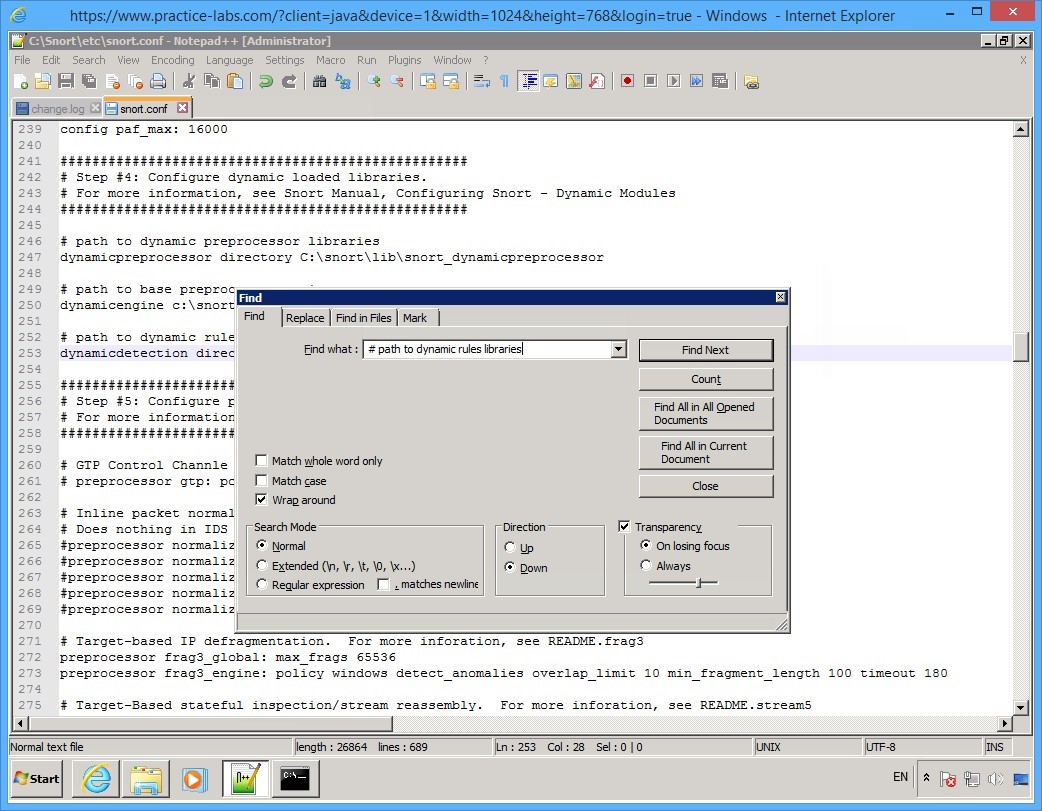
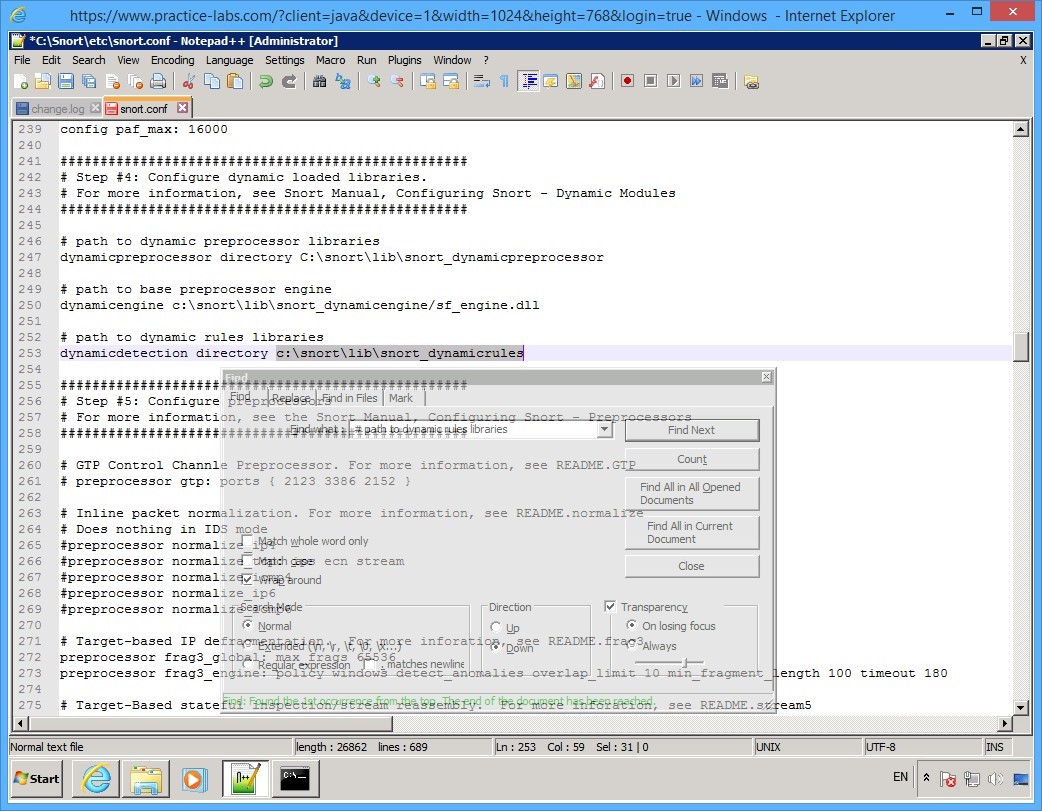
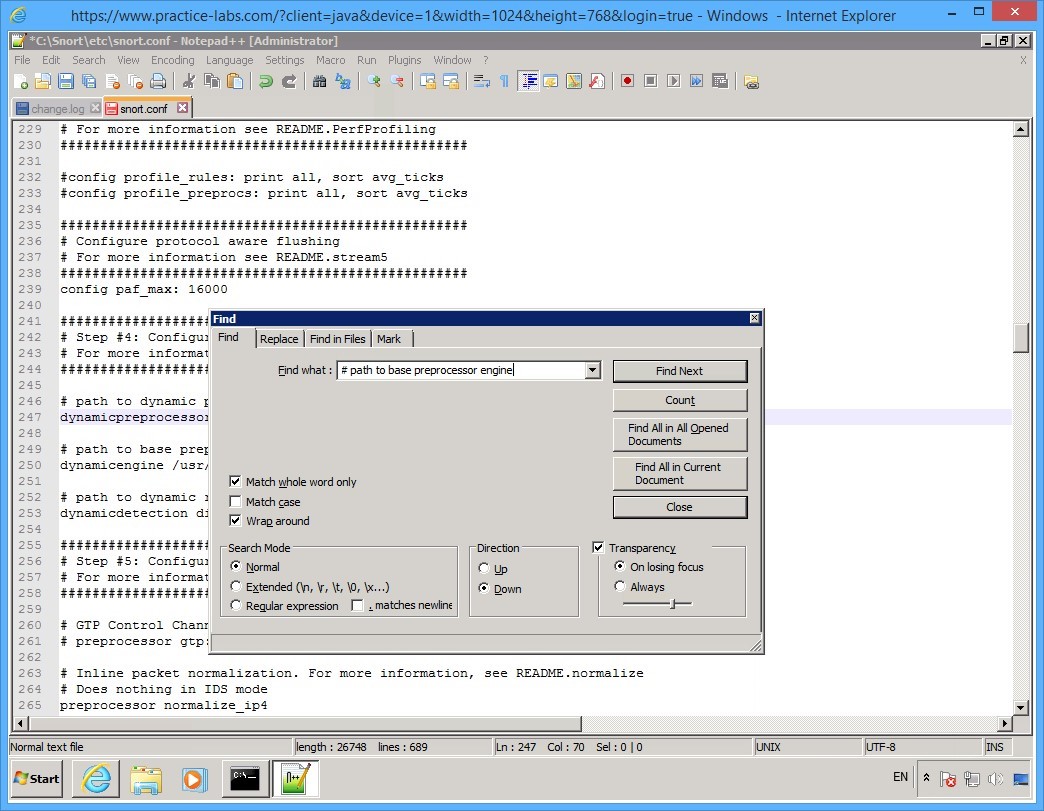
Click again on the Find dialog box to activate it.
In the Find what text box, type:
# path to base preprocessor engine
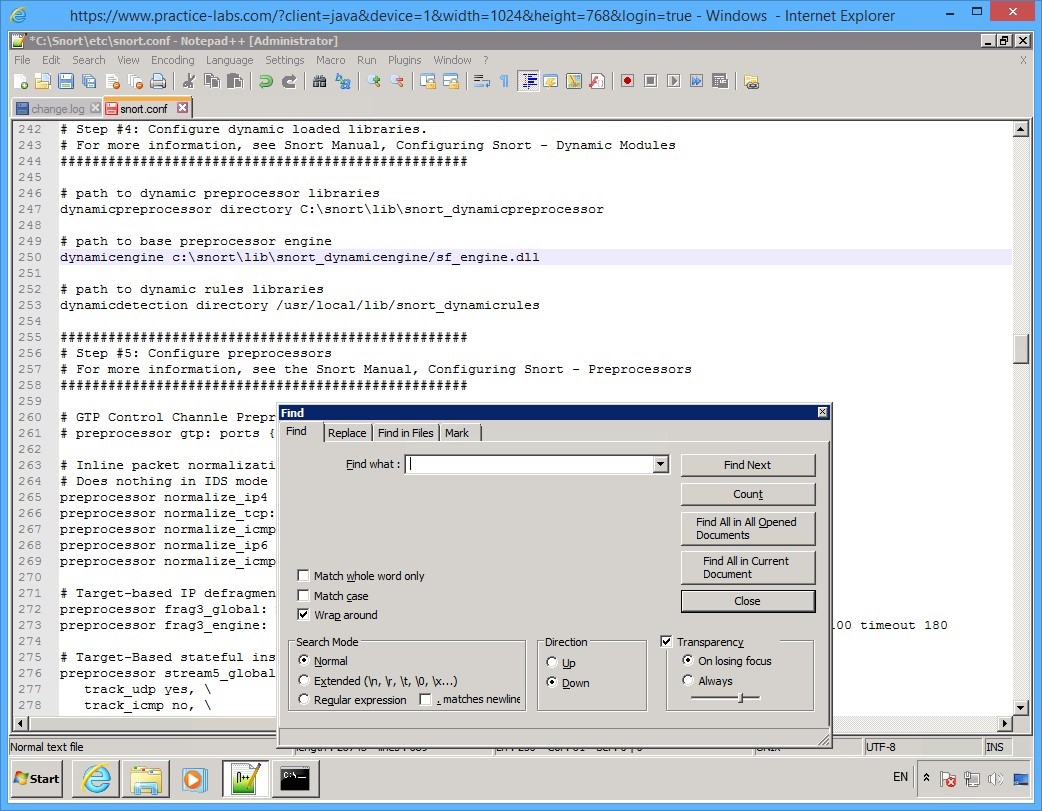
Click Find Next.
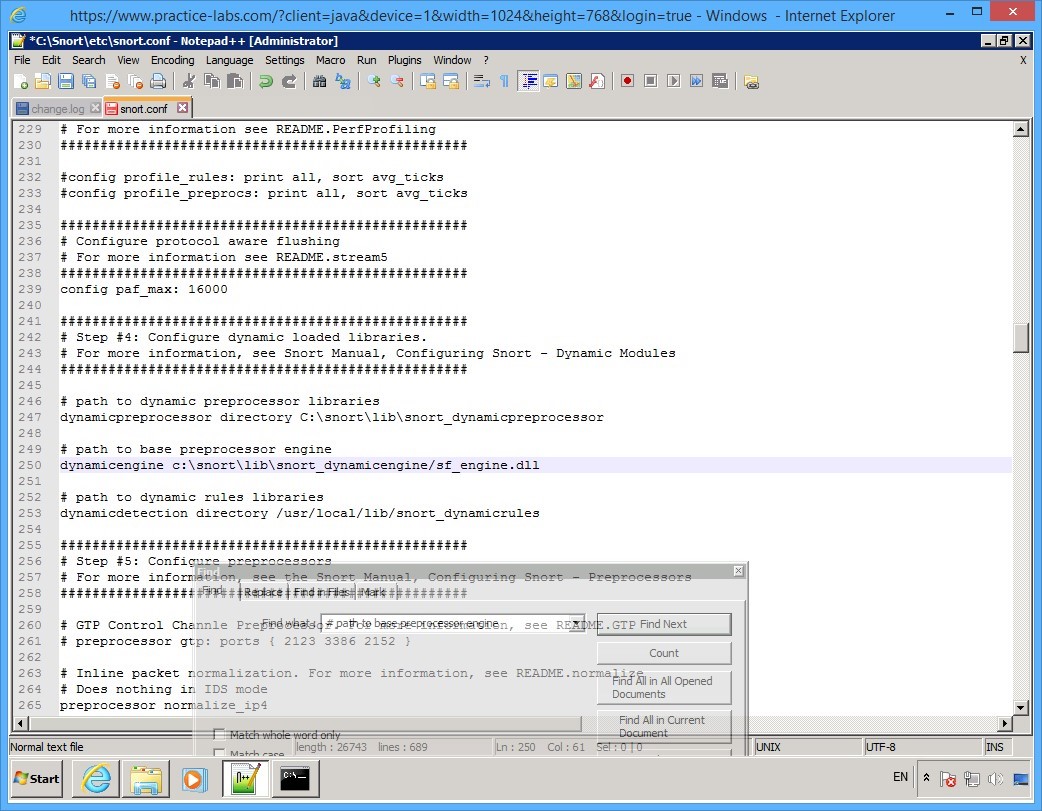
Step 16
Once again you will notice that a selection is made behind the Find dialog box.
Move the Find dialog box out of the way so you can see the contents of the file.
Notice that # path to base preprocessor engine section is highlighted.
Beside the dynamicengine keyword, change the path for pre-processor engine to:
c:\snort\lib\snort_dynamicengine\sf_engine.dll
Step 17
Click on the Find dialog box to activate it.
Then click Close button.
Step 18
For this step, you will comment on keywords that start with pre-processor normalize.
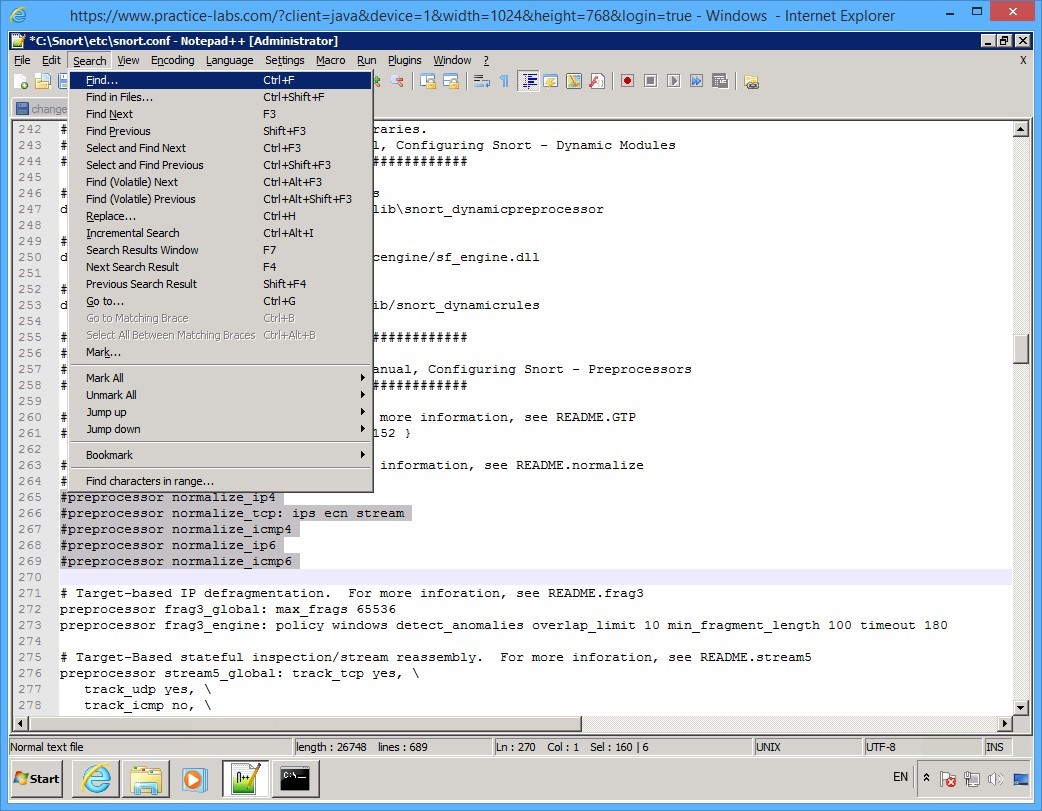
Click Search and select Replace…
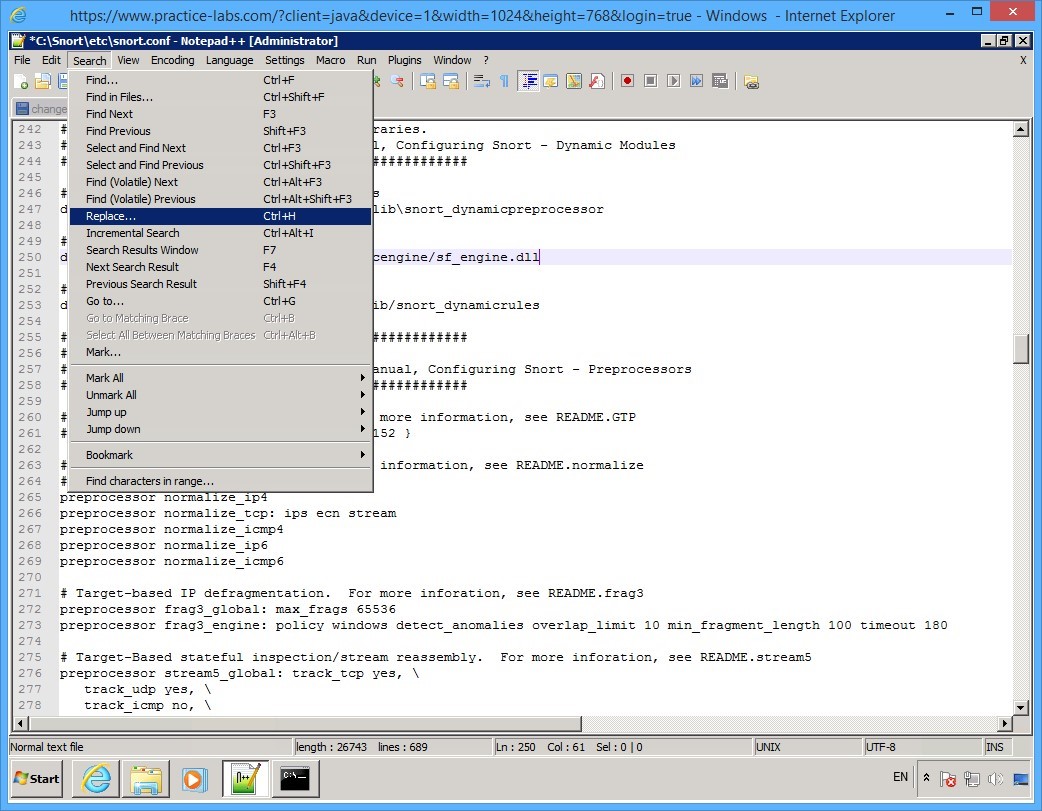
Step 19
On the Replace dialog box, click in the Find what text box and type:
preprocessor normalize
Click in the Replace with text box and type:
#preprocessor normalize
Click Replace All.
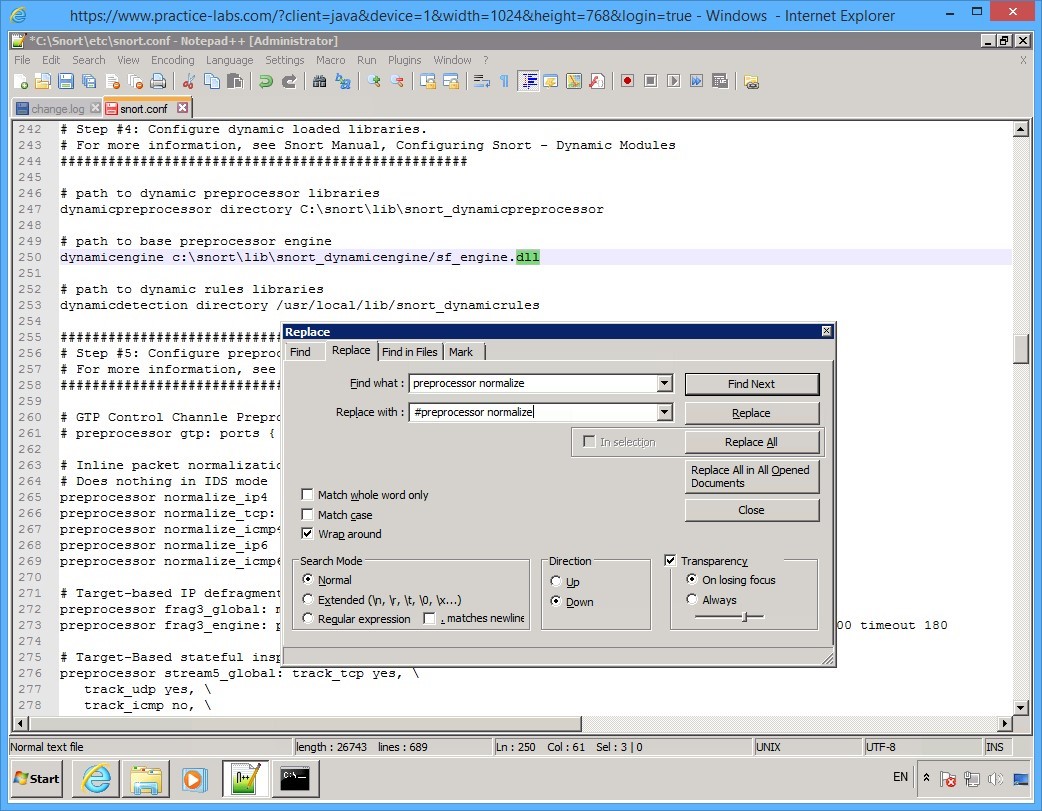
Step 20
The Replace dialog box reports that “5 occurrences were replaced.”
Click Close button.

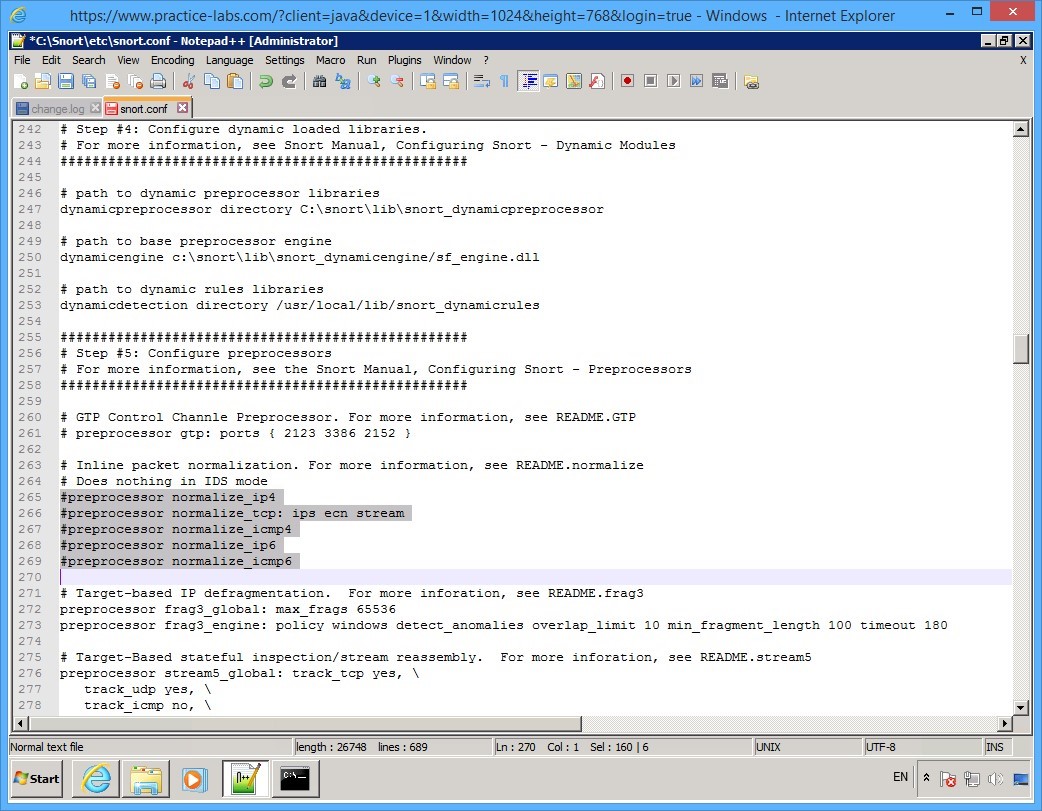
Step 21
Notice that “#” is now appended to the pre-processor normalize keywords.
Step 22
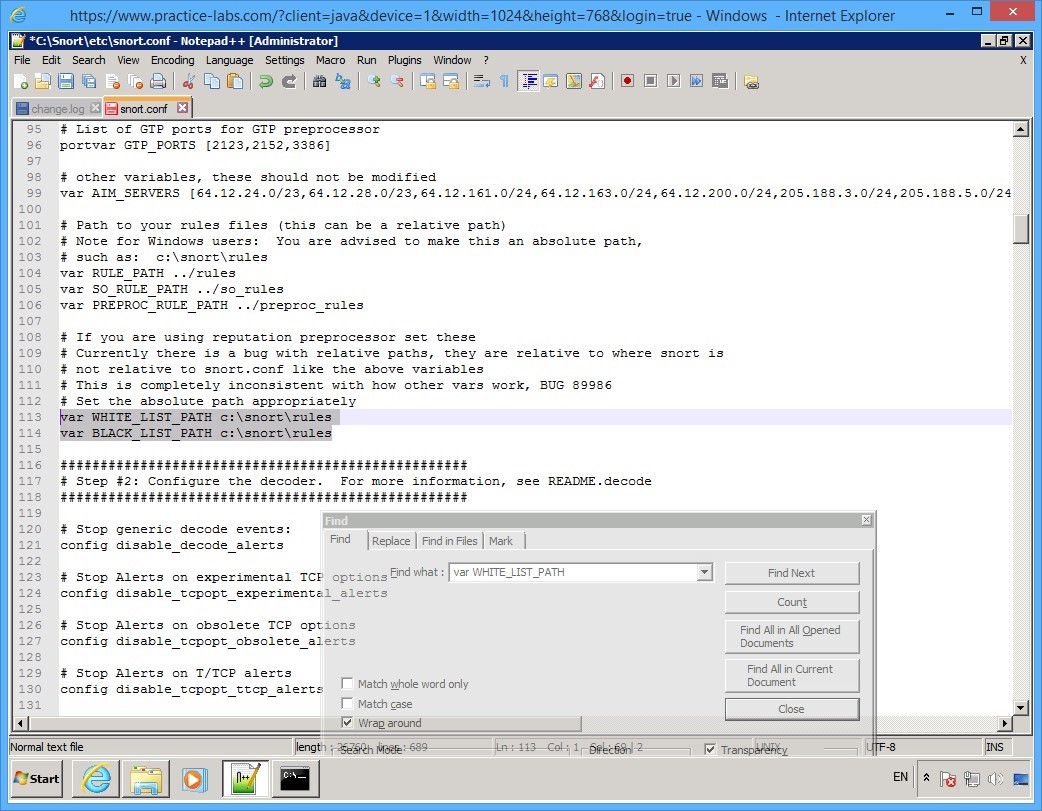
Click Search menu and select Find…
Step 23
On the Find dialog box, click in the Find what text box, type:
var WHITE_LIST_PATH
Click Find Next.

Step 24
As before, move the Find dialog box out of the way.
Beside the var WHITE_LIST_PATH keyword, replace the .. /rules with:
c:\snort\rules
Beside the var BLACK_LIST_PATH keyword, replace the .. /rules with:
c:\snort\rules
Step 25
Click again on Find dialog box to activate it.
Click in the Find what text box and type:
$WHITE_LIST
Click Find Next.
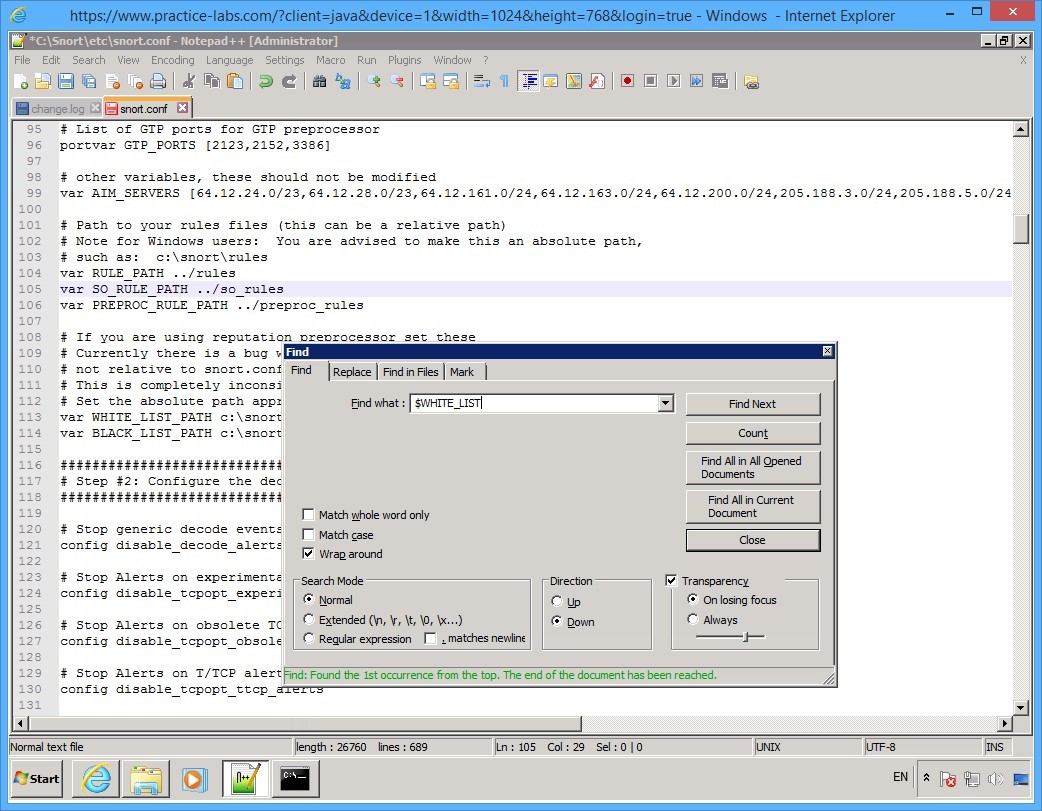
Step 26
The Find command once again makes a selection.
Click and drag the Find dialog box to see the highlighted text.
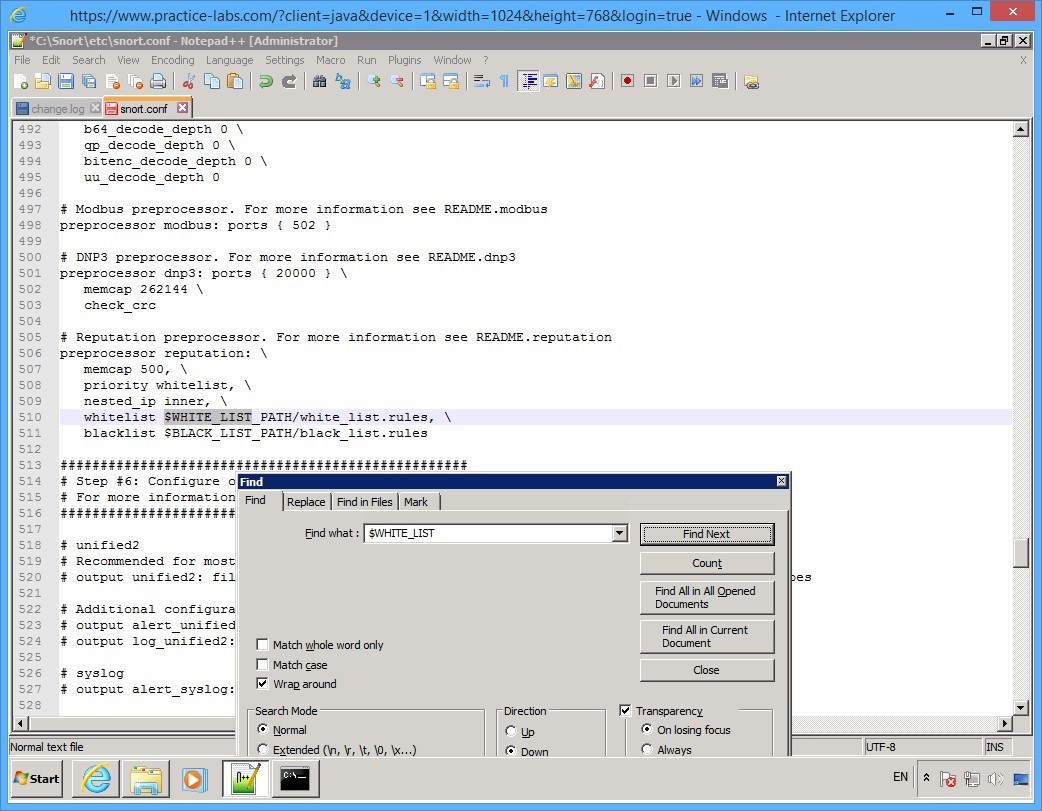
Step 27
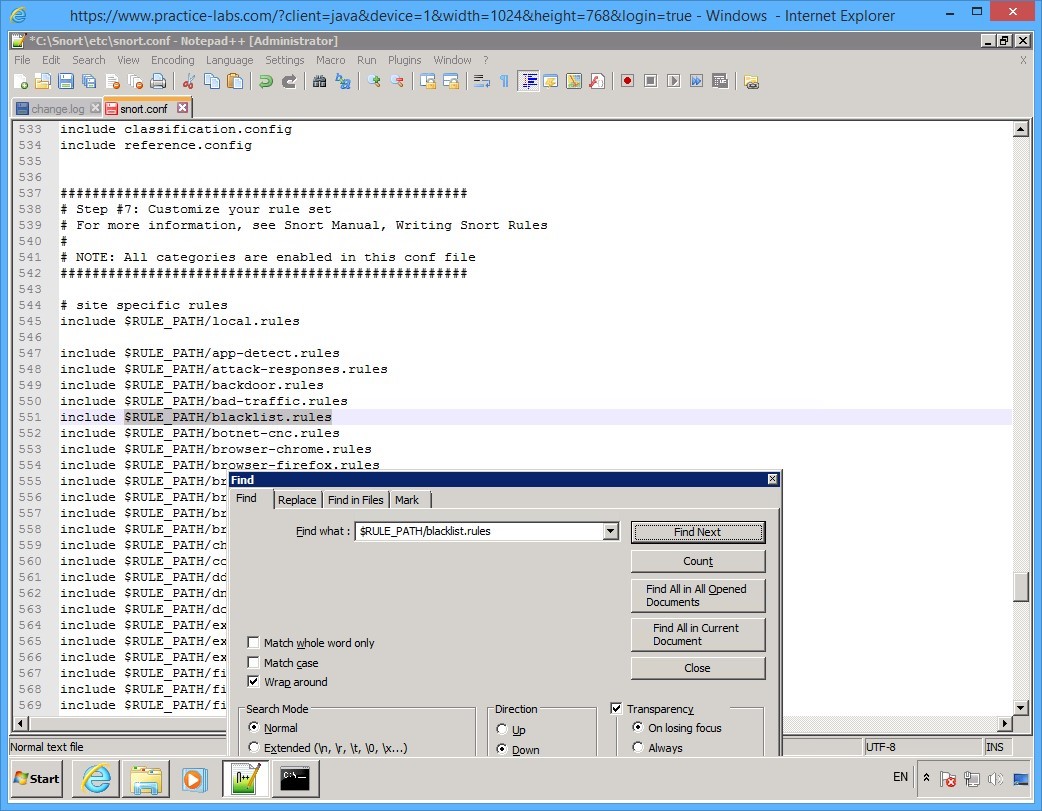
Beside the whitelist keyword, change $WHITE_LIST_PATH/white_list.rules, \
to:
WHITE_LIST_PATH\white_list.rules, \
Change BLACK_LIST_PATH/black_list.rules
to:
BLACK_LIST_PATH\black_list.rules
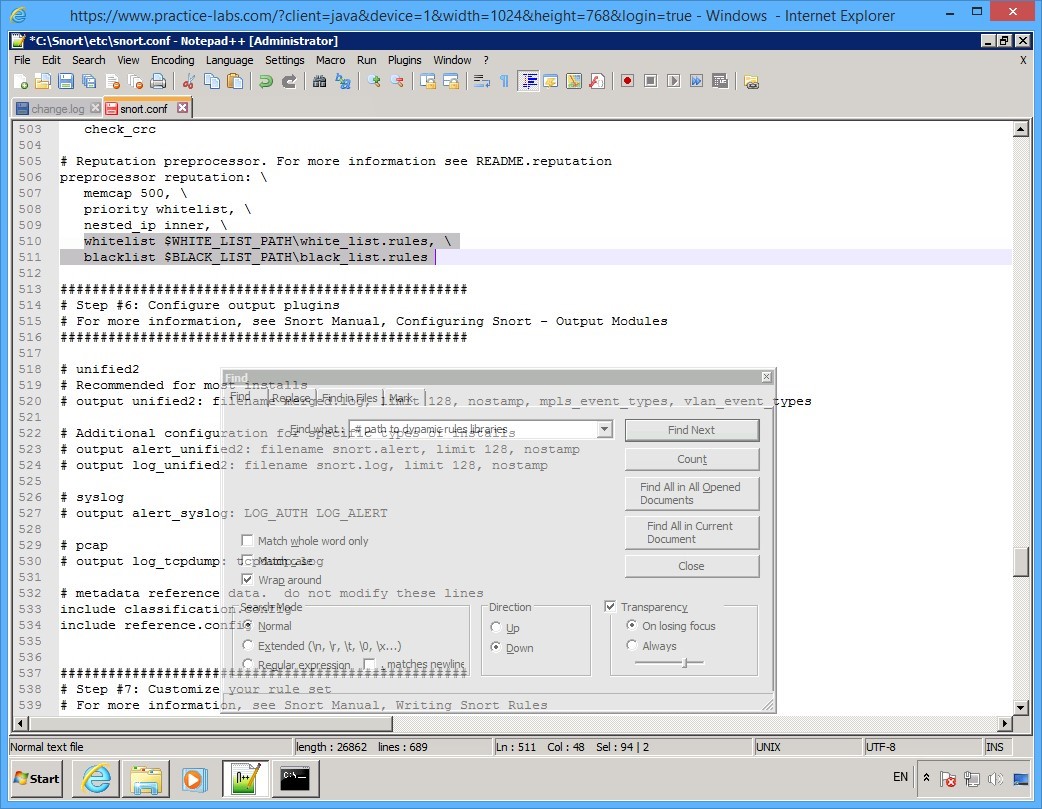
Step 28
Click again on Find dialog box.
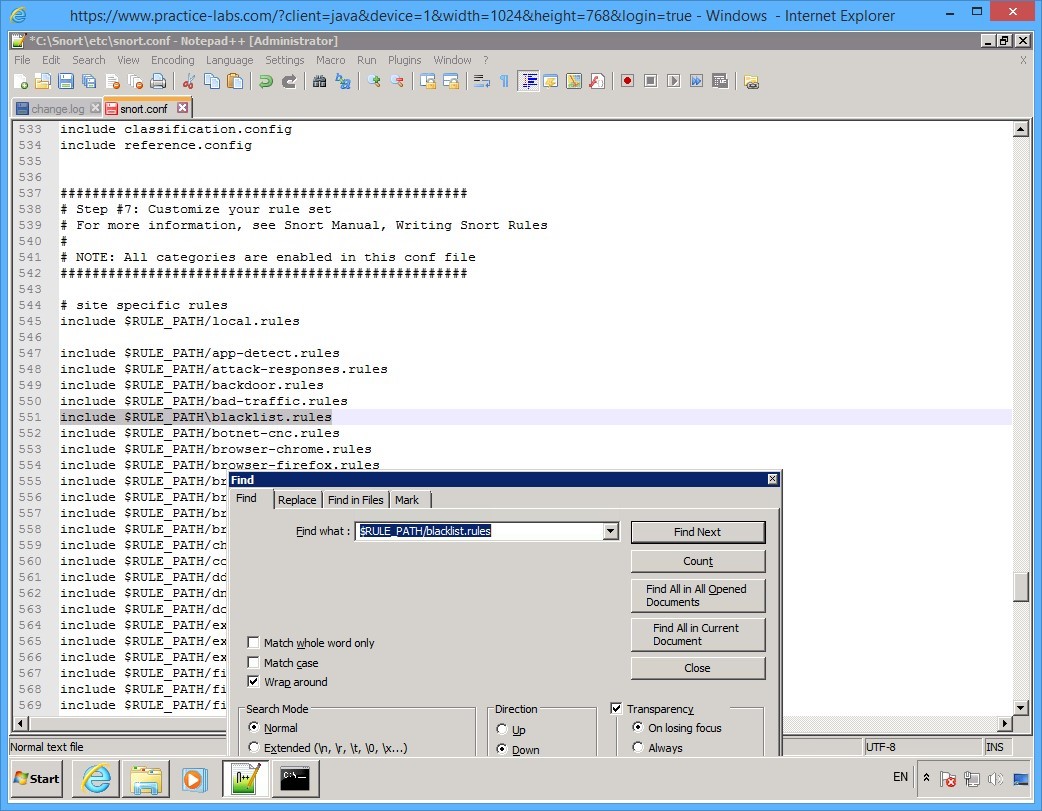
In the Find what text box, type:
$RULE_PATH/blacklist.rules
Click Find Next.
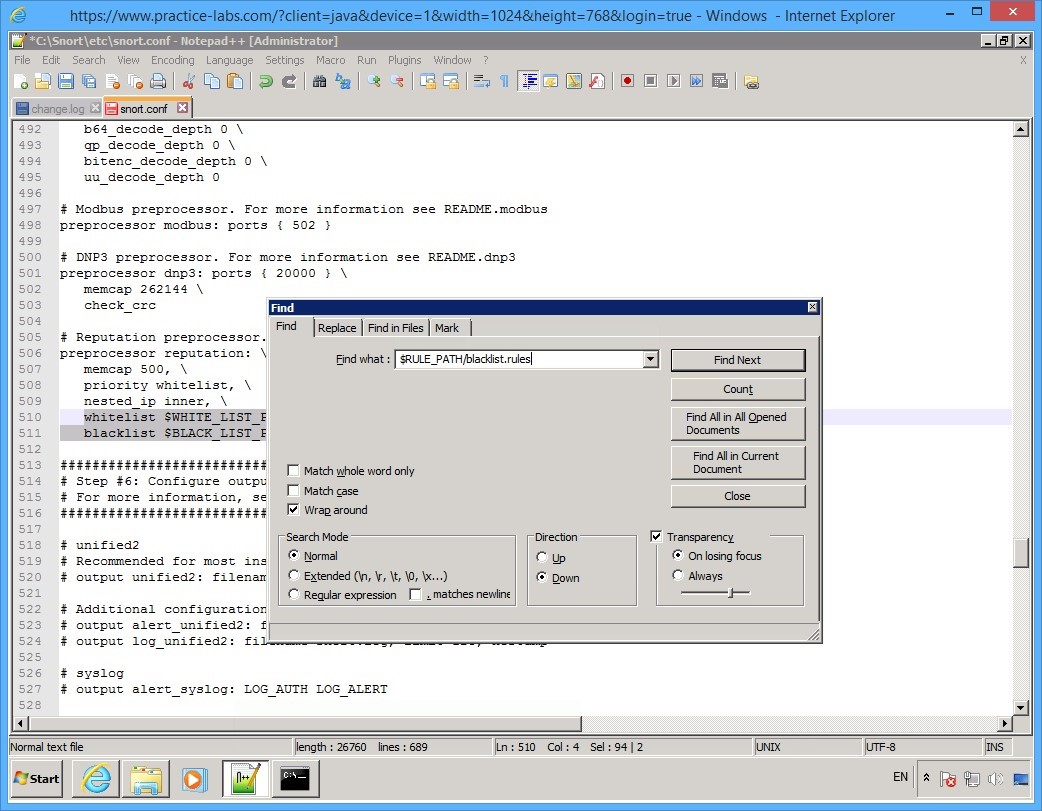
Step 29
The Find Next command found the keyword and makes a selection.
Click and drag the Find dialog box to see the highlighted keyword.
Step 30
Now change the following entry $RULE_PATH/blacklist.rules
To:
$RULE_PATH\black_list.rules
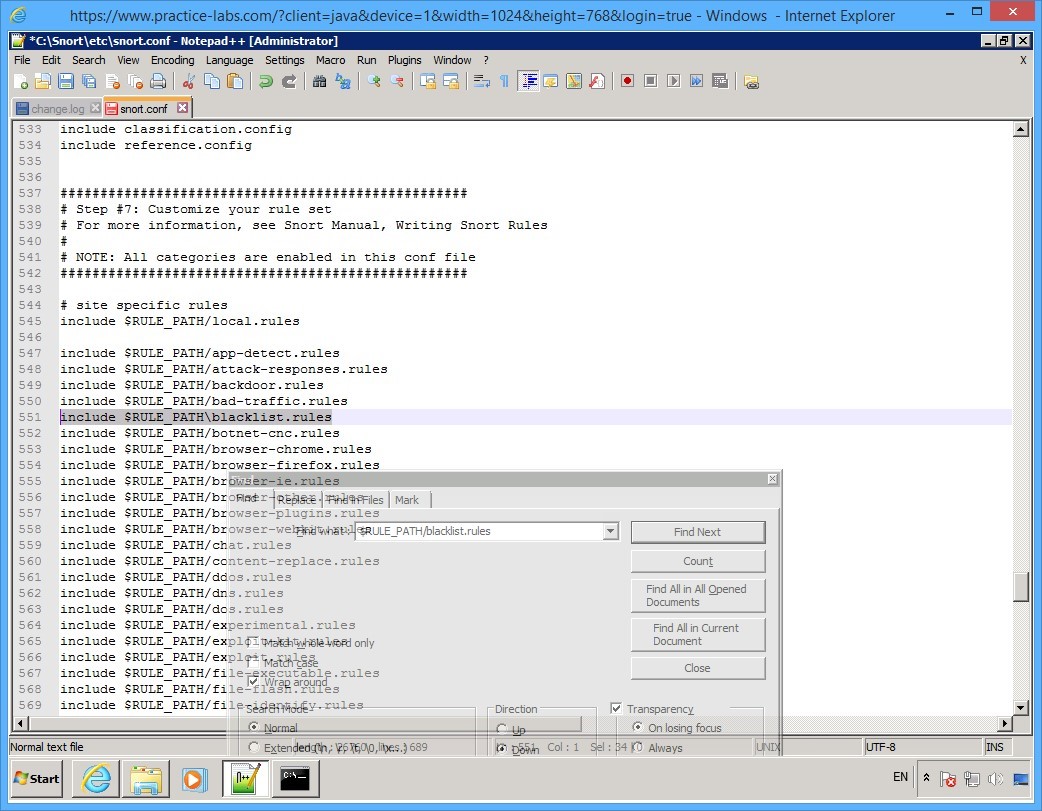
Step 31
Since you do not have rule files available for other rules see #site specific rules section, you need comment all of them by adding the “#” symbol.
Else, you will get error on each line where Snort finds missing rules file.
Click the Find dialog box and click Close button.
Step 32
To add the “#” symbol to other traffic rules, click Search menu and select Replace…
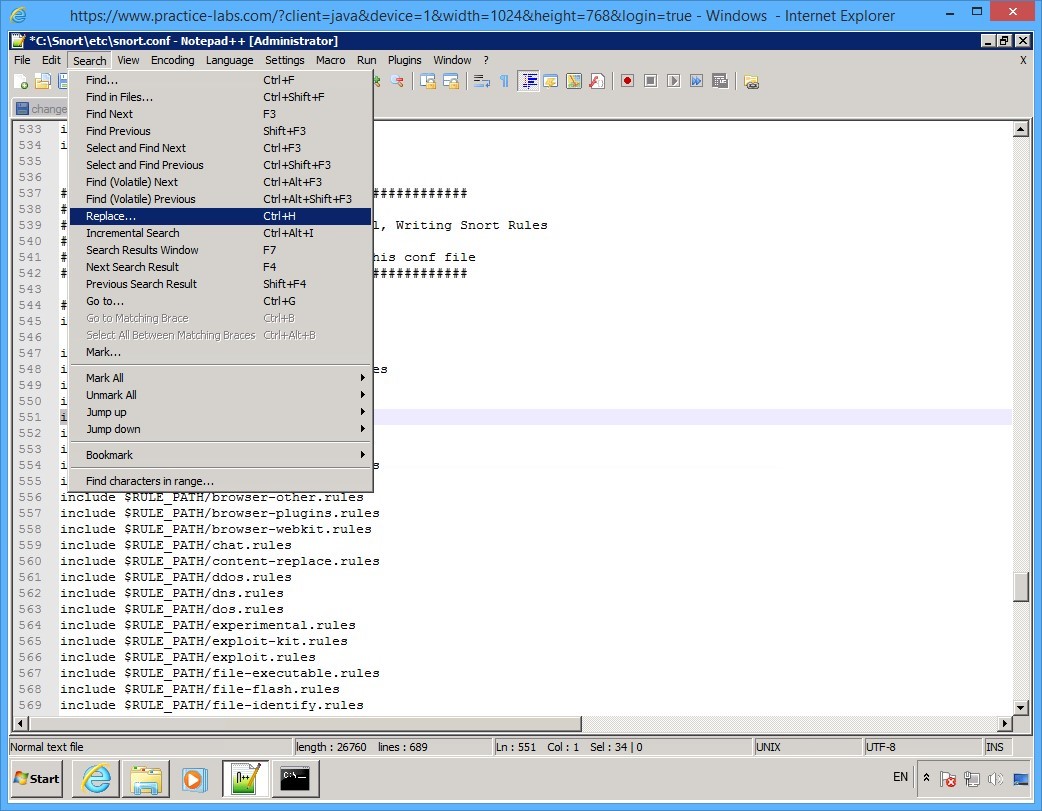
Step 33
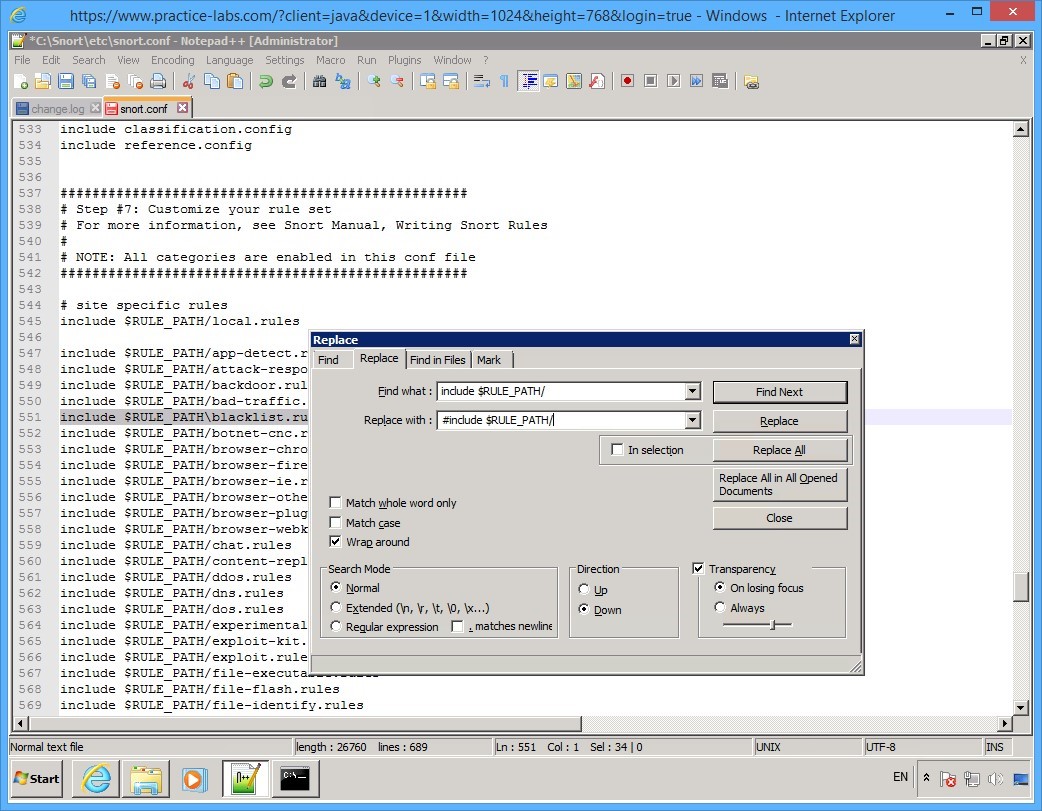
On the Replace dialog box, click in the Find what text box and type:
include $RULE_PATH/
Click in the Replace with text box and type:
#include $RULE_PATH/
Click Replace All button
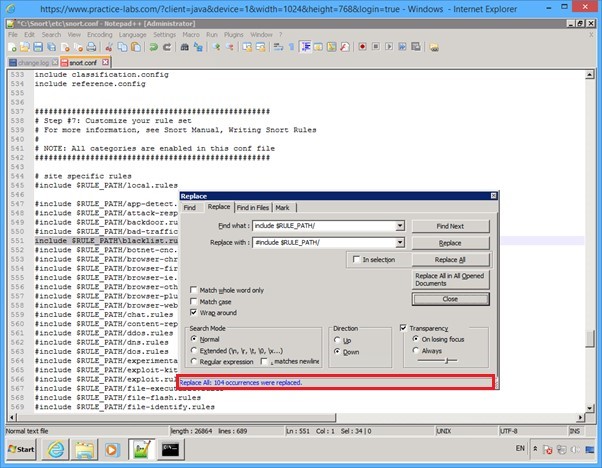
Step 34
The Replace dialog box, reports “All 104 occurrences were replaced.”
Click Close button.
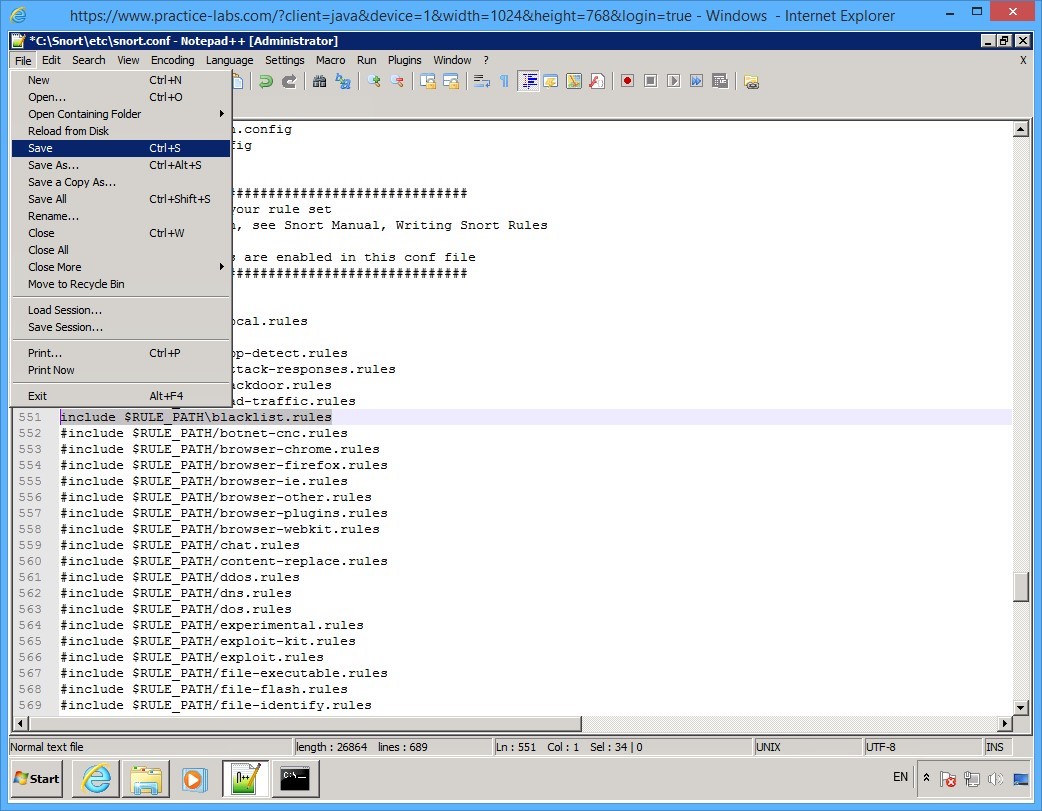
Step 35
Finally click File menu and select Save.
Minimize C:\snort\etc\snort.conf - Notepad++ (Administrator) window.
Keep all devices powered on in their current state and proceed to the next task.
Task 8 - Re-run Snort IDS tool
After configuring the snort.conf file in earlier task, you will retry running the snort IDS tool.
To re-run the snort IDS tool, perform the following steps:
Step 1
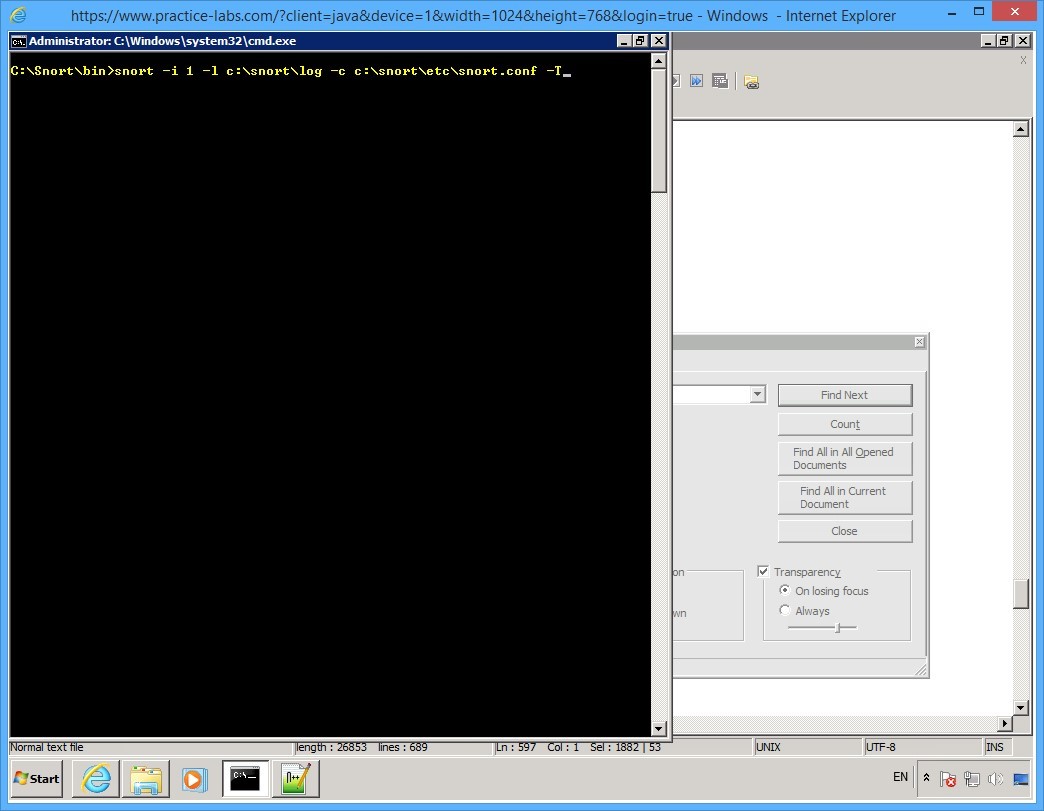
On PLABWIN701 device, click the minimized command prompt on taskbar.
Step 2
Test the snort configuration by typing the following command:
snort -i 1 -l c:\snort\log -c c:\snort\etc\snort.conf -T
Press Enter.
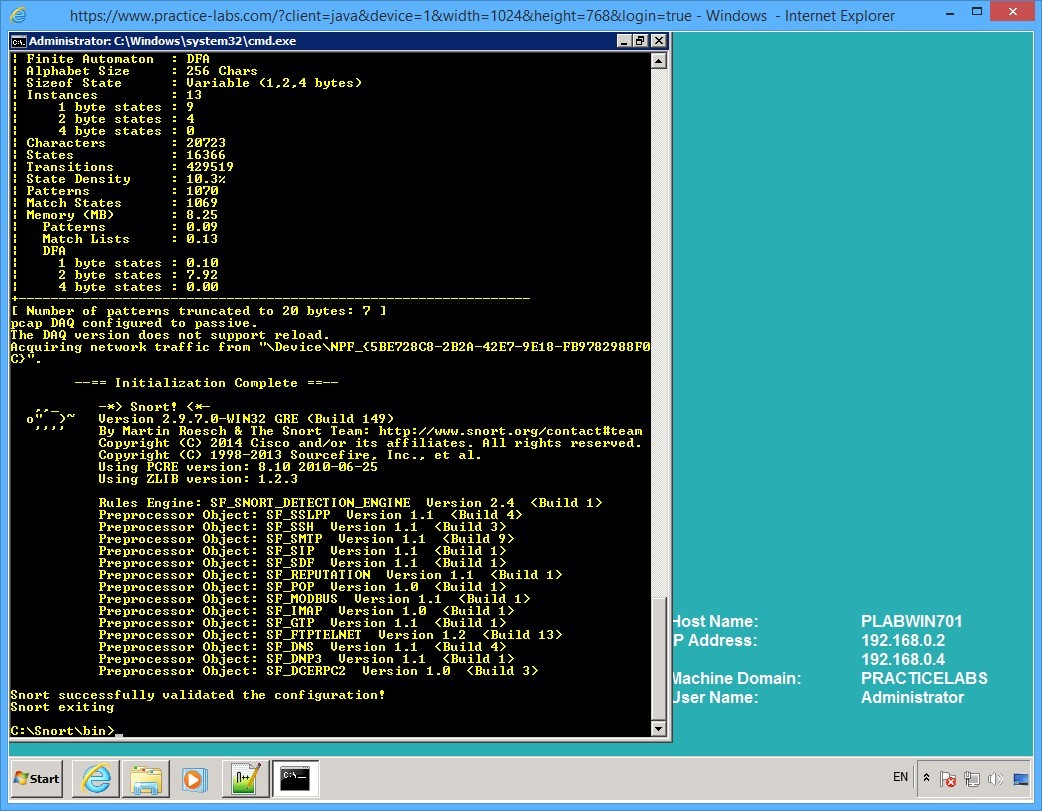
Step 3
You should get successful result.
Step 4
Enter the following command:
snort -c c:\snort\etc\snort.conf -l c:\snort\log -K ascii
Press Enter.

Step 5
Note that Snort IDS is now up and running.
Close the command prompt window and stay signed on to PLABWIN701.
Keep all devices powered on in their current state and proceed to the next task.
Exercise 3 - Using Anonymous Proxy Sites
Corporate network environments implement strict security policies when it comes to using the Internet. Non-work related websites, such as Facebook amongst others are blocked. However, you can use anonymous proxies or Websites to bypass the firewall. Anonymous proxies are just a simple Websites that allow you to feed in the URL that you intend to visit. These Websites also keep your information anonymous when you visit other Websites. This means that your computer information, such as IP address etc. is not revealed.
You can obtain a large list of anonymous Websites:
http://www.hongkiat.com/blog/how-to-access-blocked-web-sites/
Important: The above URL may not display the complete web page. You will need to use your computer to see the list of proxy sites. Most of the websites listed on the above mentioned URL are blocked in the Practice Labs environment due to firewall restrictions.
To get a better understanding of this technology, please refer to your course material or use your preferred search engine to research this topic in more detail.
Task 1 - Bypass Blocked Sites Using Anonymous Website Surfing Sites
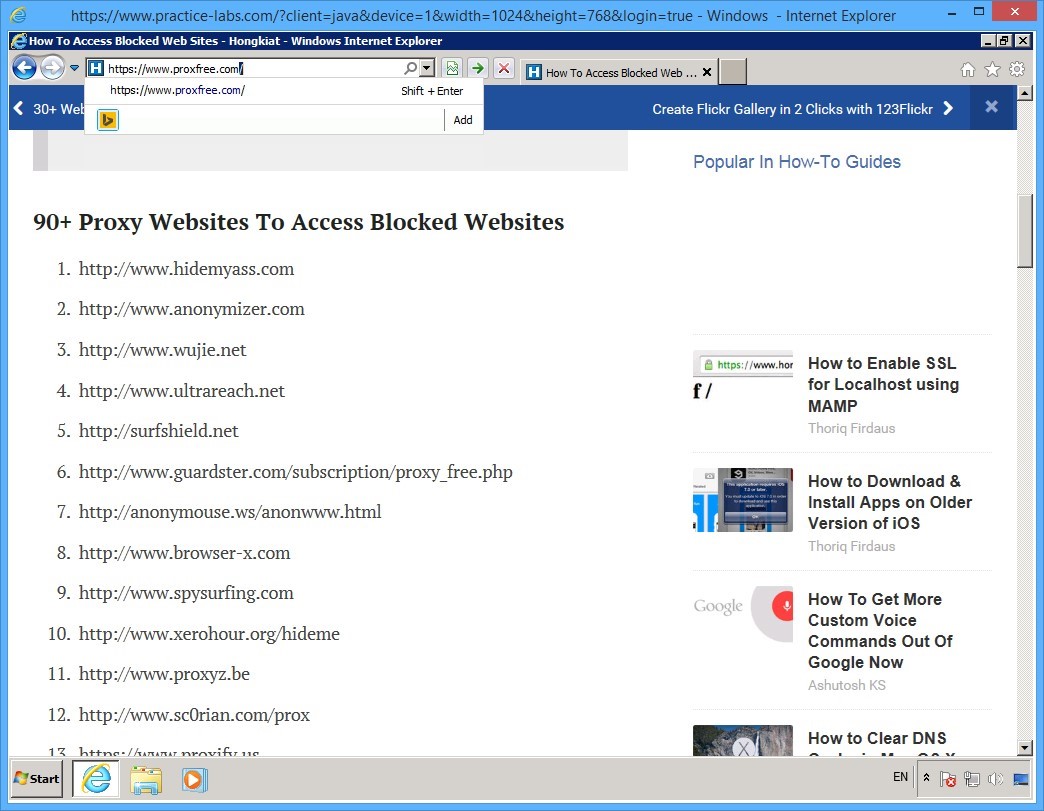
For this task, there is one proxy site that has been specifically allowed on the Practice Labs devices for the purpose of carrying out the tasks in this exercise. The website is as follows:
https://www.proxfree.com
To bypass blocked sites using Anonymous Website surfing sites, perform the following steps:
Step 1
On your PLABWIN701, launch Firefox.
Enter the following URL:
http://www.hongkiat.com/blog/how-to-access-blocked-web-sites/
Press Enter.
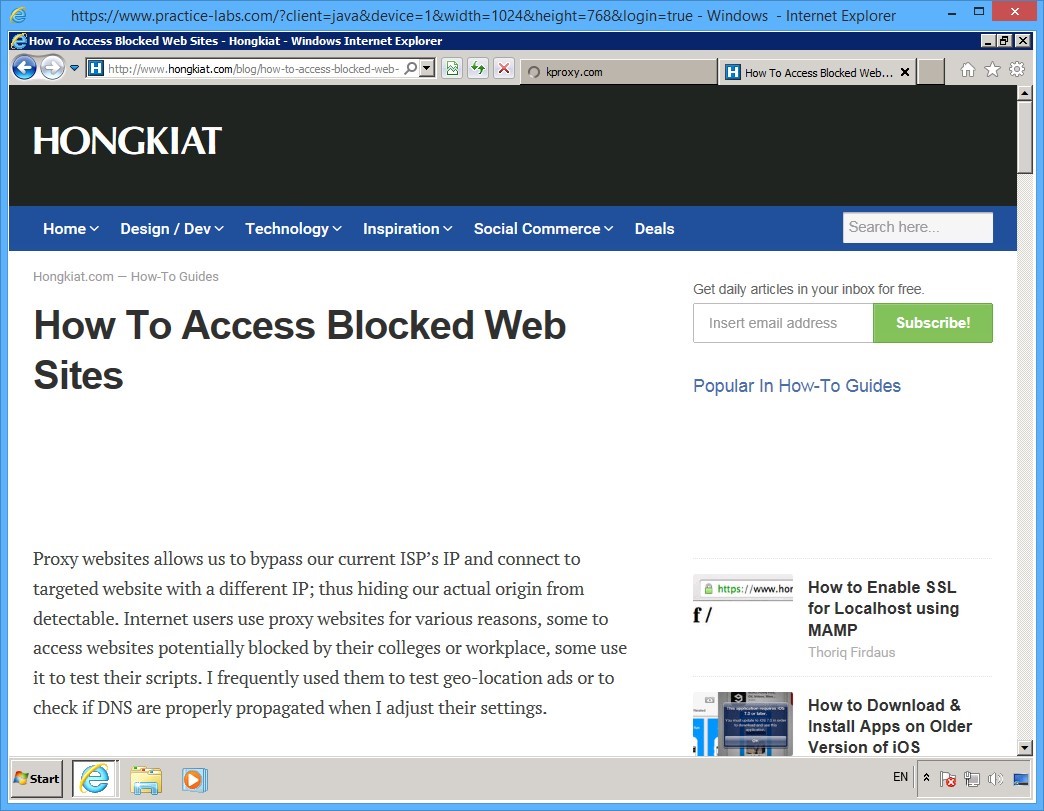
Step 2
Scroll down the list to find an extensive list of proxy websites that you can access.
Please note that most of these will NOT work in the Practice Labs devices, because of firewall policies that are currently enforced in lab network.
The next step will illustrate a proxy site allowed in this lab.
Step 3
On Firefoxes address bar, enter the following URL:
https://www.proxfree.com
Press Enter.
Step 4
The proxfree.com Website is now displayed.
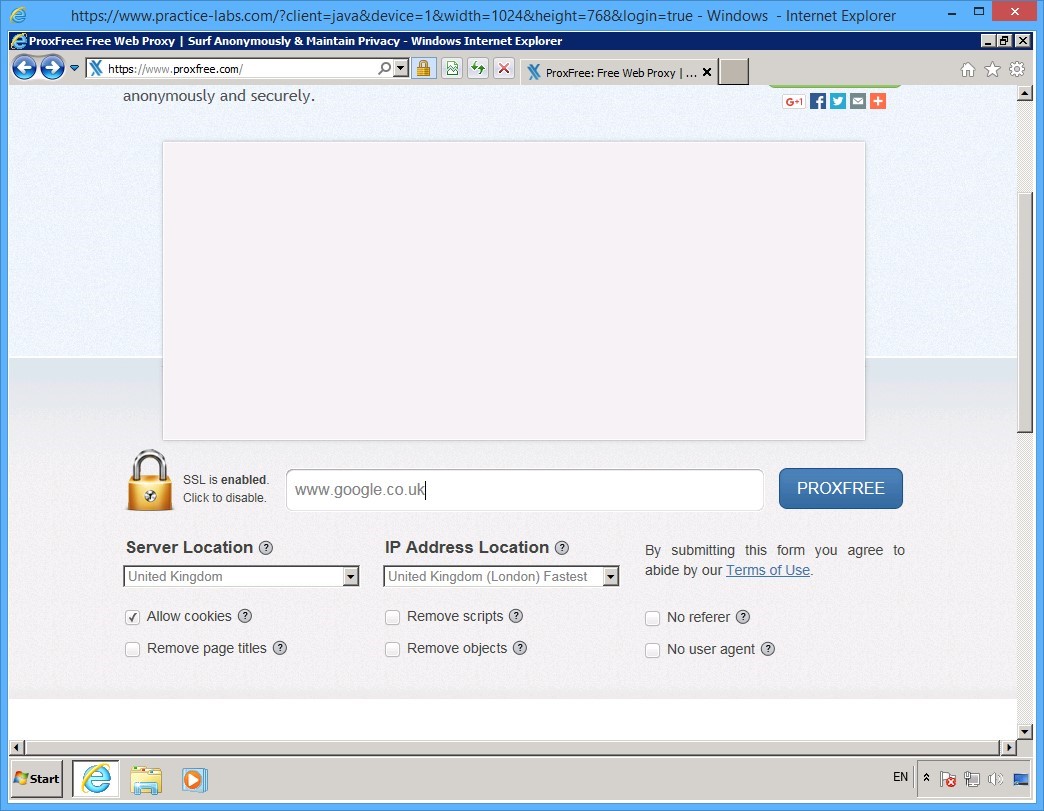
Scroll down the web page and locate text box where you can enter the URL that you want to visit.
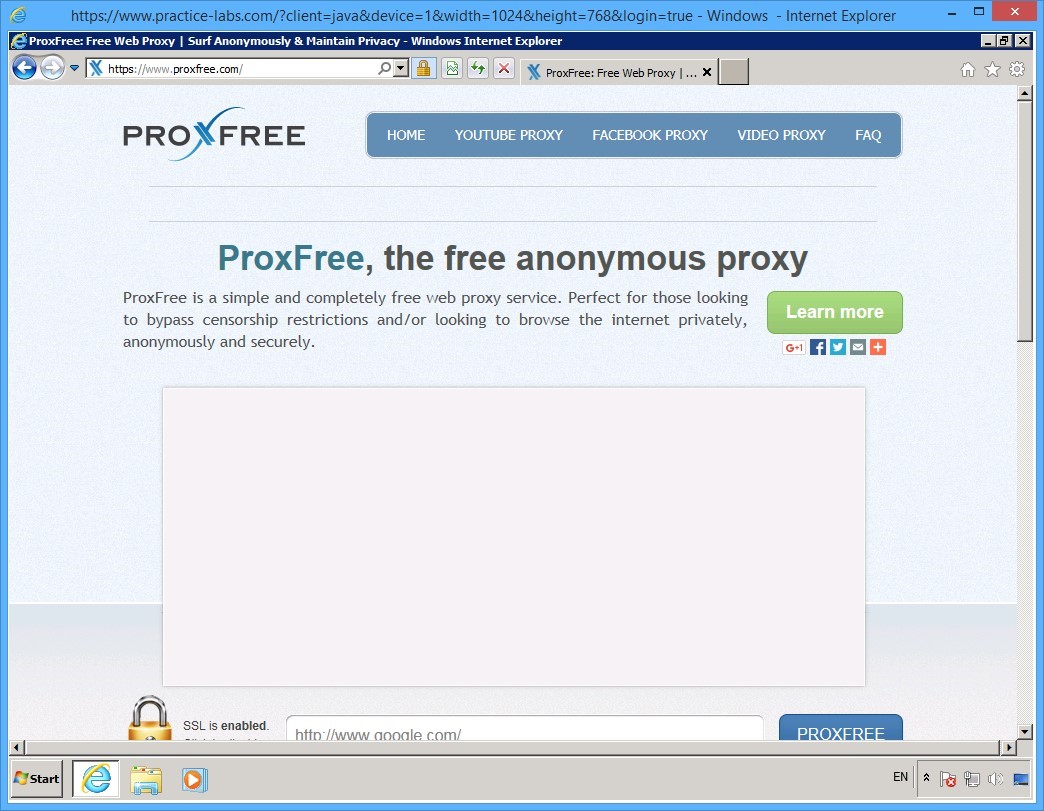
Step 5
In the URL textbox, enter:
www.google.co.uk
Click PROXFREE.
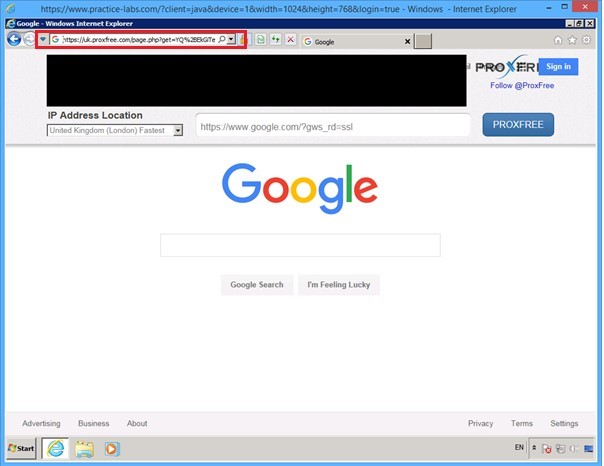
Step 6
The google.co.uk Webpage is displayed.
Notice the address bar indicates that you are using proxfree to visit this search engine website.
Step 7
In the address toolbar, enter:
facebook.com
Click PROXFREE.
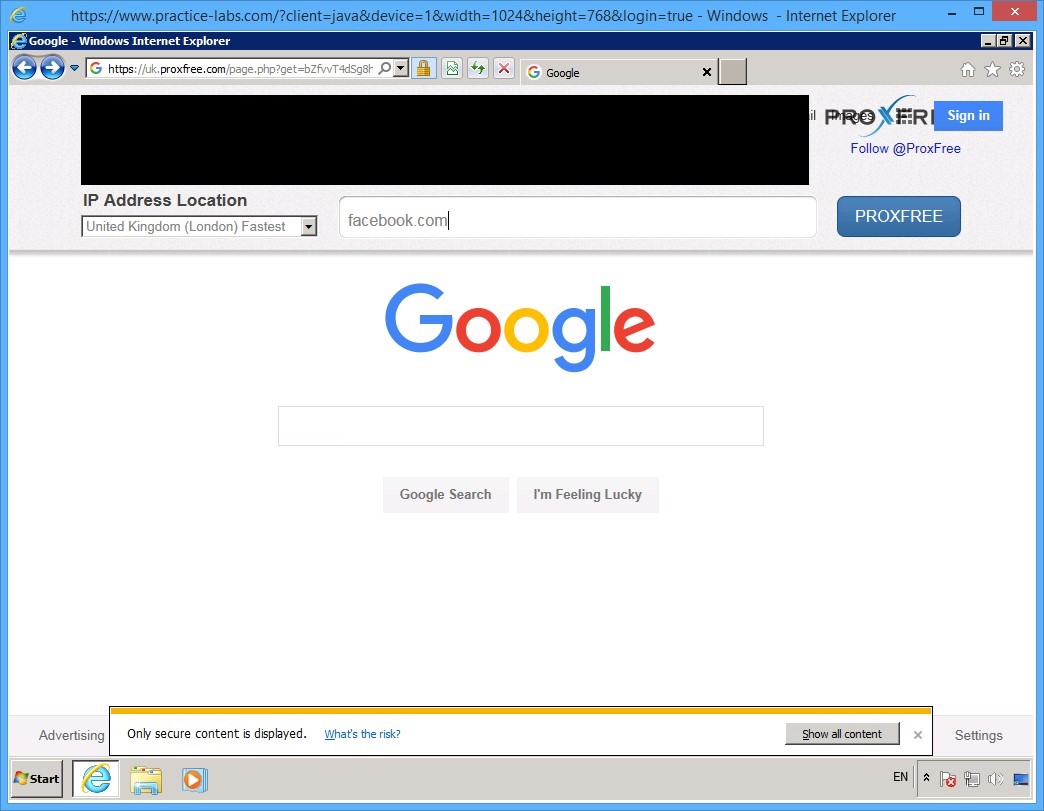
Step 8
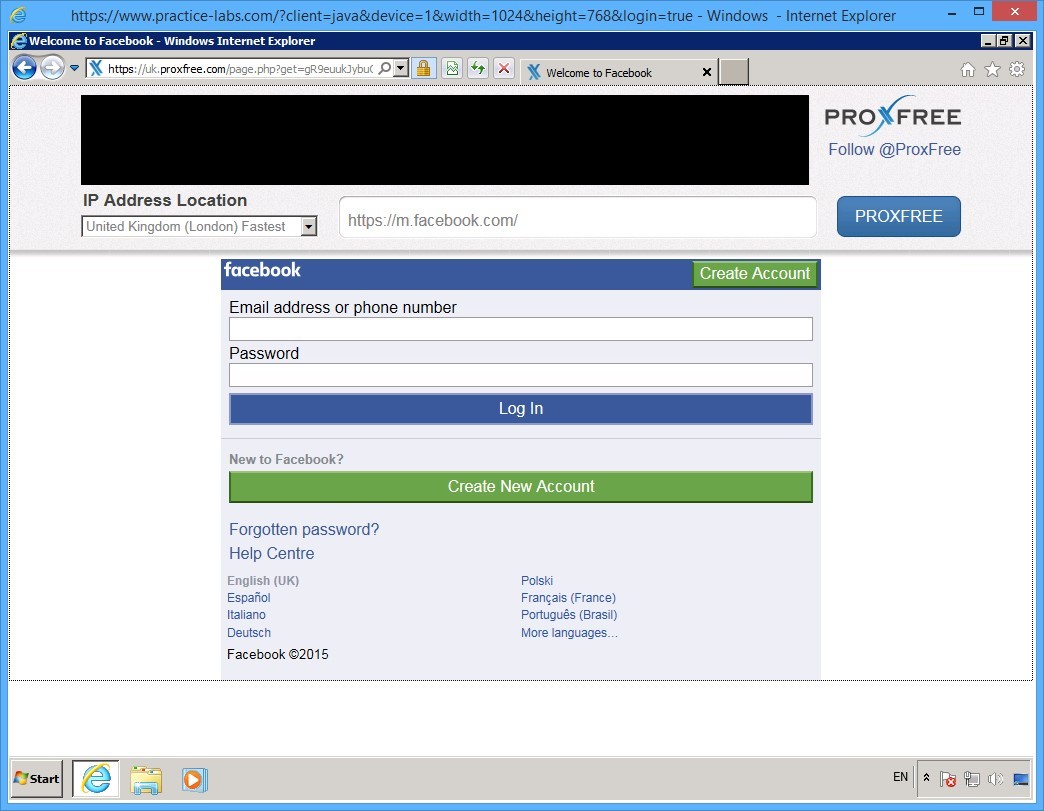
The mobile facebook.com Webpage is now displayed.
Try to enter your Facebook credentials and see if you can read the news feed.
Step 9
Note that address in the address bar:
The proxfree Website is converting the real URL of http://www.facebook.com.
Shut down all virtual machines used in this exercise using Practice Labs power button function to revert these devices to their default settings.
Alternatively, you may sign out of the lab portal to power down all devices.
Summary
In this module, you carried out the steps to configure the following:
- Firewall: ZoneAlarm Free Firewall
- Intrusion Detection Tool: Snort
- Bypass Blocked Sites Using Anonymous Website Surfing Sites