Southern New Hampshire University | SNHU-CYB220: Network Security
Installing Hyper-V and Fedora Linux Workstation
Exercises
- Introduction
- Exercise 1 - Install Hyper-V Feature
- Exercise 2 - Install a Fedora Linux Virtual Machine
- Exercise 3 - Configuring Initial Setup of a Fedora Linux Virtual Machine
- Summary
Introduction
The Installing Hyper-V and Fedora Linux Workstation module provides you with the instruction and devices to develop your hands on skills in the defined topics. This module includes the following exercises:
- Install Hyper-V Feature
- Install a Fedora Linux Virtual Machine
- Configuring Initial Setup of a Fedora Linux Virtual Machine
Exam Objectives
The following exam objectives are covered in this lab:
- FC0-U51: 1.1 Compare and contrast common operating systems and their functions and features (Workstation, Basic functions of an operating system, Software compatibility for different OS types and versions)
- FC0-U51: 1.4 Identify the following alternative technologies and their purpose (Virtualization).
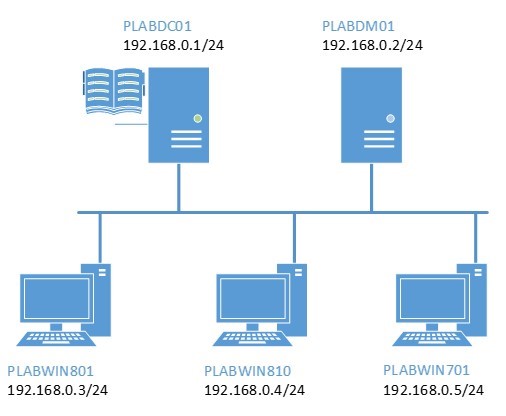
Lab Diagram
During your session you will have access to the following lab configuration.
Connecting to your lab
In this module you will be working on the following equipment to carry out the steps defined in each exercise.
- PLABDC01 (Domain Controller)
- PLABWIN810 (Windows 8.1 Workstation)
For further information and technical support, please see our Help and Support page.
Copyright Notice
This document and its content is copyright of Practice-IT - © Practice-IT 2016. All rights reserved. Any redistribution or reproduction of part or all of the contents in any form is prohibited other than the following:
1. You may print or download to a local hard disk extracts for your personal and non-commercial use only.
2. You may copy the content to individual third parties for their personal use, but only if you acknowledge the website as the source of the material. You may not, except with our express written permission, distribute or commercially exploit the content. Nor may you transmit it or store it in any other website or other form of electronic retrieval system.
Exercise 1 - Install Hyper-V Feature
Hyper-V is a machine virtualization platform from Microsoft that enables you to install and run multiple 32-bit or 64-bit OS in parallel on the same machine. This enables you to work on various OS without having to invest in expensive computer hardware. In addition, you can use Hyper-V to install and test virtual machines of various configurations without affecting the functionality of other virtual or physical machines.
For Hyper-V service to run in Windows 8.x, the computer hardware must have a 64-bit processor that supports second level address translation (SLAT), at least 4 GB of system memory and BIOS-level virtualization support. You can verify with your system vendor to find out if your computer can run this virtualization platform.
To get additional information about Hyper-V virtualization feature, please refer to your course material or use your favourite search engine to research for more information about this topic.
Task 1 - Install Hyper-V on PLABWIN810
In this task, you will use Windows PowerShell to enable Hyper-V feature in Windows 8.1.
Step 1
Ensure that you have powered on the required devices in the Introduction of this lab.
Connect to PLABWIN810.
Right-click Start charm and select Command Prompt.
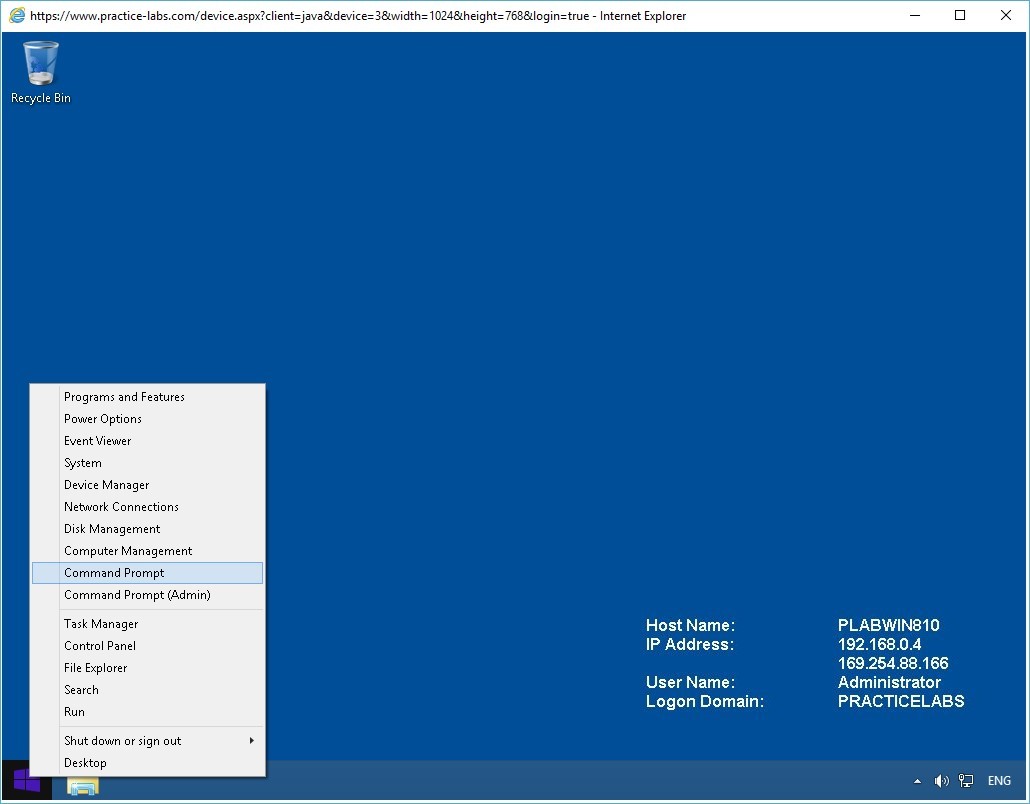
Step 2
To launch Windows PowerShell within the command prompt, type:
powershell
Press Enter.
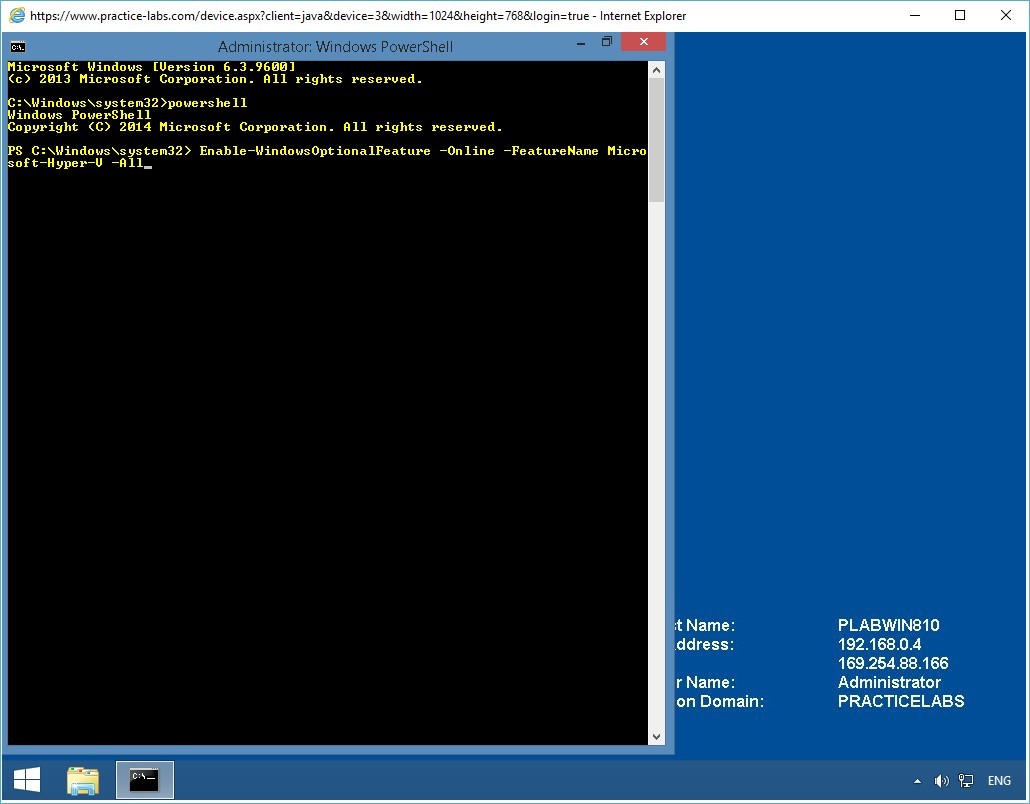
Step 3
Please note that Windows PowerShell commands are not case-sensitive.
To install Hyper-V feature on PLABWIN810 device, type:
Enable-WindowsOptionalFeature -Online -FeatureName Microsoft-Hyper-V -All
Press Enter.
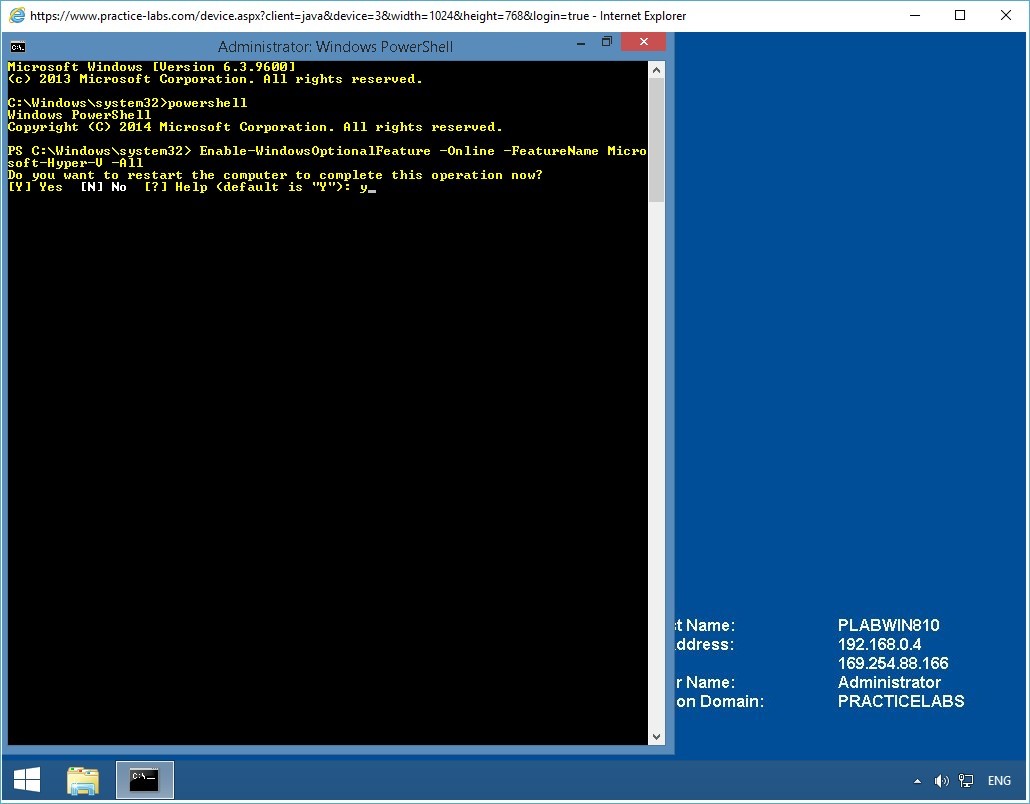
Step 4
Please wait while installation of Hyper-V feature is in progress.
Step 5
Windows will prompt for a restart to complete this installation, type:
y
Press Enter.
Note: Please wait for about 2 minutes before you reconnect to PLABWIN810. This is to give the computer sufficient time to complete its restart after the installation of Hyper-V.
Step 6
Reconnect to PLABWIN810.
When signed in, click Start charm to access Start screen.
Step 7
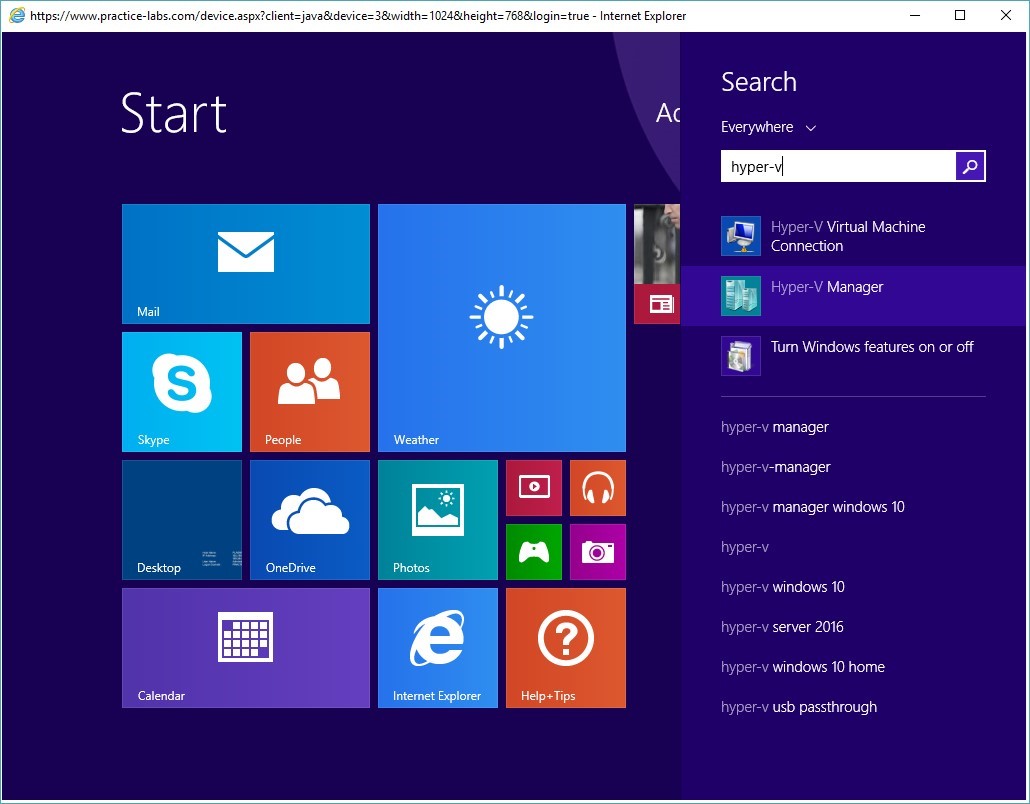
From Start screen, type Hyper-V and select Hyper-V Manager.
With Hyper-V Manager appearing on the selection, this verifies that Hyper-V was successfully installed earlier.
Keep all devices that you have powered on in their current state and proceed to the next task.
Task 2 - Create Hyper-V Virtual Network
A virtual network works like a physical network switch except that the switch is software-based which is why it is sometimes referred to as a virtual network switch. Ports are added or removed when virtual machines are connected to or disconnected from a virtual network.
With Hyper-V’s Virtual Network Manager, it offers three types of virtual networks that you can use.
External virtual networks. You can use this type when you want to provide virtual machines with access to a physical network and communicate with externally located servers and clients.
Internal virtual networks. You can use this type when you want to allow network communication between virtual machines on the same virtualization server and between virtual machines and the management operating system.
Private virtual network. You can use this type when you want allow network communication between virtual machines on the same virtualization server. A private virtual network is not bound to a physical network adapter. This type of network is useful if you want to create an isolated network environment.
To create a virtual network, follow these steps:
Step 1
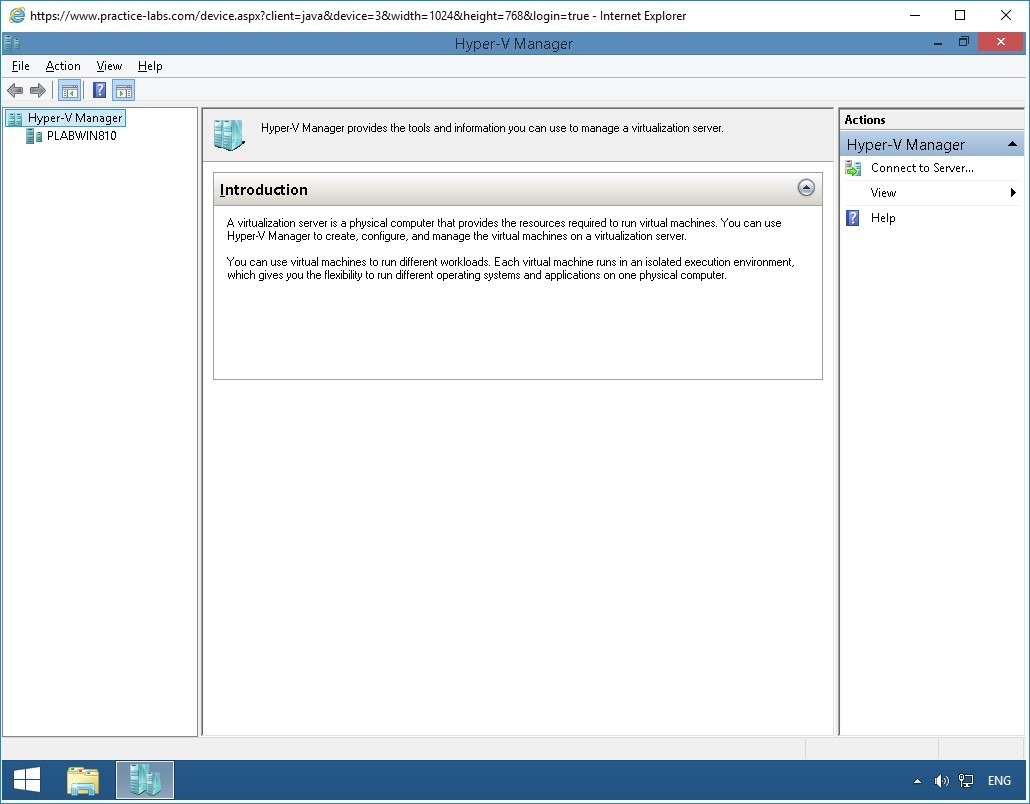
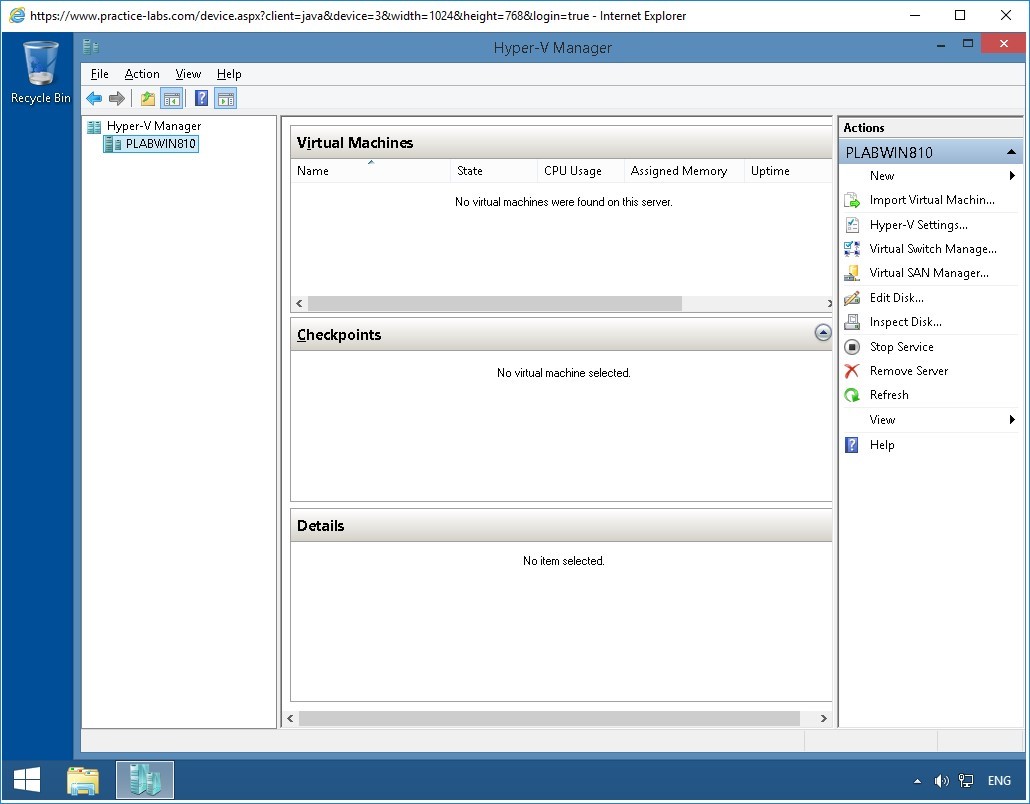
The Hyper-V Manager window is displayed.
Select PLABWIN810.
Step 2
Right-click PLABWIN810 and select Virtual Switch Manager…
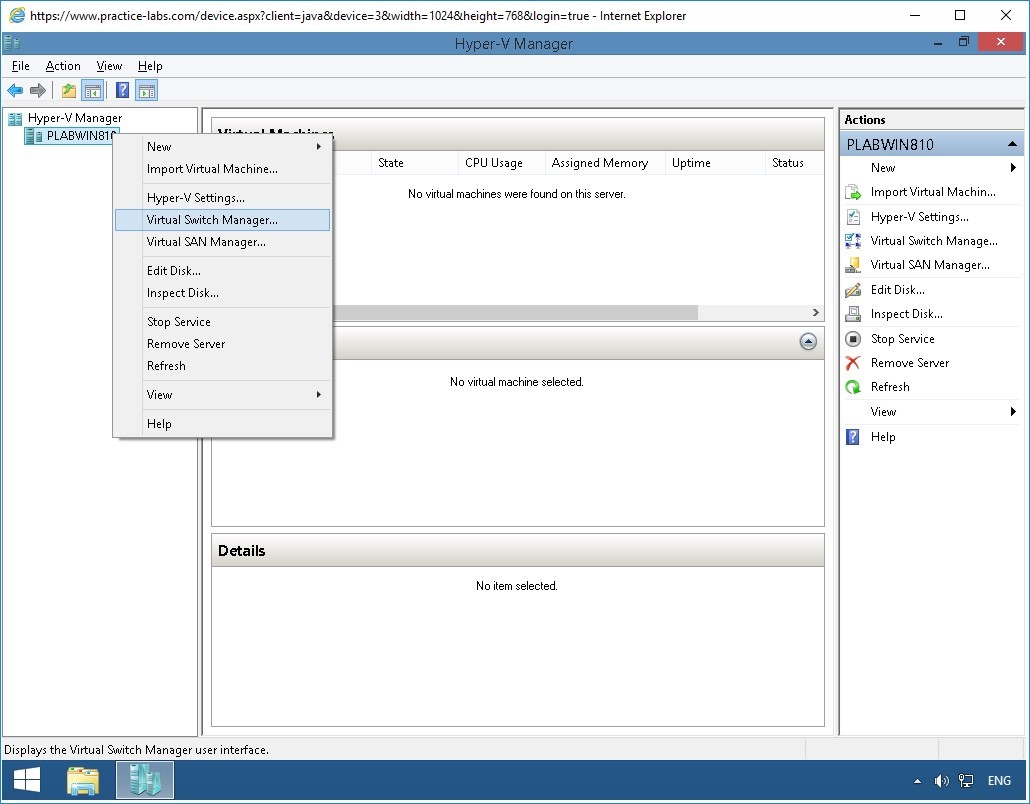
Step 3
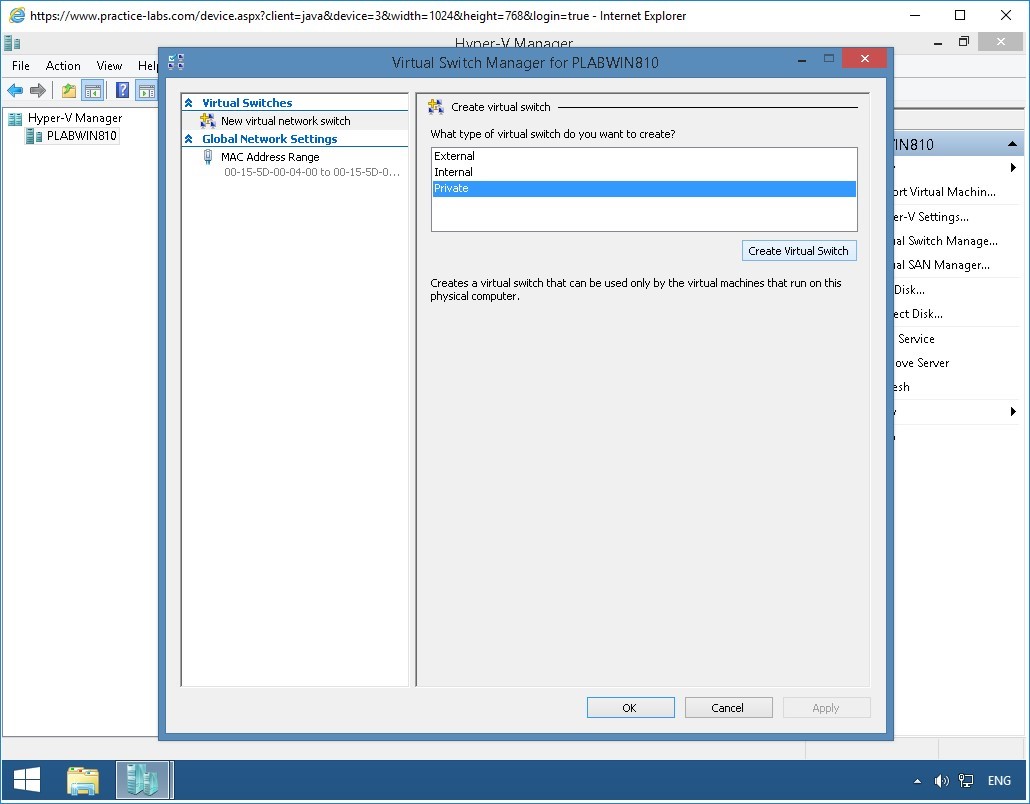
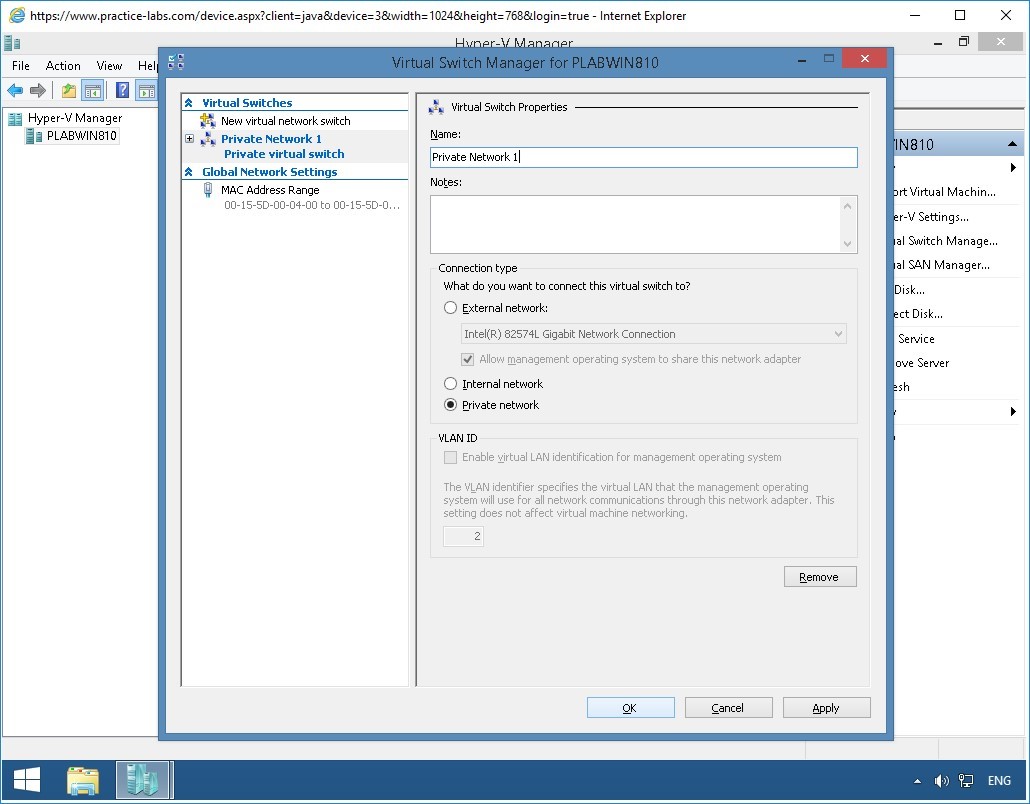
From Virtual Switch Manager for PLABWIN810 dialogue box, go to What type of virtual switch do you want to create section, select Private.
Click Create Virtual Switch.
Step 4
On Virtual Switch Properties section, click in Name box and type over the suggested name. Enter:
Private Network 1
Verify Connection type is set Private network.
Click OK.
Step 5
You have successfully created the virtual network switch on the Hyper-V host.
Please note that the objective of this exercise is to show the installation of Hyper-V feature on Windows 8.1.
Alert: Please proceed to the next exercise about installing Fedora Linux operating system. A new set of devices will be provided to perform the procedure in the next exercise.
Exercise 2 - Install a Fedora Linux Virtual Machine
Linux is a Unix-like operating system that was created under the model of free and open source software development. Installing or using Linux does not call for any license as it can be installed on a wide range of computing devices, including the computer and various mobile devices. Fedora is one of the popular Linux distribution.
In this exercise, you will perform a complete install of the Fedora 14 operating system. You will be working on the following equipment to carry out the steps for the exercise:
- PLABWINBUILD (Build Server)
Please refer to your course material or use your favourite search engine to research this topic in greater detail.
Task 1 - Install Fedora Linux in Hyper-V
In this task, you will install Fedora Linux as a guest virtual machine in Hyper-V. Note that PLABWINBUILD is a Windows Server 2008 R2 Server. Therefore, the Hyper-V service in this lab runs on a Windows Server 2008 R2 platform.
Step 1
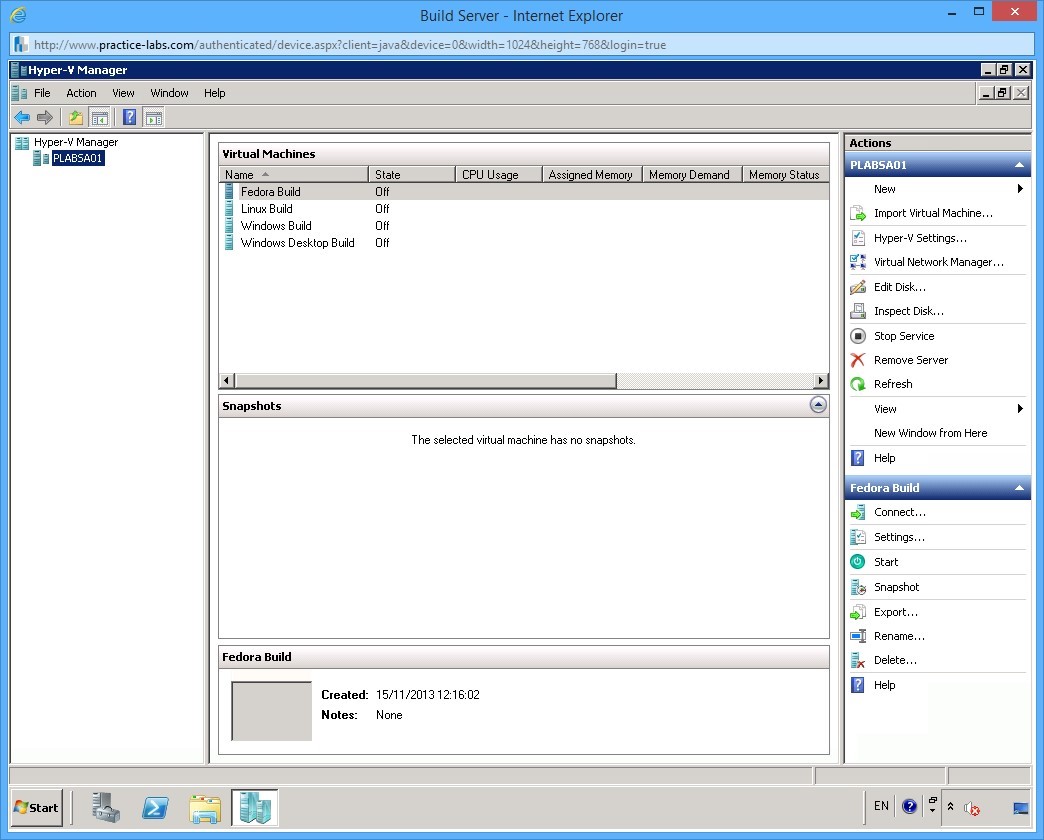
When you access the exercise, the PLABWINBUILD server will automatically boot up and when it becomes available will automatically log you in.
Note that the Hyper-V Manager window is displayed as you log in.
You can also double-click the Hyper-V Manager shortcut on the desktop to launch the Hyper-V manager.
Step 2
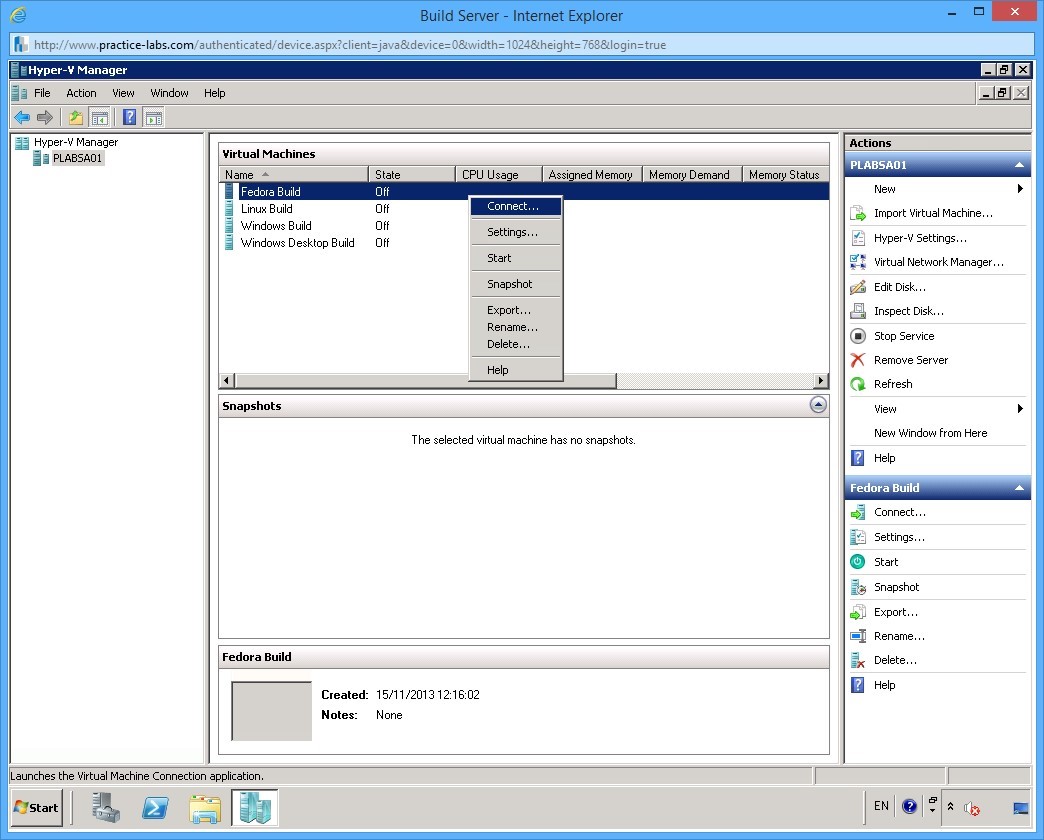
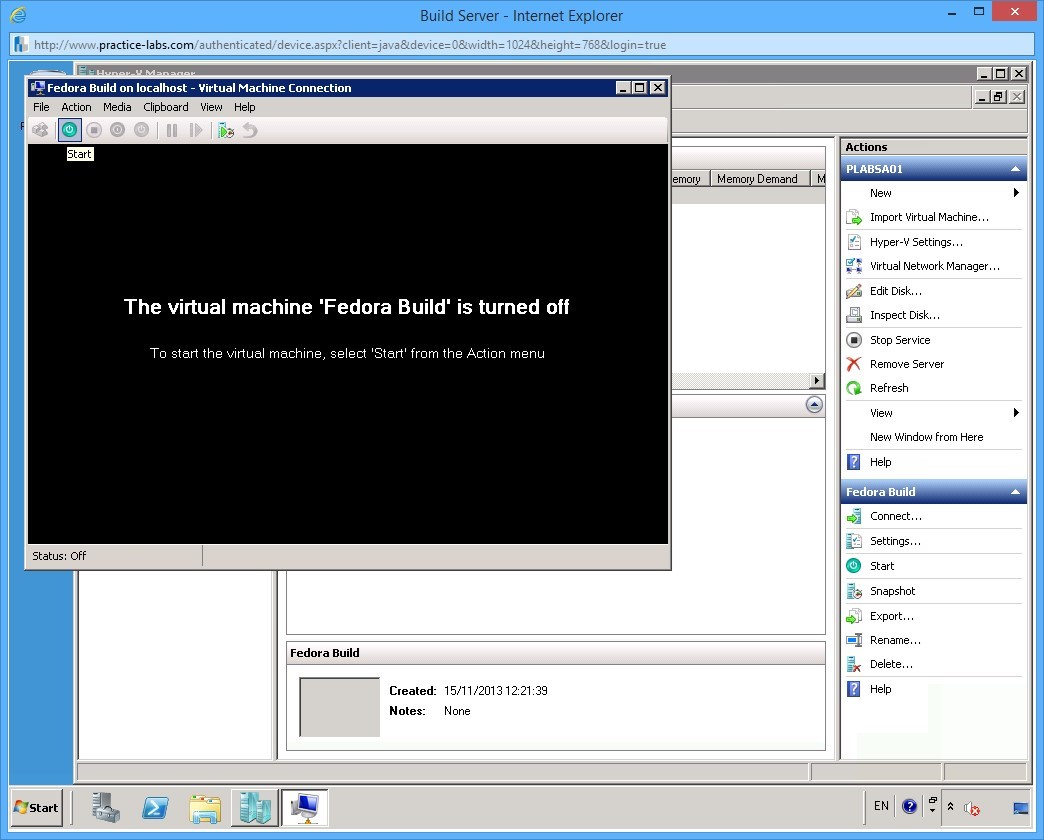
On the Virtual Machines pane in the middle, right click Fedora Build and select Connect.
Step 3
Fedora Build on localhost - Virtual Machine Connection wizard is displayed.
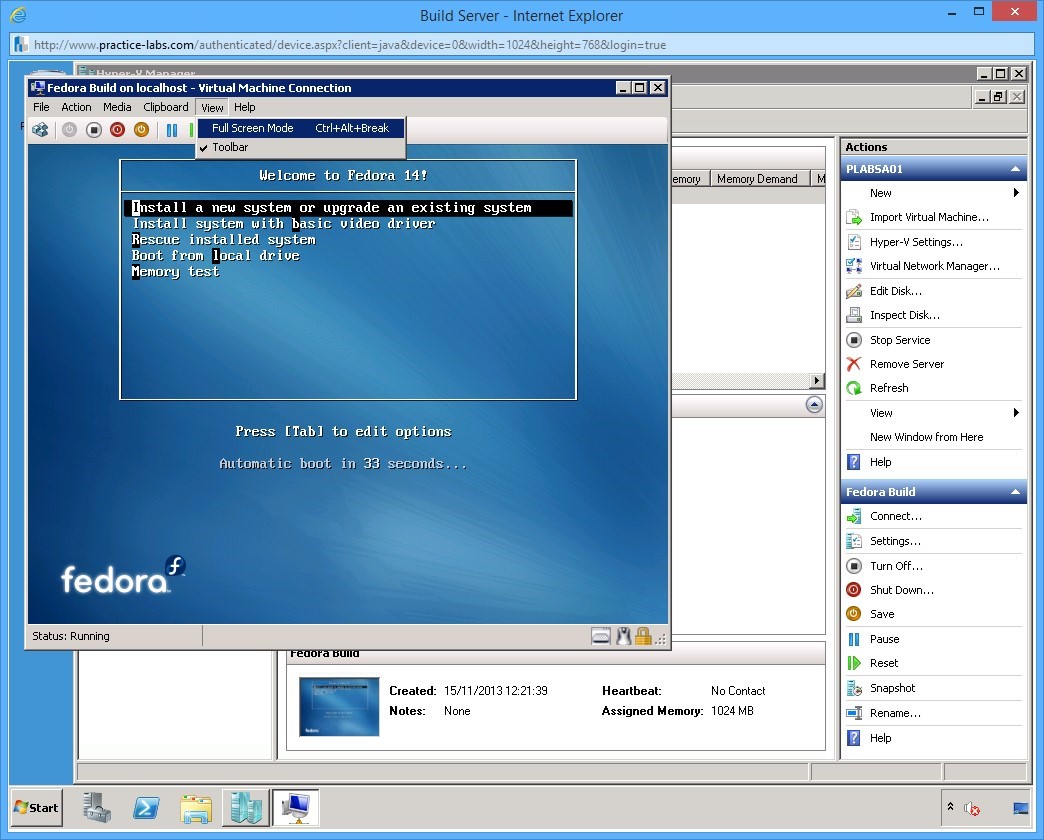
From the toolbar on the top, click Start - the green-colored button with a power icon.
Step 4
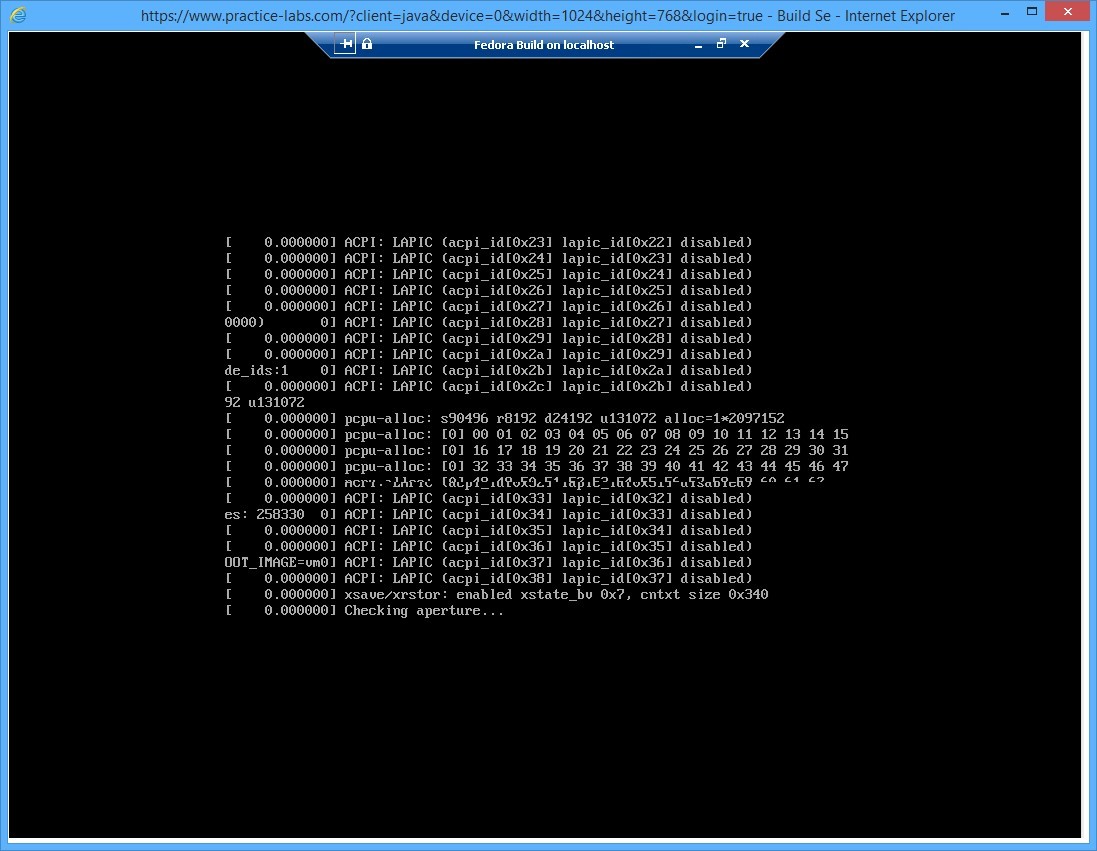
The build process begins.
After Hyper-V is displayed on the screen, click View on the menu bar on top and select Full Screen to maximise the desktop.
Step 5
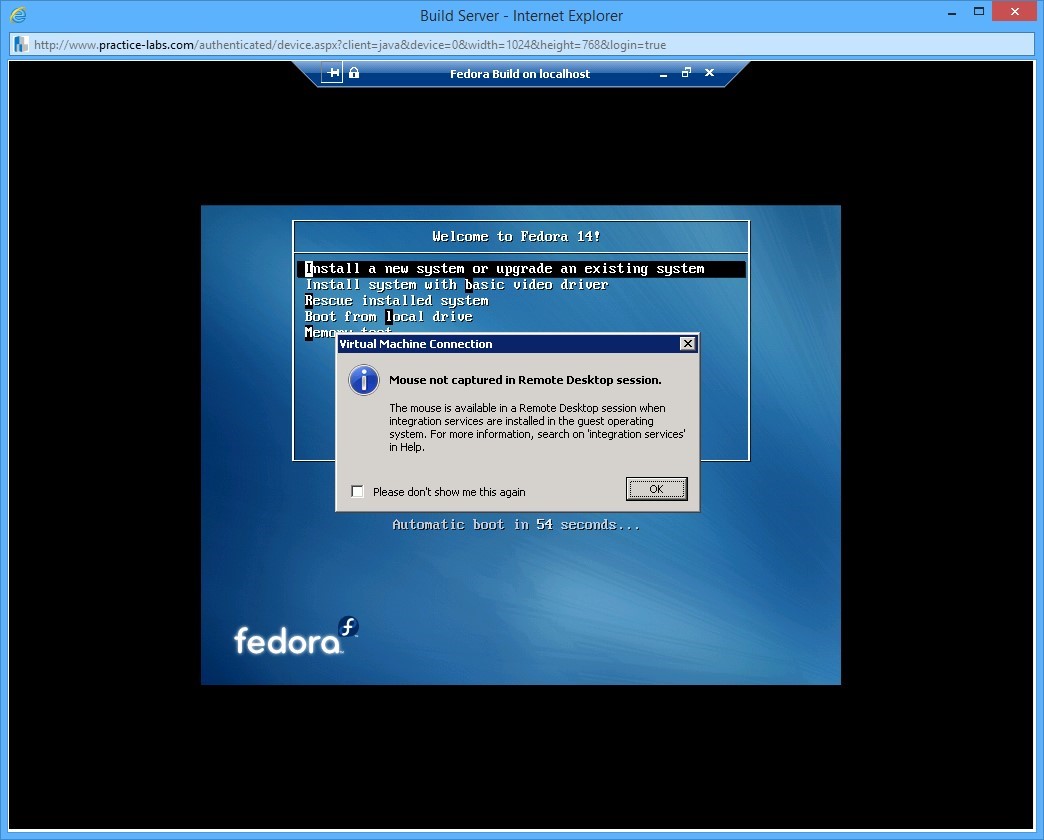
Notice the connection bar on top of the screen indicating a remote desktop session of Fedora Build on localhost.
Welcome to Fedora 14! installation wizard is displayed. Please note that your mouse will NOT be functional during this remote desktop session.
You will be using TAB and arrow keys to navigate through the dialogue boxes.
If you do try to use the mouse, you will see the Virtual Machine Connection dialog box. This dialog box reminds you about mouse not being captured in Remote Desktop.
Select the Please don’t show me this again check box and click OK.
Step 6
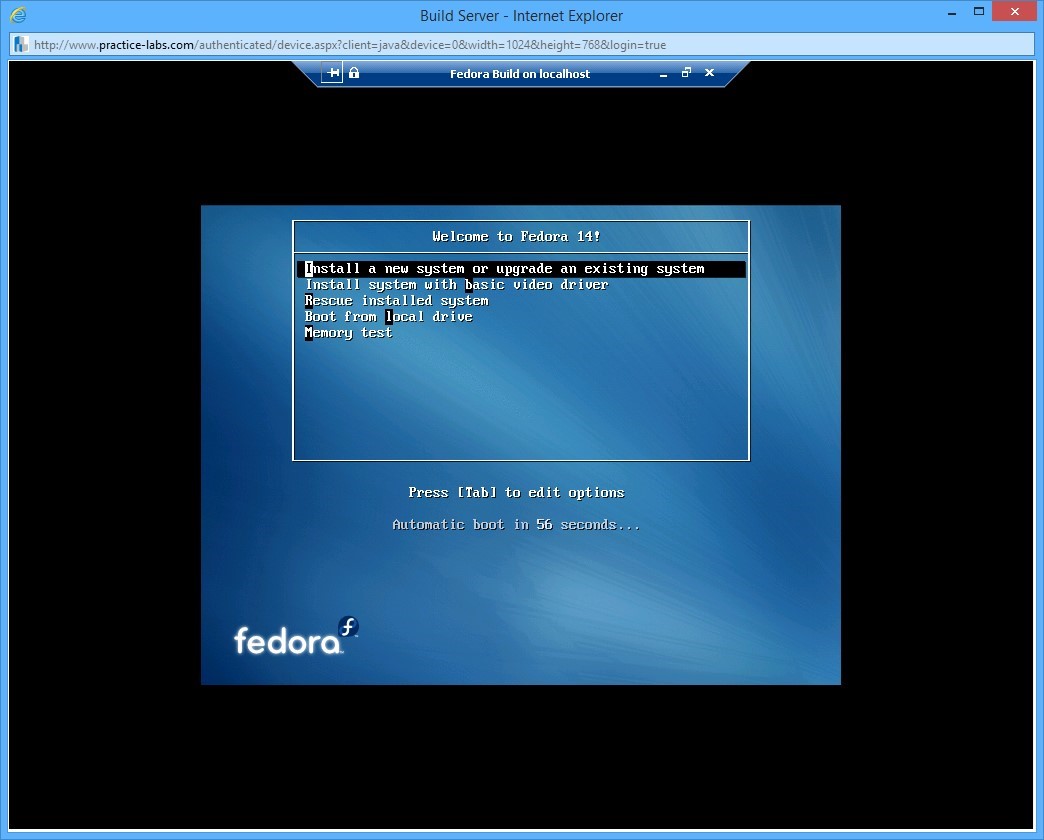
When you are presented with the options menu, use the arrow keys to select Install a new system or upgrade an existing system, if not already selected.
Press Enter.
Note: The system goes into an automatic boot mode in 60 seconds if there is no action from the user. Therefore, if you do not perform any action, the system will boot automatically after the time specified by the counter at the bottom of the screen.
Step 7
Please wait while install files are being loaded.
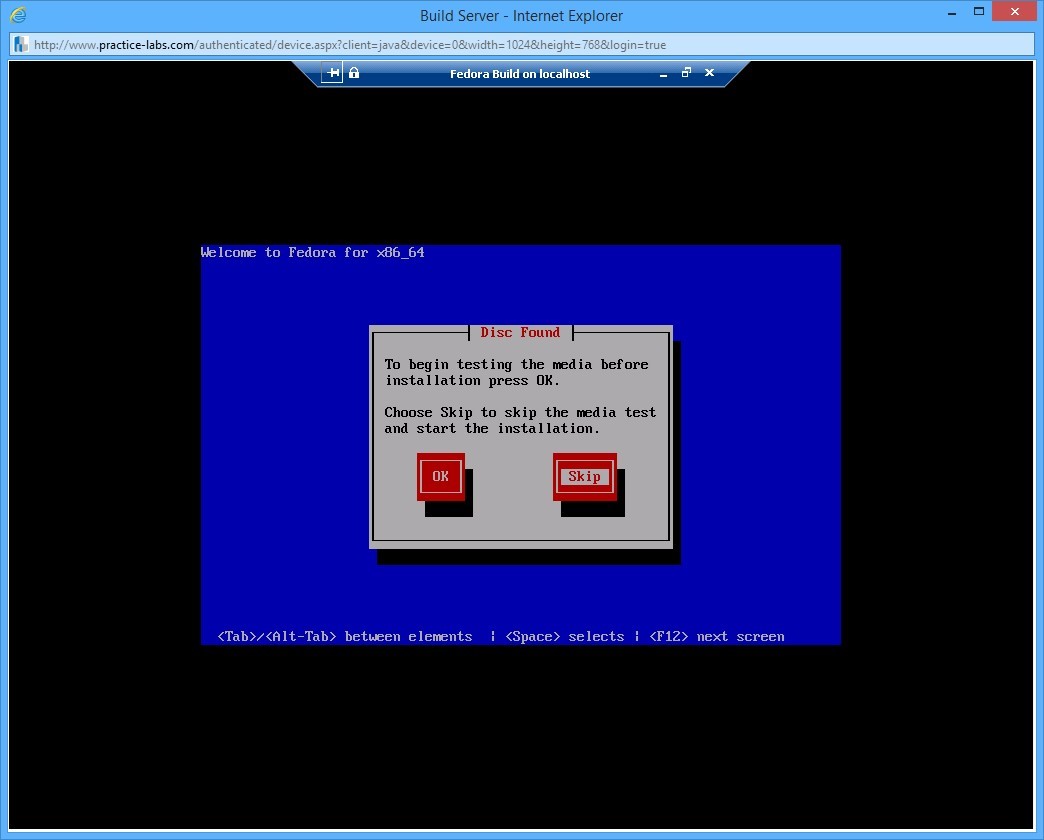
Step 8
The Welcome to Fedora for x86_64 dialog box appears, informing you that virtual disk has been located. Further, the dialog box asks if you want to perform a media test on the virtual DVD.
Press TAB or arrow key to highlight Skip and press Enter.
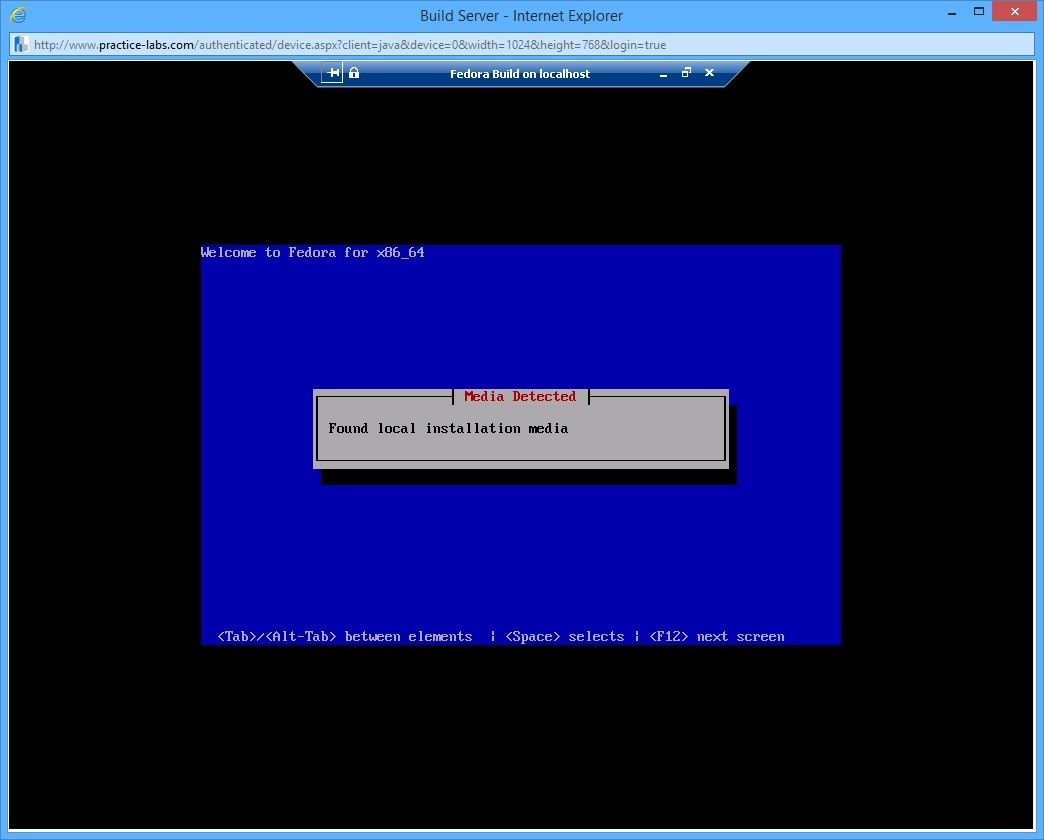
Step 9
Media Detected information box informs you that local installation media is found by setup.
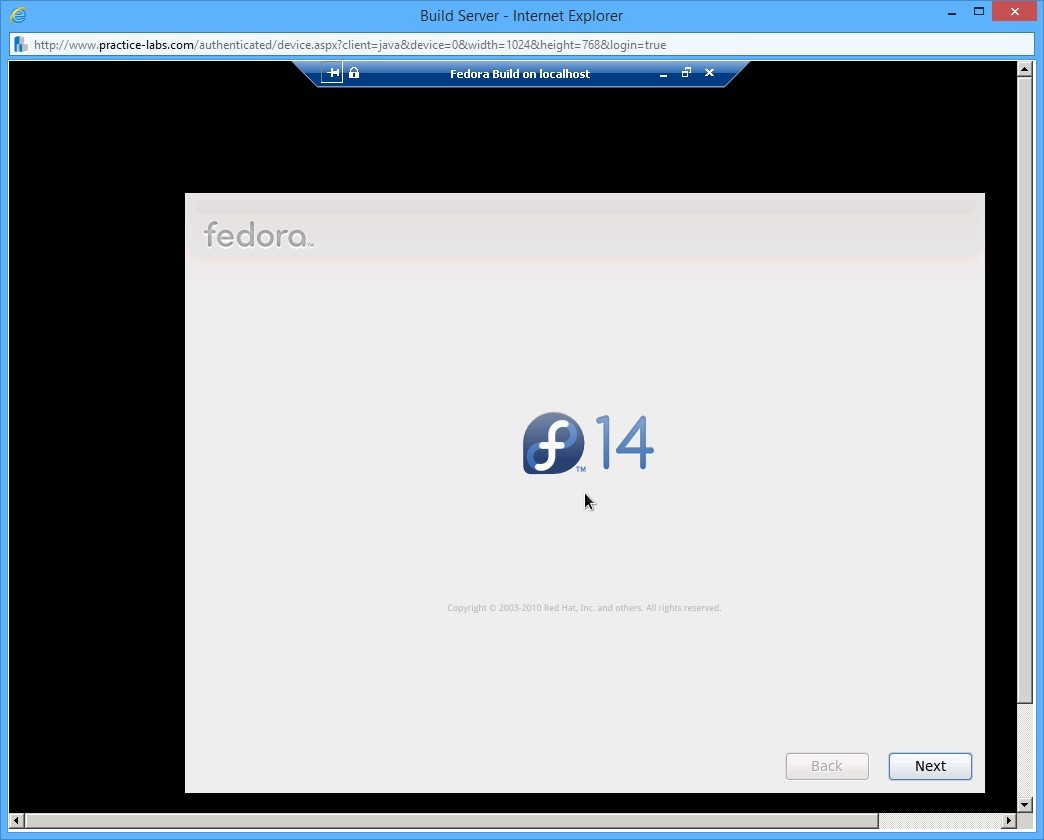
Step 10
Fedora GUI displays to continue the installation.
On the initial page, move selection to Next, if not already selected. Press Enter.
Note: Most of the time, the Next key is selected by default. Therefore, you need to just press Enter to accept the specifications on the page and to enable the specified activity to be performed. This enables you to avoid the usage of the arrow keys or the TAB key.
Step 11
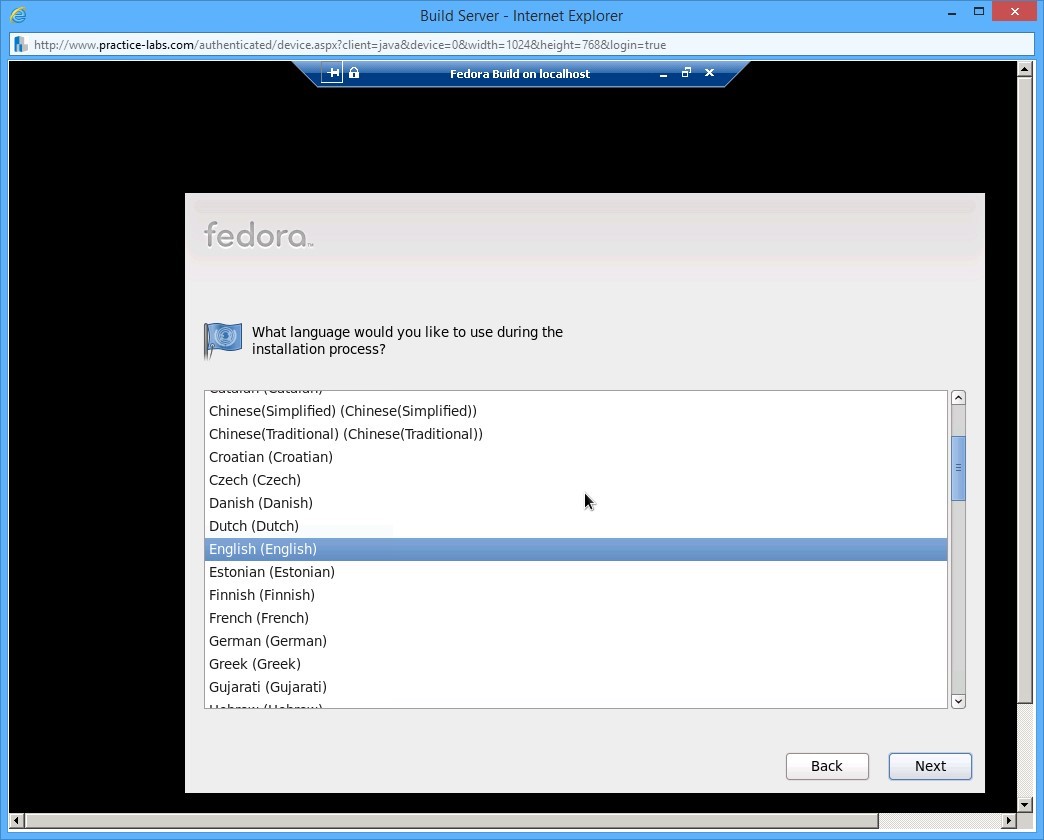
On the language page, verify that English (English) is selected. Press the TAB key to move selection to Next. Press Enter.
Step 12
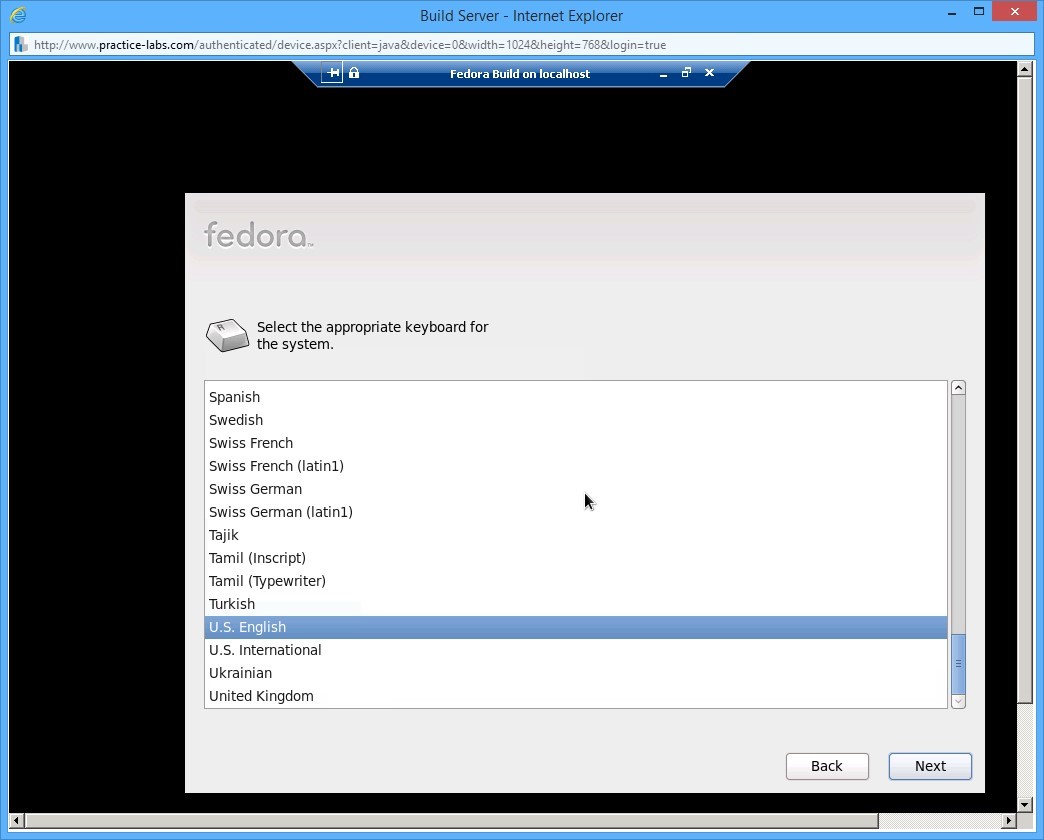
On the Keyboard selection page, select U.S. English and press TAB to select Next. Press Enter.
Step 13
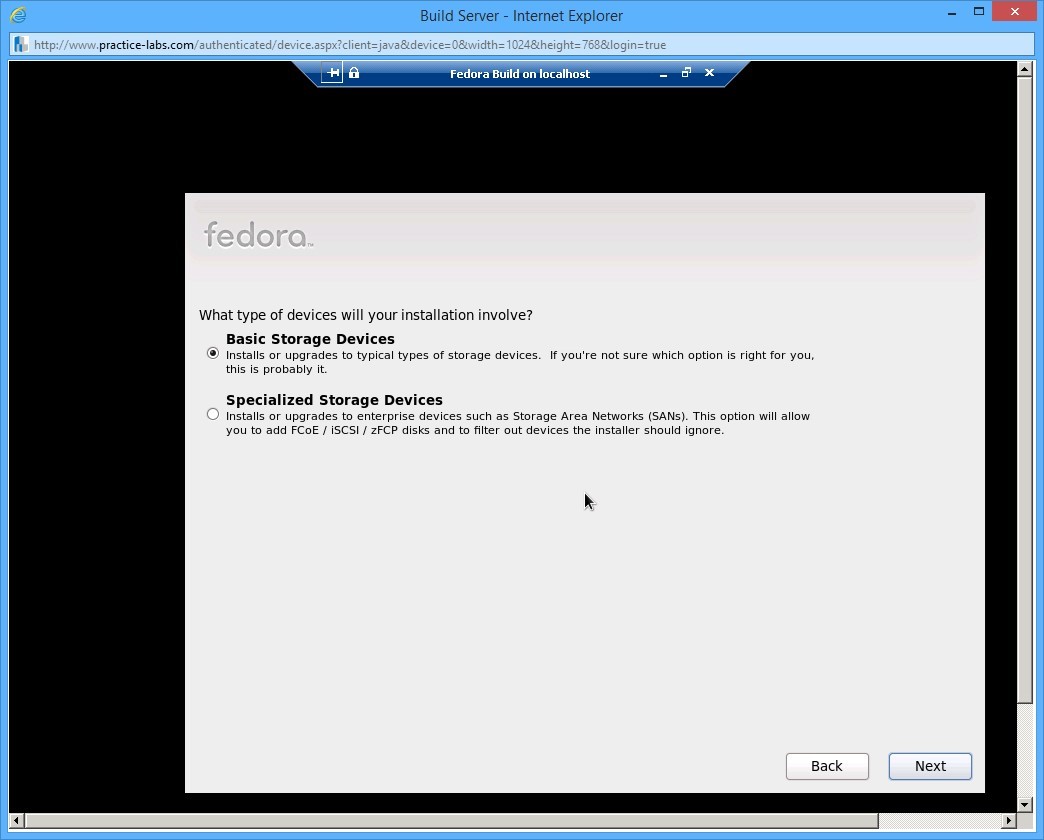
On the type of devices involved in installation page, ensure that Basic Storage Devices is selected and press Enter.
Step 14
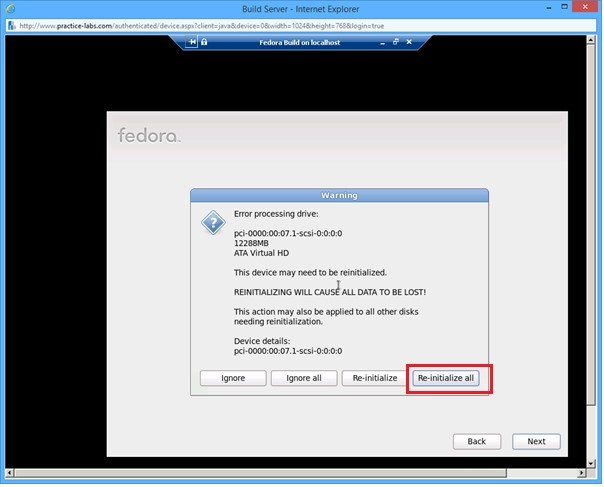
If a Warning dialog box is displayed, use the arrow keys to select Re-initialize all button.
Press Enter.
Step 15
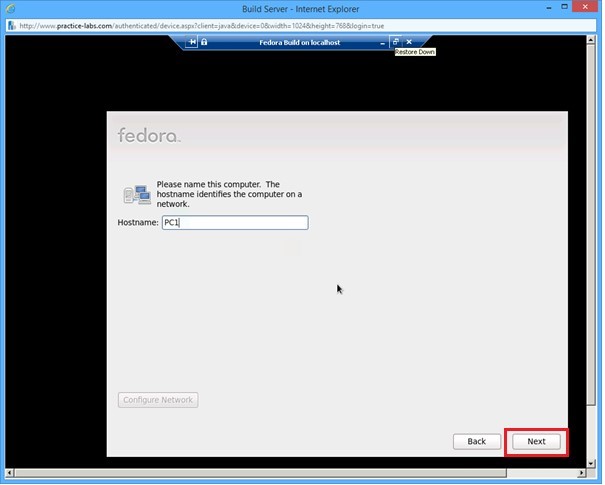
When prompted for a hostname for this computer, over-type PC1 on the text selected in the relevant text box.
Press TAB to select Next and press Enter.
Step 16
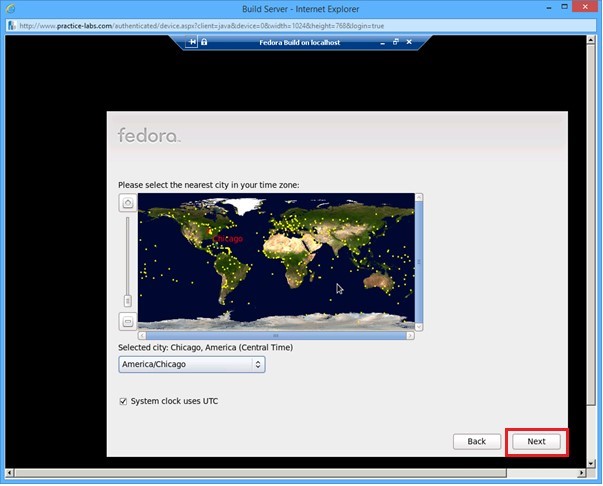
On the time zone page, select the time zone as America/Chicago.
Use the TAB key to move selection to Next. Press Enter.
Step 17
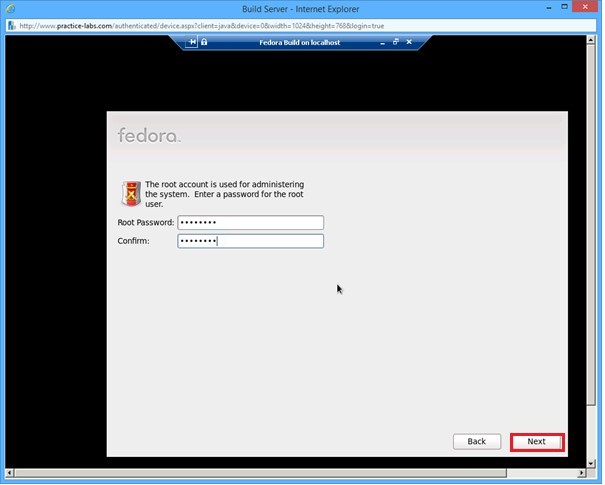
On the root password page, type Passw0rd in the Root Password text box. Re-type the same password in the Confirm text box.
Press TAB and move selection to Next. Press Enter.
Step 18
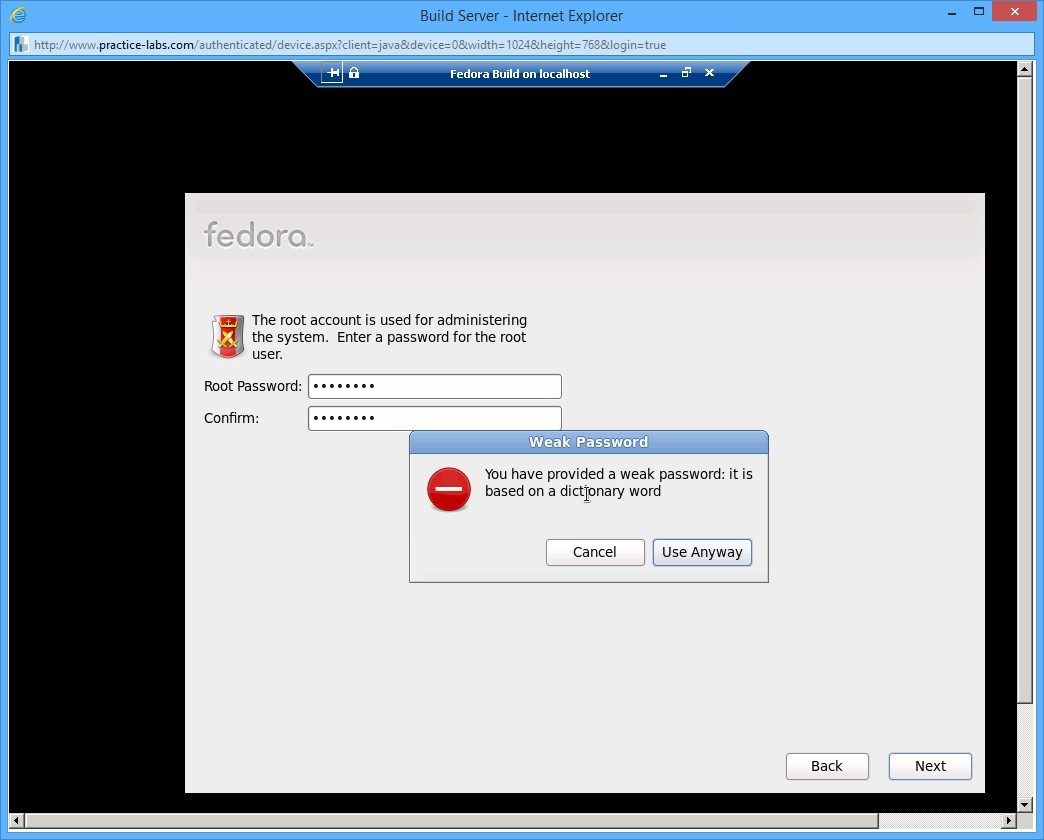
System displays a message warning about a weak password. You can override this warning by using arrow keys to select Use Anyway.
Press Enter.
Step 19
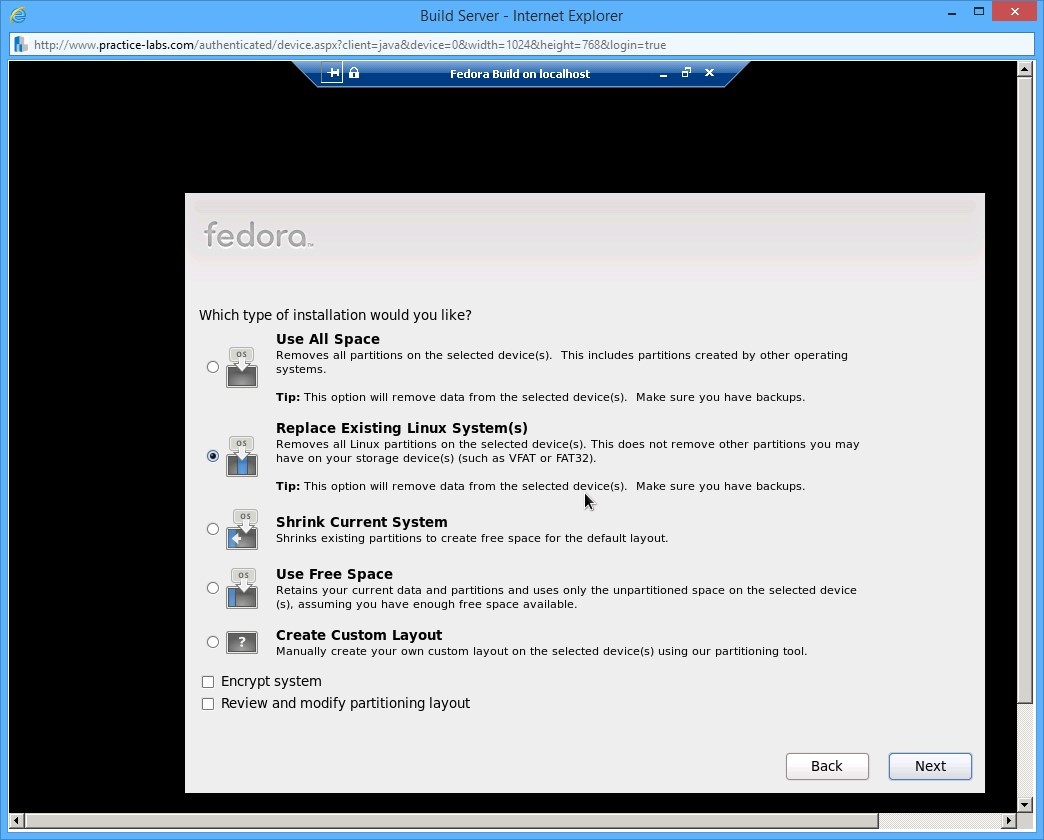
On the type of installation page, ensure that Replace Existing Linux System(s) is selected.
Use arrow keys to move selection to Next. Press Enter.
Step 20
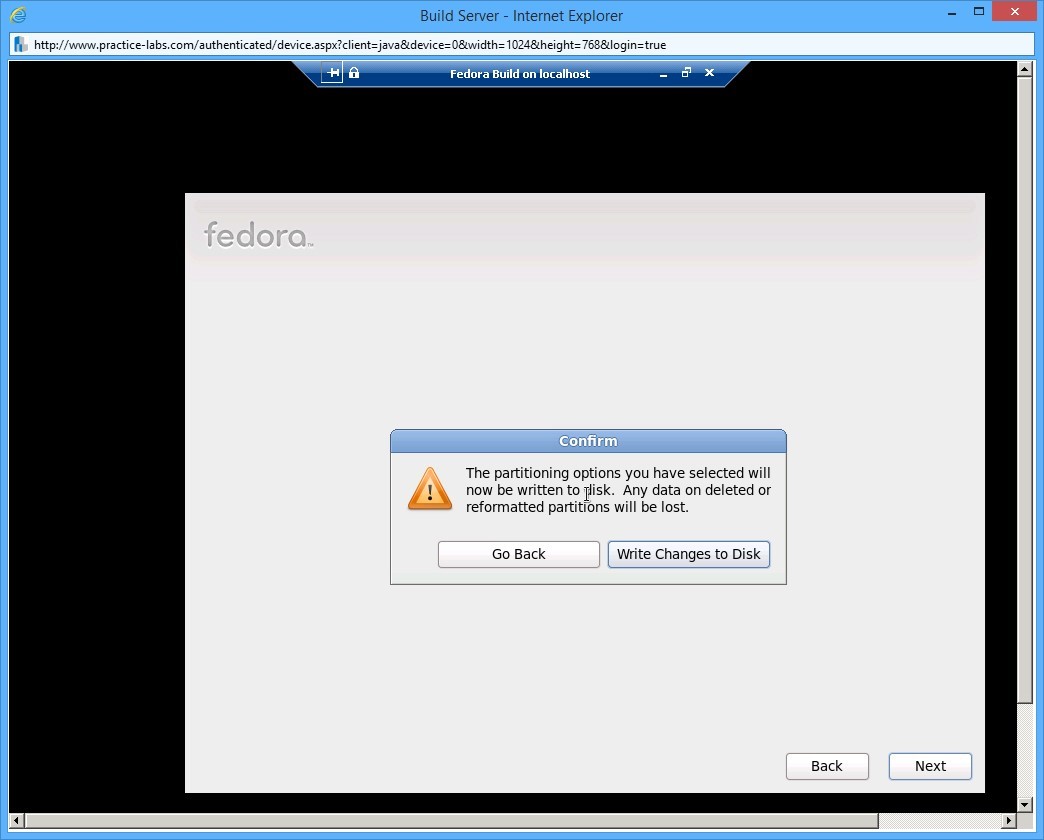
Confirm dialog box appears confirming whether you are sure of writing to the selected partitioning option. Confirm your choice by selecting Write Changes to Disk. Press Enter.
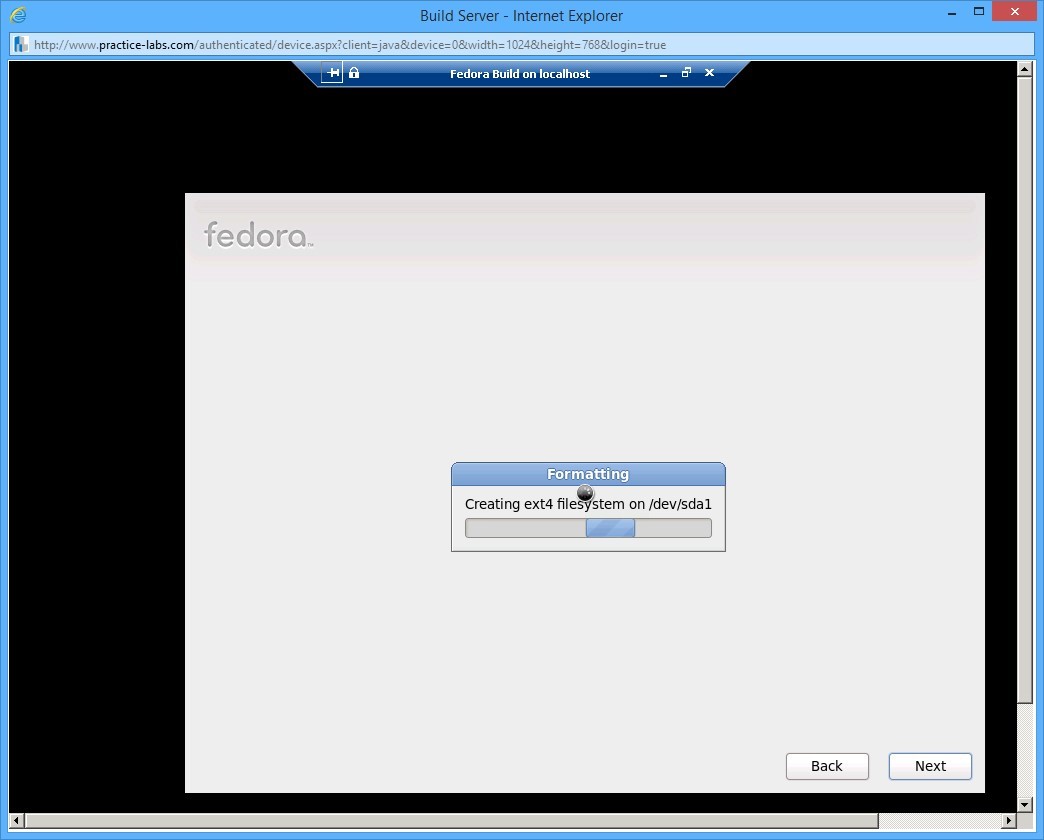
Step 21
The disks will now be created. Please wait.
Step 22
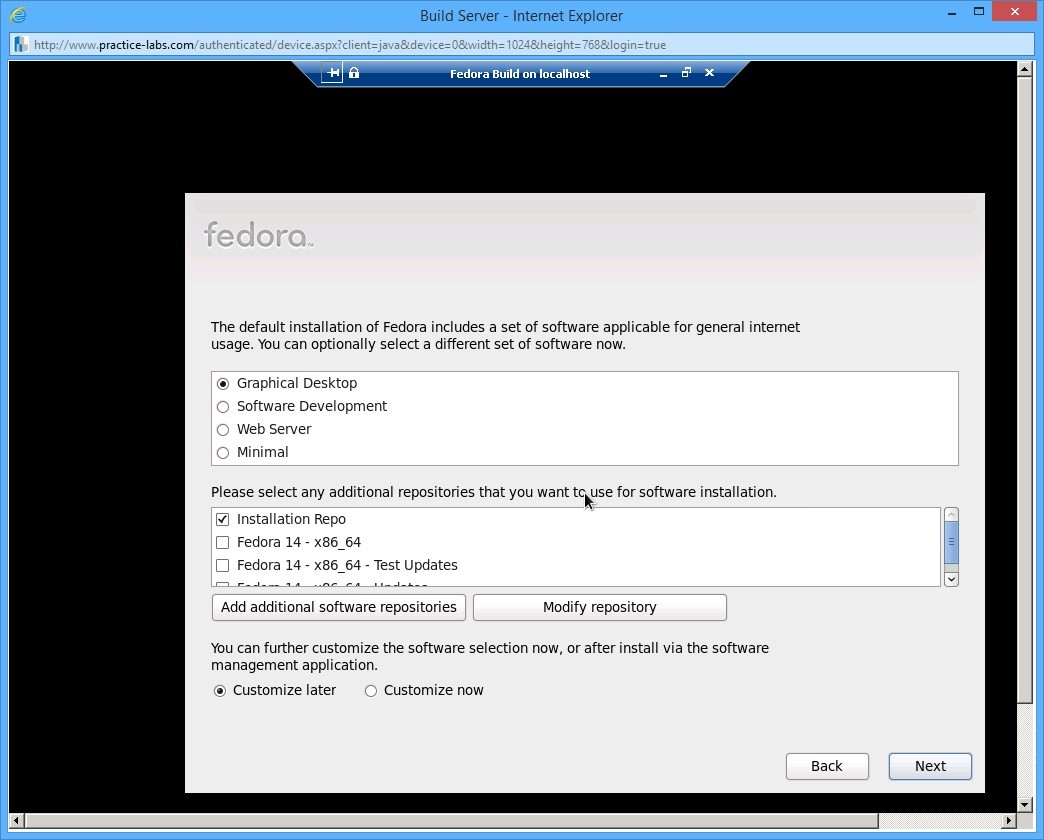
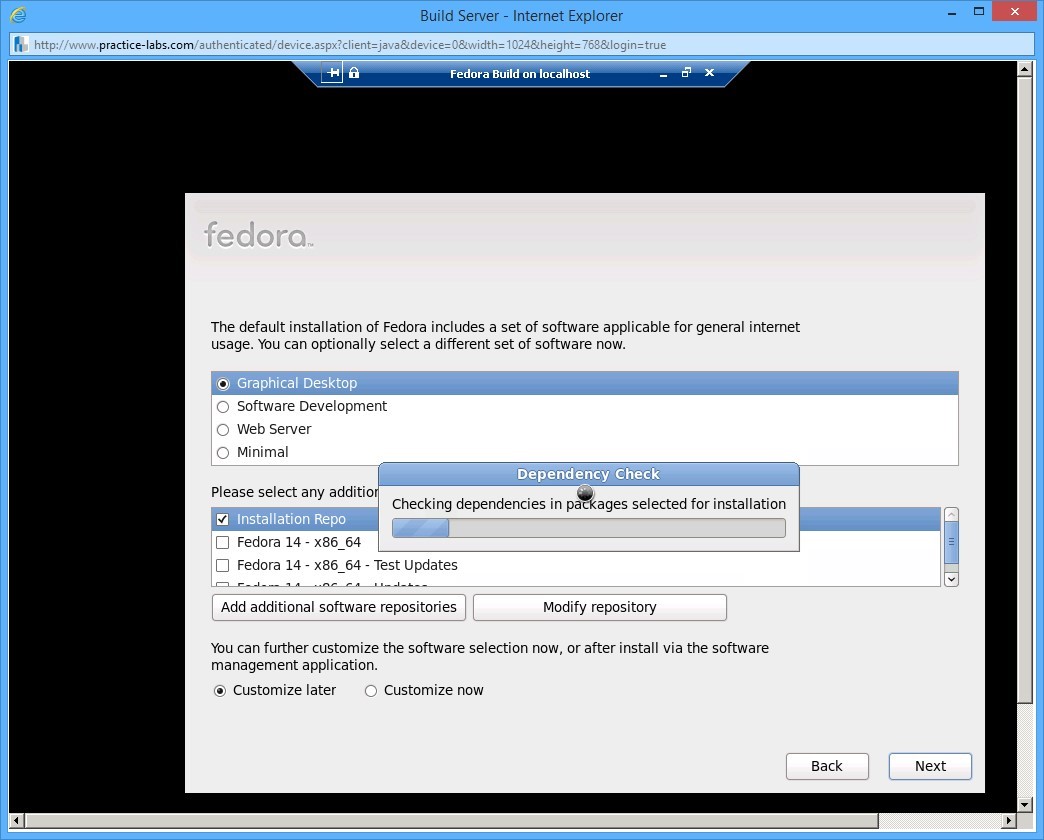
On the set of software for general Internet usage page, keep the default selections.
Move the selection to Next.
Press Enter to begin installing the Fedora packages.
Step 23
Dependency is checked, packages copied to hard drive, and installation process initiated.
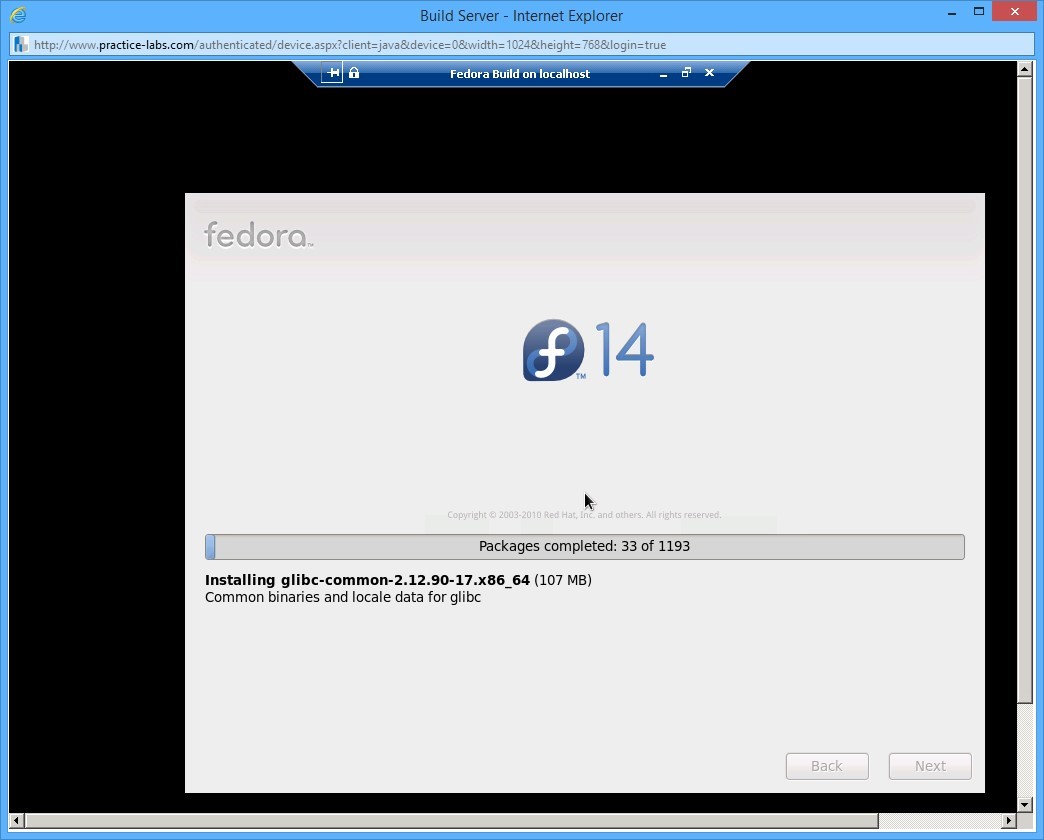
Step 24
On the next screen, a progress bar indicates the number of packages installed and the total number of packages yet to be installed.
Please wait as this process takes a few minutes to finish.
Step 25
When the installation is completed, select the Reboot button, if not already selected. Press Enter.
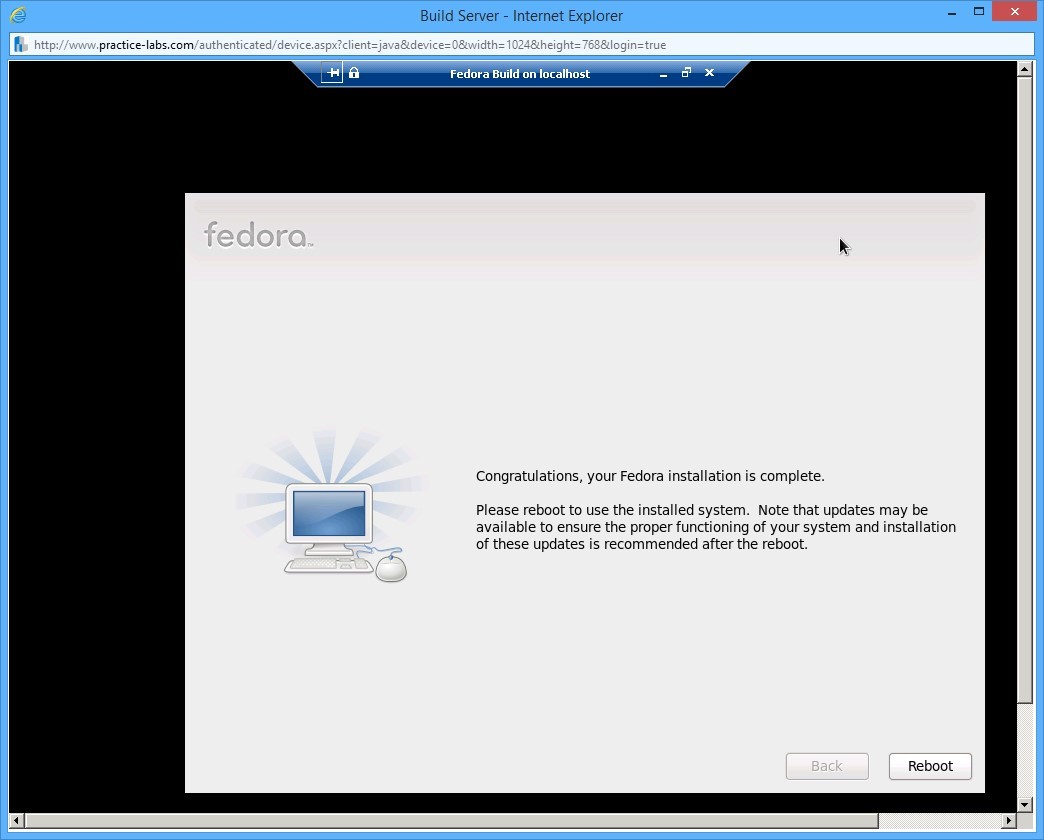
Step 26
Please wait while Reboot is in progress. This process takes a few minutes.
Leave the devices you have powered on in their current state and proceed to the next exercise.
Exercise 3 - Configuring Initial Setup of a Fedora Linux Virtual Machine
After installing the Fedora OS, you configure it by specifying the locale of the machine on which the OS is installed, specifying language and keyboard strokes preference, creating user accounts to login, and many more parameters. In this exercise, you will configure the initial setup and root user login on the Fedora OS.
Task 1 - Initial setup of Fedora
For this task, you will perform an initial setup for Fedora to make its host functional as a workstation.
To configure the initial set up Fedora, follow these steps.
Step 1
Connect to PLABWINBUILD.
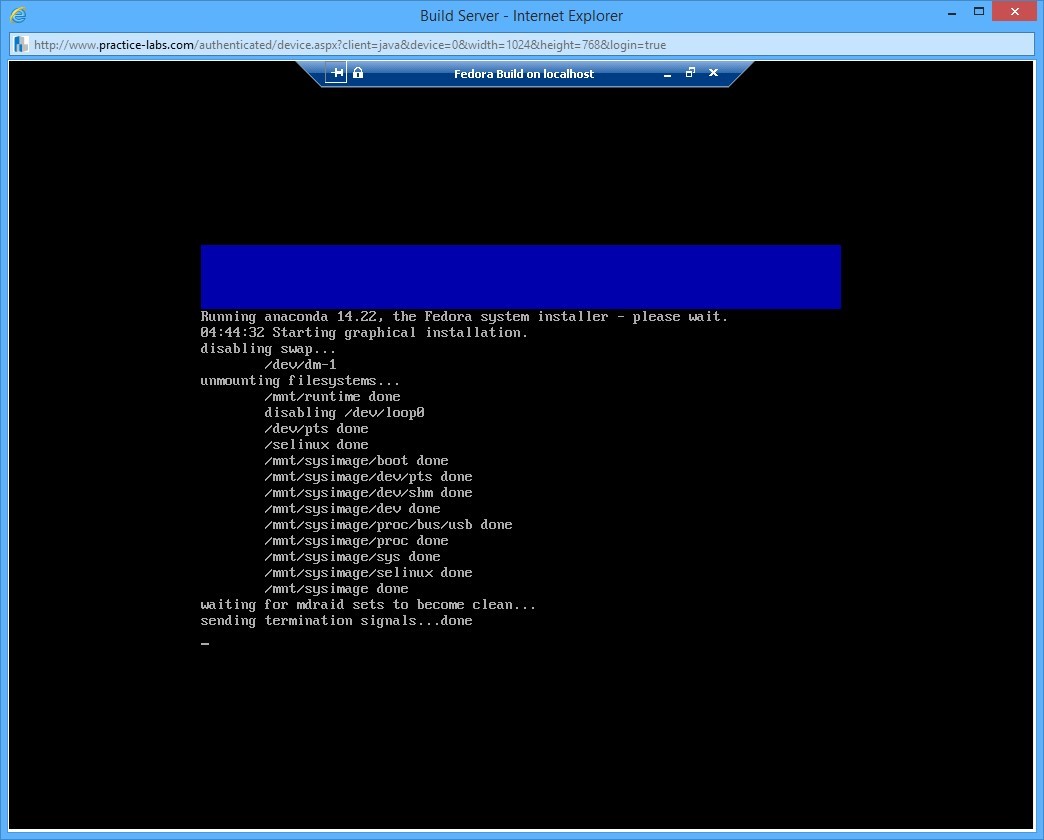
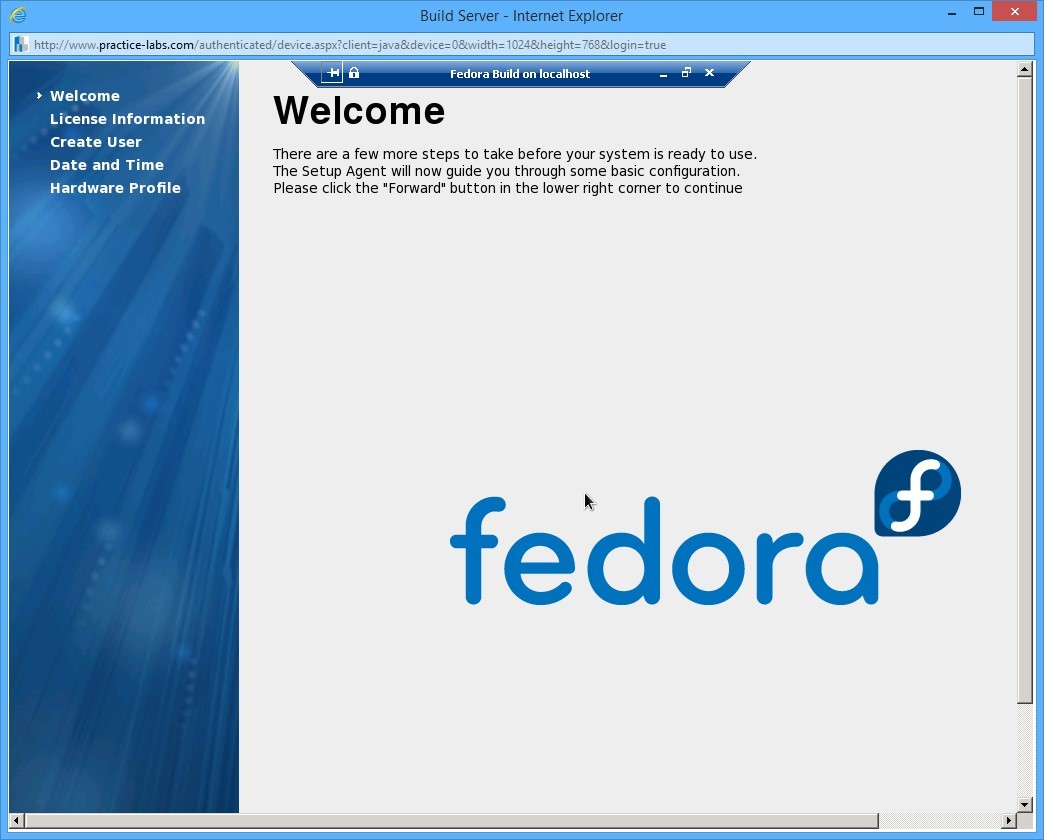
The first time the Fedora Linux image is booted, a welcome screen is displayed.
Step 2
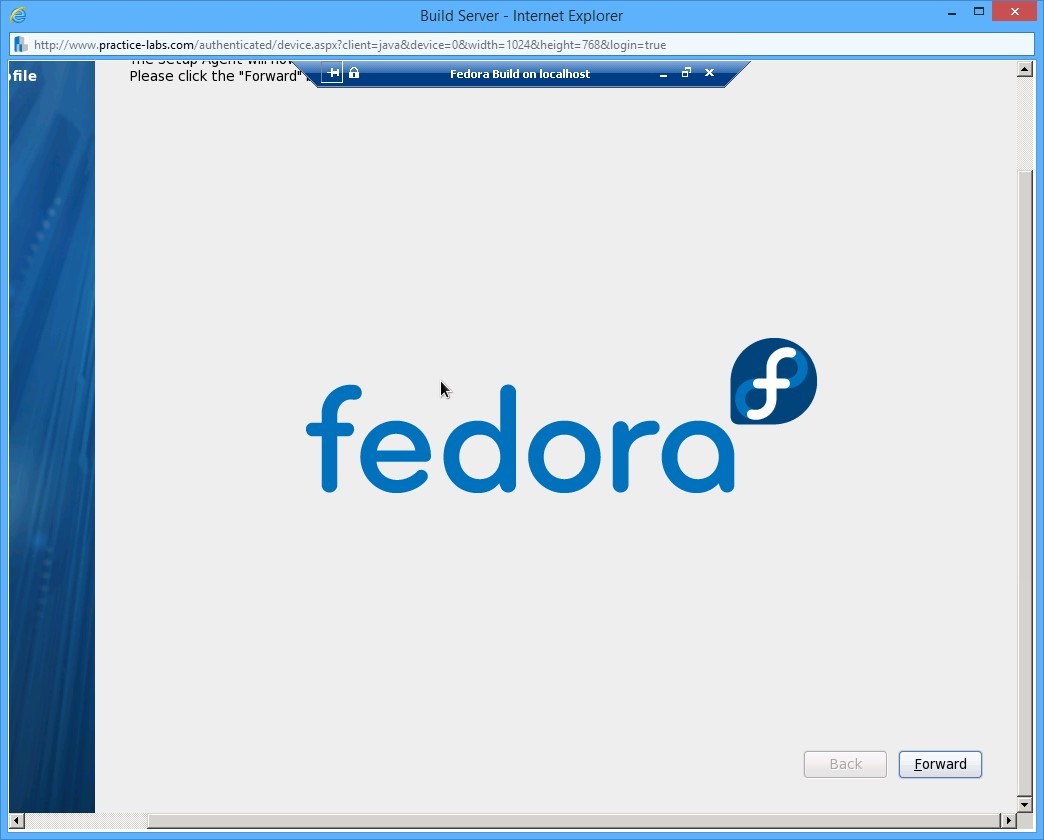
Scroll horizontally and vertically to see the Forward button located below the screen. Then press Enter.
Step 3
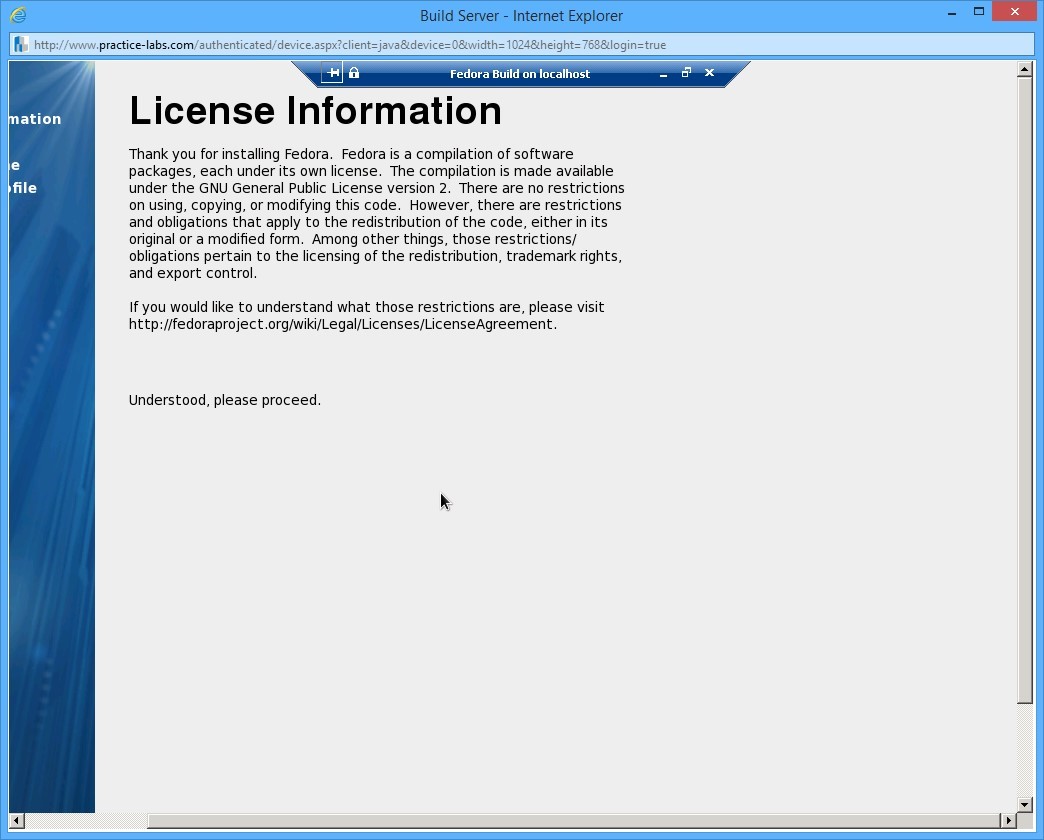
The License Information screen appears next.
Step 4
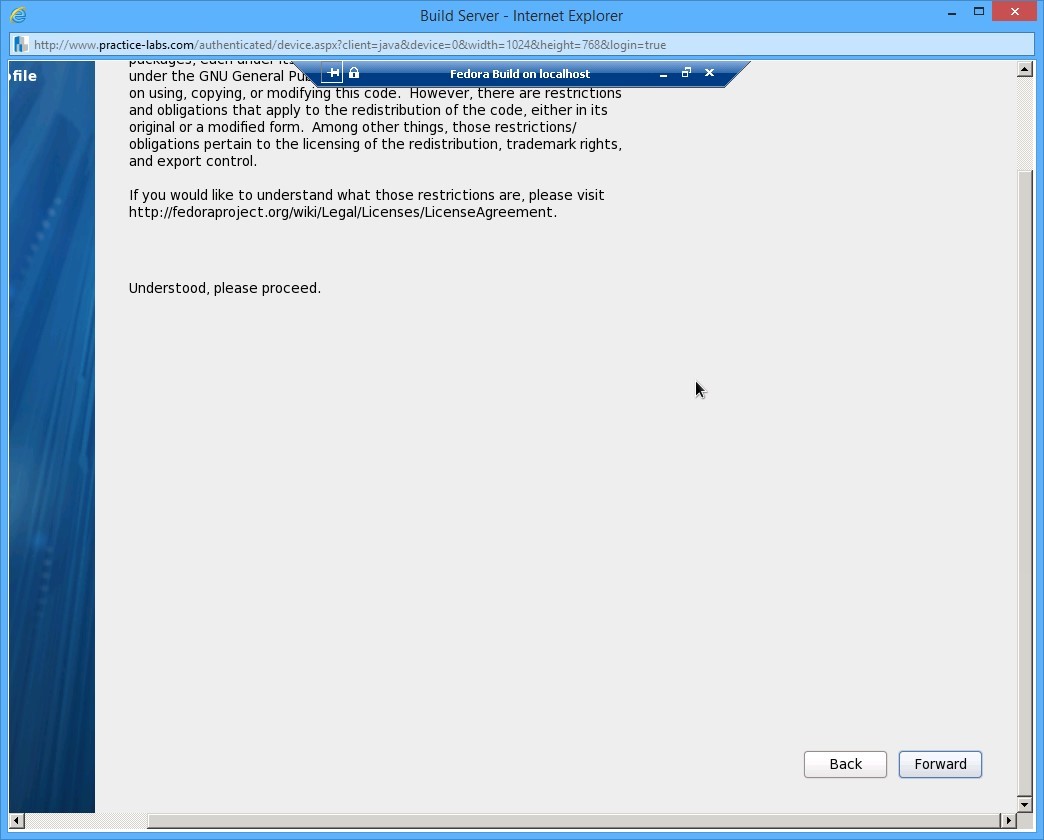
Scroll horizontally and vertically use the arrow keys to select Forward button. Press Enter.
Step 5
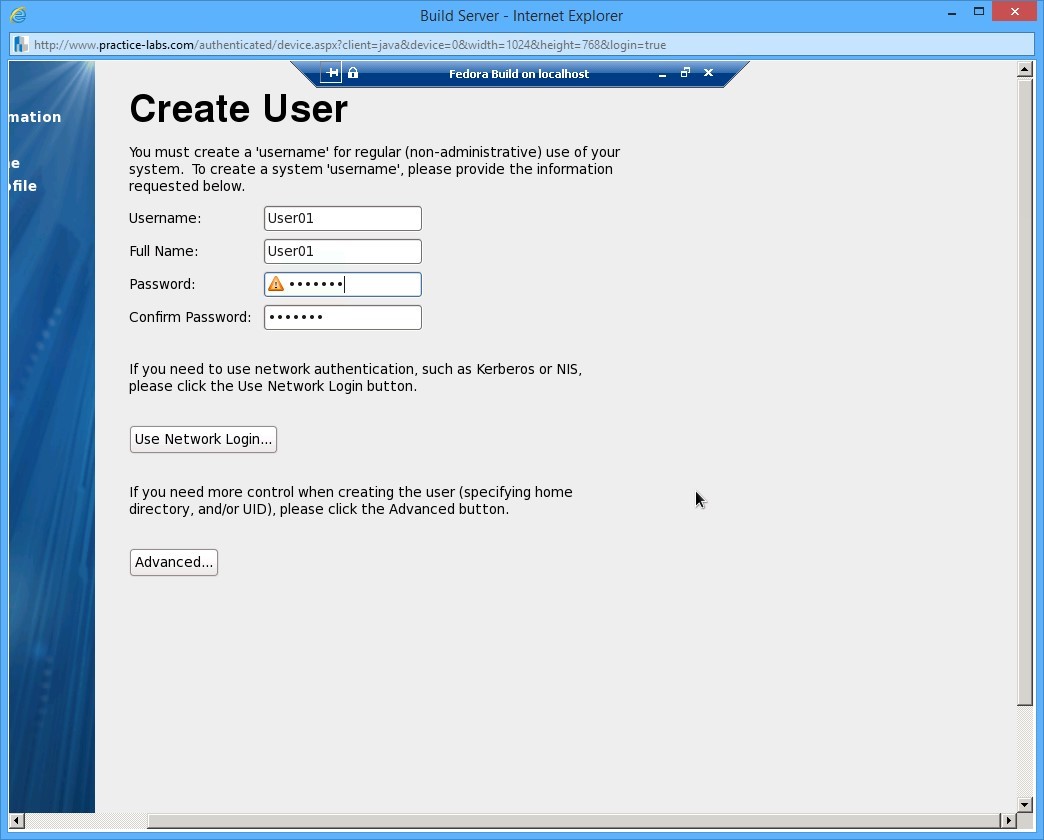
On the Create User screen, create a regular user.
Set the User Name and Full Name as User01 with the Password and Confirm password as:
Secret1
This corresponds to the user name and password used in the lab assignments.
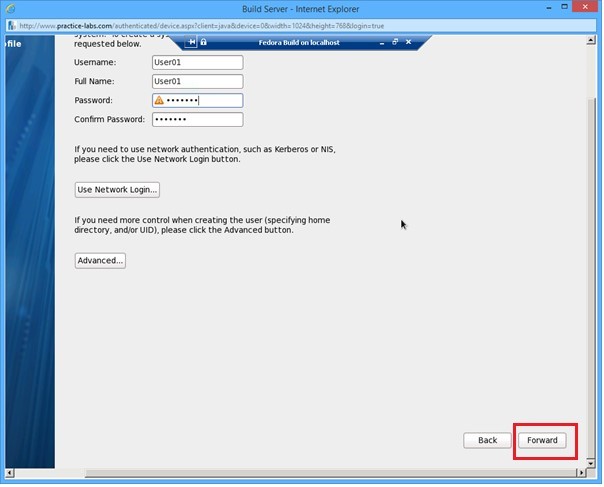
Step 6
Scroll down and right to access the Forward button.
Repeatedly press TAB key until you select Forward. Press Enter.
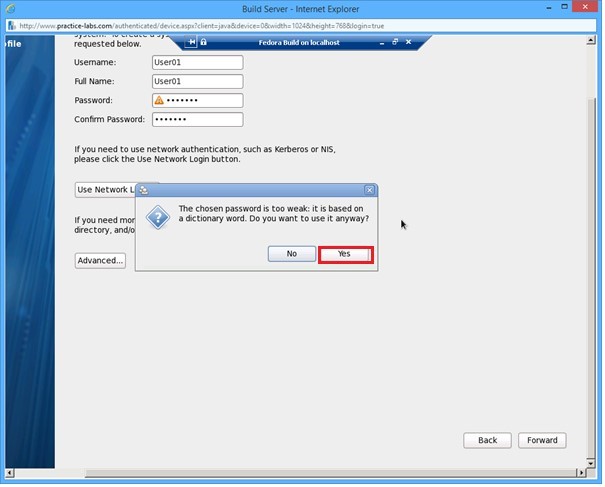
Step 7
It will give you a warning that the password is weak.
On the warning dialog box, move selection to Yes. Press Enter.
Step 8
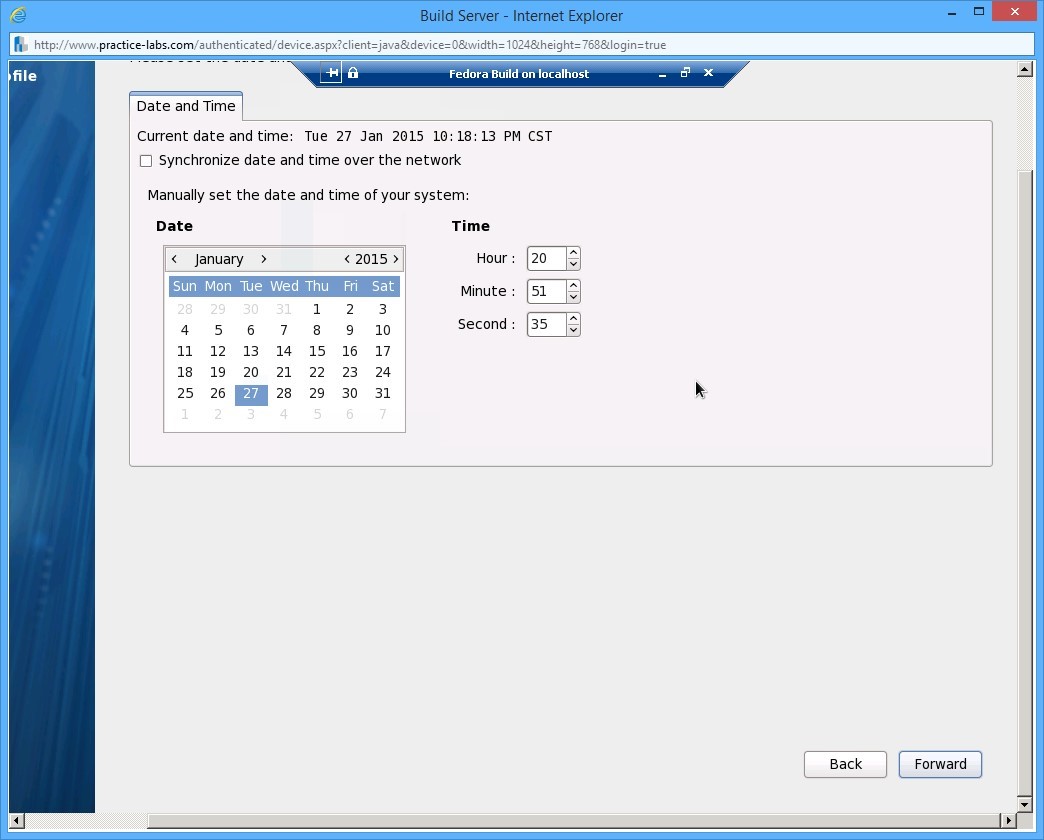
On the Date and Time screen, set the current Date and Time.
Move the selection to Forward and press Enter.
Step 9
On the Hardware Profile screen that follows, keep the default specifications and move the selection to Finish button. Press Enter.
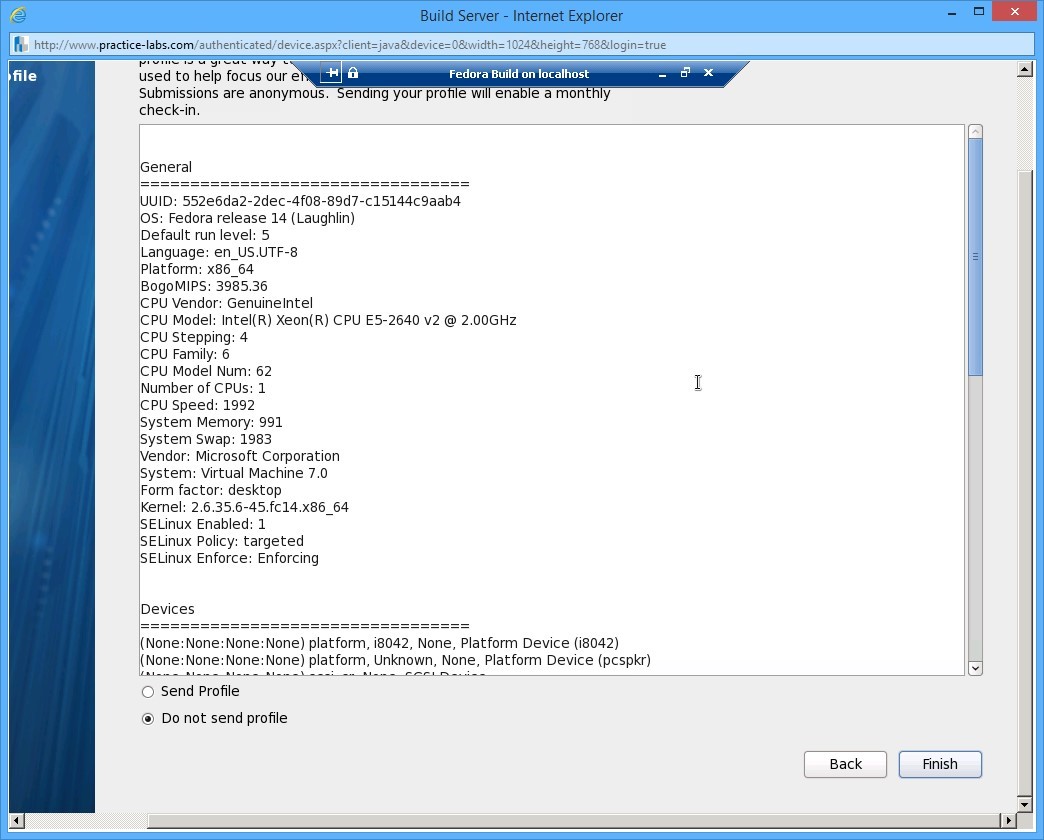
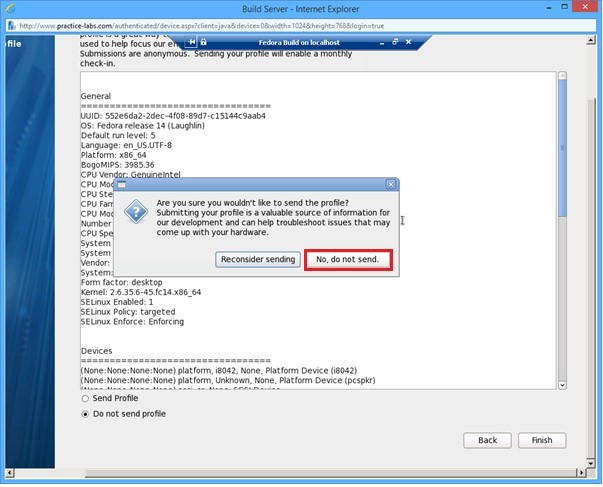
Step 10
When asked about sending the profile, move selection to No, do not send. Then press Enter.
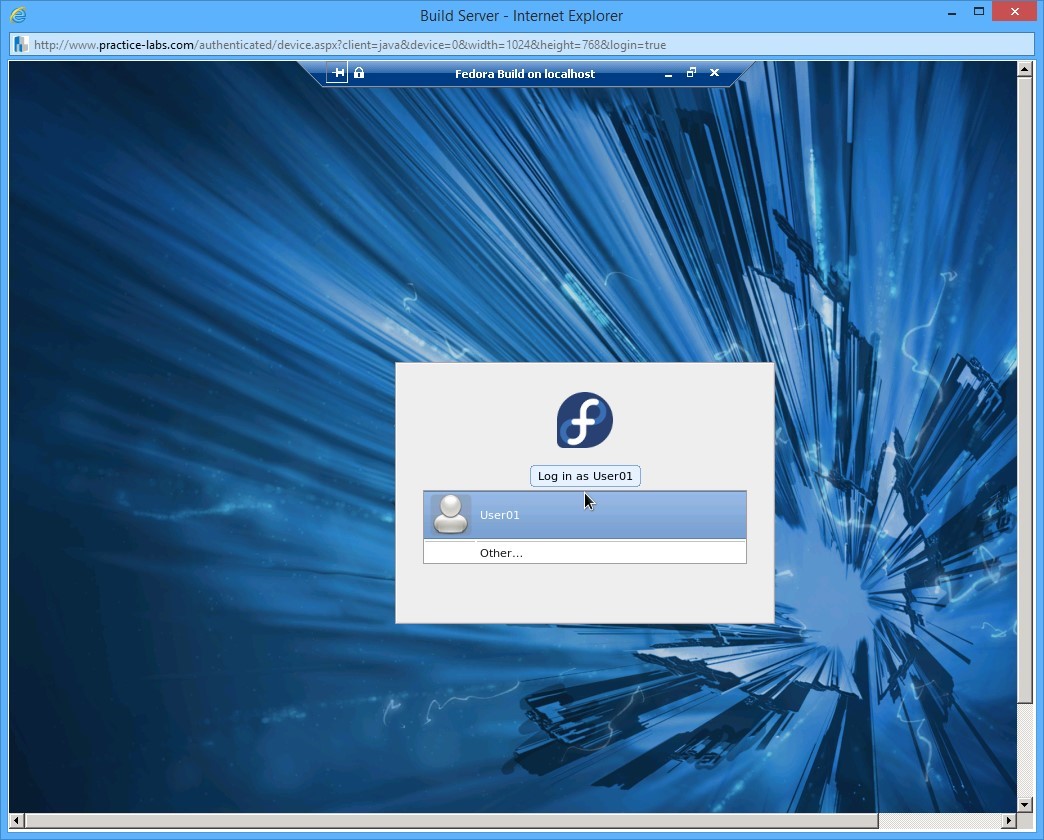
Initial configuration of the Fedora workstation is now complete.
Task 2 - Log in to Fedora
Now that the system is configured to operate as a work station, you log into the system to access its resources. You will log in to Fedora workstation as User01 - the user ID you created earlier.
To log in to Fedora, perform the following steps:
Step 1
After completion of the initial setup, the log in screen is displayed and user ID User01 is already selected.
Press Enter.
Notice that the hostname PC1, the one you created, is displayed as you select the User01 user ID. This indicates that you are logging onto the PC1 host as User01.
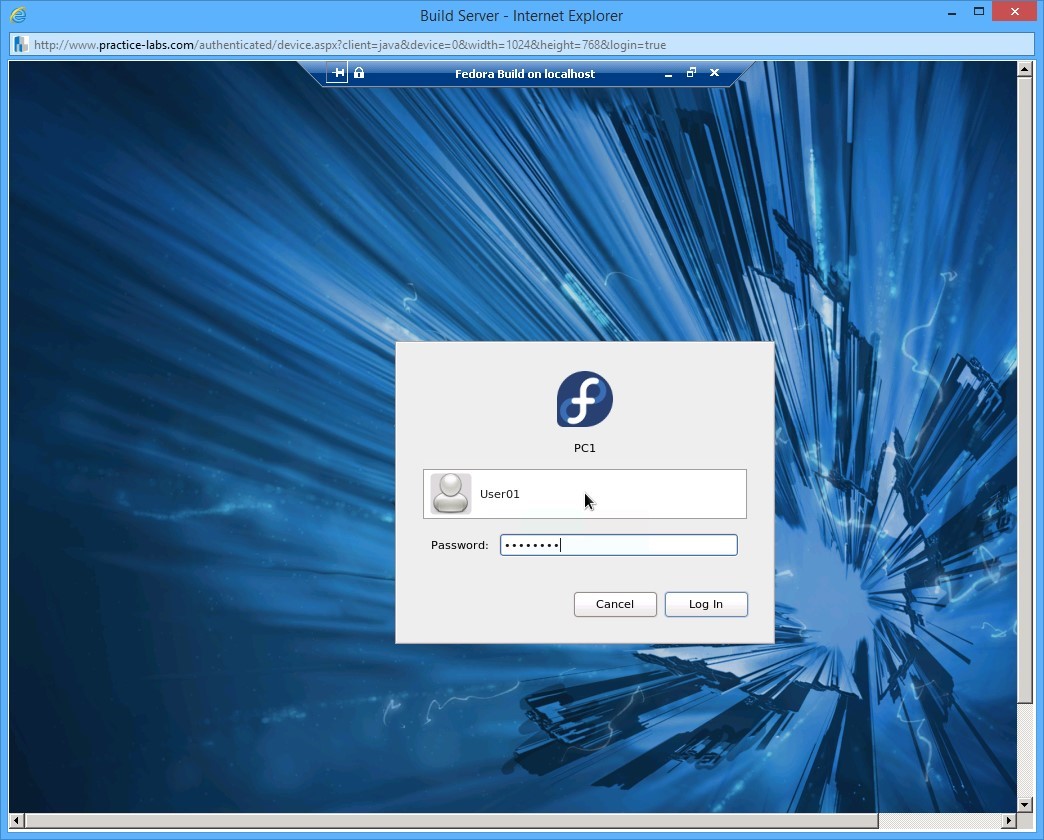
Step 2
When prompted, type the password as Secret1
Use the TAB key to move the selection to Log In and press Enter.
Step 3
Once you log in, the following Fedora desktop is displayed.
Feel free to explore the Fedora OS interface.

Shutdown all virtual machines used in this lab, by using the power functions located in the Tools bar before proceeding to the next module.
Alternatively you can log out of the lab platform.
Summary
In this lab, you learnt the following:
1) Installing a virtual machine on a Windows 8.1 workstation
2) Installing Fedora Linux on a Windows 8.1 workstation
3) Configuring initial setup on a Fedora workstation