Southern New Hampshire University | SNHU-CYB210: Computer Networking
IP Address Configuration
Exercises
- Introduction
- Exercise 1 - Examining the IP Configuration
- Exercise 2 - Performing a Connectivity Test
- Exercise 3 - Reconfiguring IP in Linux
- Exercise 4 - IP Addressing Settings
- Summary
Introduction
The IP Address Configuration module provides you with the instruction and computer hardware to develop your hands on skills in the defined topics. This module includes the following exercises:
- Examining the IP Configuration
- Performing a Connectivity Test
- Reconfiguring IP in Linux
Lab Diagram
During your session you will have access to the following lab configuration.

Connecting to your Lab
In this module you will be working on the following equipment to carry out the steps defined in each exercise.
- SERVER (Domain Controller)
- CLIENT (Workstation)
- GATEWAY (Server)
- LAMP (Web Server)
- ROUTER
Help and Support
For more information on using Practice Labs, please see our Help and Support page. You can also raise a technical support ticket from this page.
Click Next to view the Lab topology used in this module.
Copyright © Practice Labs 2007 - 2018. All rights reserved.
Exercise 1 - Examining the IP Configuration
In these exercises, you will configure the IP settings for an adapter in Linux and learn the use of the status and troubleshooting tools ipconfig / ifconfig and ping. To better understand this technology, refer to your course material or read the information available at the following links http://windows.microsoft.com/en-gb/windows7/networking-home-computers-running-different-versions-of-windowrs or https://docs.fedoraproject.org/en-US/Fedora/15/html/Deployment_Guide/ch-Network_Interfaces.html
Task 1 - Reviewing IP Details From the Command Line
Step 1
Ensure you have powered on the required devices defined in the introduction.
Connect to GATEWAY server.
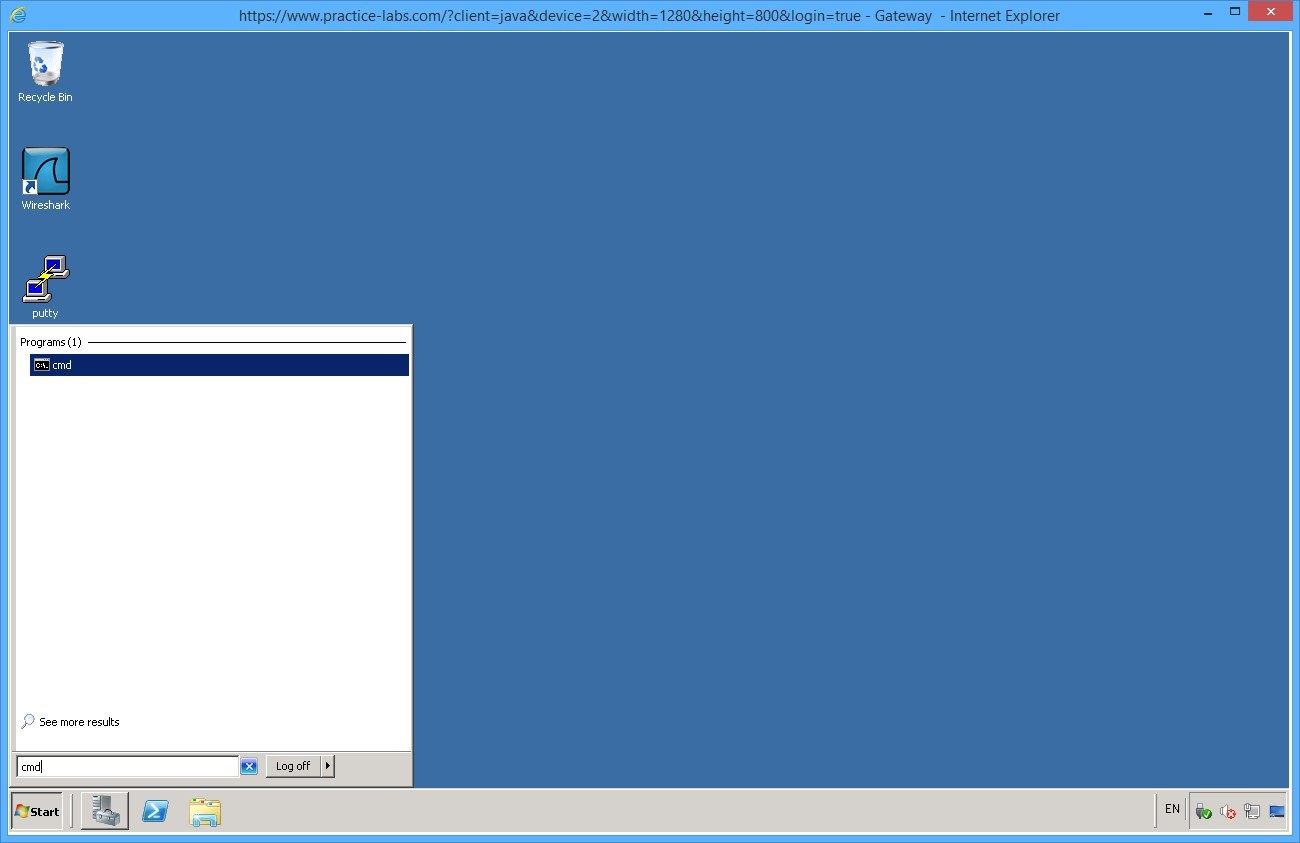
Click Start and in the Search box, type cmd. This will open a command prompt
Type the following command:
ipconfig /all
Press Enter. Review the IP address details for each network card installed on the server.
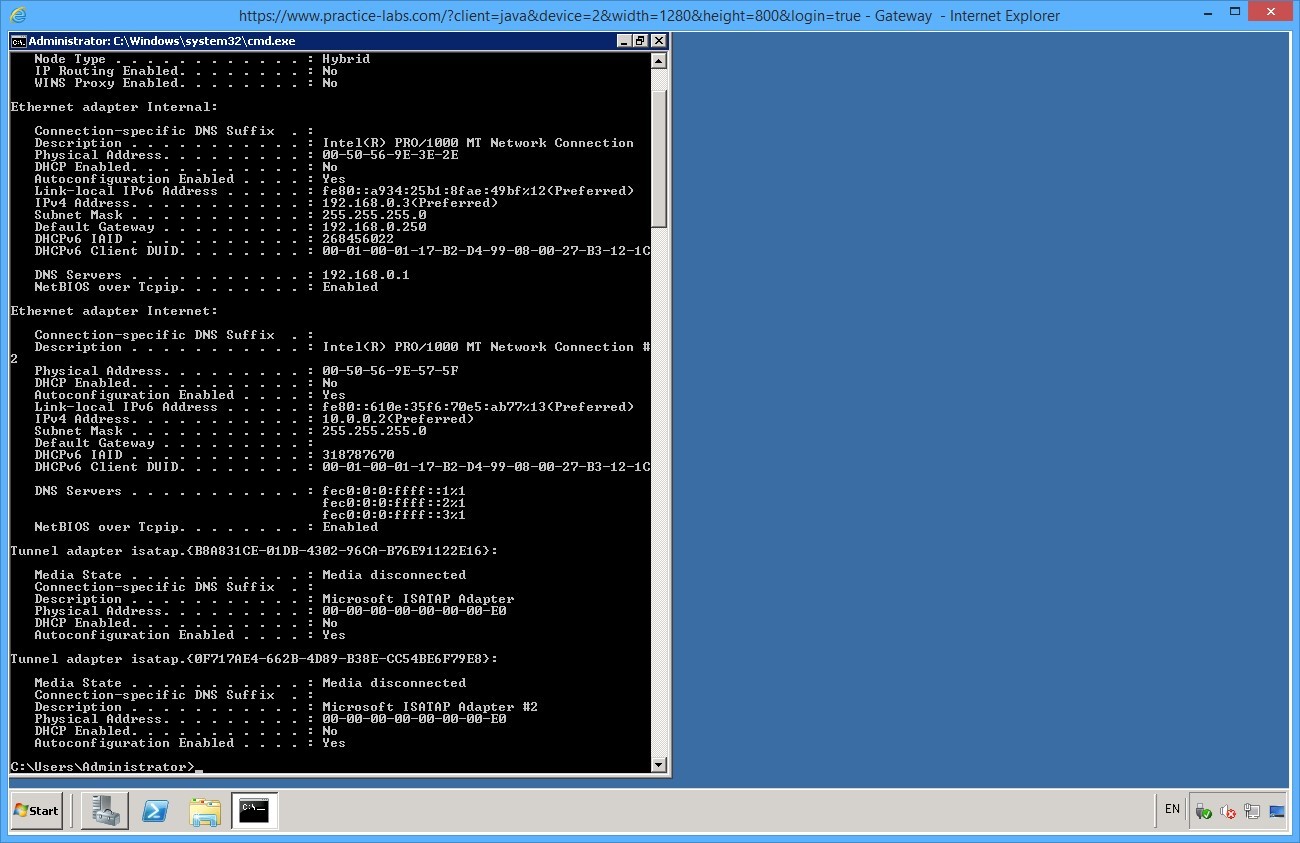
More detailed information about the IP configuration (and the Windows network configuration) is displayed. Note that the MAC address ("physical address") is listed.
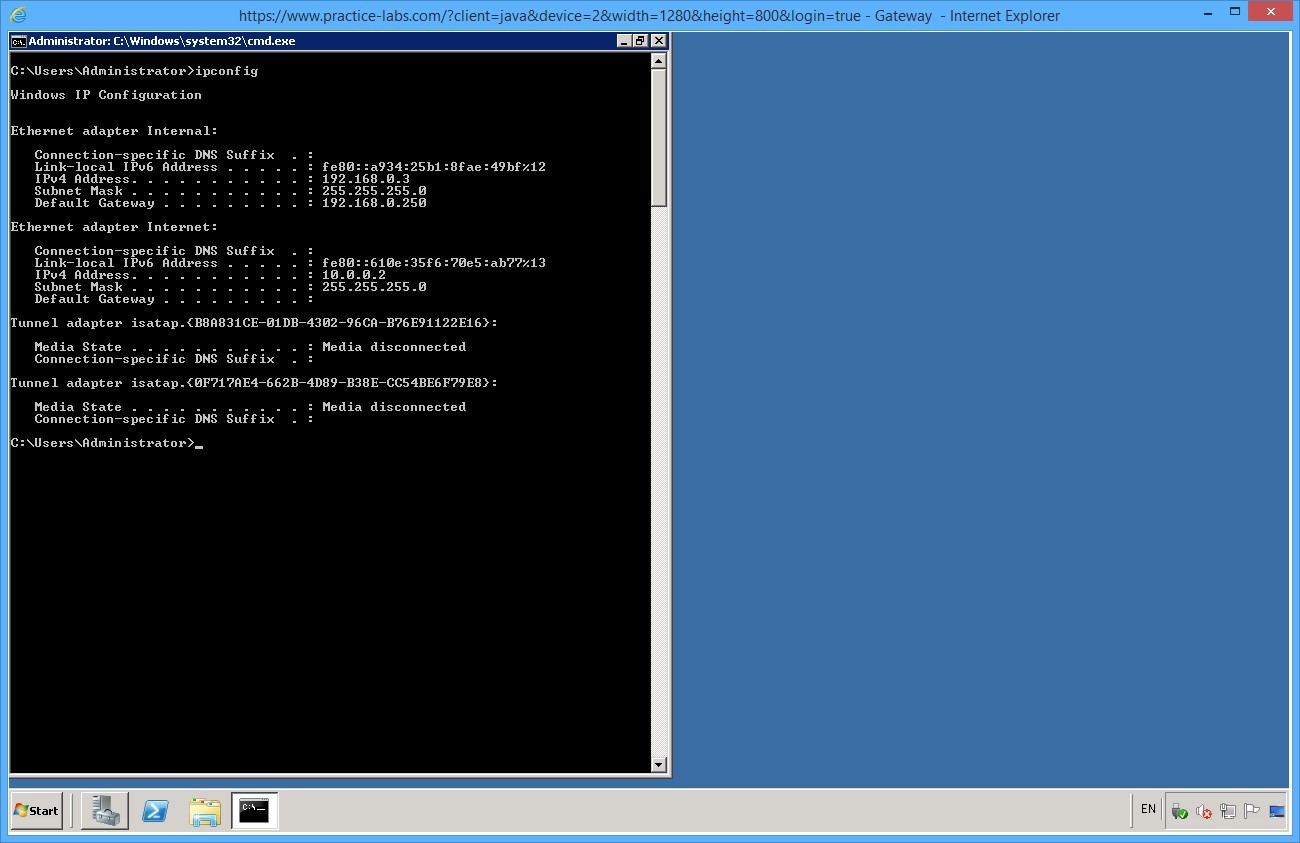
You can use the ipconfig option for summary detail. Minimize command prompt window.
Step 2
On GATEWAY click on the putty application located on the desktop.
Double click the entry for ROUTER.
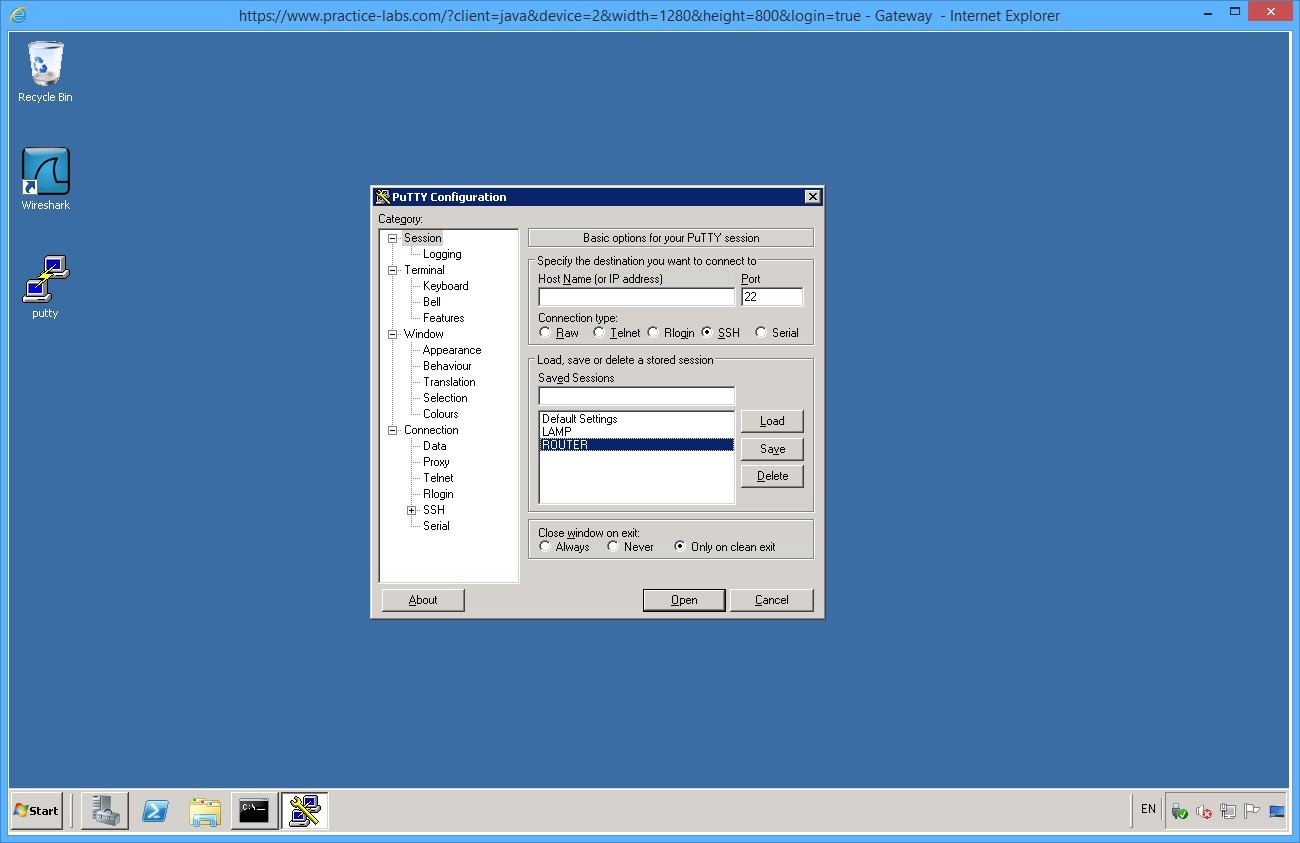
This will launch a SSH session to the remote device in order for you to configure settings.
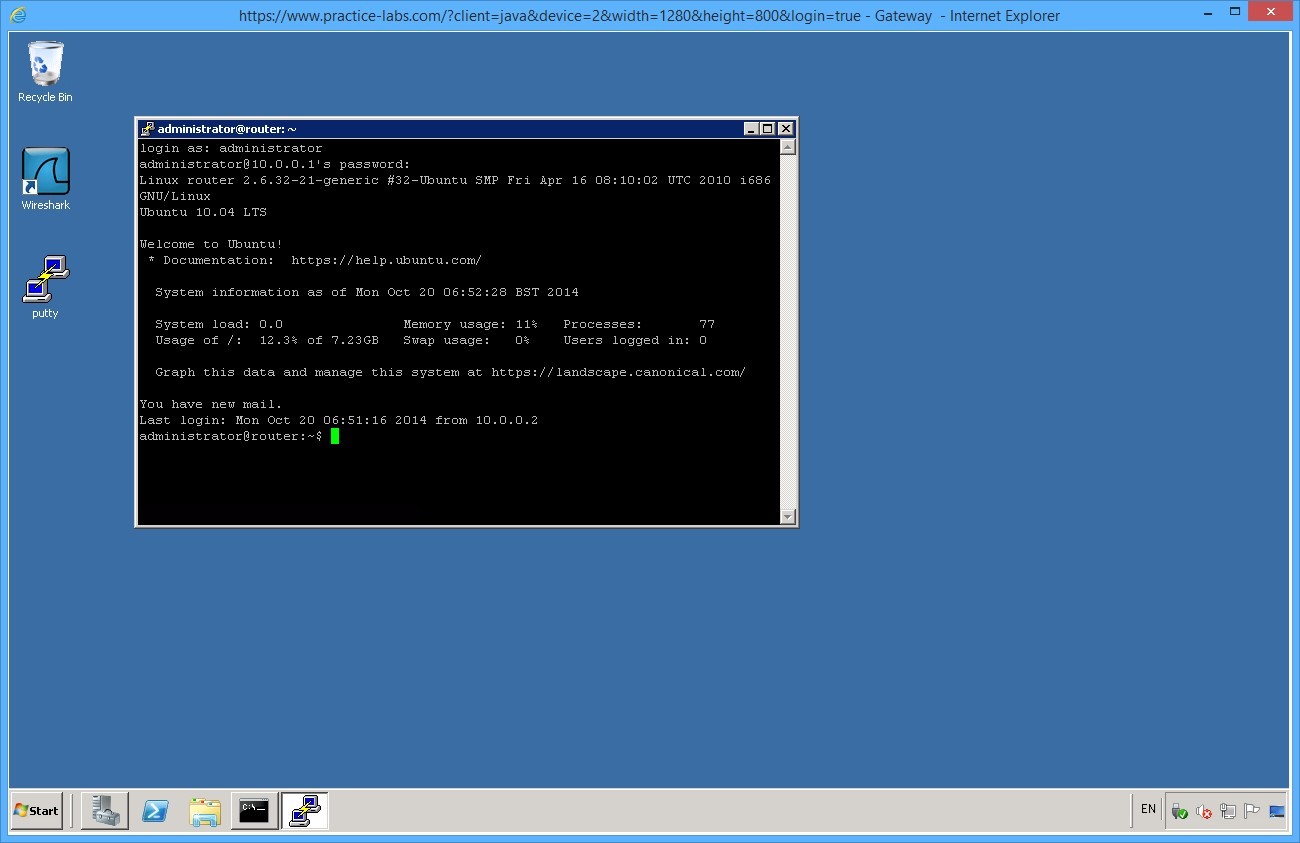
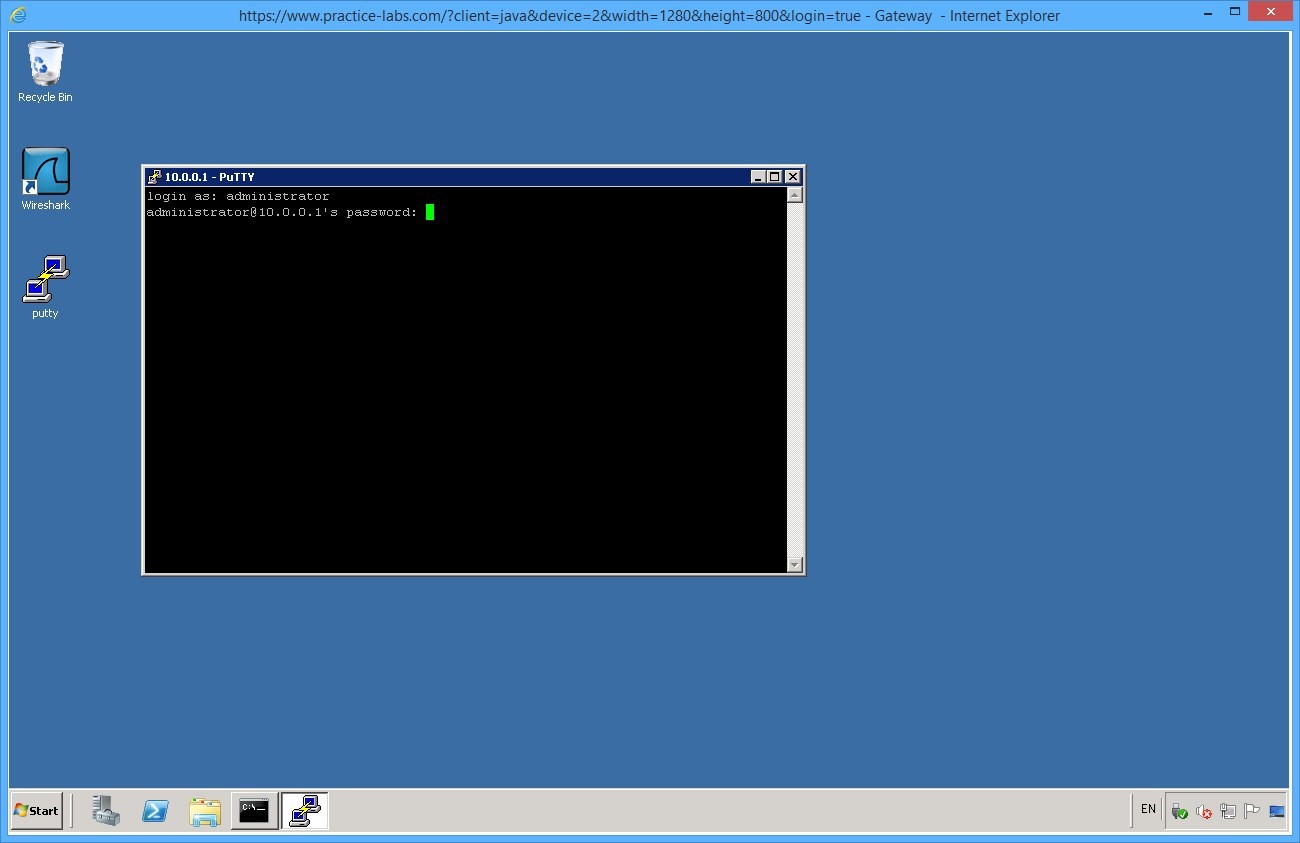
When the console appears, on the login as field, type:
administrator
Press Enter.
On the password field, type:
Pa$$w0rd
Press Enter.
Note: Unlike Windows the username is case-sensitive on Linux systems. Also the password field does not show any characters, so input the password above and press enter.

Once you have been successfully authenticated you will be presented with a console where you will be able to enter commands.
Step 3
From the command line type
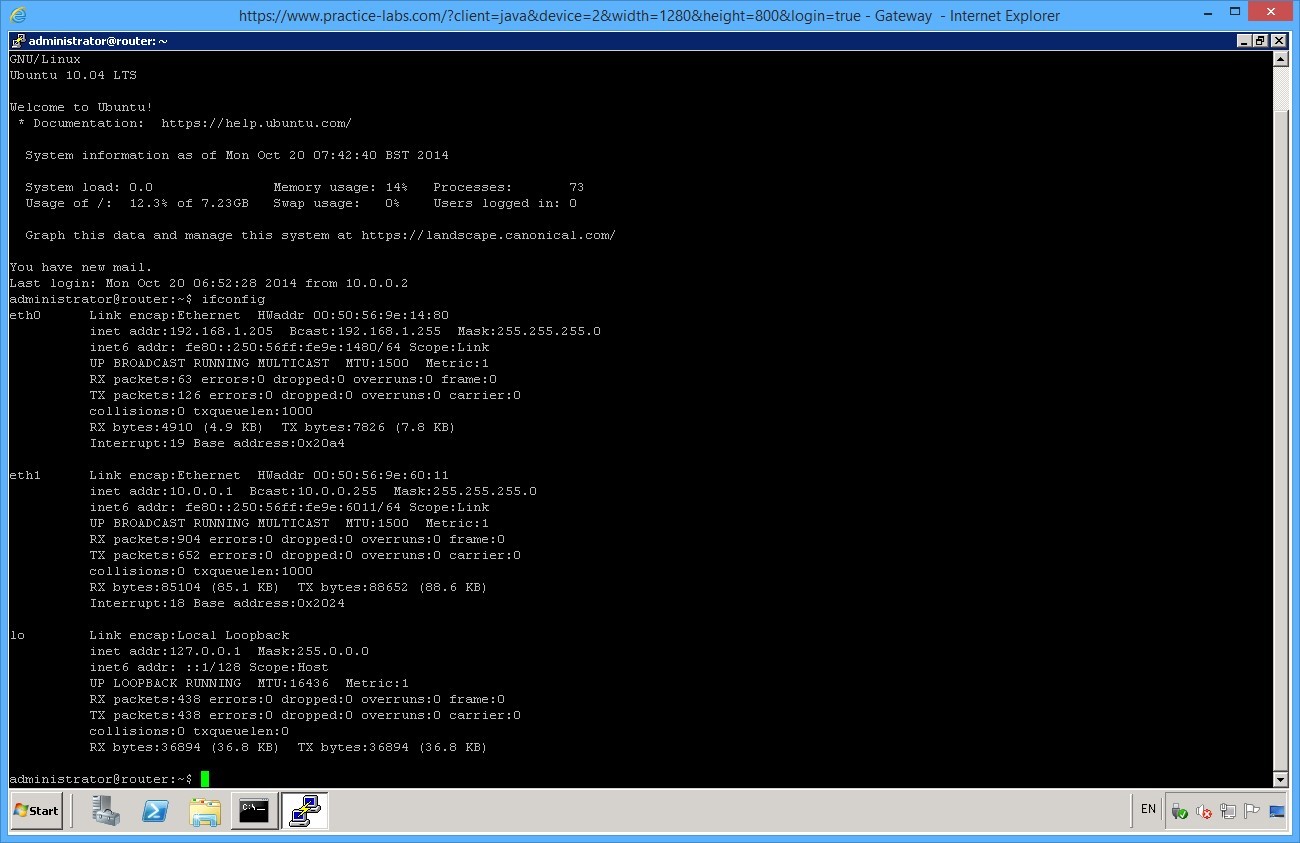
ifconfig
Press Enter.

Do you notice any difference compared to the Windows ipconfig command?
The output doesn't include the default gateway but there is information about the MTU and packet stats.
Note: No default gateway (router) address is configured. Without this the machine is restricted to the local subnet (though there isn't a router available for it to use yet anyway).The address config is from APIPA as the DHCP server is not available.
Leave the devices you have powered on in their current state and proceed to the next exercise.
Exercise 2 - Performing a Connectivity Test
In this exercise, you will use ping to test TCP/IP functionality and links. To better understand this technology, please refer to your course material or use your preferred search engine to gain an understanding of these tasks.
Task 1 - Reviewing Network Configuration
Step 1
On GATEWAY using the console you opened in the last exercise which is connected to ROUTER, enter the command:
ping 127.0.0.1
Press Enter.
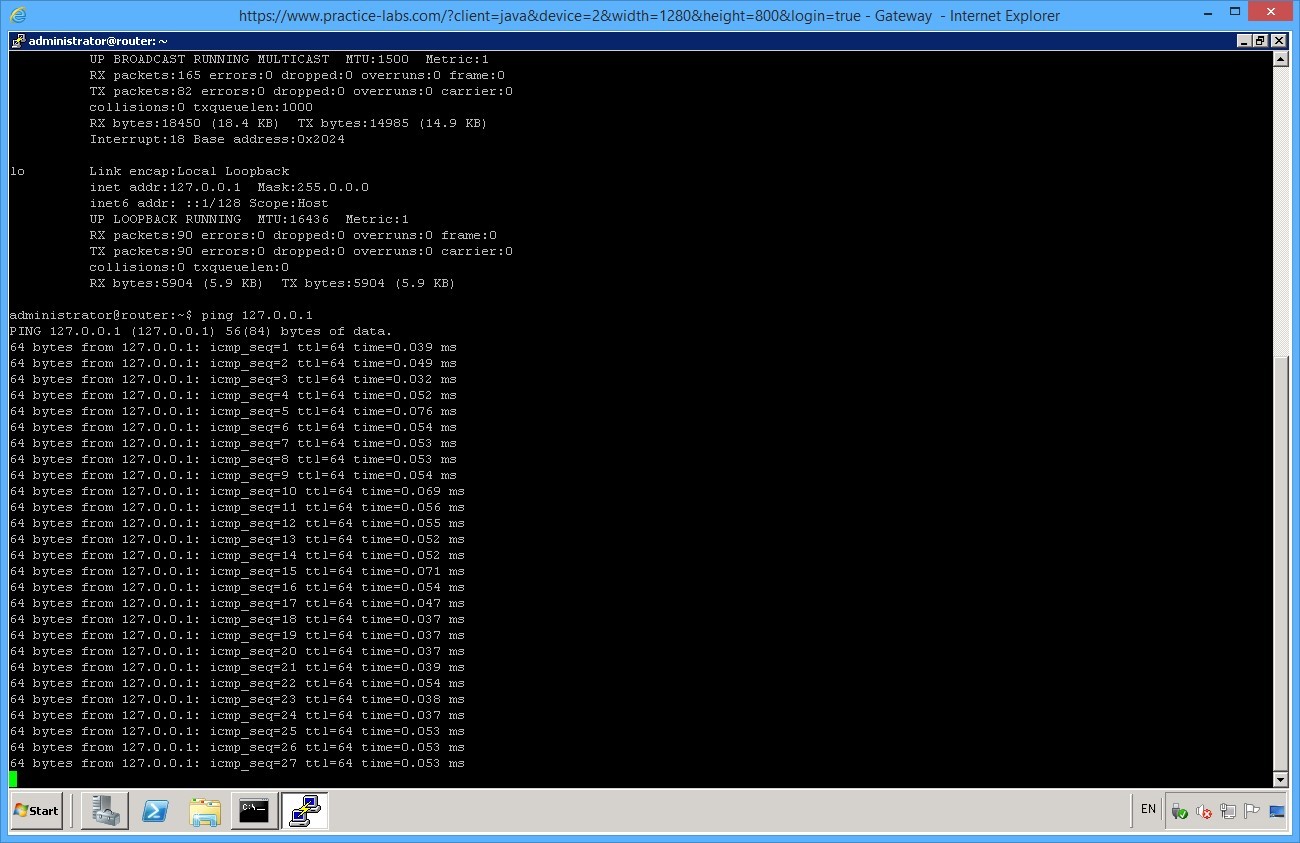
What does this tell you?
That TCP/IP is installed with a functional configuration.
Press Ctrl+C to stop pinging.
Enter ping 192.168.1.1

What does this tell you?
That a host with that IP address is available.
Press Ctrl+C to stop pinging.
Enter ping 192.168.0.1
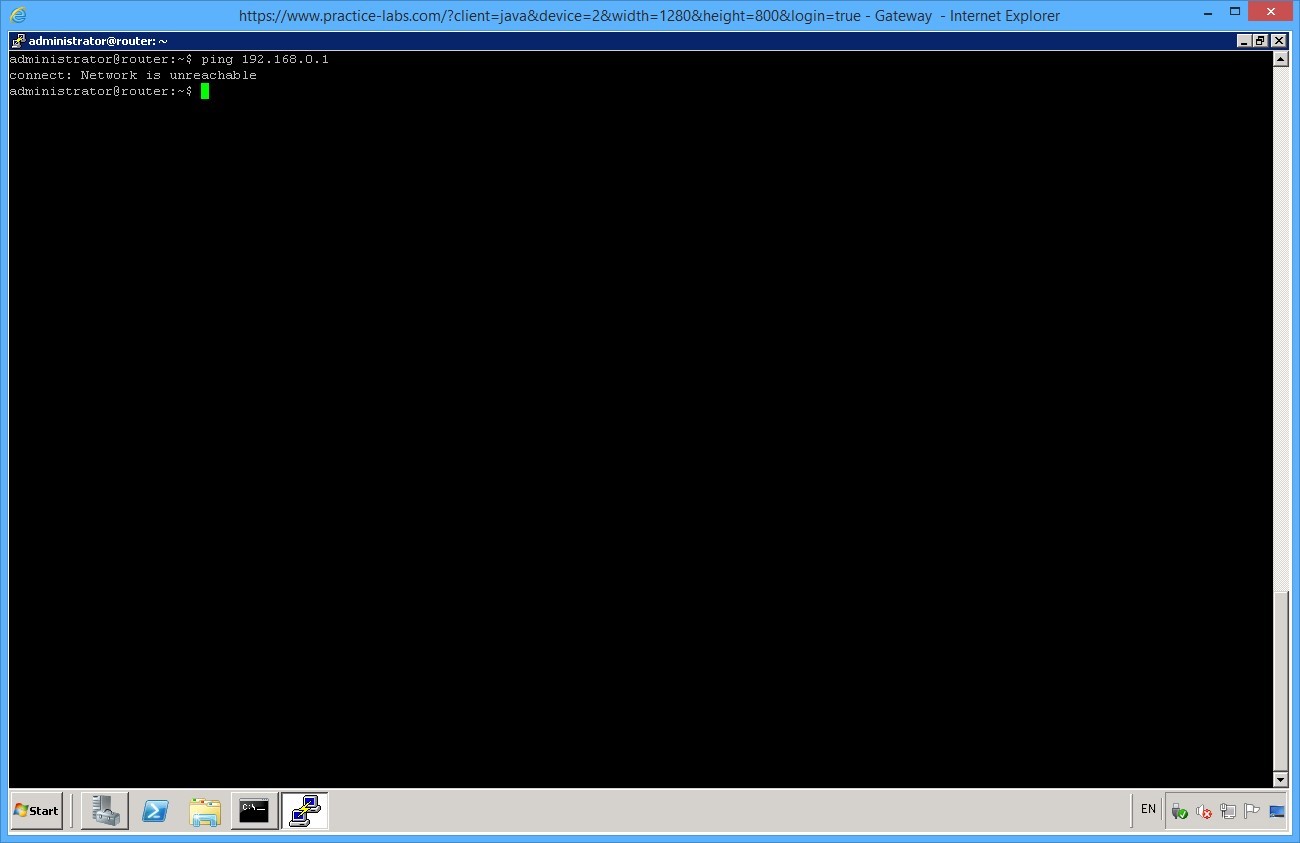
What does this tell you?
SERVER is on a different network as well as being a different subnet and ROUTER is not configured either with a "physical" path to that network nor with the address of a router that could reach that subnet.
Minimize all open windows.
Task 2 - Configure DHCP Server
Step 1
On GATEWAY server, click Server Manager on taskbar.
Click on Roles and on details pane, select Add Roles.
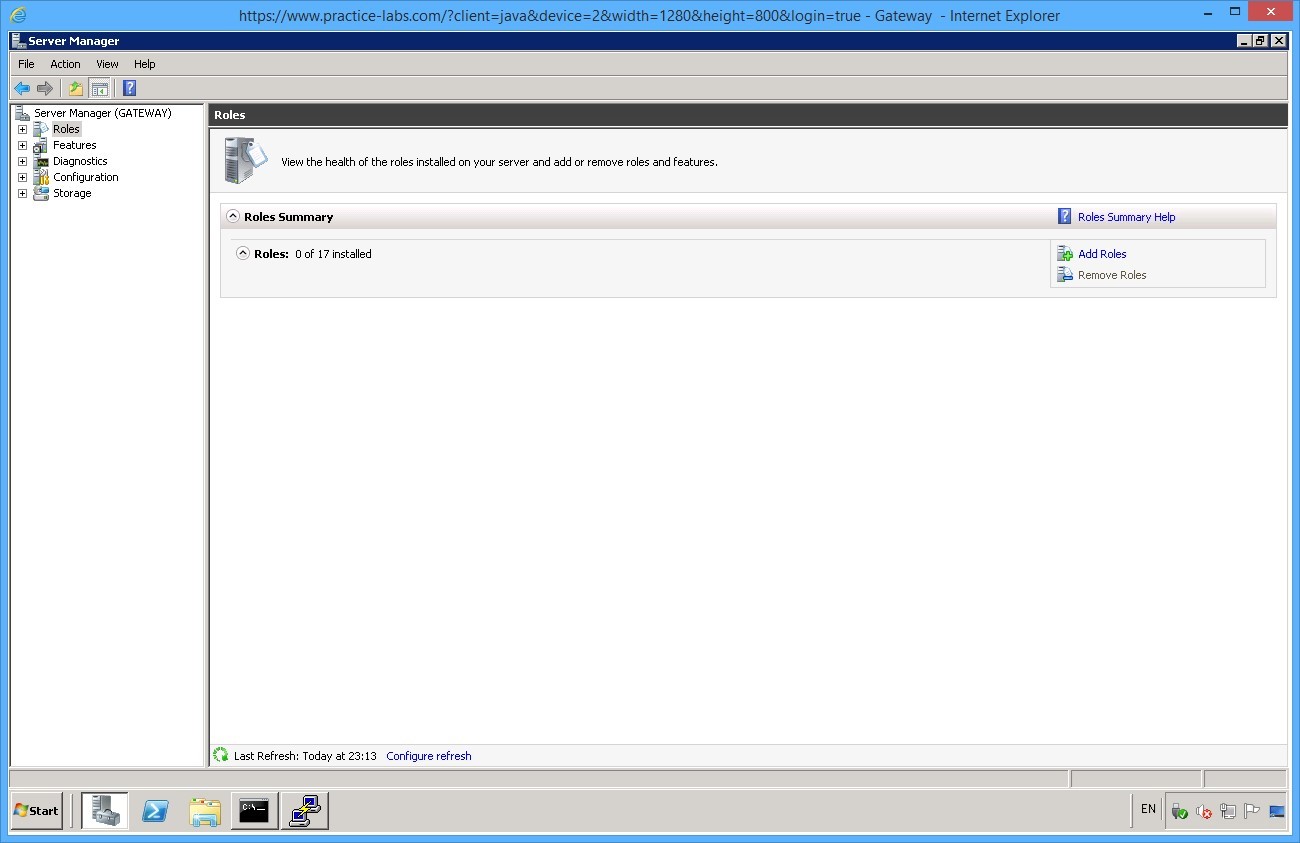
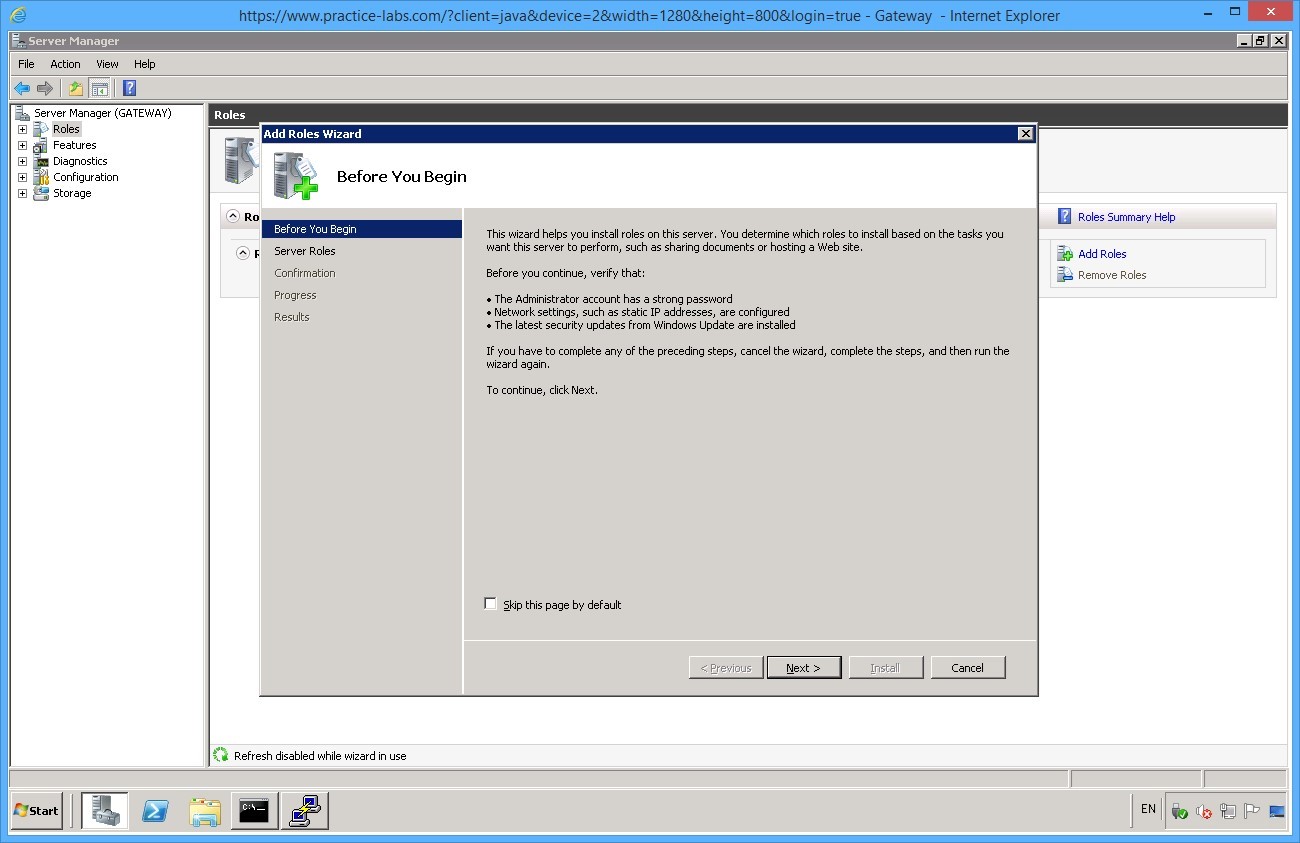
On Before you begin, click Next.
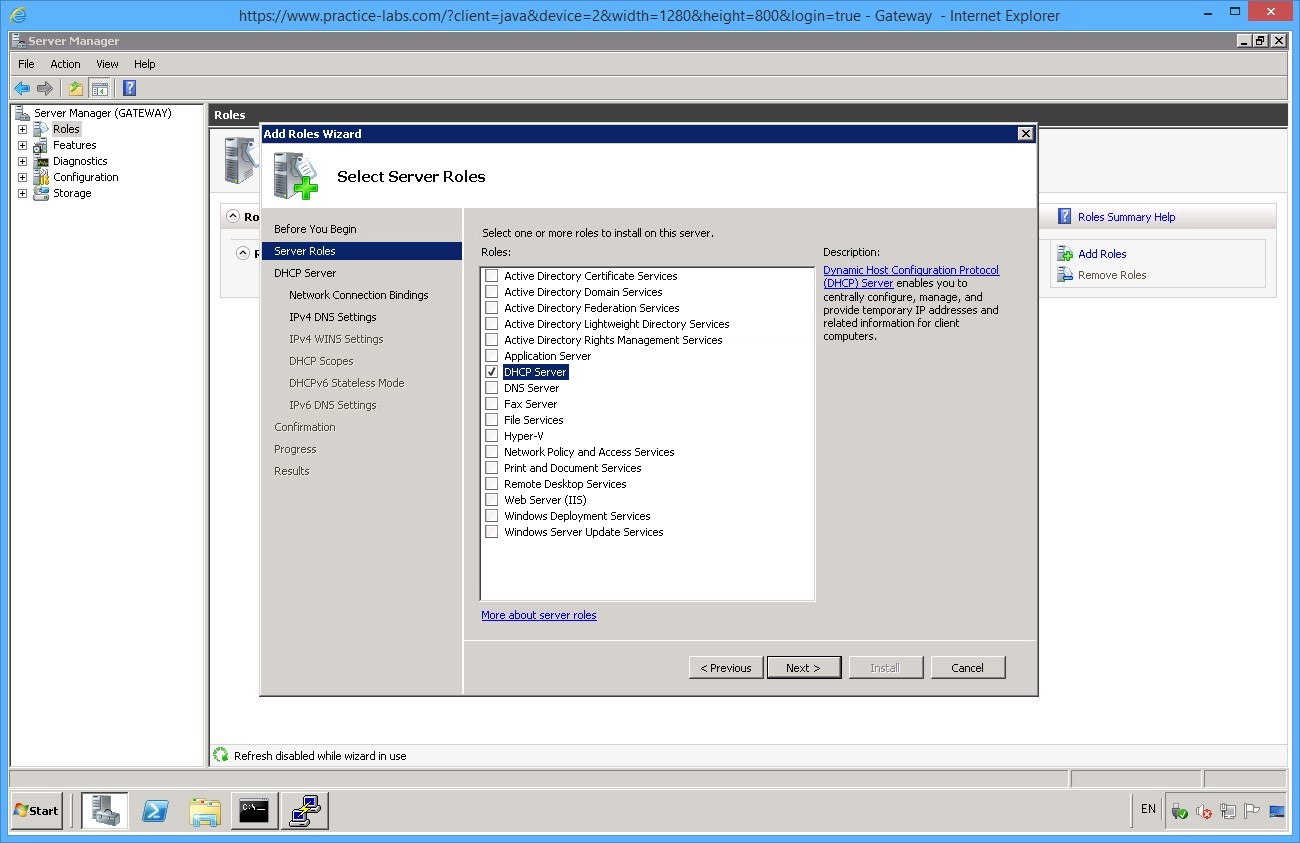
Click add roles and then next, when prompted select DHCP server.
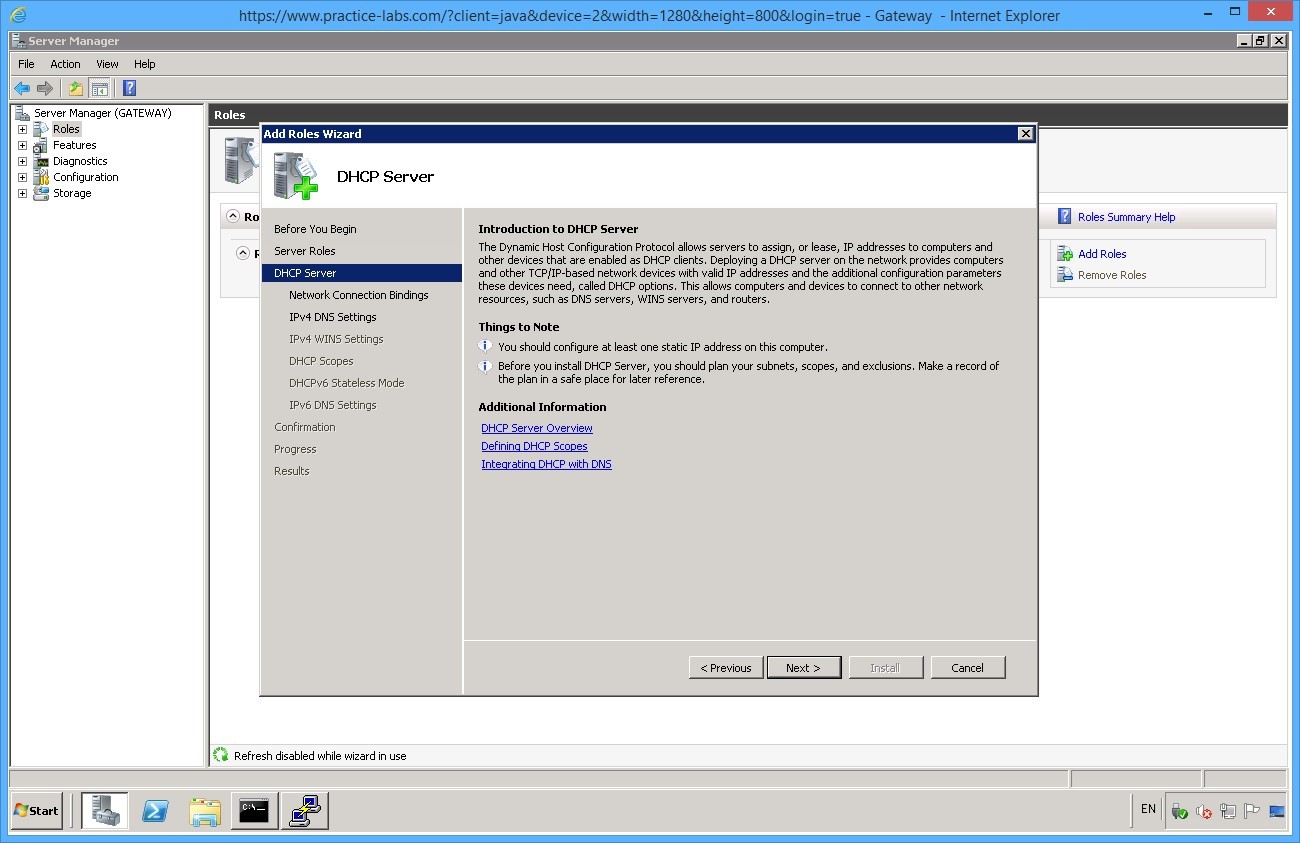
On the DHCP Server introduction page, click Next.
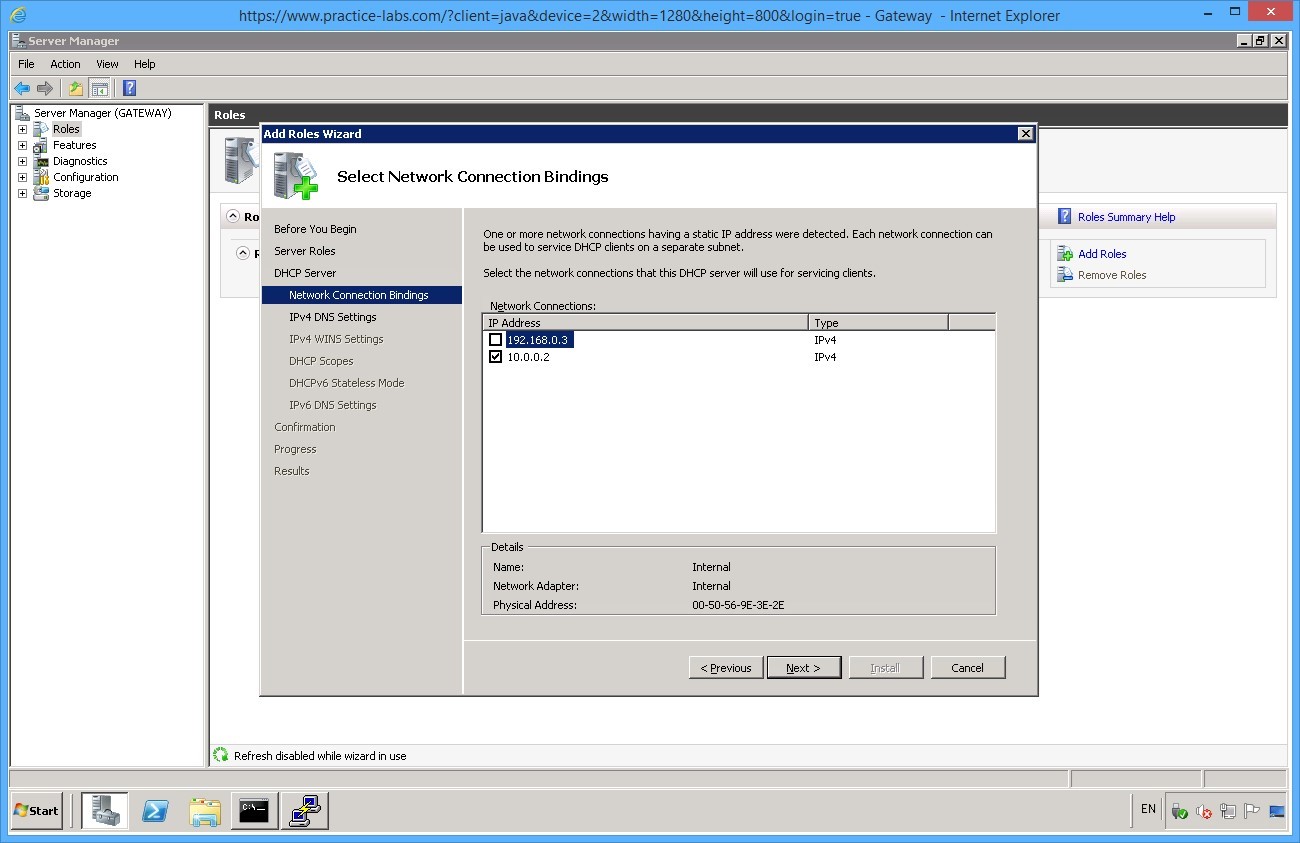
From Select Network Connection Bindings page, clear 192.168.0.3 box. Keep the 10.0.0.2 box selected.
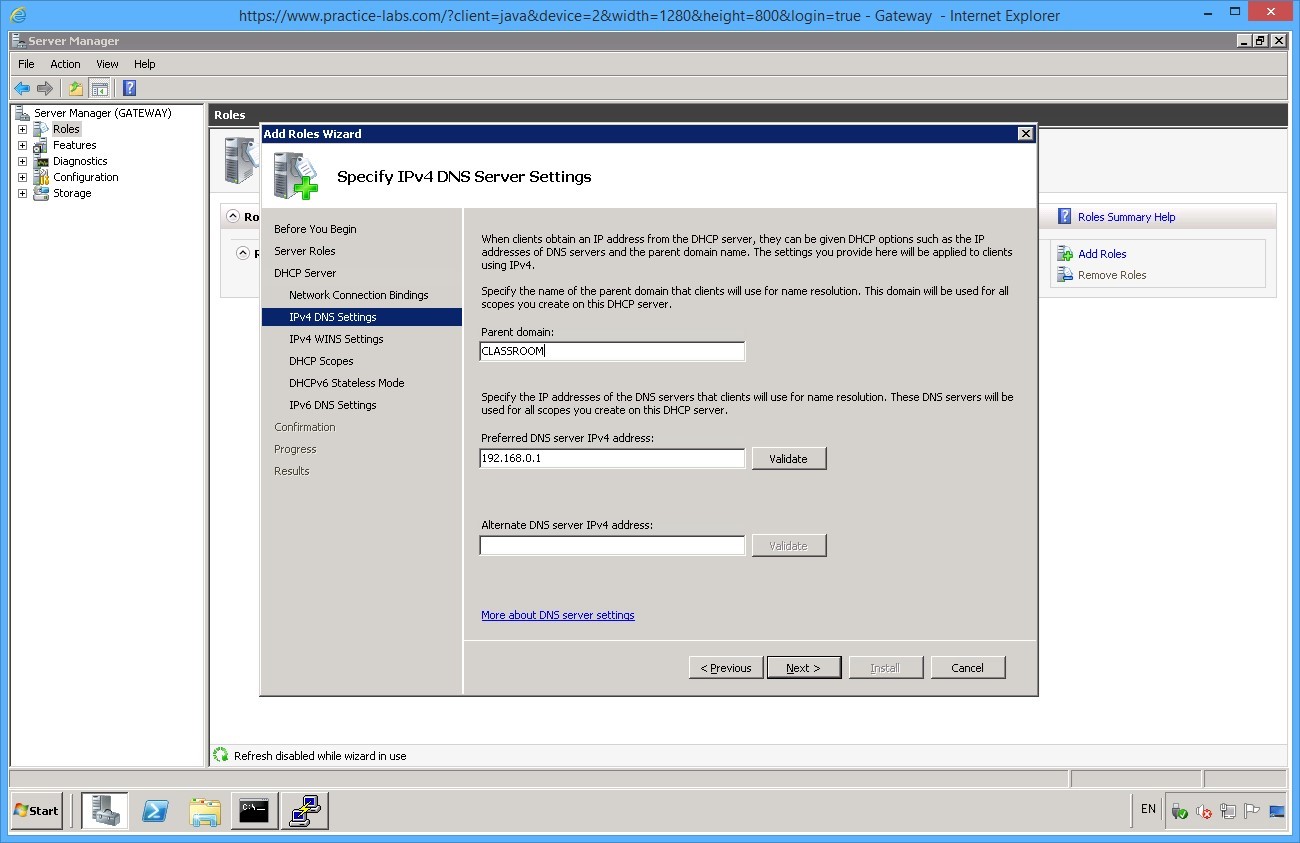
In Specify IPv4 DNS Server Settings, type CLASSROOM it to the parent domain. Click Next.
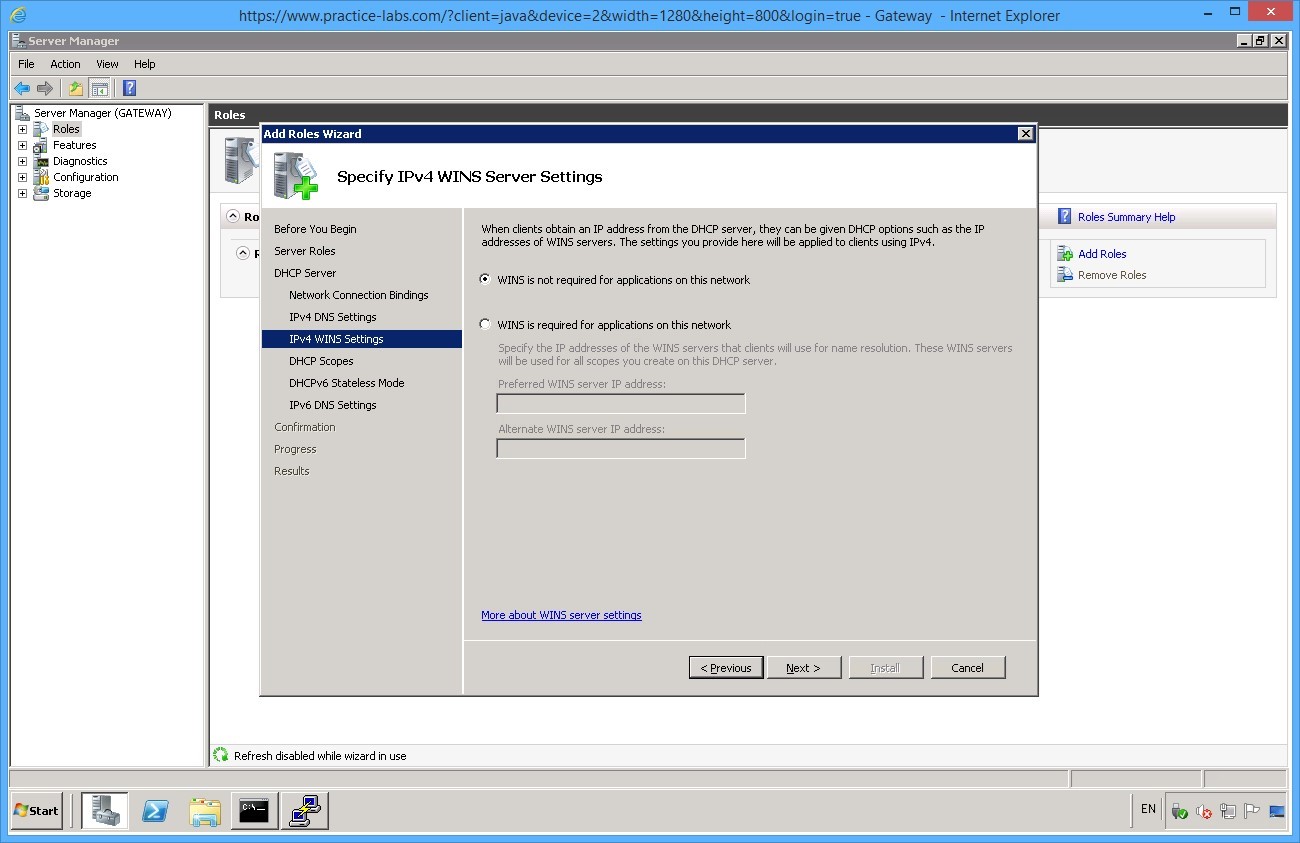
In Specify IPv4 WINS Server Settings page, click Next.
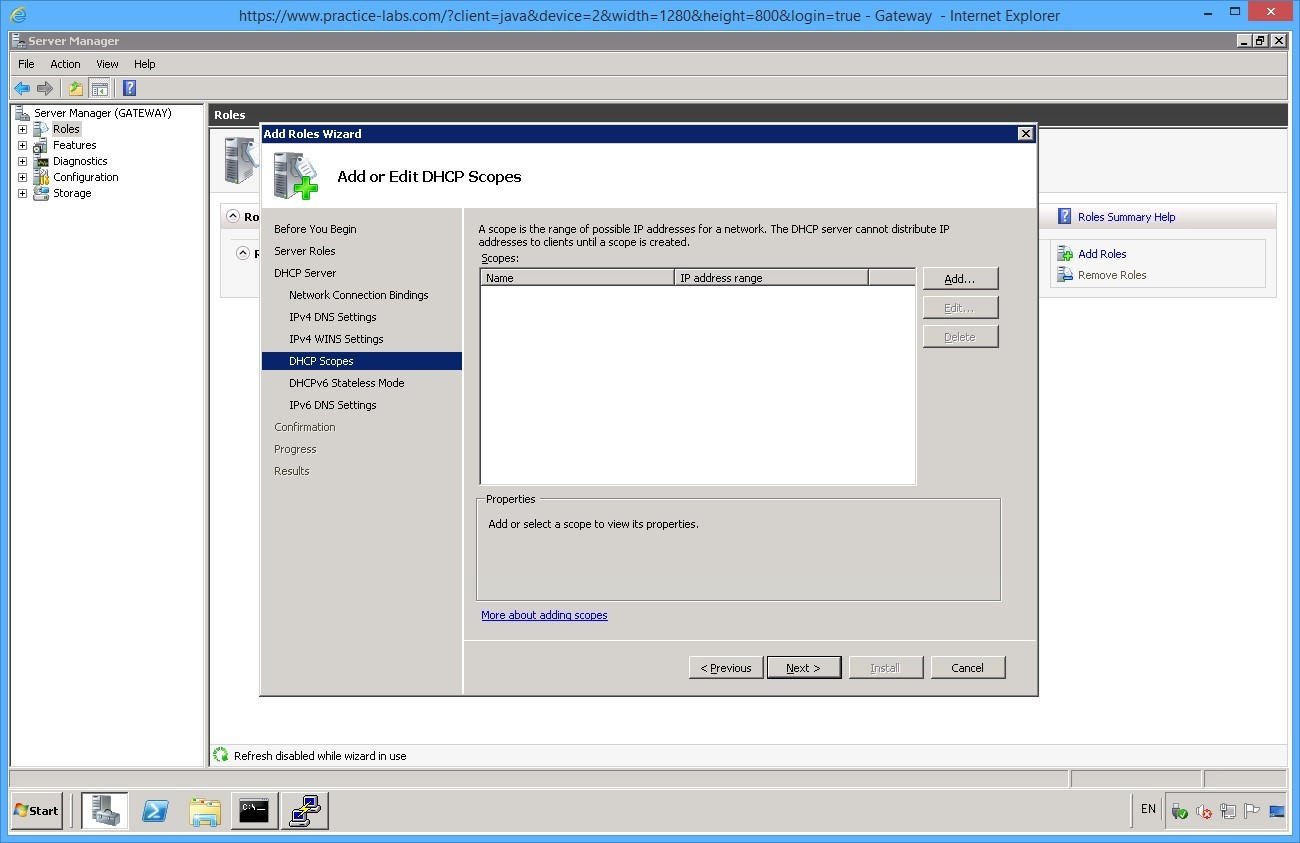
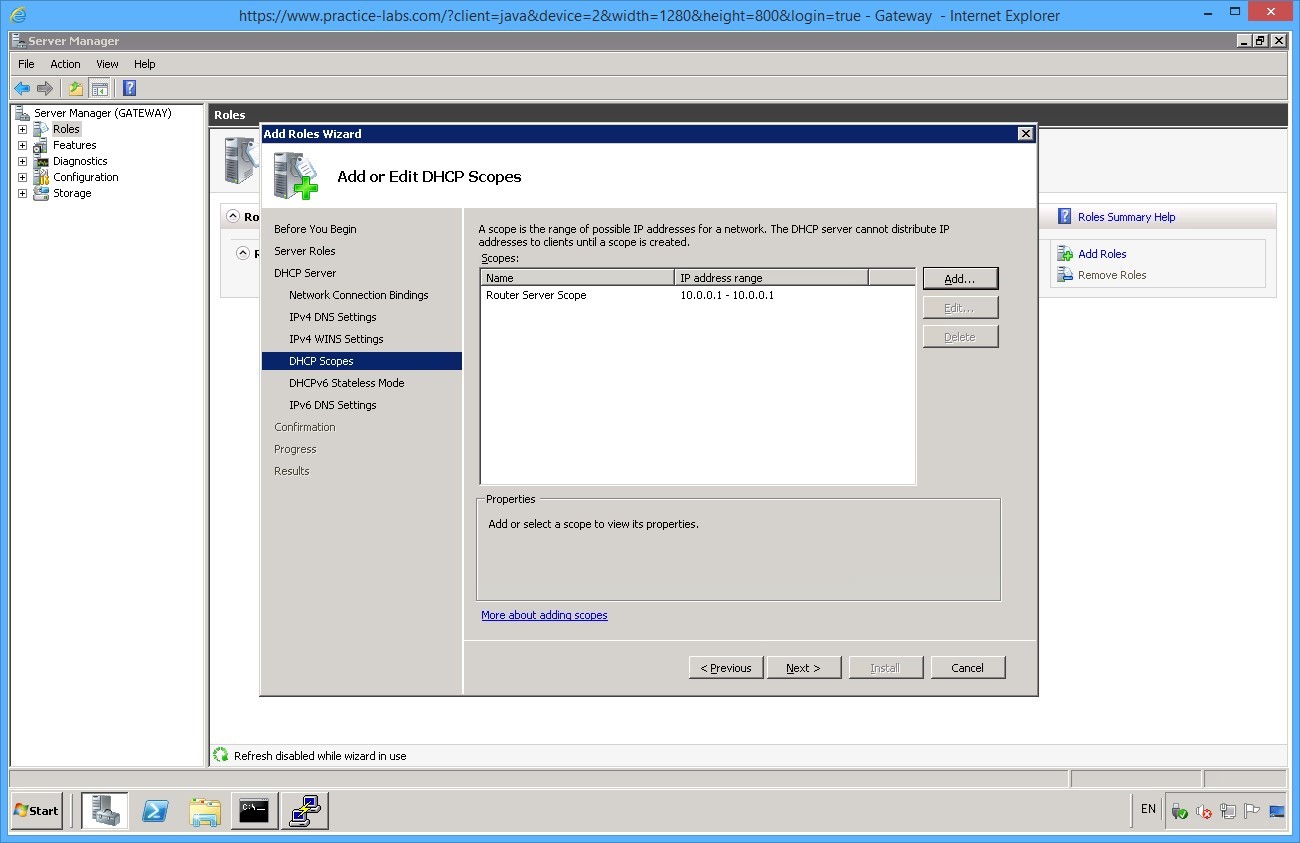
From Add or Edit DHCP Scopes, click Add.
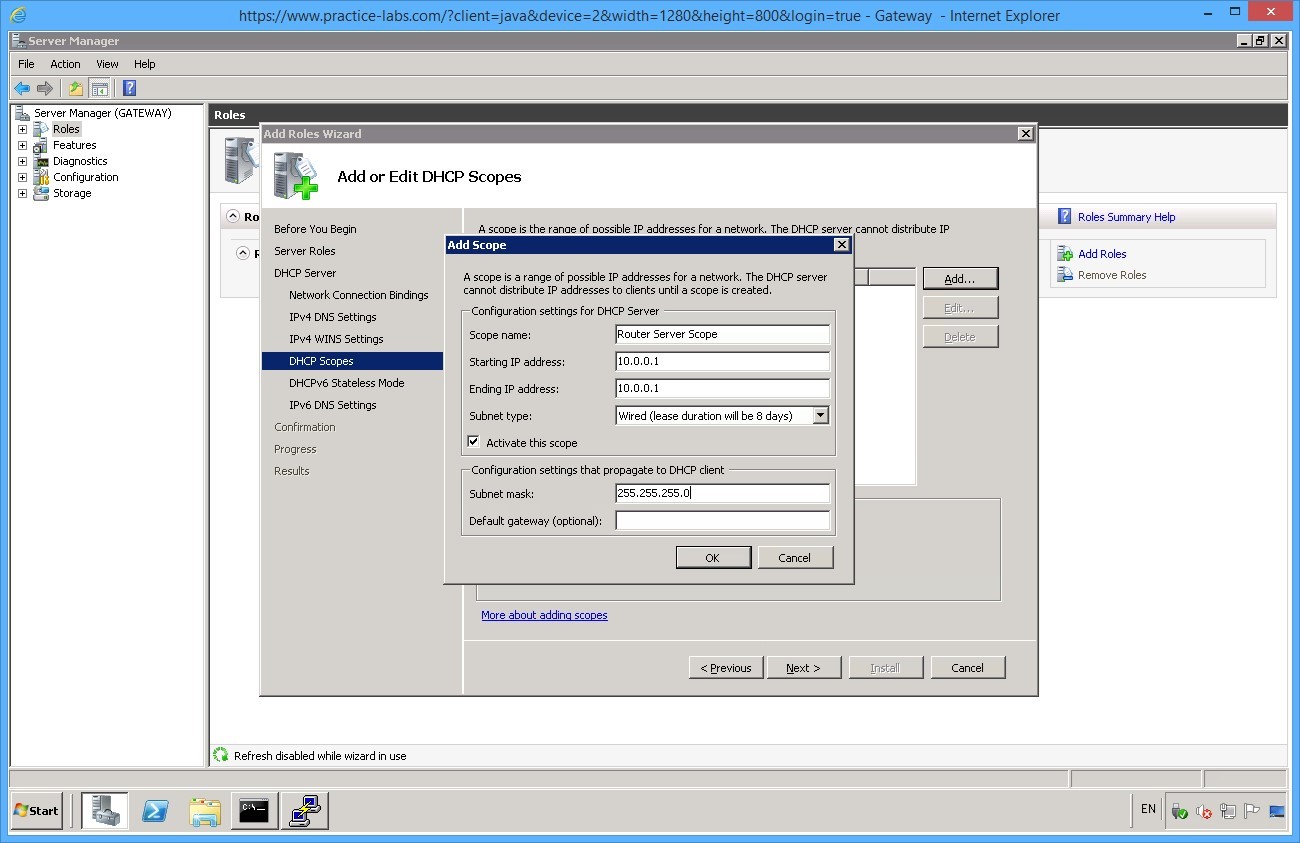
Enter in the following details.
Scope Name: Router Server Scope
Starting IP address: 10.0.0.1
Ending IP address: 10.0.0.1
Subnet Mask: 255.255.255.0
Click OK.
After adding the scope, click Next.
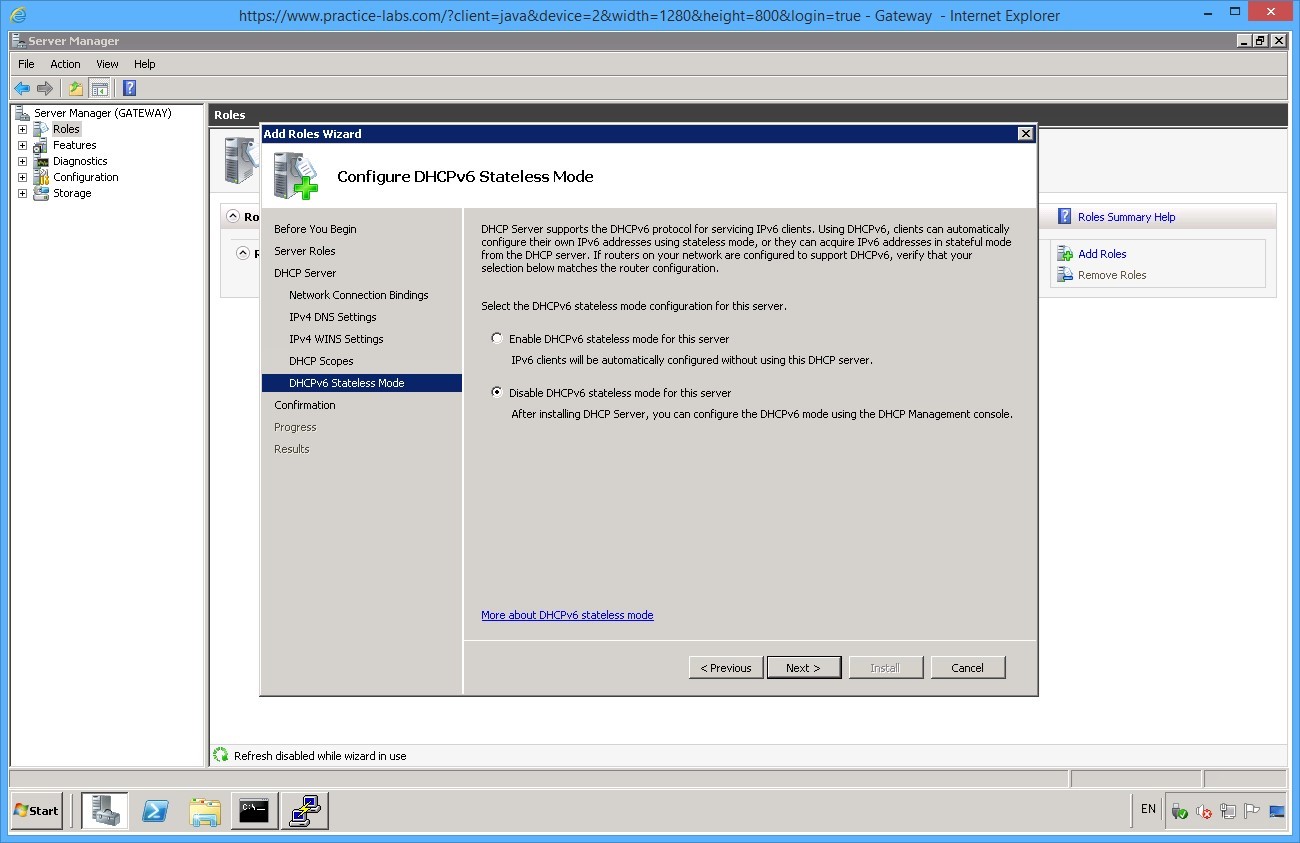
Select Disable DHCPv6 Stateless mode for the server. Click Next.
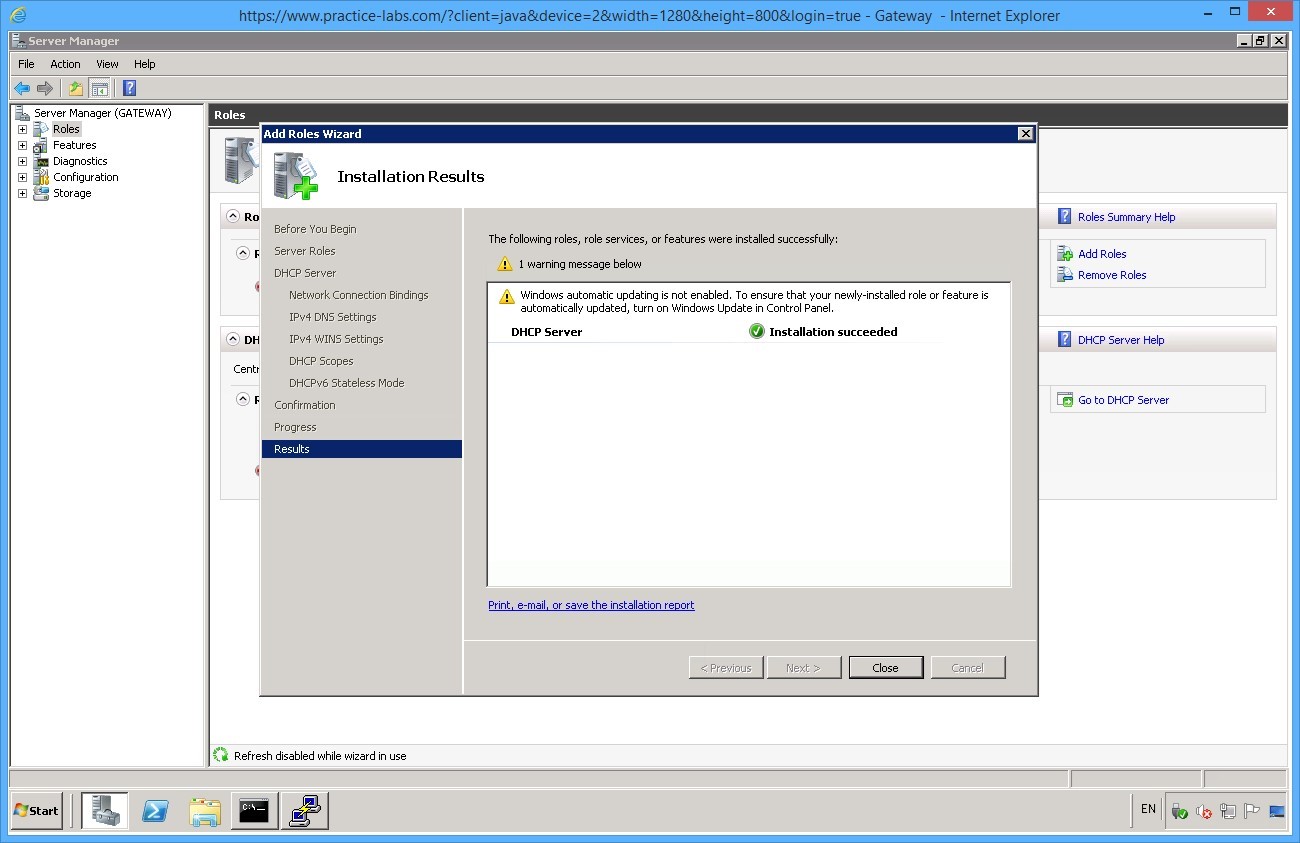
From Confirm Installation Selections, click install.

Click Close.
The server is now configured to distribute IP addresses, close all the open windows and proceed to the following exercise.
Leave the devices you have powered on in their current state and proceed to the next exercise.
Exercise 3 - Reconfiguring IP in Linux
To configure an adapter in Linux, you must enter the configuration into a text file.
Task 1 - Configure DHCP on Linux
Step 1
Still on GATEWAY server, restore the Putty window which you minimised earlier.
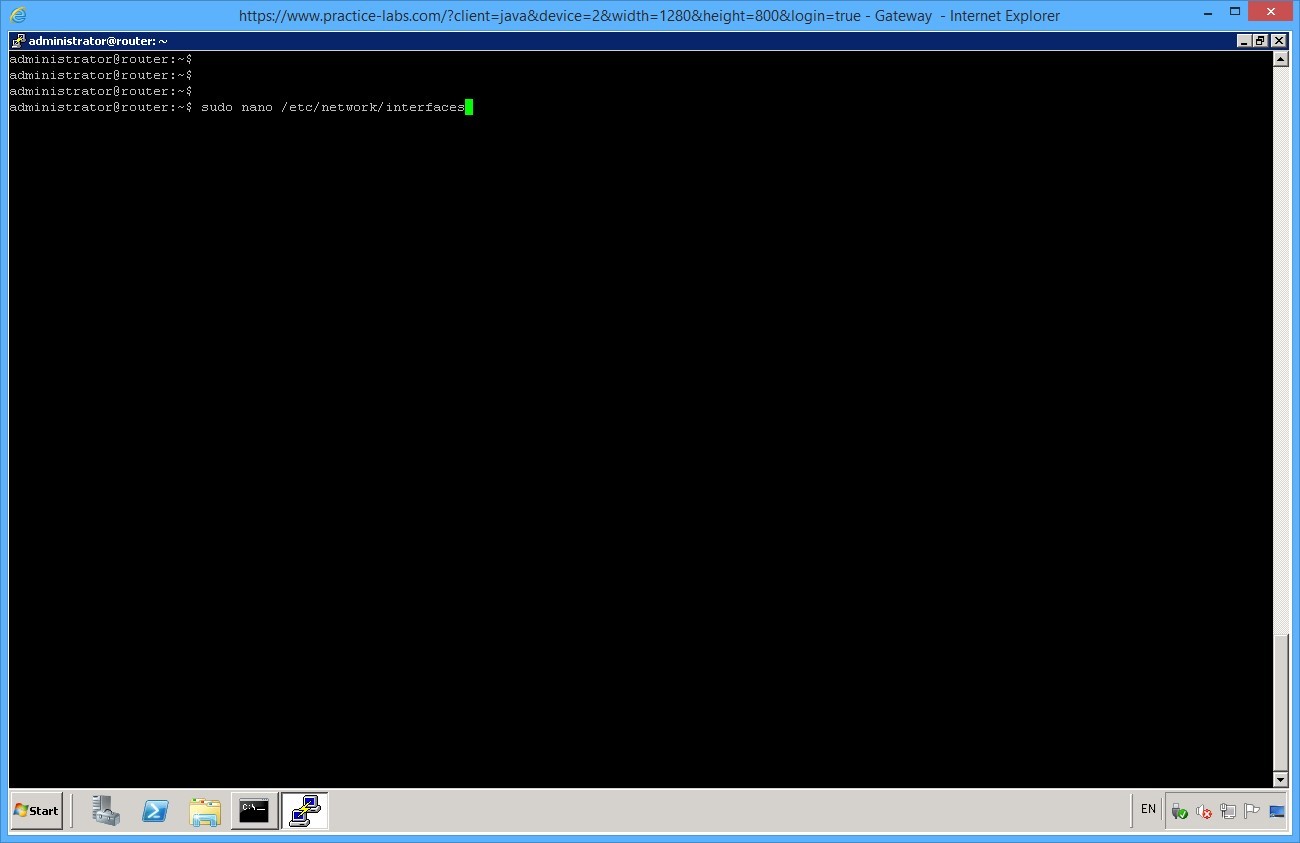
From command line type the following:
sudo nano /etc/network/interfaces
Type Pa$$w0rd and press Enter to confirm the use of root privileges.
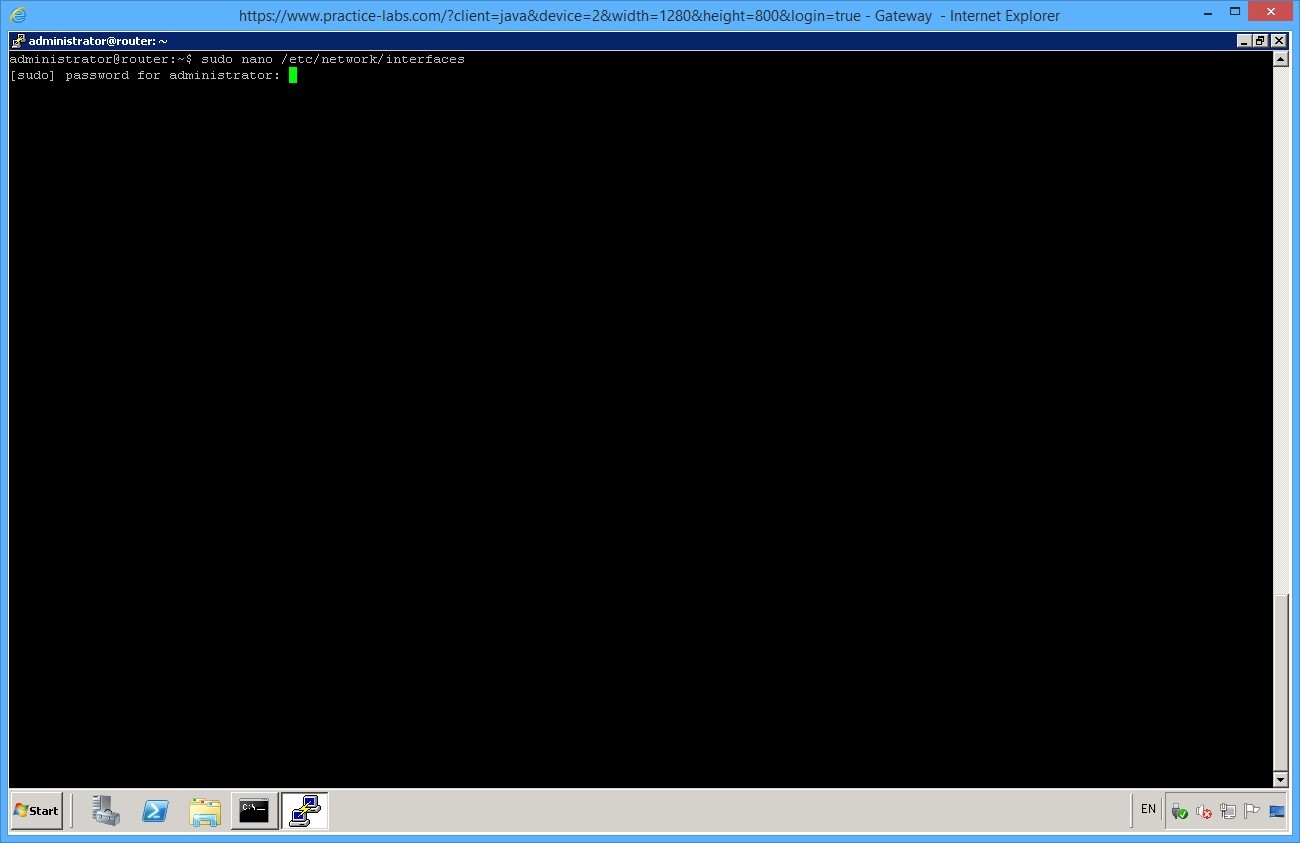
Note: The sudo command starts the text editor (nano) with the privileges required to edit this configuration file.
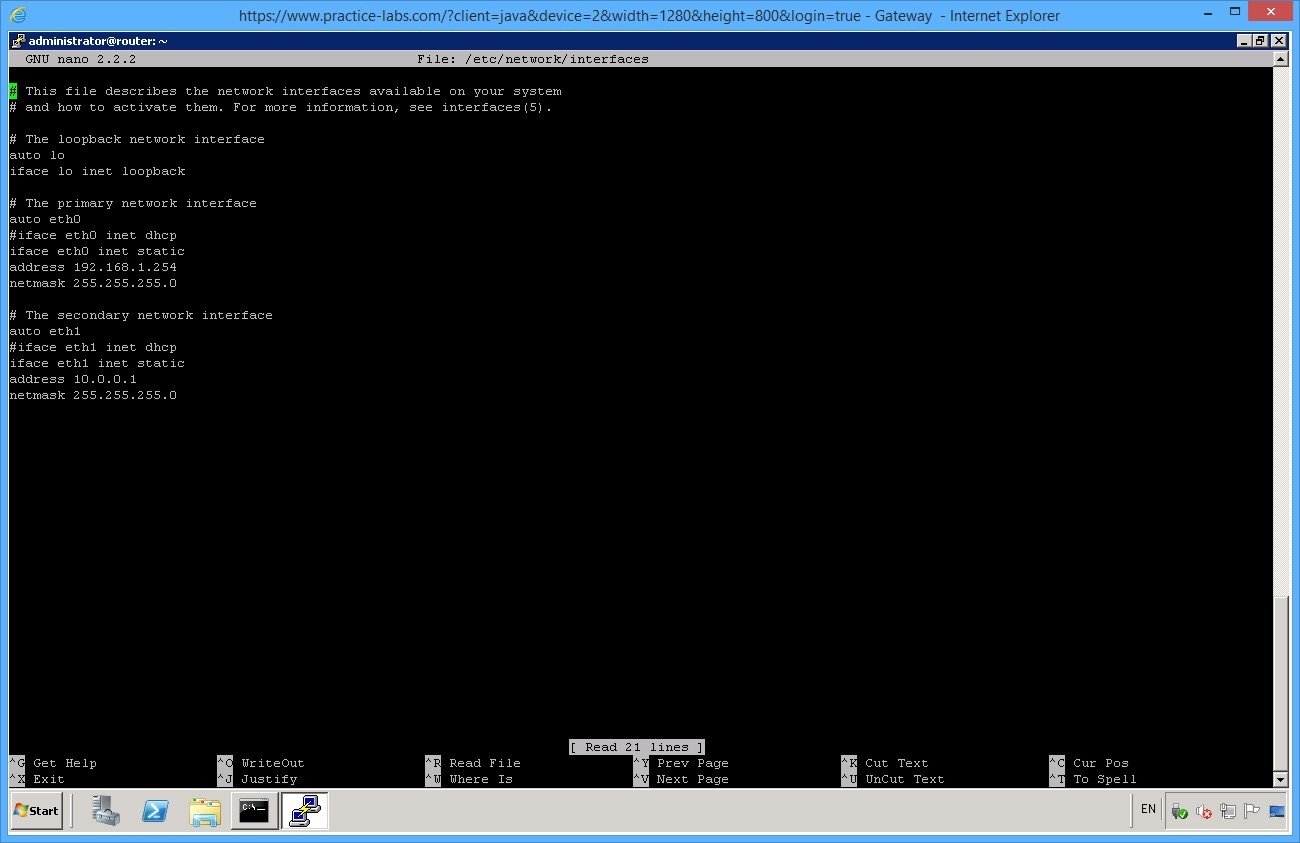
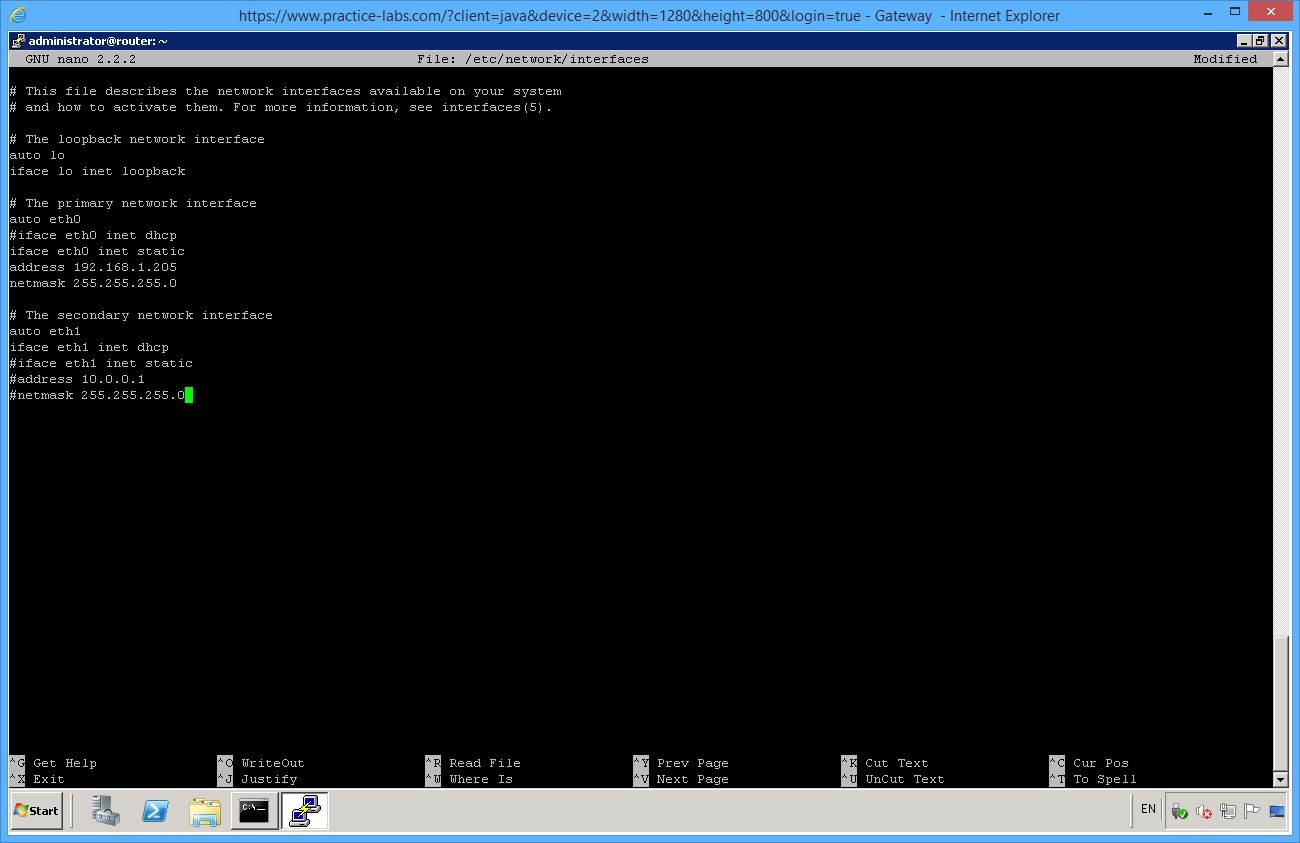
The current configuration defines a static IP address and subnet mask for the adapter "eth0".
Use the Arrow keys to move the cursor around the file and edit the ip address of interface “eth0” to be the following details:
Address 192.168.1.205
Leave the netmask details as they are defined.
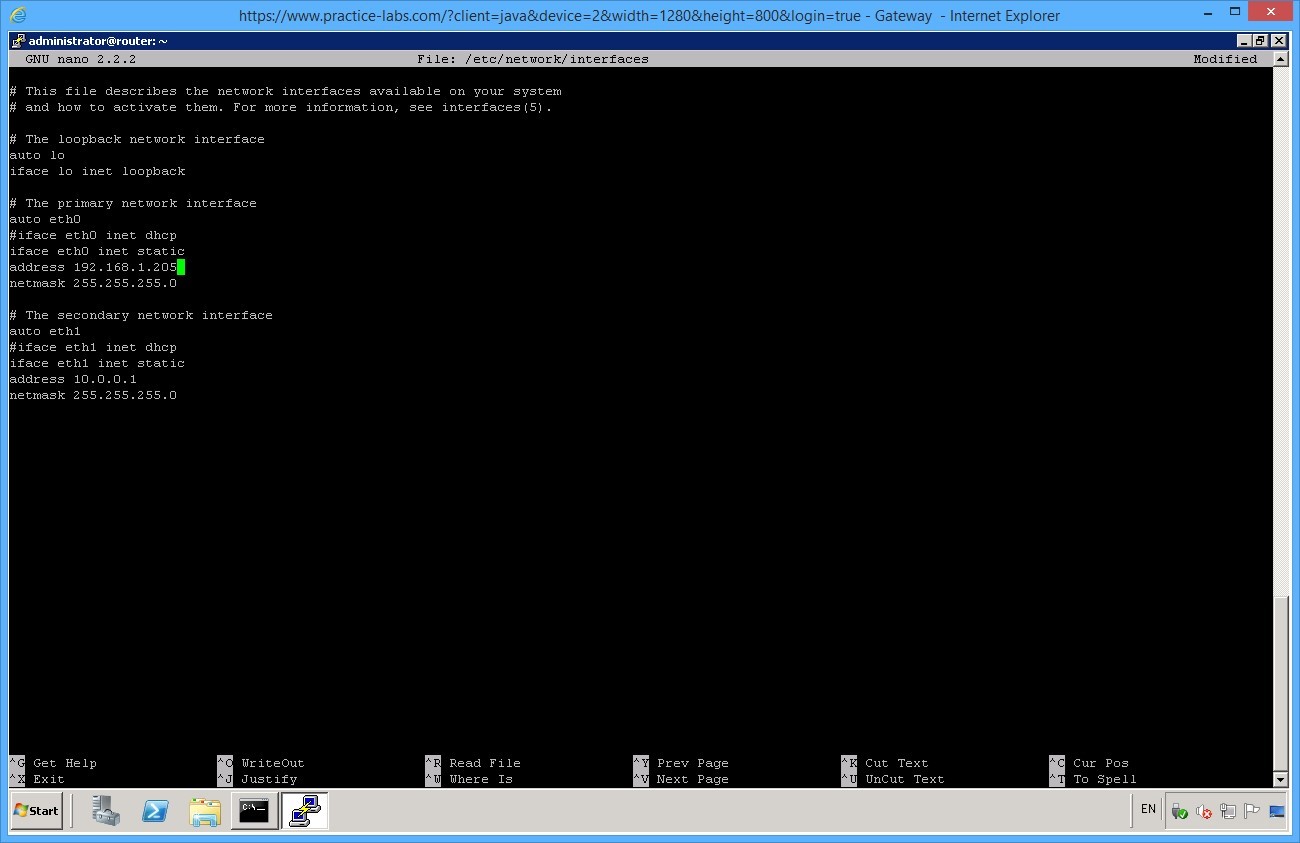
Press Ctrl+O then Enter to save the file.
Important: If you are using HTML5 to connect to lab devices, the Open dialog box may appear when you press Ctrl+O. If this happens, click on Putty window you should see a status message below the window saying “File Name to Write: /etc/network/interfaces.” Press Enter the changes will be saved to the file.
Then press Ctrl+X to close the text editor.
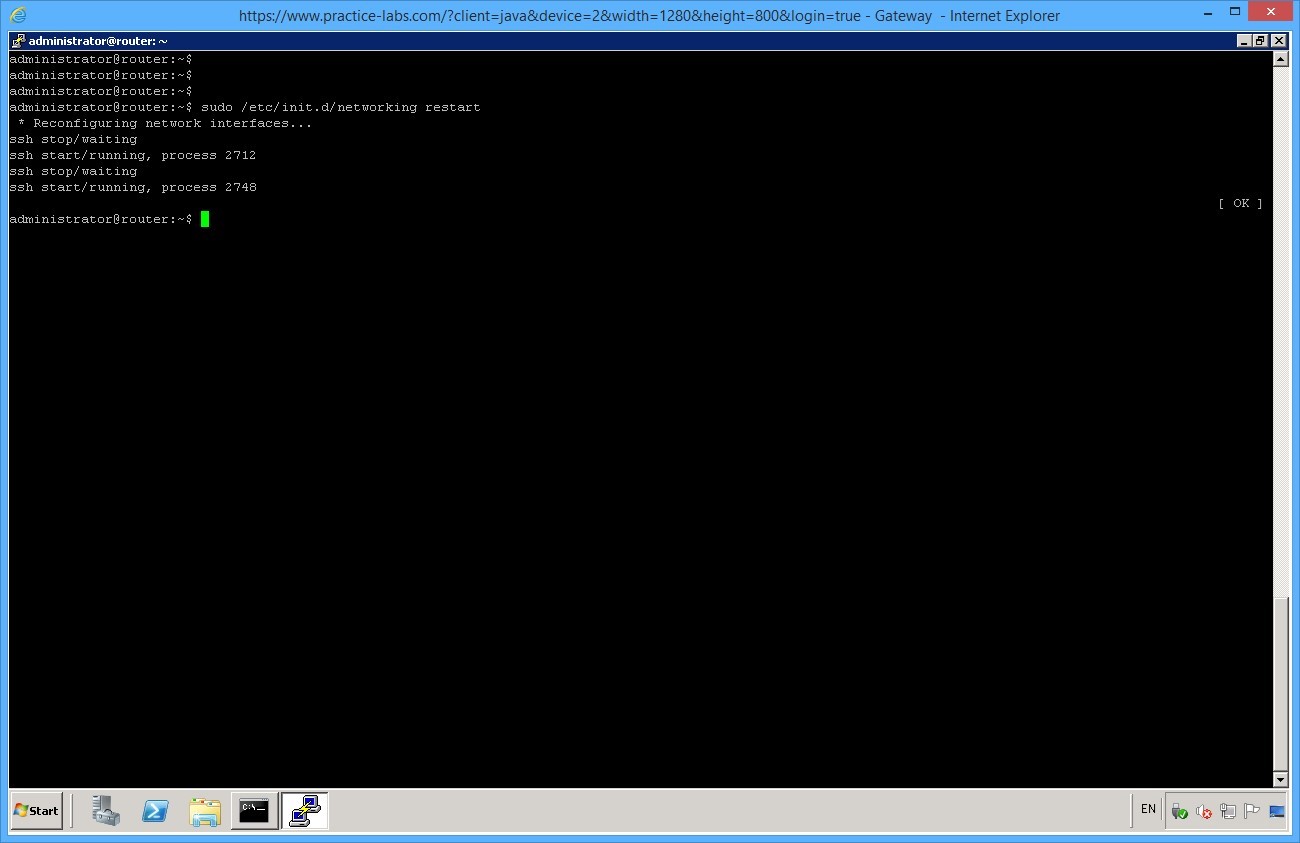
To apply the new ip address configuration, enter the following command:
sudo /etc/init.d/networking restart
Step 2
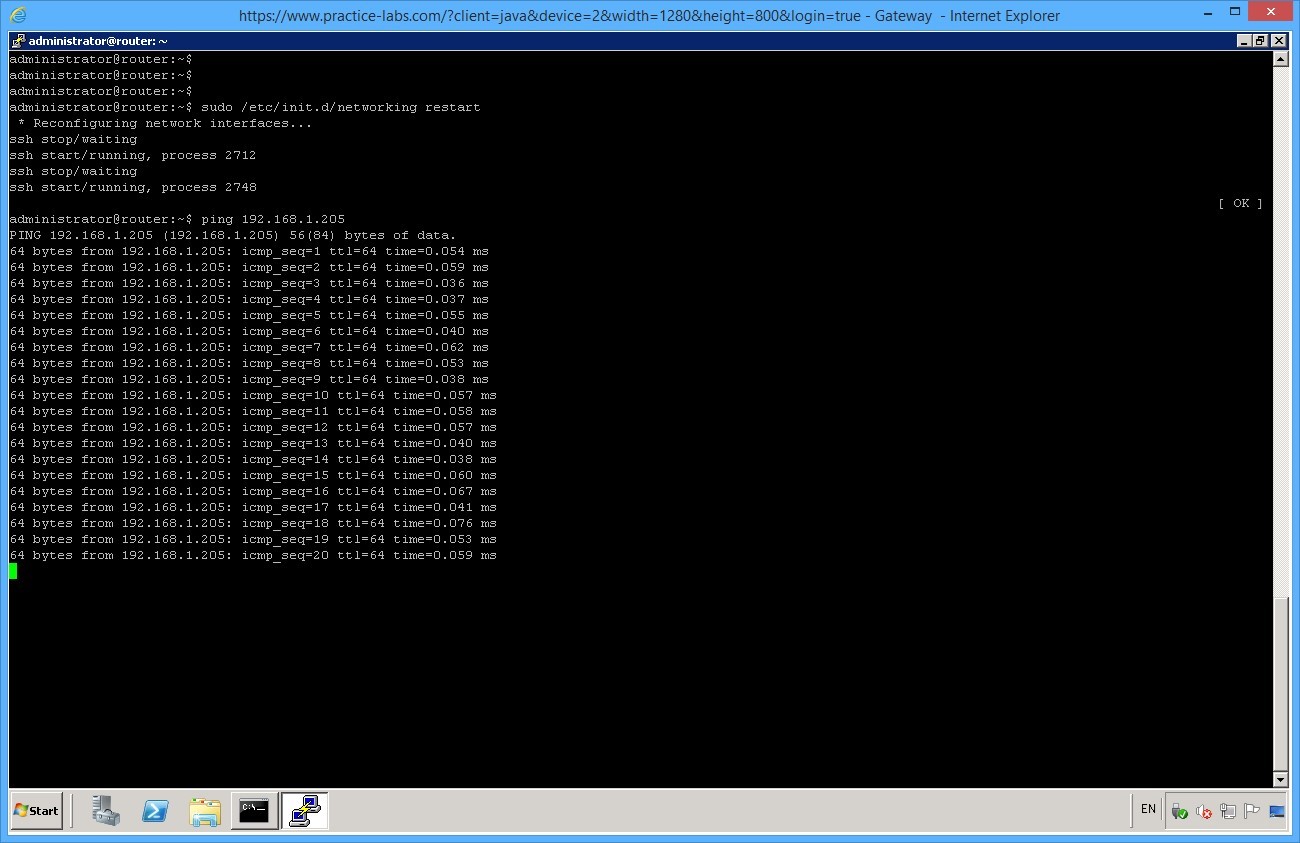
On the ROUTER try to ping the new address to ensure the settings are correct.
ping 192.168.1.205
Press Enter.
You get replies from the device where you’re trying to send the ping packets.
Press CTRL+C
Open the interfaces configuration file again. Type
sudo nano /etc/network/interfaces
Delete the hash (#) symbol from the "dhcp" line in the “eth1” details and add hash symbols to comment out the lines below it.
Press Ctrl+O then Enter to save the file then press Ctrl+X to close the text editor.
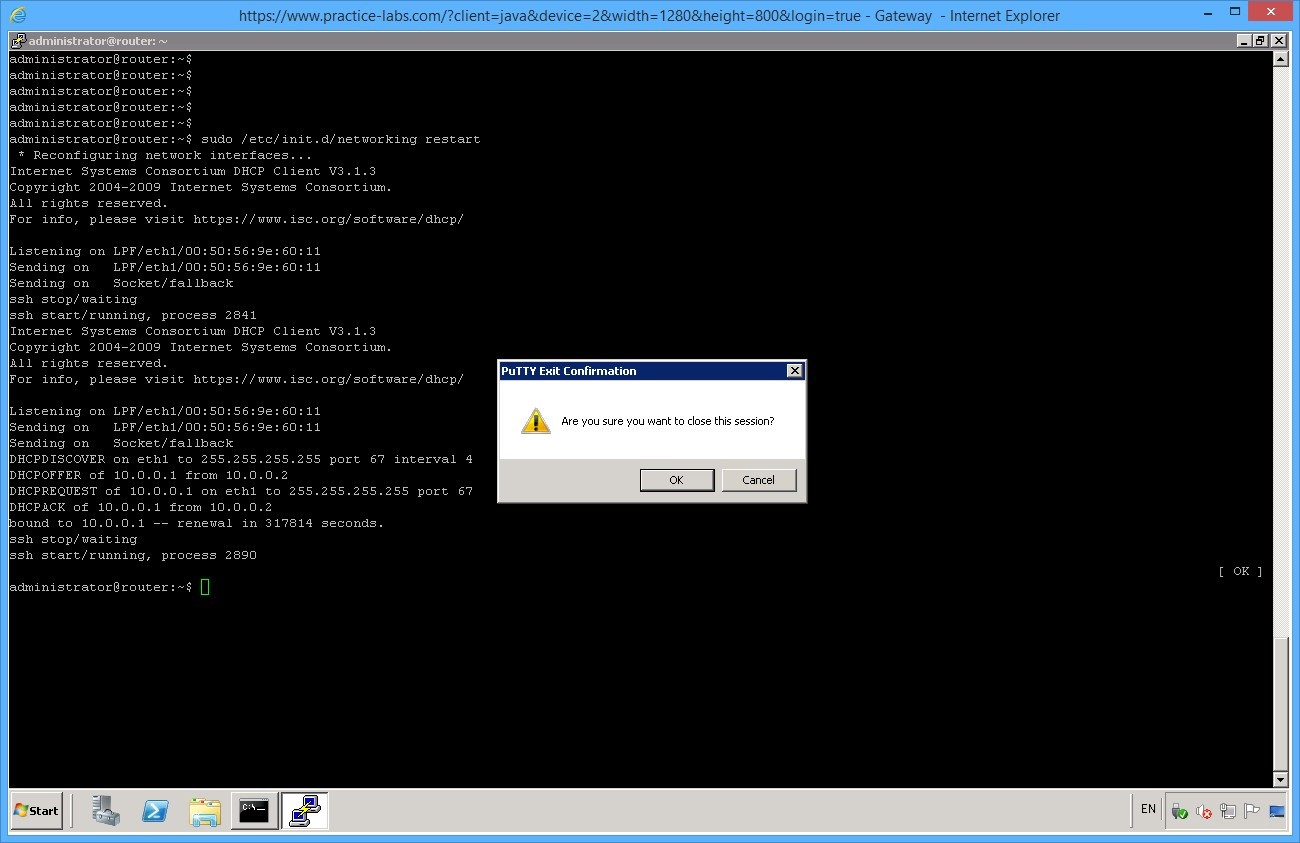
To apply the new ip address configuration, enter the following command:
sudo /etc/init.d/networking restart
Press Enter.

Note: You will notice the console window looks like it has stopped working. This is because the SSH session has be disconnected from ROUTER you can re-launch access by double clicking the ROUTER entry in putty. This happens because the interface has been restarted to apply the new configuration.
Close Putty window.
Click OK.
Double-click Putty icon on desktop. Select ROUTER and click Open.
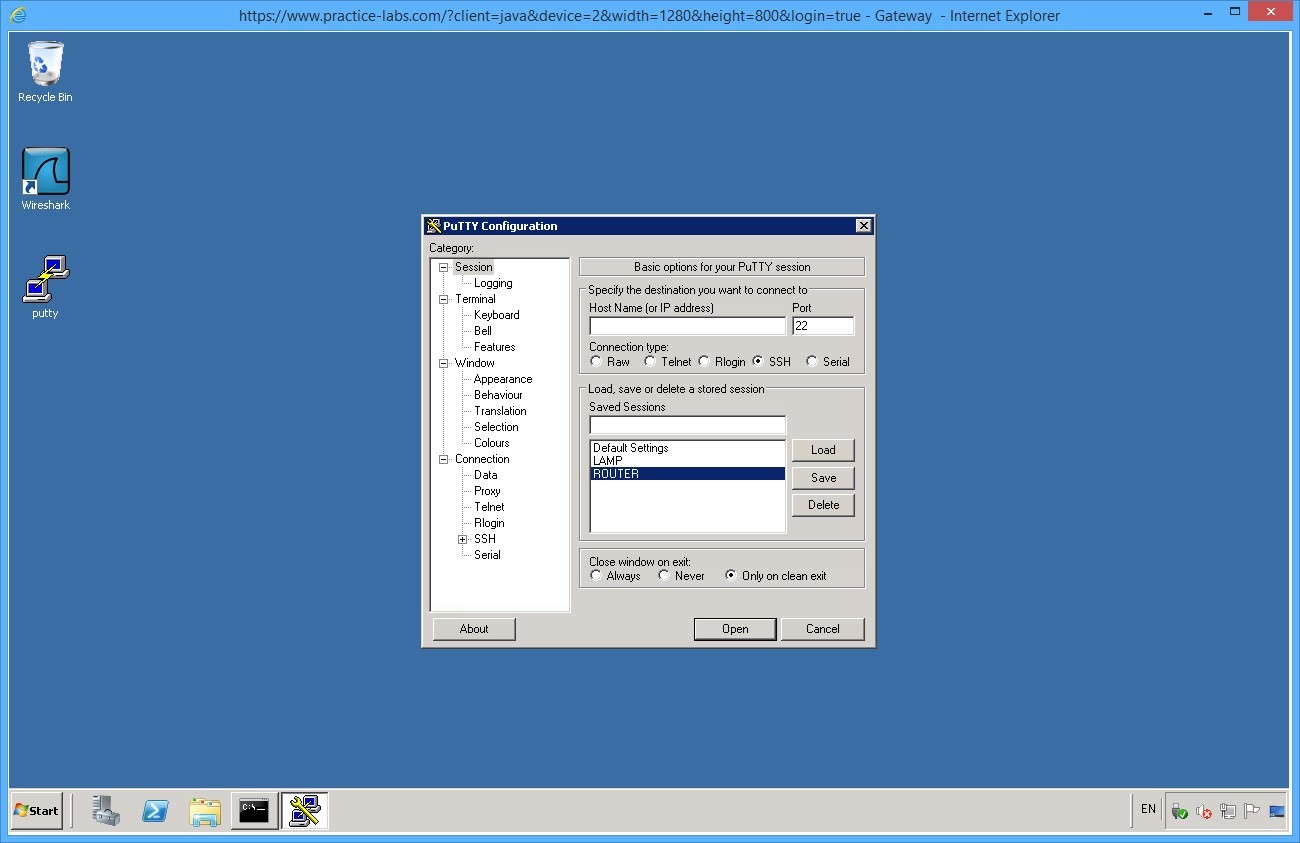
This will launch a SSH session to the remote device in order for you to configure settings.
When the console appears, on the login as field, type:
administrator
Press Enter.
On the password field, type:
Pa$$w0rd
Press Enter.
Once you login use the ifconfig command to see the IP address details.
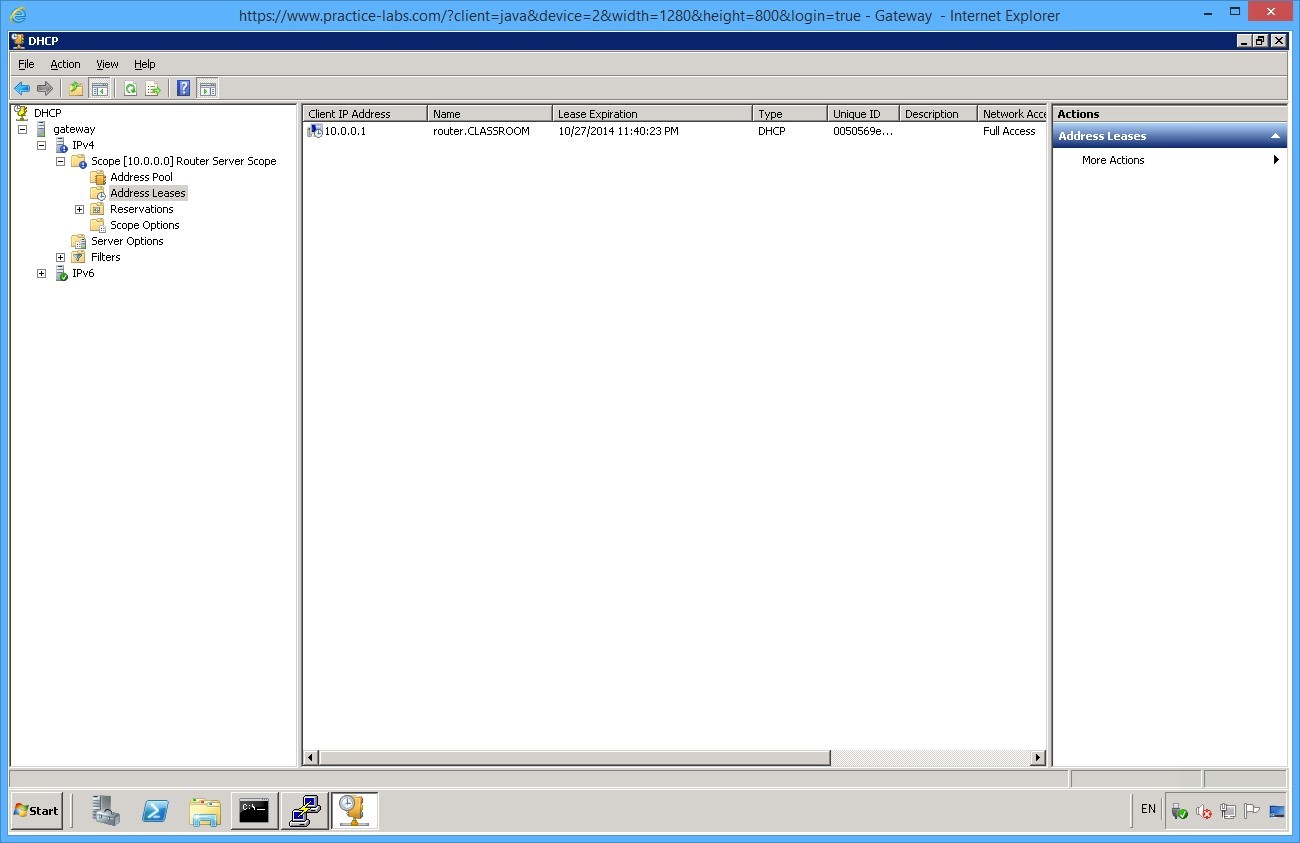
Minimize the Putty console and open DHCP Manager from Administrative Tool on GATEWAY server.

Expand gateway > IPv4 > and click on Address Leases.

You will see that the DHCP server has assigned the 10.0.0.1 IP address to the ROUTER.
Close DHCP console.
Leave the devices you have powered on in their current state and proceed to the next exercise.
Exercise 4 - IP Addressing Settings
In these exercises, you will discover the effect on connectivity when you adjust the subnet mask applied to an IP configuration.
Task 1 - Working with Subnet Masks
Step 1
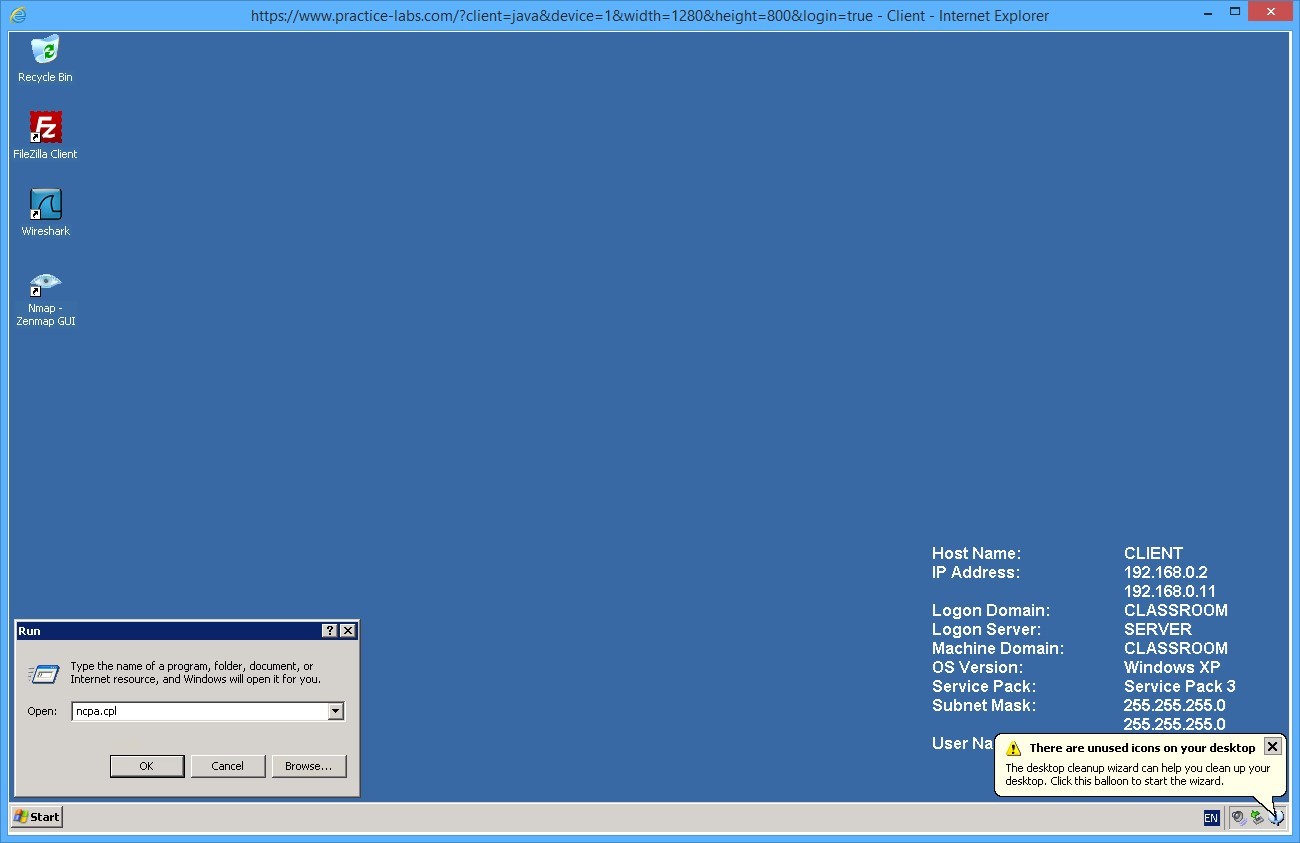
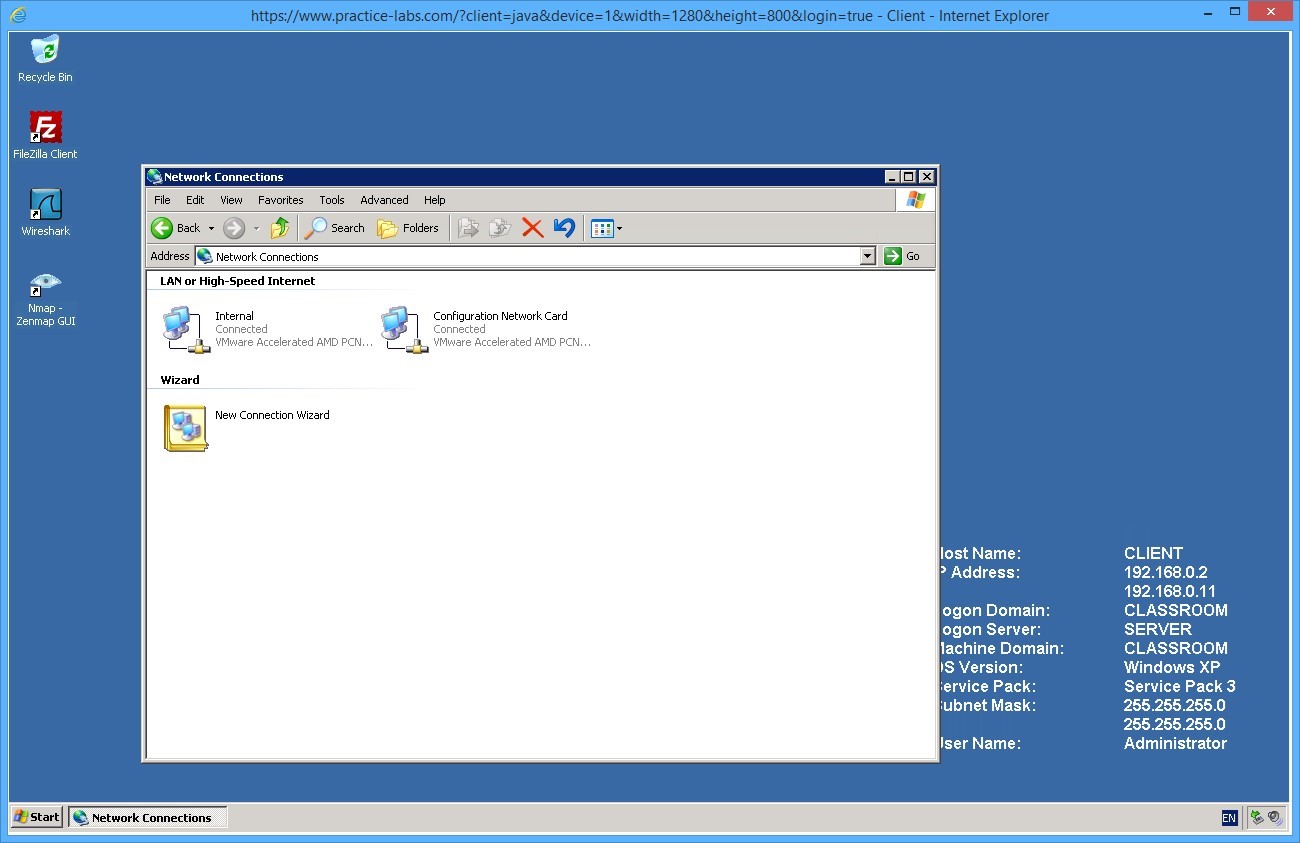
Ensure you have powered on the required devices defined in the introduction. Connect to CLIENT device.
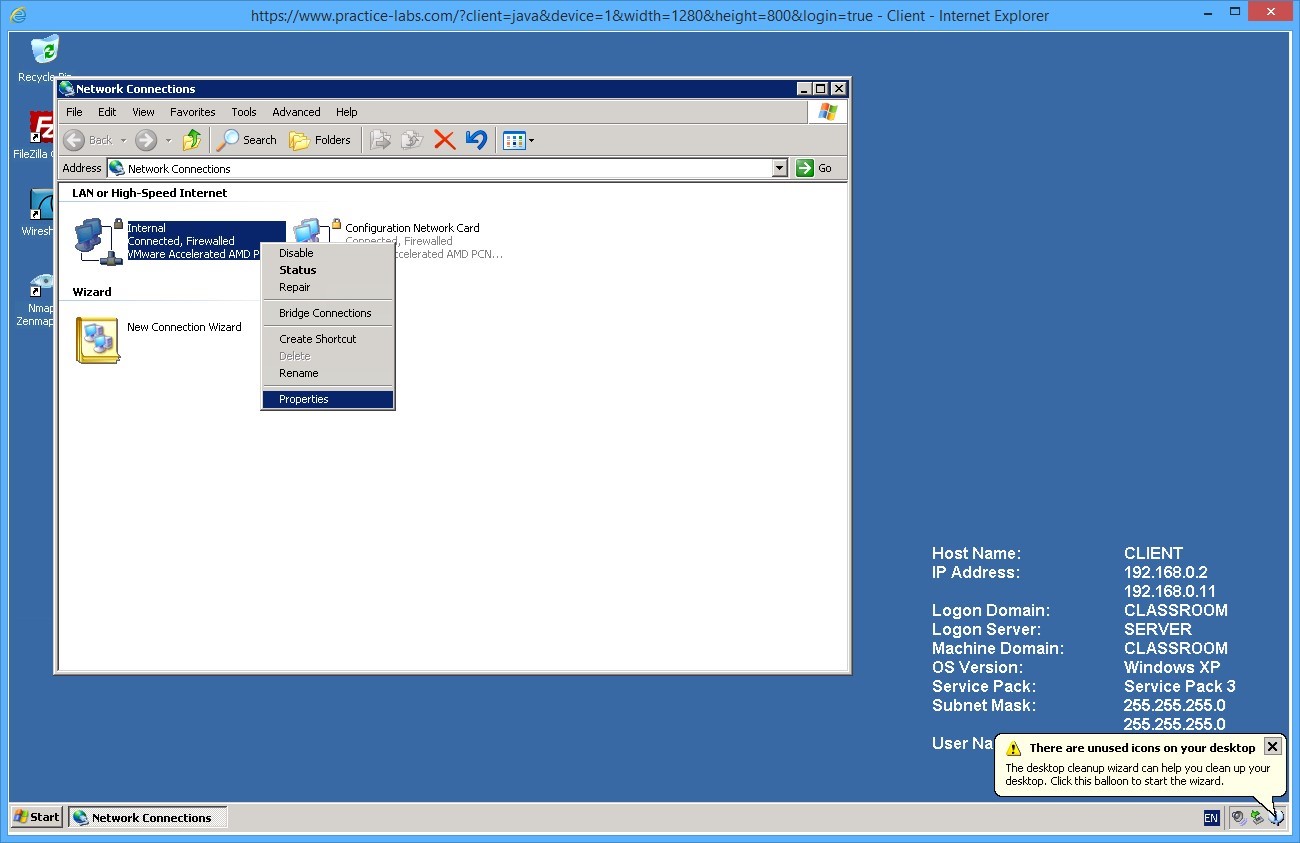
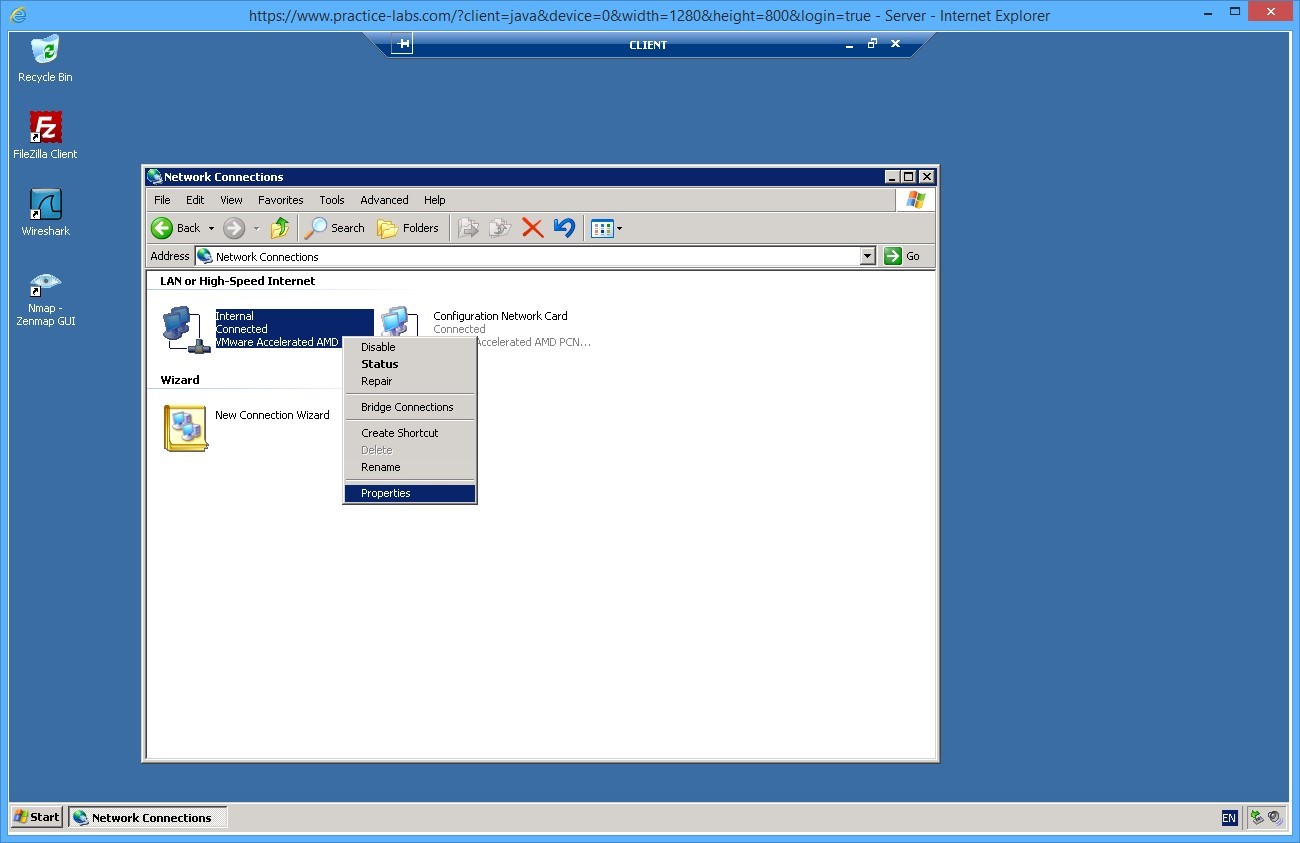
Once logged in open the Run box then type ncpa.cpl, and press Enter.
Right-click Local Area Connection called Internal and select Properties.
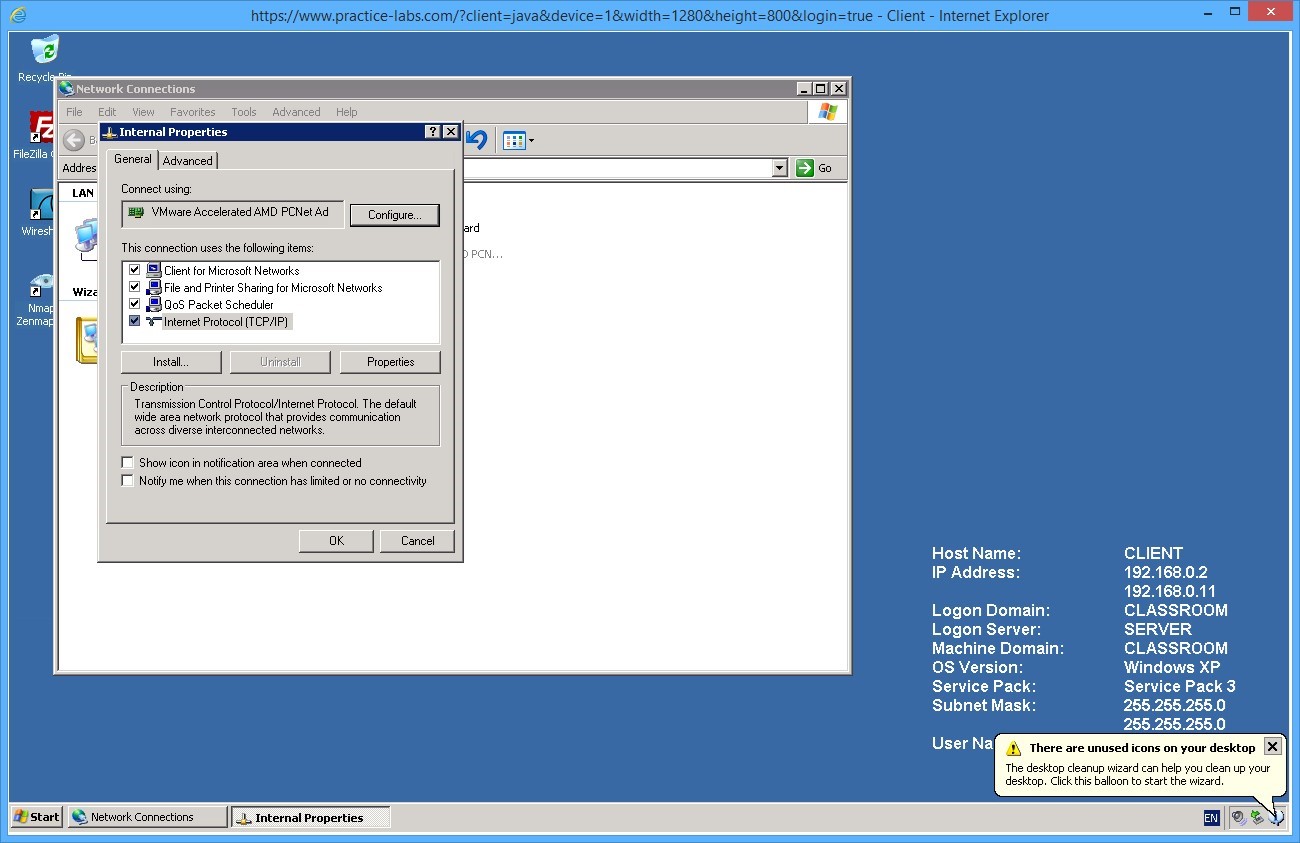
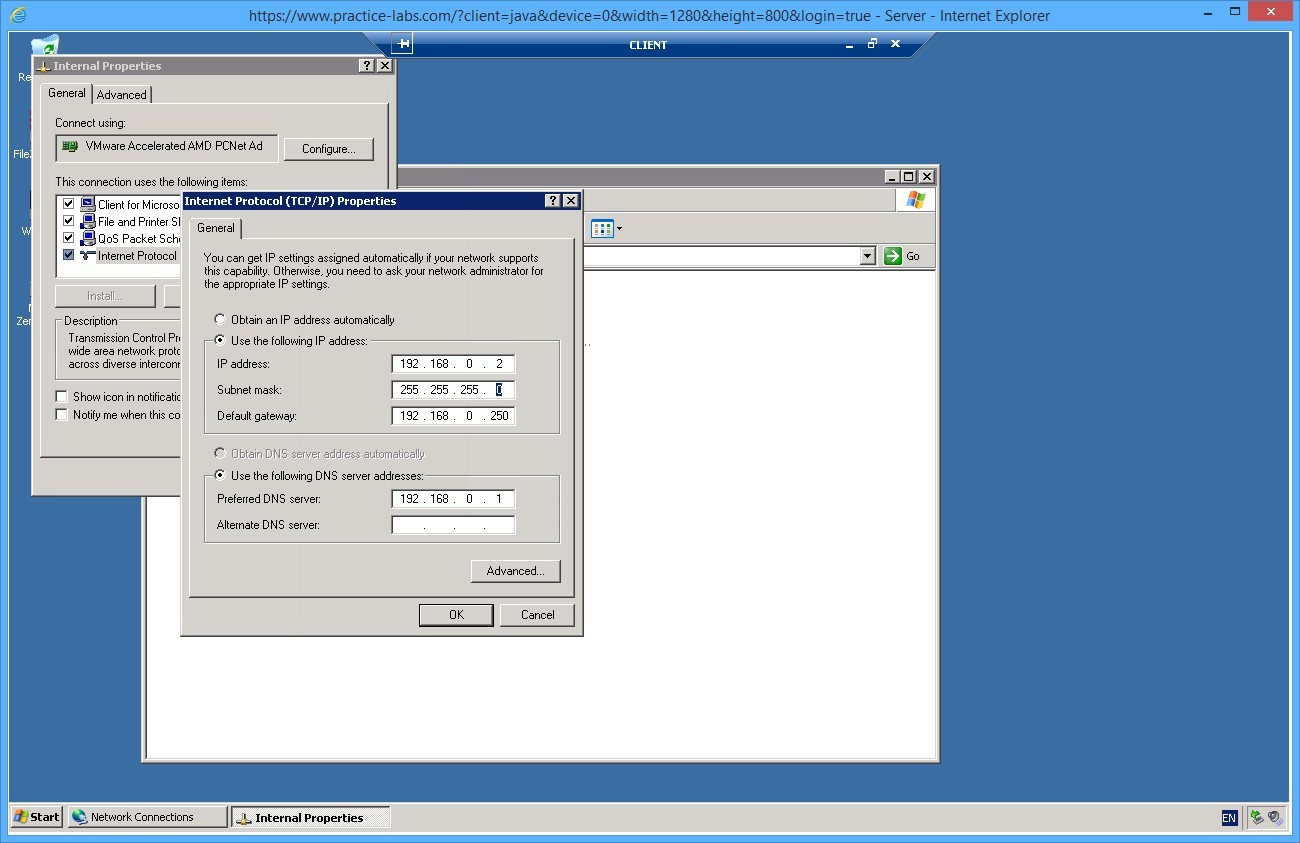
Double-click Internet Protocol (TCP/IP).
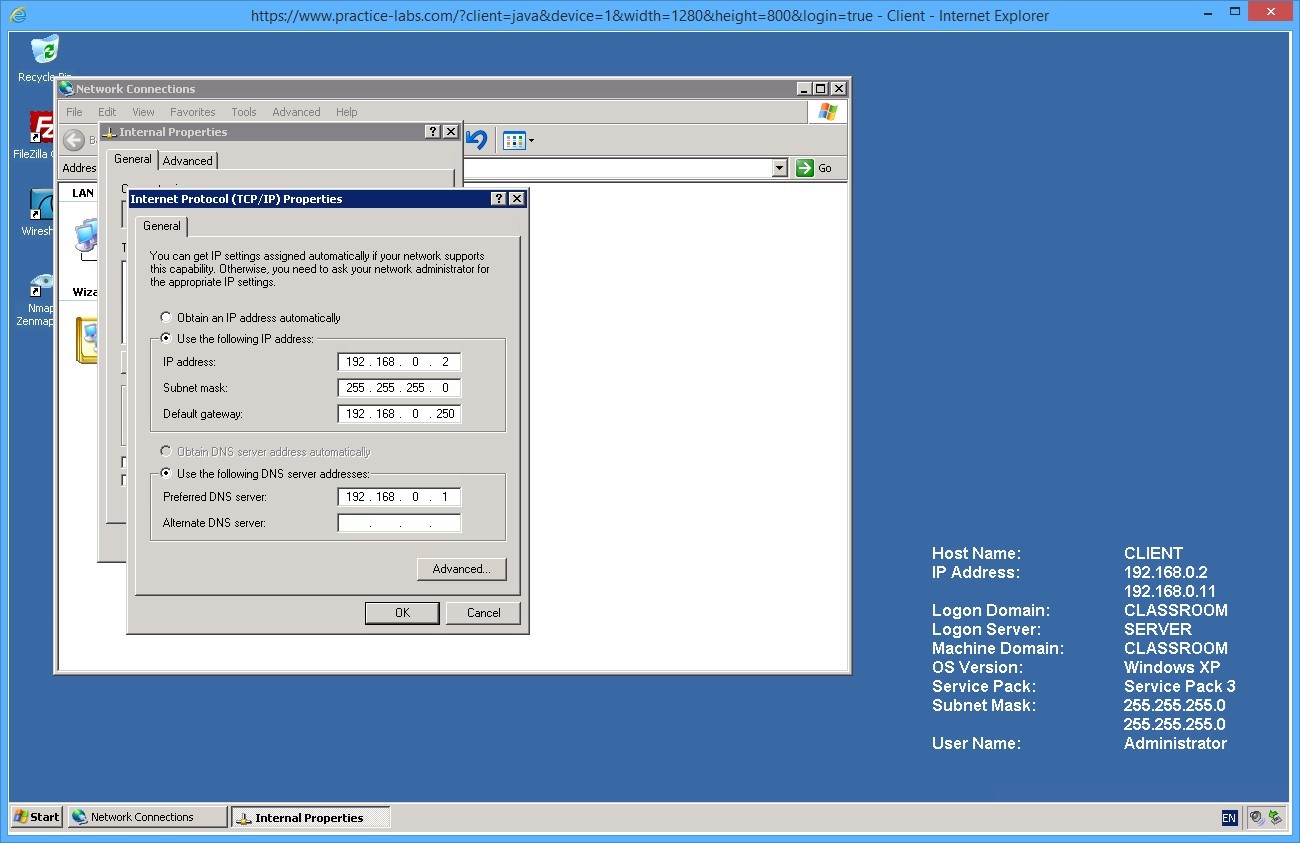
Review the IP address details, these should be the following:
IP address: 192.168.0.2
Subnet mask: 255.255.255.0
Default gateway: 192.168.0.250
Preferred DNS server: 192.168.0.1
Click OK to close.
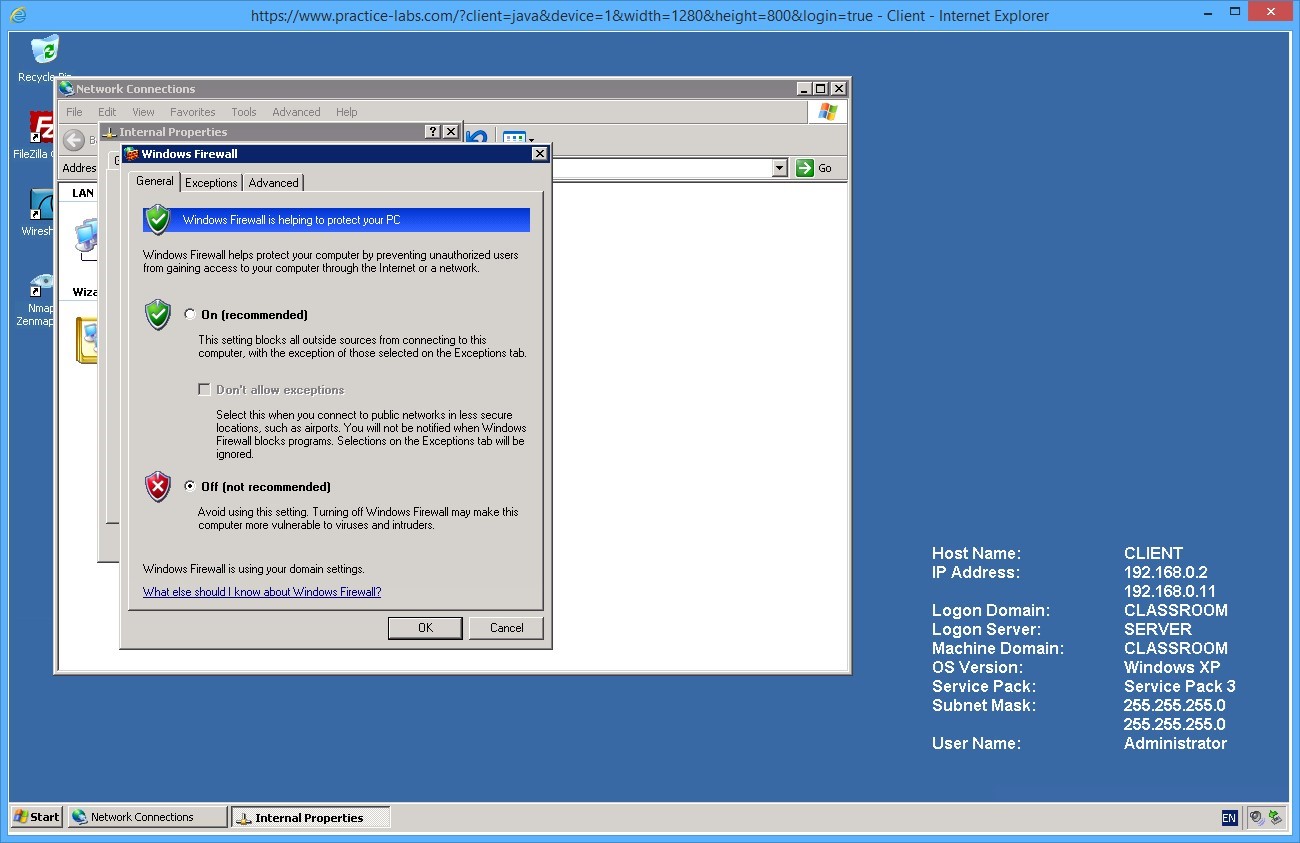
From Internal Properties, click on the Advanced tab and click Settings…
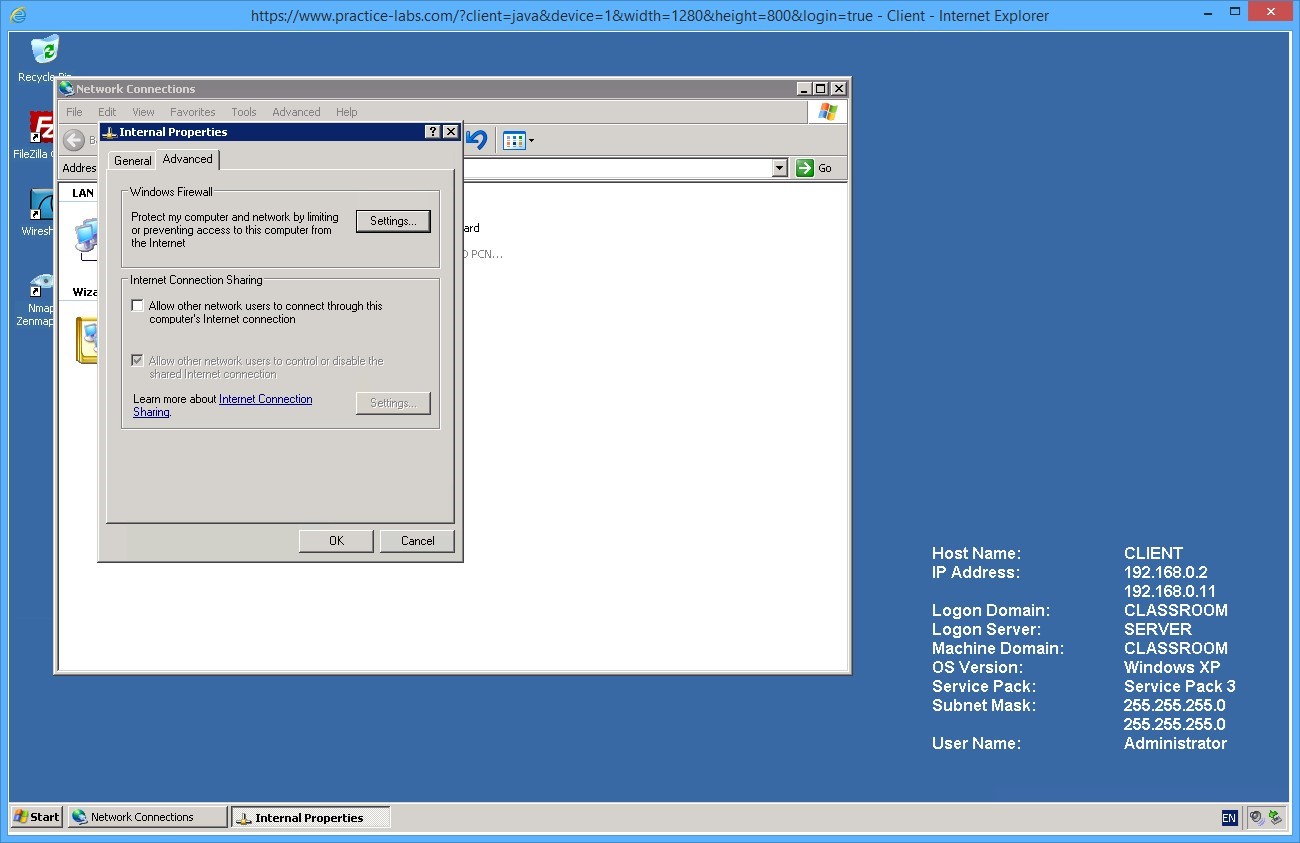
Turn the Firewall off for this test. Click OK twice and close all open dialog boxes.
Step 2
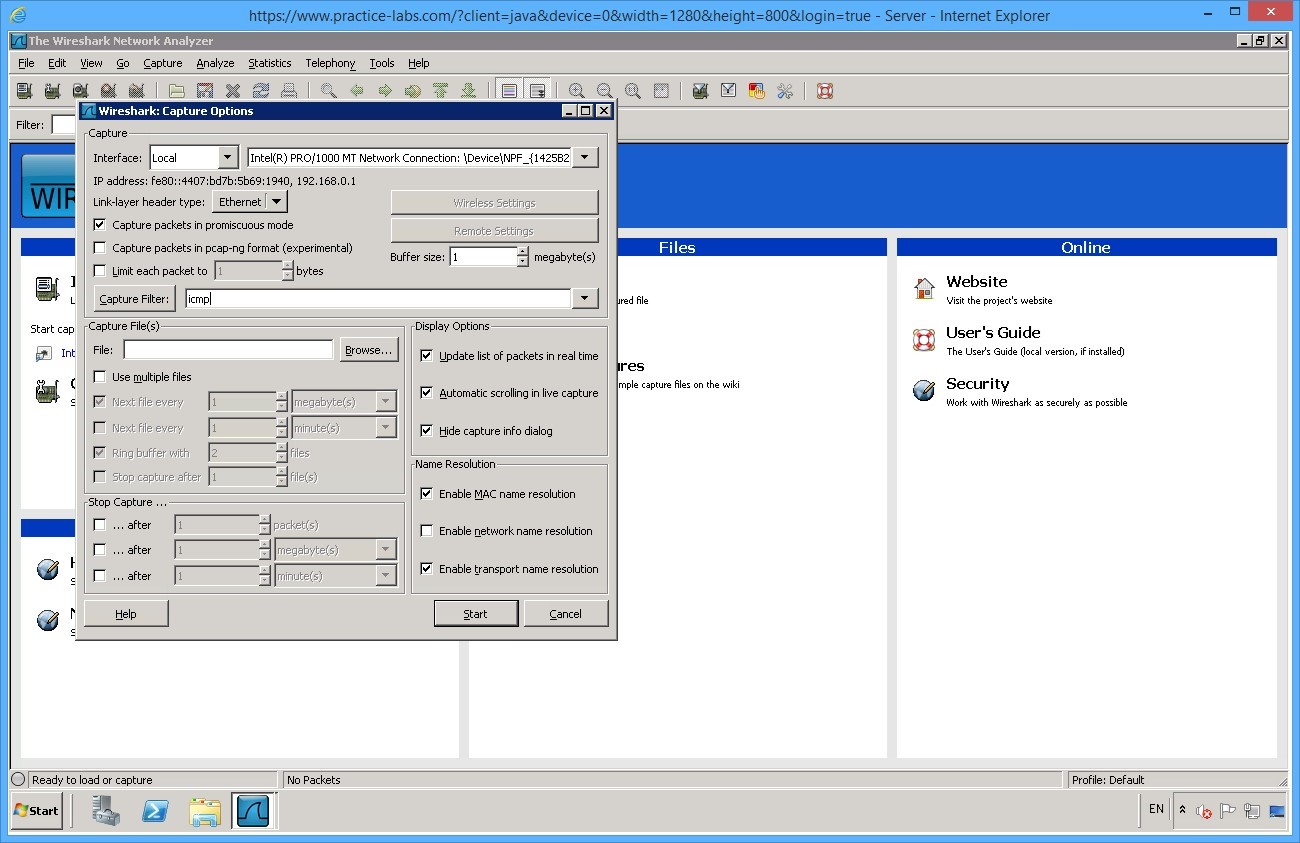
Connect to SERVER and start Wireshark (desktop shortcut) and click the Capture Options on details pane.

Enter icmp in the Capture Filter box and click Start.
While WireShark Is running, open a command prompt. Type ipconfig then press Enter.
Recall that SERVER is configured with an IP address of 192.168.0.1 and a subnet mask of 255.255.255.0 you can confirm this by using the ipconfig command.

Then type:
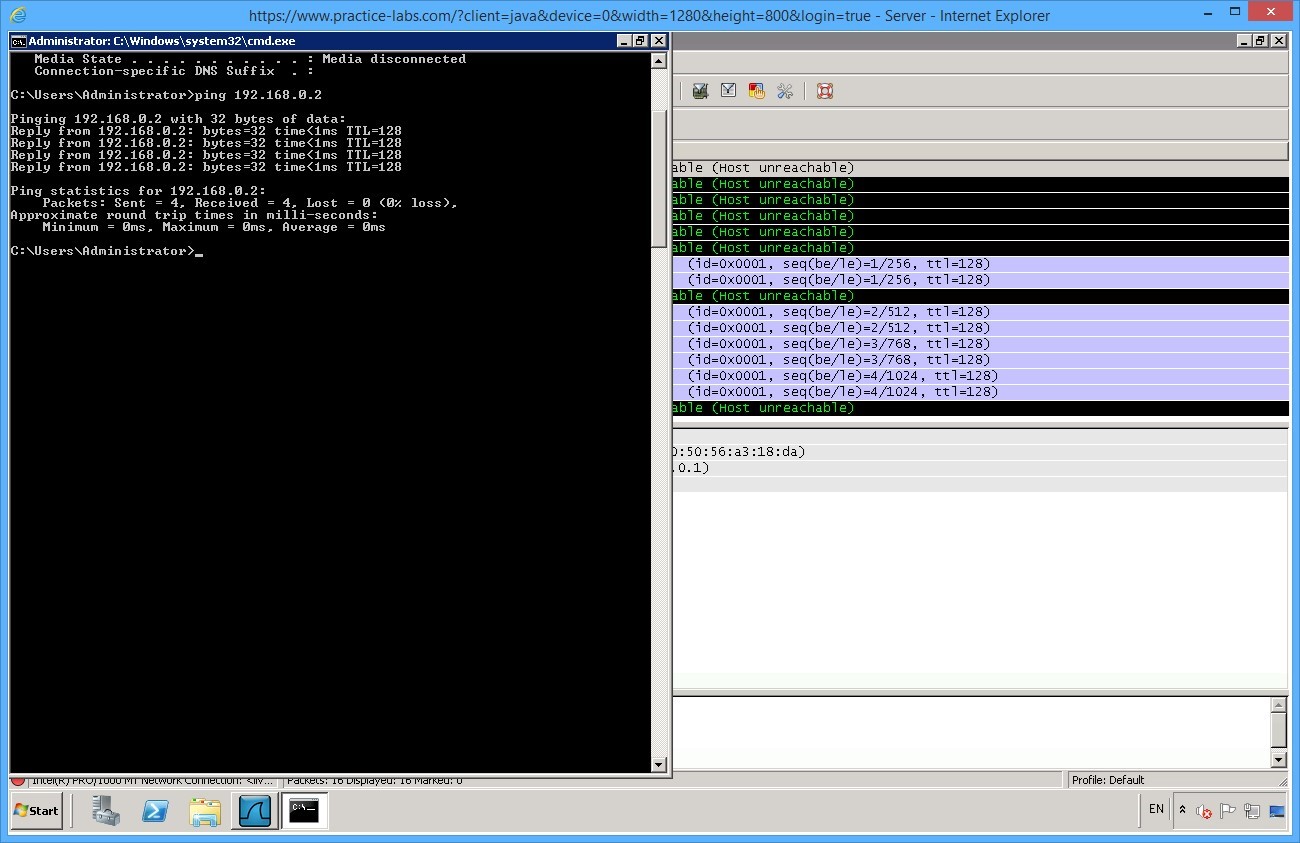
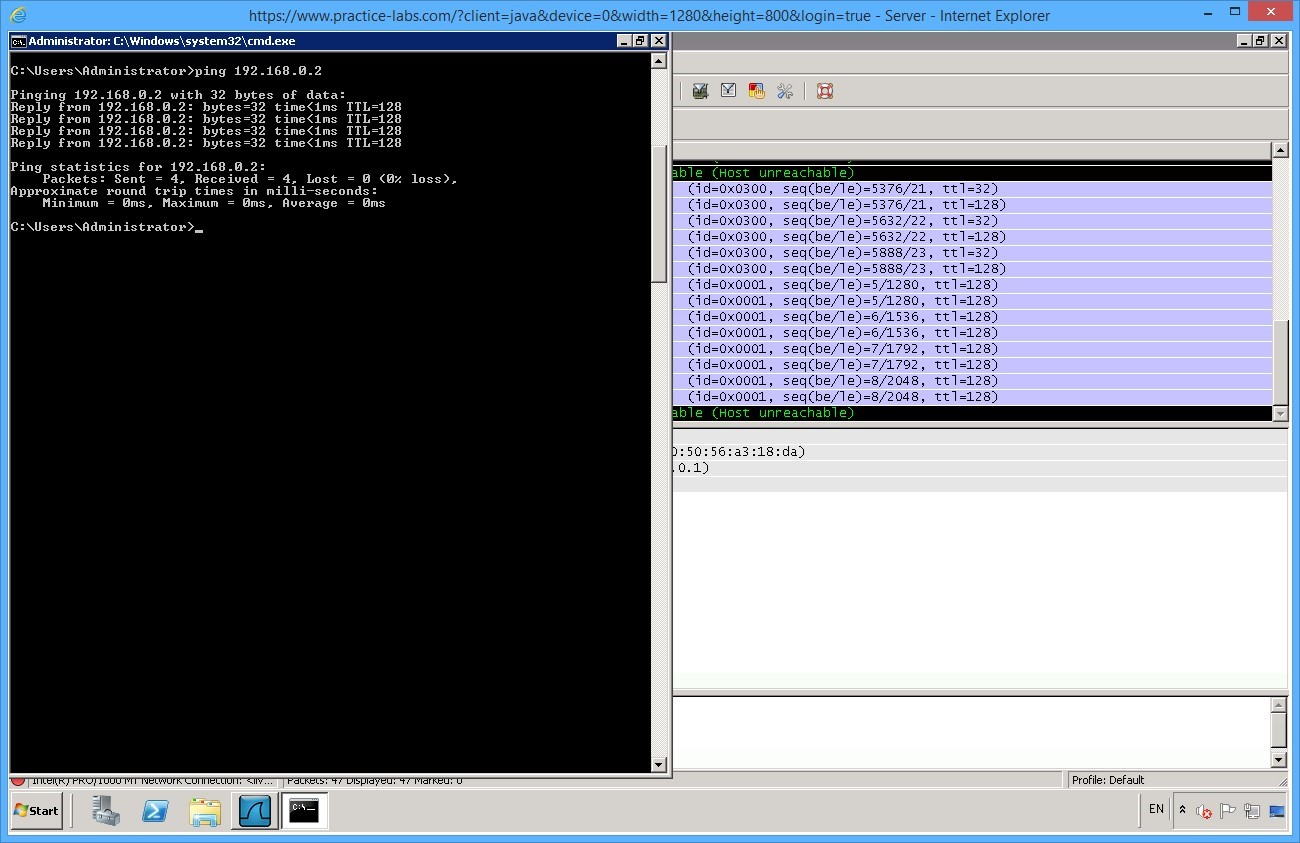
ping 192.168.0.2
Press Enter.
Minimize command prompt.
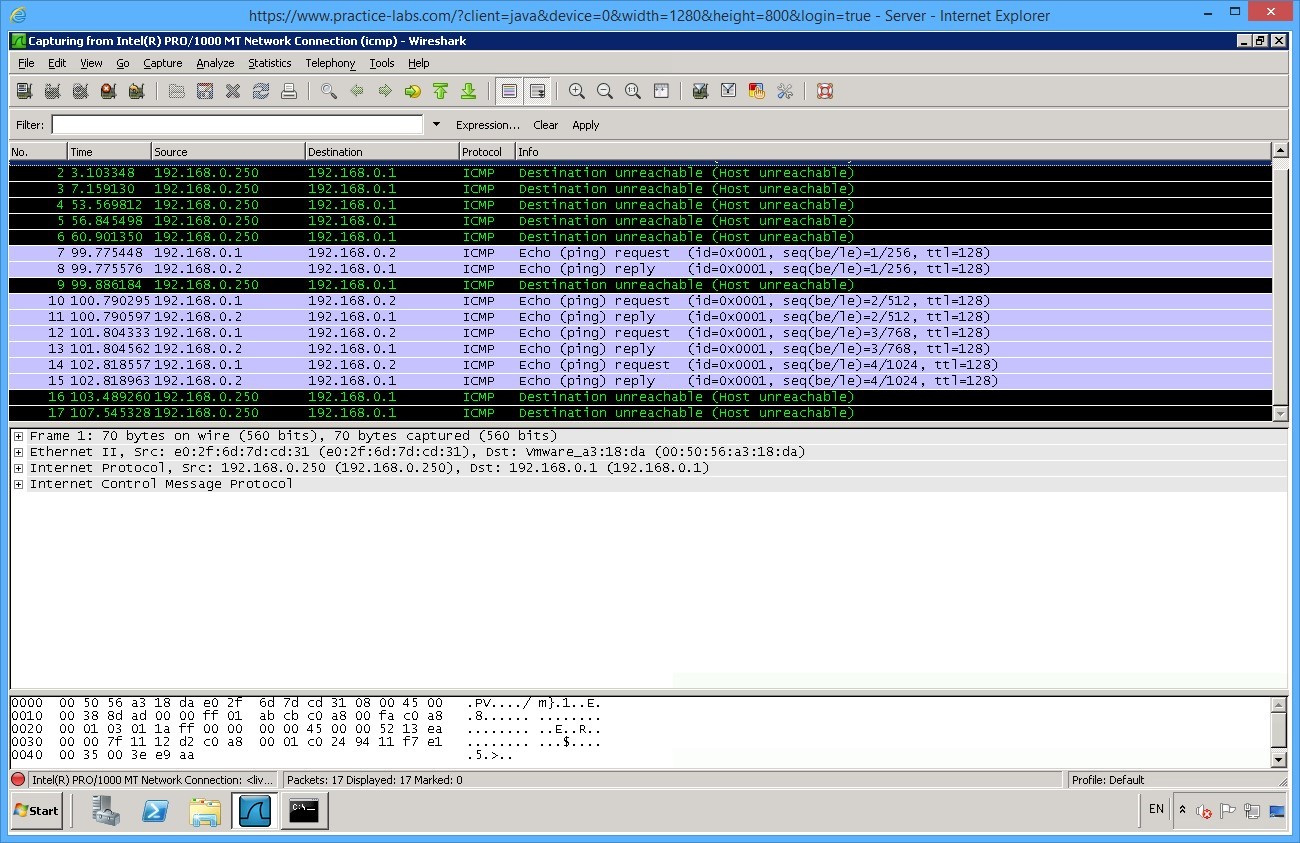
Go back to WireShark.
Observe the Wireshark packet capture you will see that the communication is successful between source address of 192.168.0.1 (SERVER) and 192.168.0.2 (CLIENT).
Step 3
Go back to CLIENT device. Open the IP Properties dialog for the Internal Lan connection.
Set the subnet mask to 255.255.0.0
Click OK then Close.
Note: You will be disconnected from the CLIENT device because of the change you have made.

Step 4
Go to Server device. Reopen a command prompt enter ping 192.168.0.2 to verify the link.
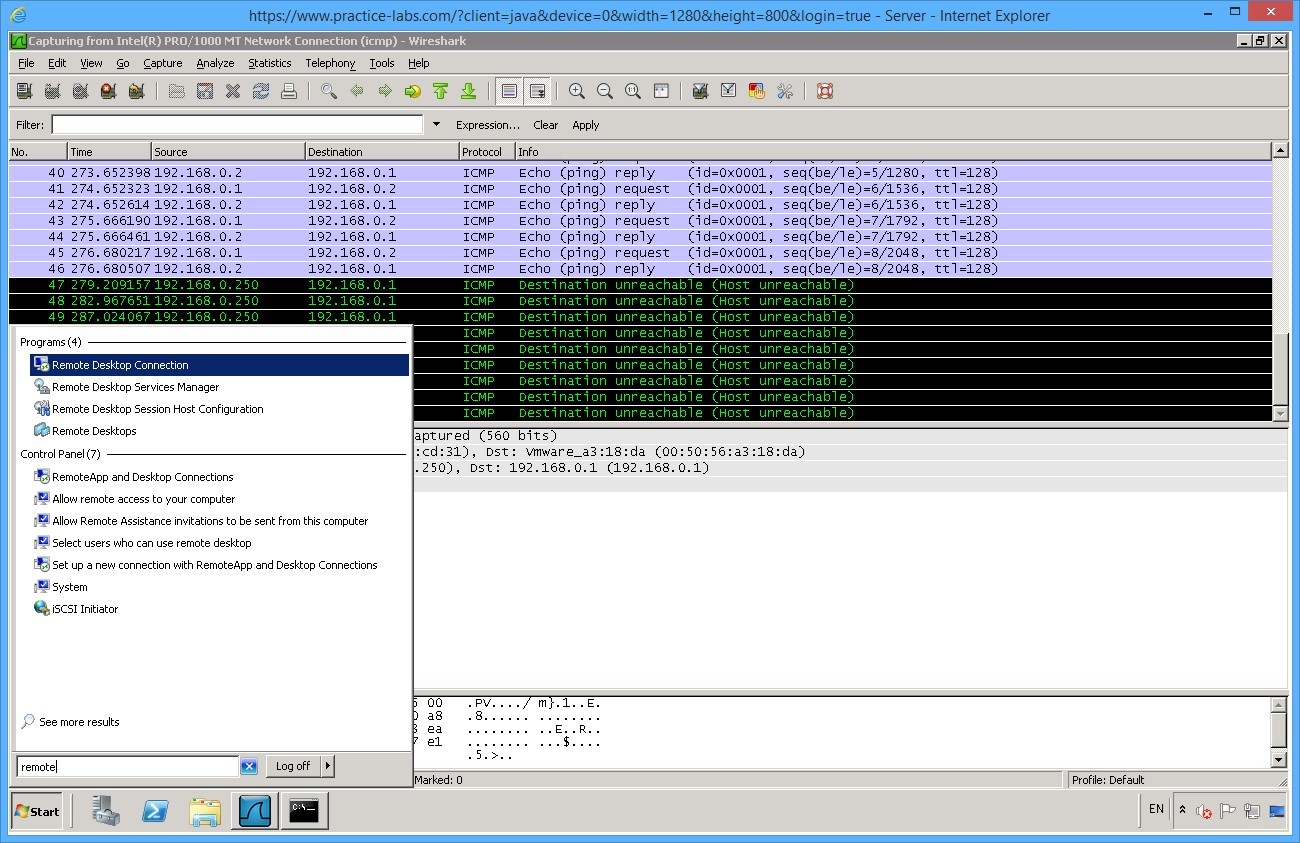
CLIENT can route to SERVER and SERVER can route back to CLIENT as the network ID is the same regardless of the mask. The frames show that each request receives a reply.
However you web session failed because the remote device (CLIENT) is no longer on the same network that you can connect to remotely.
Minimize command prompt.
Step 5
Click Start and in Search box, type remote desktop and click on Remote Desktop Connection.
From Remote Desktop Connection box, type CLIENT then click Connect.
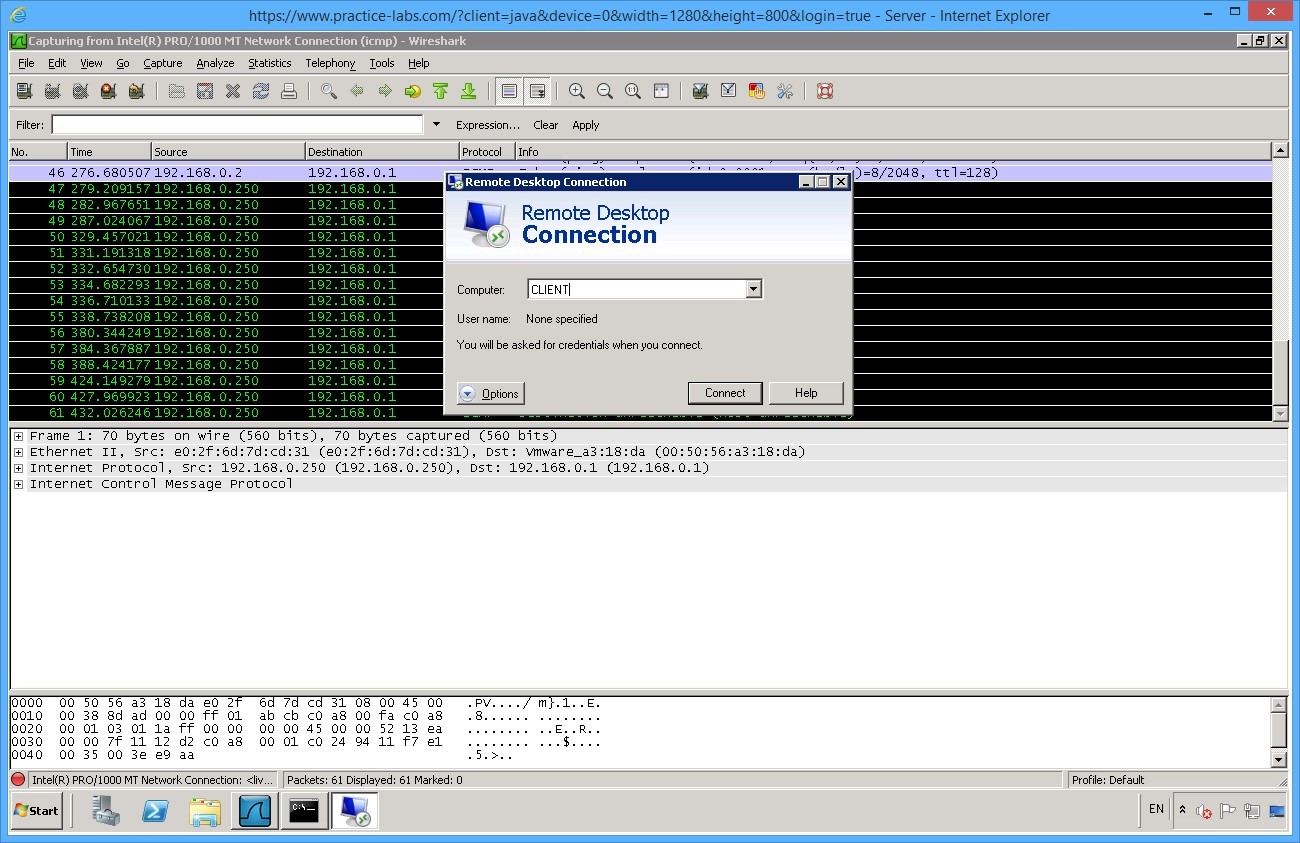
Click Yes when prompted that “the identity of the remote computer cannot be verified…”

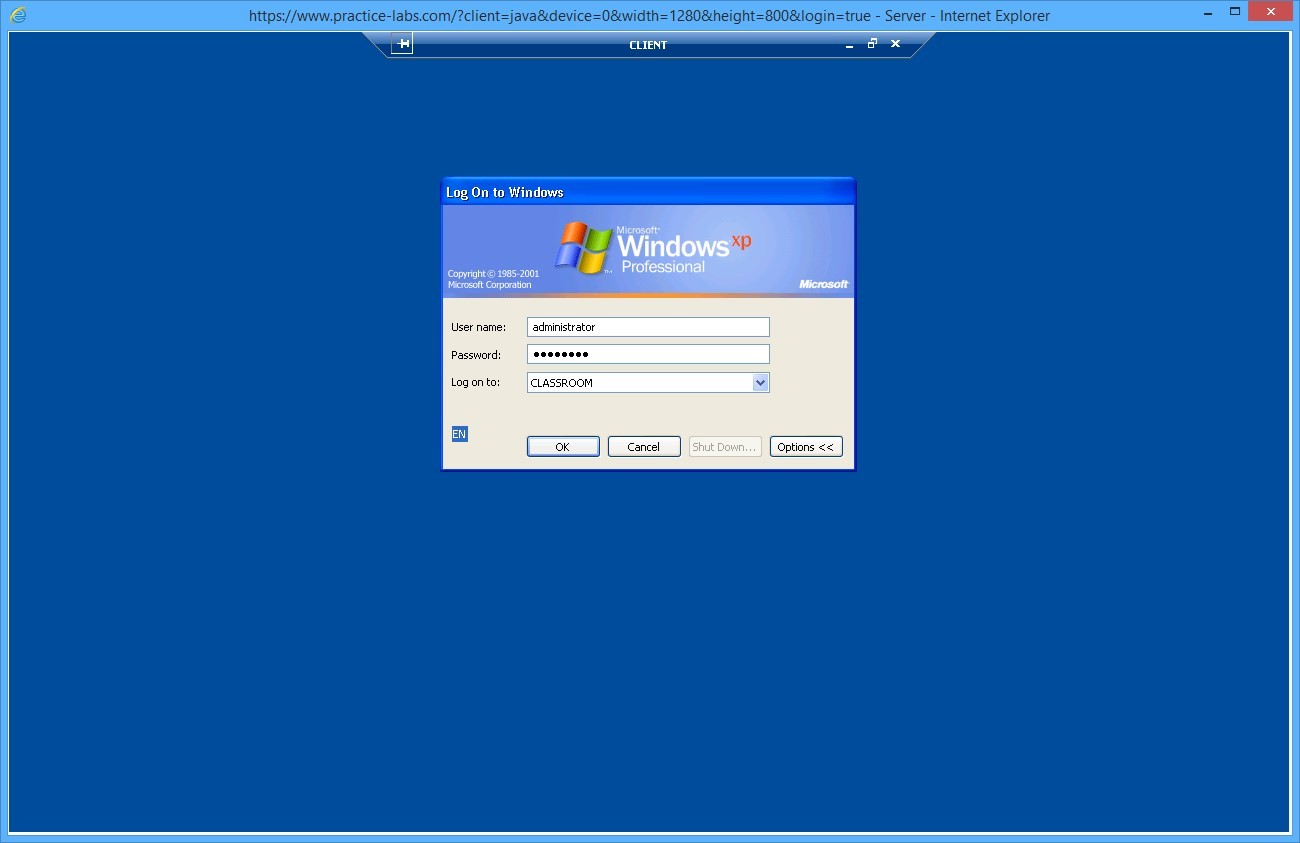
Login with the following details:
On the User name box, type:
administrator
On the Password text box, type:
Pa$$w0rd
On the Domain drop-down list, select: Classroom
Right-click on Internal network connection and choose Properties.
Change the Subnet mask back to 255.255.255.0
Click OK to apply the changes.
Your connection CLIENT device may be disrupted as a result of the change in the subnet mask.
Now use the Connect function located in the Tool bar of CLIENT. You should now be able to establish a new web session to the workstation.
Shutdown all virtual machines used in this lab, by using the power functions located in the Tools bar before proceeding to the next module. Alternatively you can log out of the lab platform.
Summary
In this module you completed the following tasks:
- Identify IP address configuration on a Windows and Linux device.
- Install and configure DHCP.
- Configure IP address configuration on a Windows and Linux device.
- The impact of changing subnet masks.